Expertises: Art, Pastel, Brush, Drawing, Pencil
Updated on

Inspiring Ideas for Modern Home
It doesn’t matter how much of an outdoorsy person you are - at the end of the day, there’s no place like home!

In all honesty, I love traveling just like any other person, but words cannot express the love I have for my home. Thankfully, as an art enthusiast, I can express my feelings with my brush. And when it comes to art, very few other mediums are as versatile as the watercolor medium.
Unfortunately, not everyone may be experienced with this medium. But there’s no need to worry, for I can help with that.
Hey everyone, today, I’ll be drawing a beautiful house in watercolor. The guide I have presented here is pretty simple to follow, which makes it perfect for beginners and experts alike.
So, if you feel the same way about home, and want to express it with art, then join me on this journey!
Before you start painting, you need to gather everything that’s needed for the process. Trust me - that will make everything much more convenient and allow you to paint in peace.
With that being said, here are the products that I have used today for creating this artwork:
Paint: Kuretake Gansai Tambi Watercolors 12 color | Paper: Saunders Waterford Watercolor Paper - White, 300gsm | Brush: Raphael Kolinsky Sable Fine Point Round Brush 8404
You can use the same equipment and supplies that I have mentioned above. But there is no restriction in this regard, which means that you can use your own supplies too. Just make sure that your favorite watercolor brushes and paper of choice are of good quality and comfortable for you.
Likewise, you need not have a full set of watercolor paint, either. Most of the painting has been made using browns, reds, and greens, along with some blue and yellow.
Of course, that is because the reference image I used for this project has a similar color range. So, you can play around with different colors to give it a personal touch. Or, you can use a different source altogether if you are feeling confident about your abilities.
Now that the fundamentals of the process have been dealt with, it is time to paint!
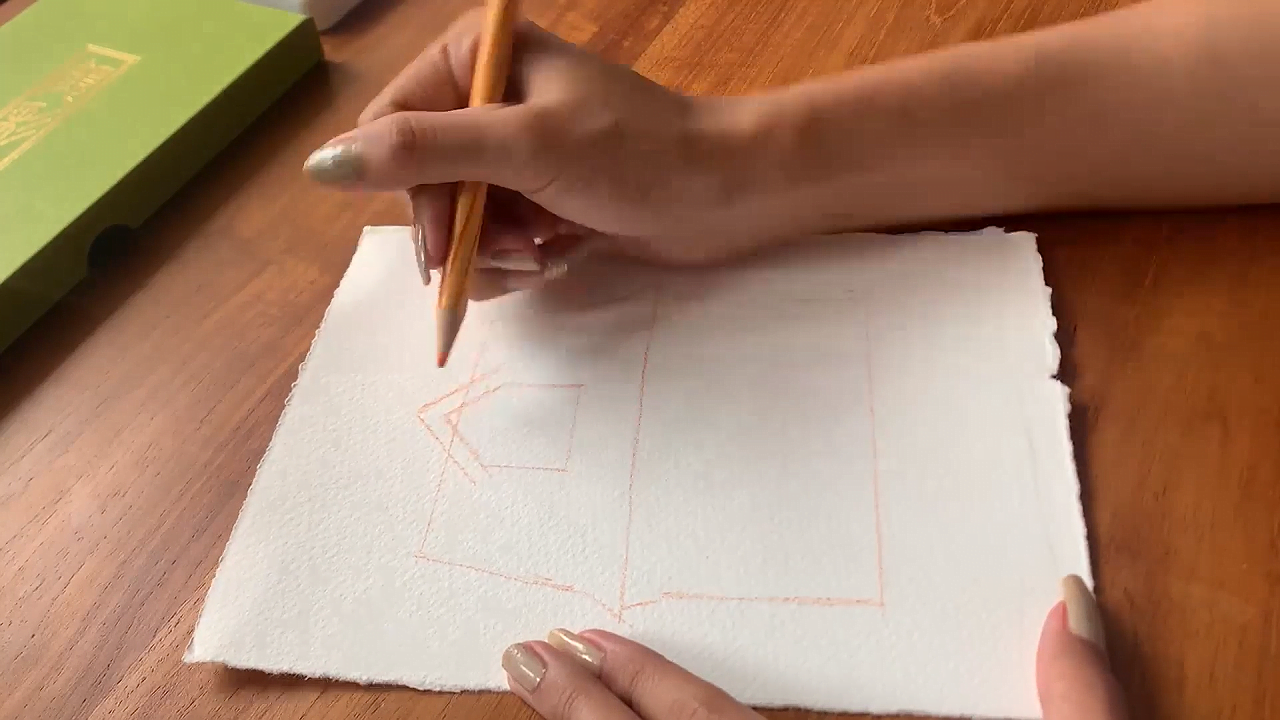
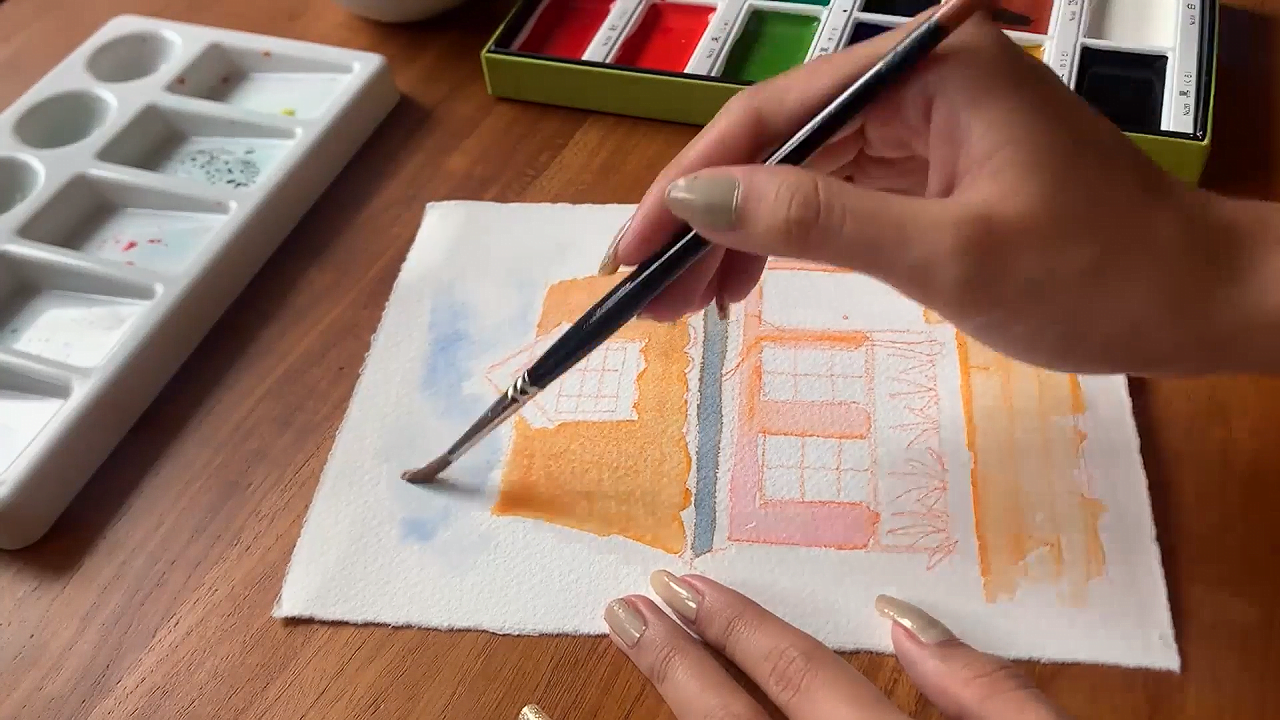
First off, I sketched the outline of the painting on blank drawing paper. Here, you don’t need to get into a lot of detail since the whole purpose of this step is to provide a rough idea of the composition. You can use a colored pencil to create a light sketch of the different elements present in the drawing.
I prefer creating the sketch using a single colored pencil, but you can use different colors if you wish. But try to avoid regular drawing pencils since the dark lines will remain visible even after applying the colors.
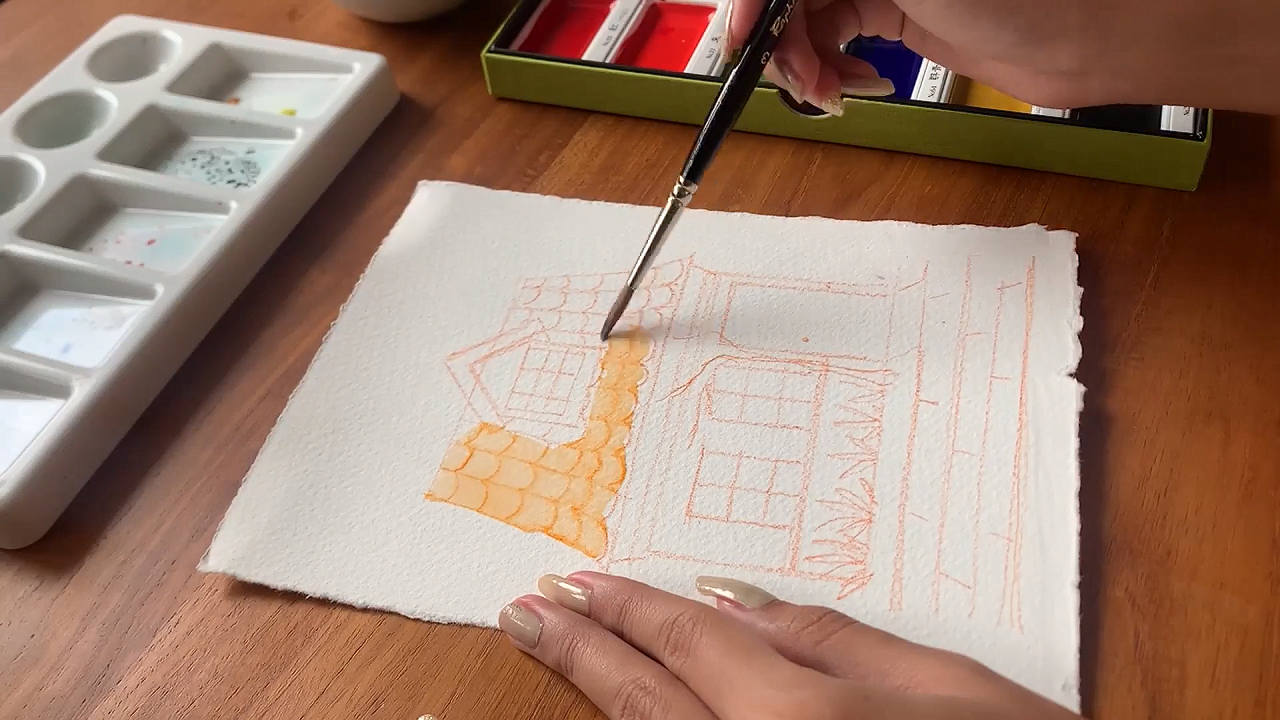
Once the sketch is complete, you need to start adding colors to the artwork. You can start by painting the base layer of the roof. For this step, you can use a wide brush, but I recommend using a fine brush since that gives you more control and precision.
Dip the brush in the brown paint and color the roof using short strokes. Keep the brush slightly wet so that the paint does not bleed into the adjacent areas. Allow the color to set after you are done.

Now, it is time to move on to the walls of the house. Here you will notice that the painting areas are quite small. So, unless you want to make a mess, you should use a fine brush for this step.
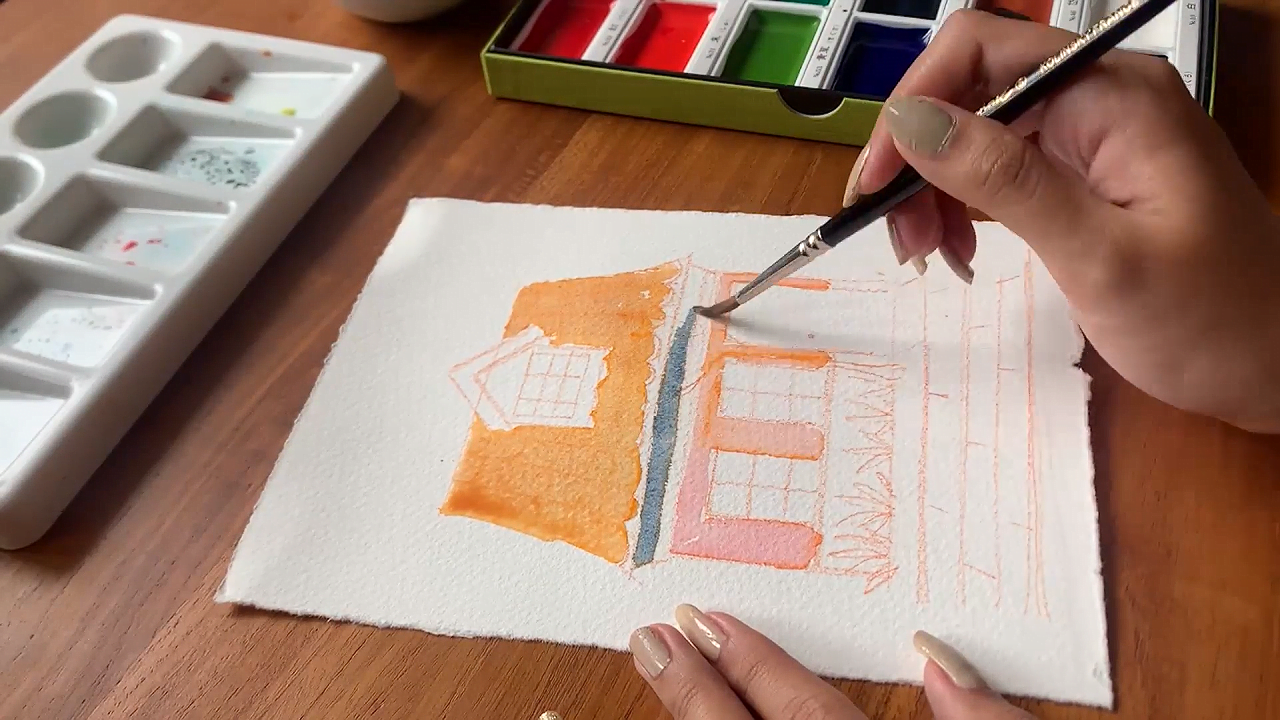
As for the color, I have used red paint for the walls, but you can use a different color if you wish. You can even mix two or more colors to obtain a unique shade. Dip the brush in the paint, and start coloring the outer walls with short and gentle strokes.
After the walls, I painted the roof shade using a different color. I have used gray to give it a realistic, shadowy appearance. In this case, I suggest using long, horizontal strokes. However, make sure to stay within the outline, or else the painting will be ruined.
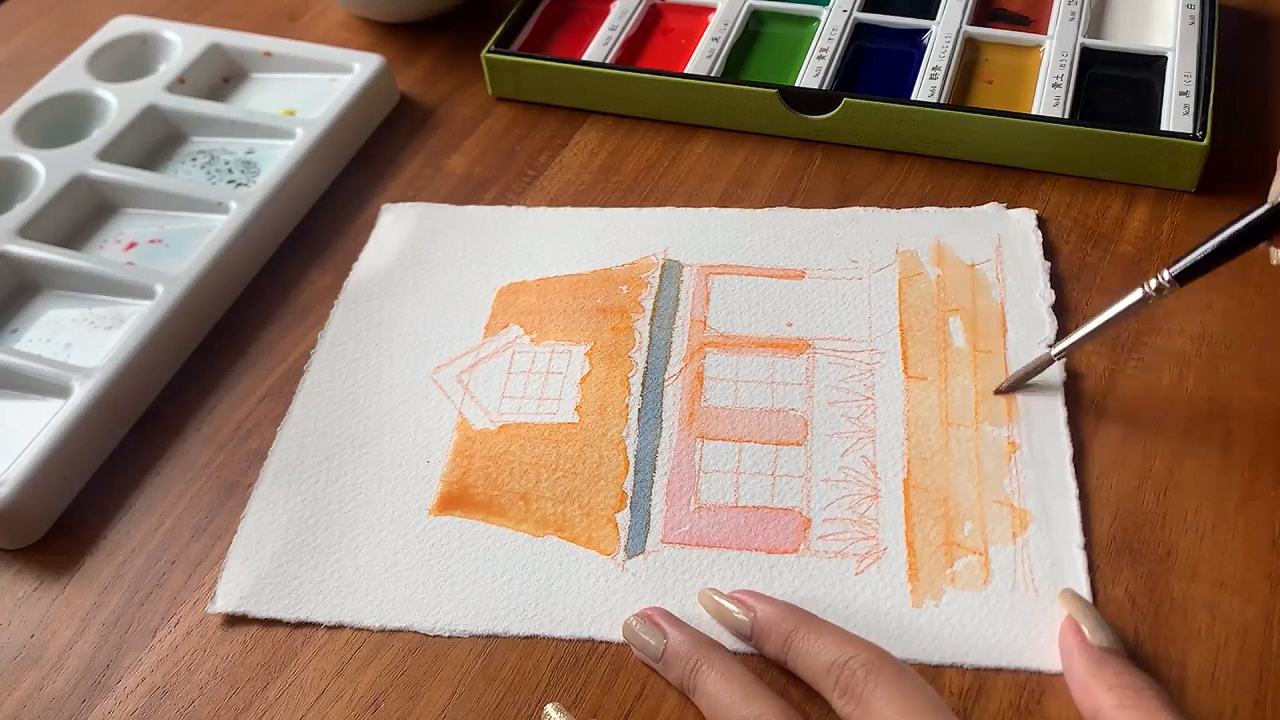
When you complete the house, you need to start painting the base layer of the ground. For this step, I have used the same shade as the roof, but you can try adding a different color to make it a bit more unique.
You can use long strokes here to cover the area quickly. There is no need to color the whole area meticulously, though. You just need to ensure that the layer seems uniform with the rest of the painting.
Next, you need to paint the base layer of the sky with a blue shade. Note that I have run a wet brush on the area before applying color. This helps in dispersing the paint properly on the paper.
It is a good idea to keep it simple, especially if you want the house to be the main focus of the artwork. That is why I have used a lighter color palette and added some basic shades and highlights.
But, if you are feeling creative, you can add some extra features, like clouds, birds, and so on. Or, better yet, you can use darker shades to paint an evening or a night sky. In any case, once you are done painting the base layers, you need to let the colors set before proceeding further.
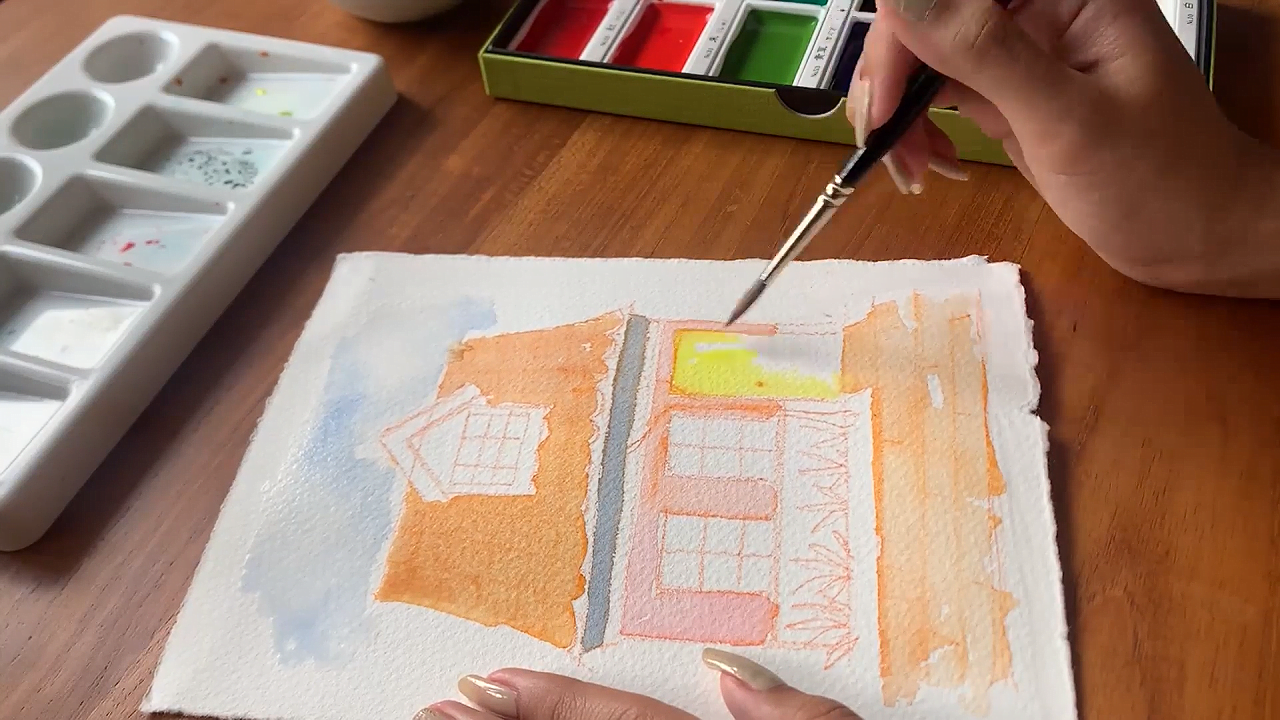
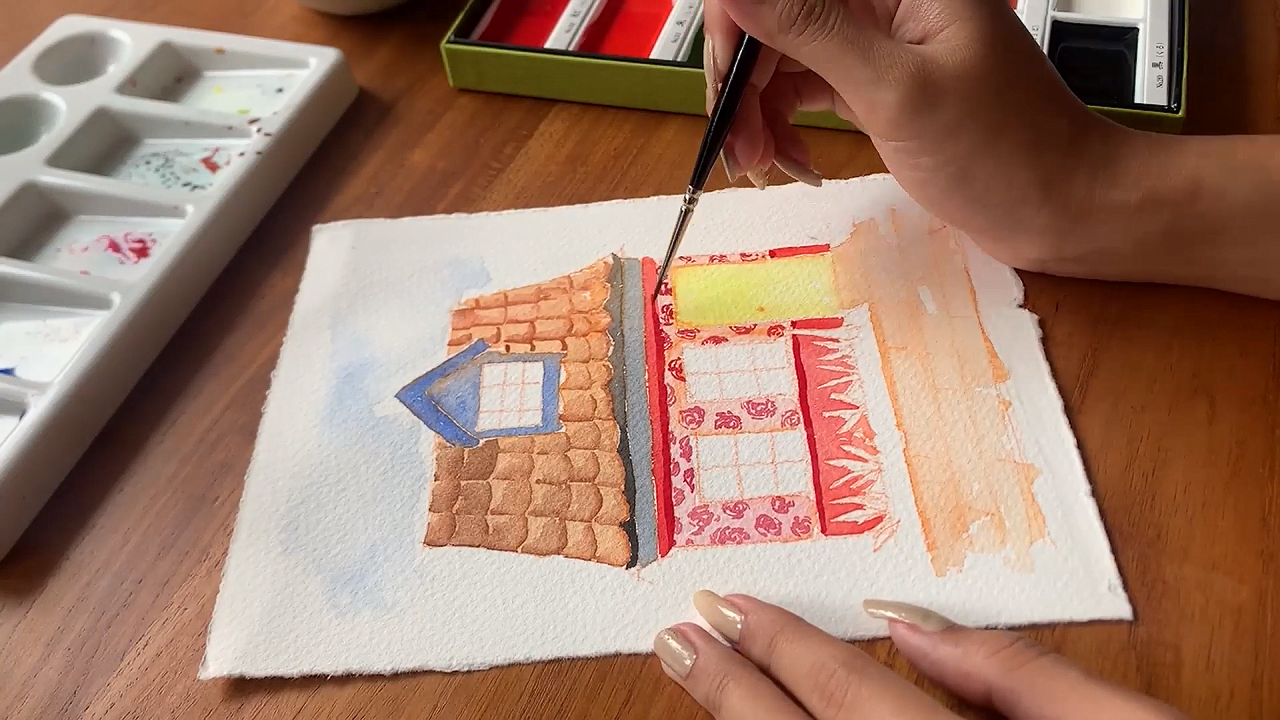
Now, I have added colors to the remaining parts of the house. More specifically, I have painted the door, the lower and upper walls, and the roof dormer here. I strongly recommend using a fine brush since that will allow more control over the strokes.
For the door, I have used yellow paint, and for the wall areas, I have used a bright red shade. I have chosen these colors since they make the house look more vivid. As for the roof dormer, I have painted it with a blue shade, which goes with the brown color of the roof quite well.

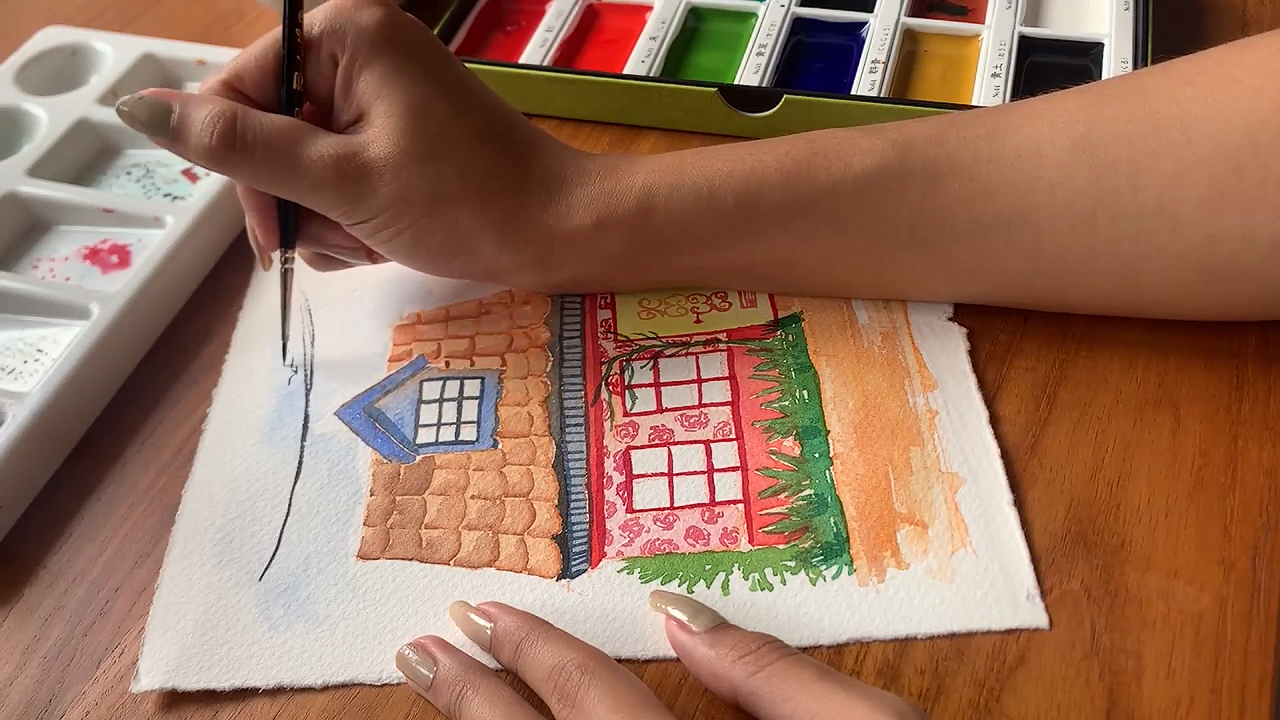
Once the whole house has been painted, it is time to get to the real fun part - the detailing! I prefer to start with the details on the roof, where I paint each roof tile individually for a thicker consistency.
You have to use a very fine brush for this step - finer than the ones you have used before. If you don’t, you will not get the required amount of precision, and that will result in a botched painting.
Use the slightly wet brush to highlight the edges of the roof tile first, and then add shading to it. Make sure to keep the shading a bit lighter (but not too light) to get a realistic, shadowy finish. Repeat the process for each tile present on the roof. After painting the roof tiles, add a black outline near the bottom to distinguish it from the walls.


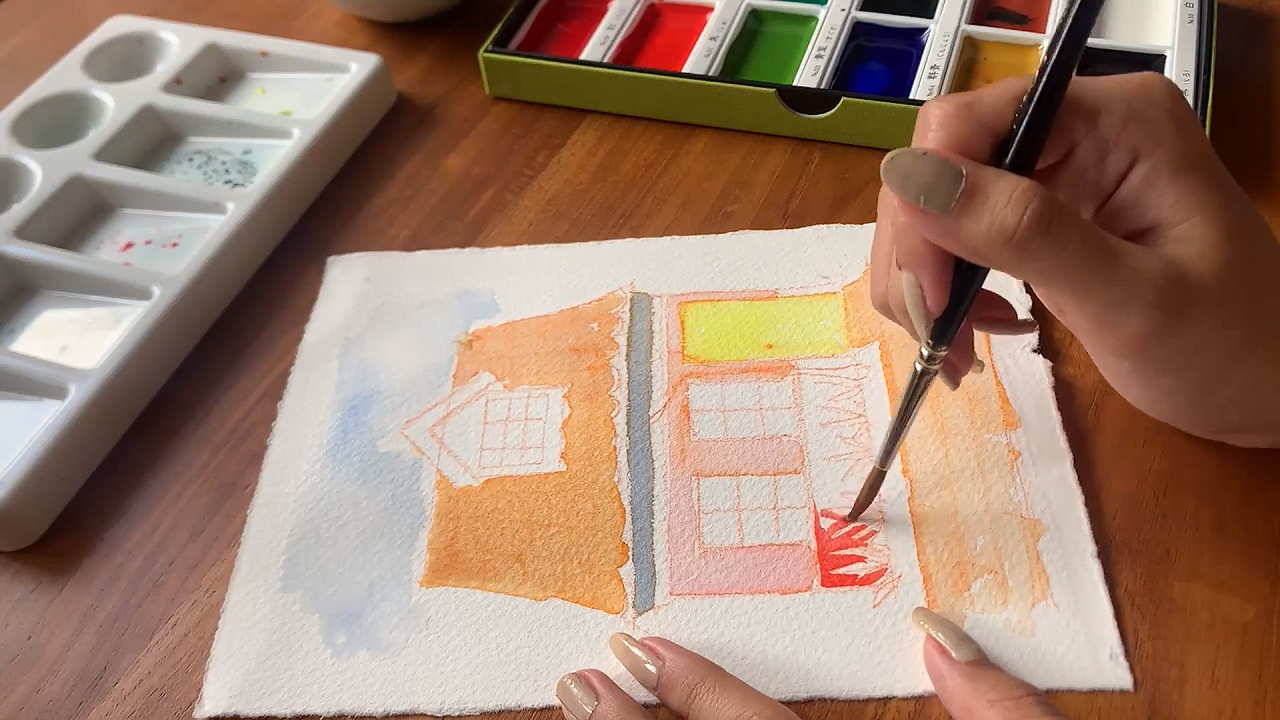
This is, without a doubt, my favorite part of the entire process! In this step, I added a few details like cracks and textures to the wall, and then I moved on to paint a lot of red roses on the wall. Here, you need to make sure that these roses have a similar size throughout, or it will look a bit weird.
Subsequently, add some detailing to the lower and upper walls as well. At this point, the painting looks quite elegant, doesn’t it?
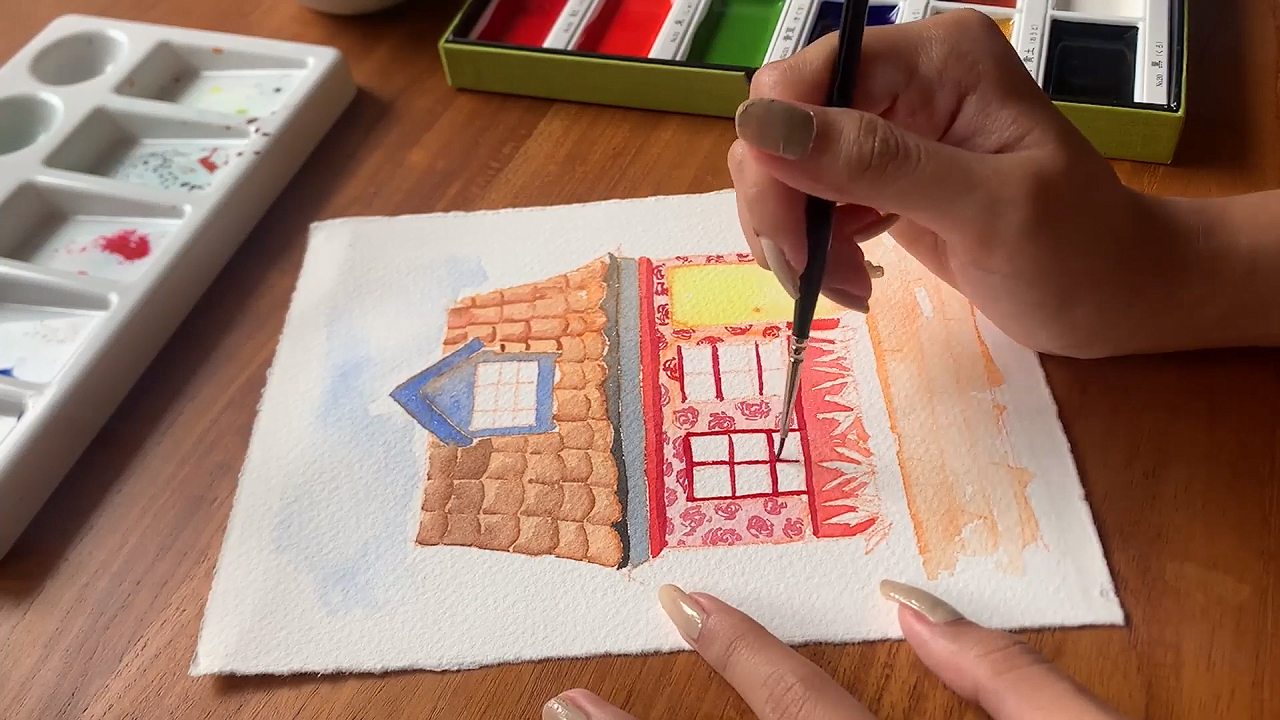
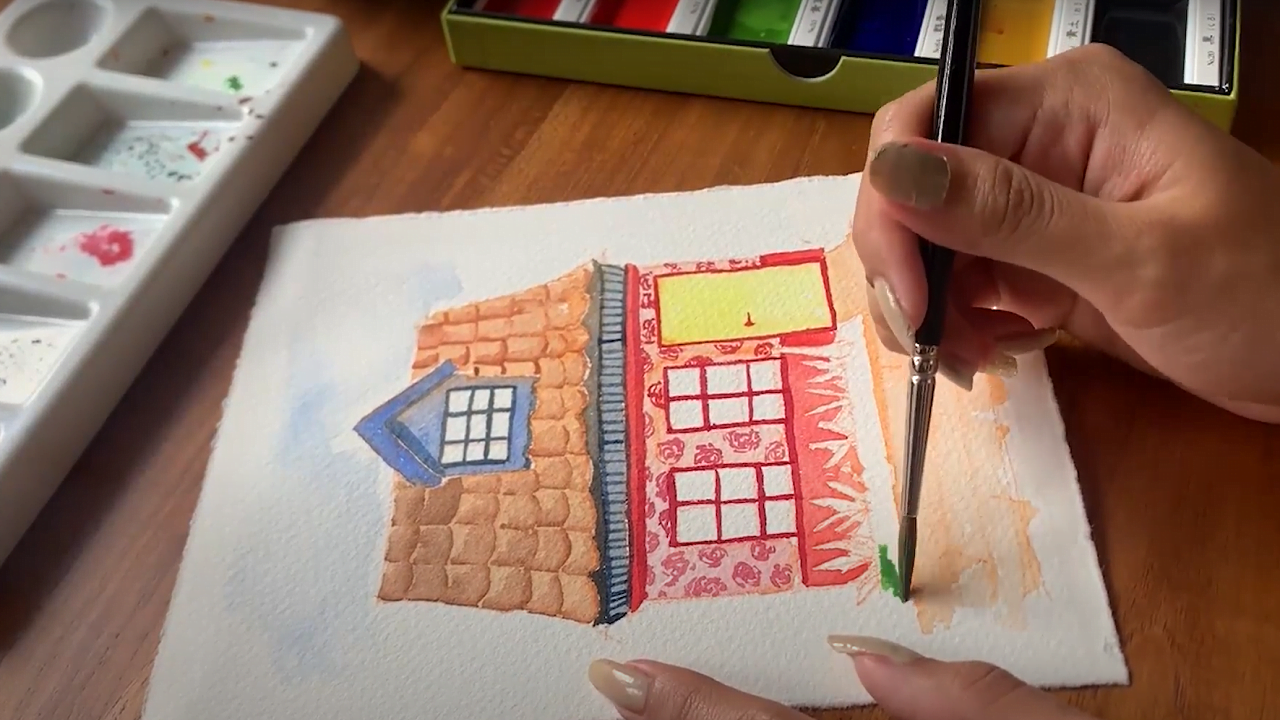
With the wall detailing completed, it is time to add details to the door and window frames. For this purpose, I have used a bright red color since it complements the rest of the wall.
Try to relax and keep a steady hand during this step. After all, you wouldn’t want your house to have bent or crooked windows, right? Also, I recommend using long, single strokes to paint these components seamlessly.
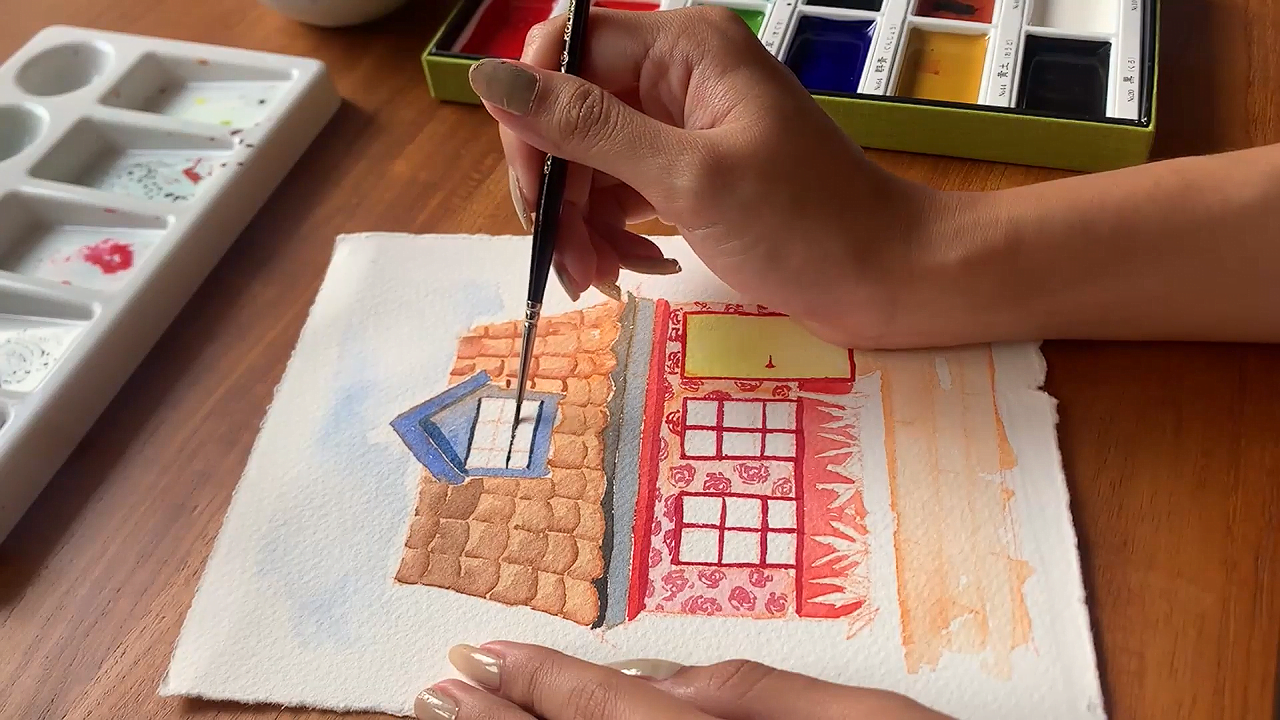
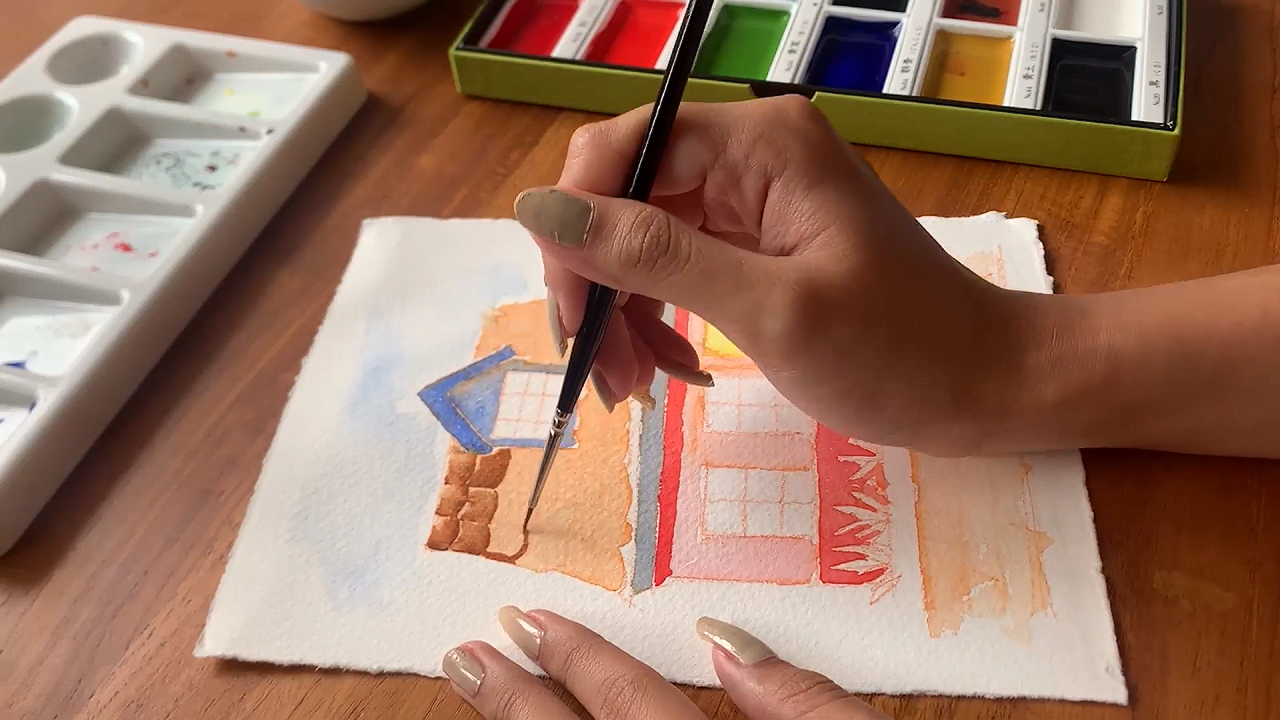
There are two sections that need detailing - the dormer and the bottom area of the roof. In the case of the former, you need to detail the frame and base. You can use the same process as the window frames in the last step to highlight these parts.
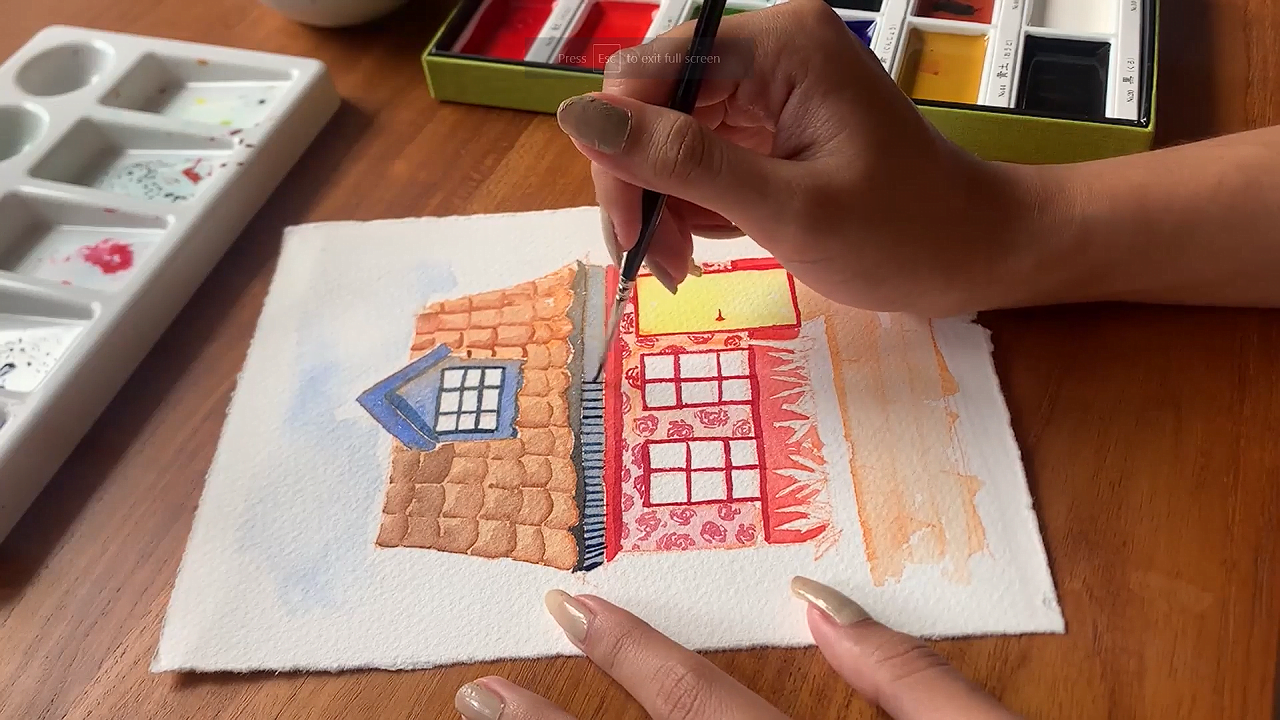
Following that, you need to detail the lower part of the roof. I’m following a simple pattern with vertical lines that run parallel to each other. However, you can follow a different pattern, too, as long as it feels consistent with the rest of the composition.
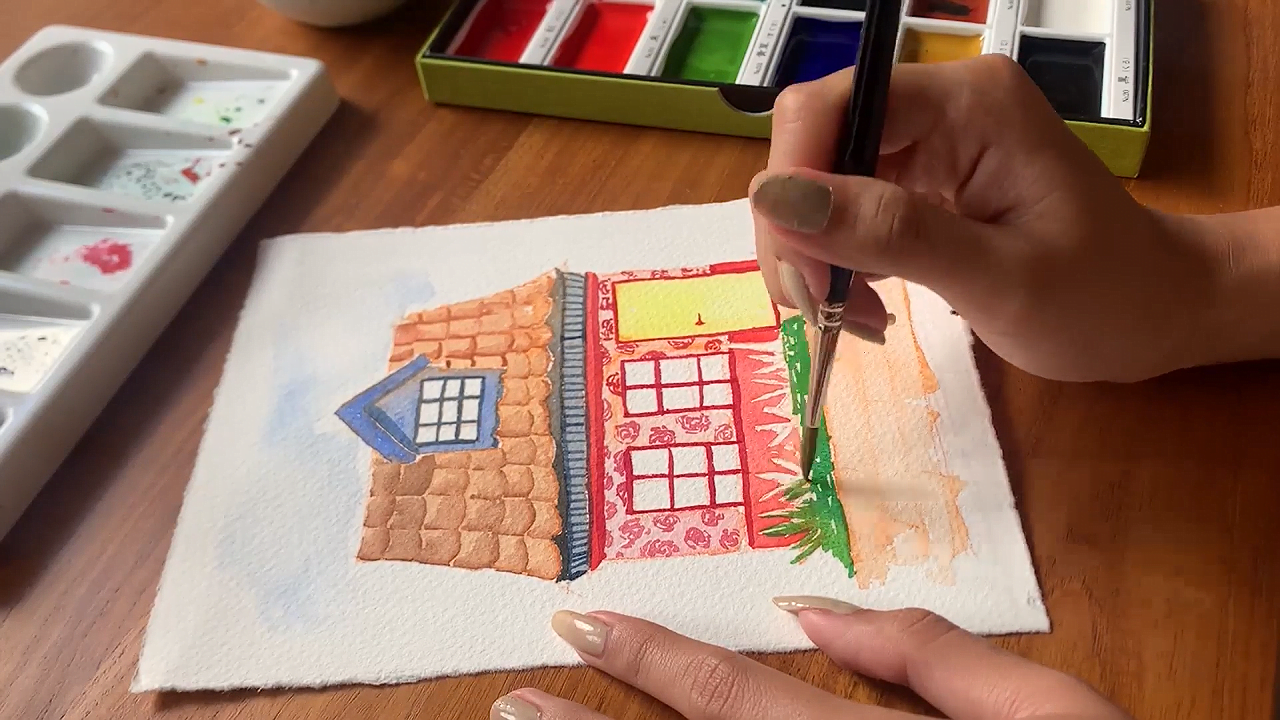
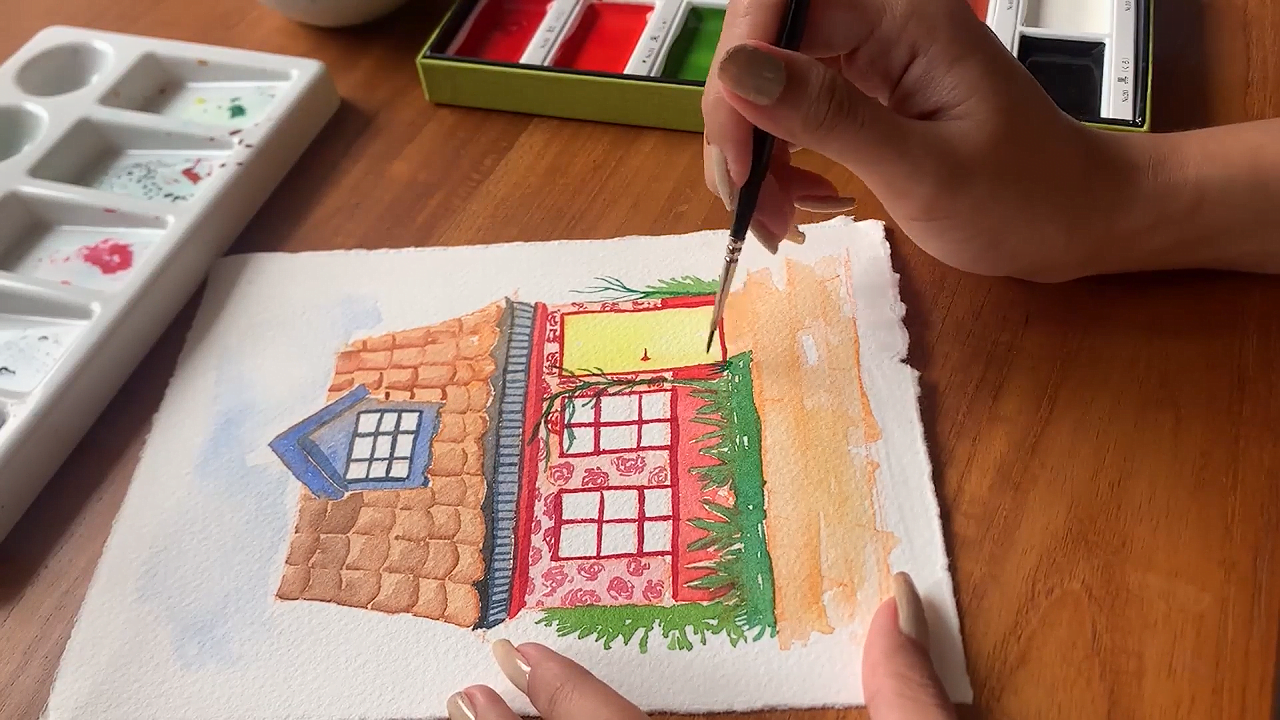
Of course, how can the painting be complete without some plants added to the mix? So, after dipping the brush in a green shade, you can begin coloring the plants around the sides and near the base of the house.
If you want to make it more interesting, you can add a second layer of detail to the plants. After the first layer has set, use a darker shade of green to paint more grasses and shrubs. This will add a unique, three-dimensional effect to your drawing.
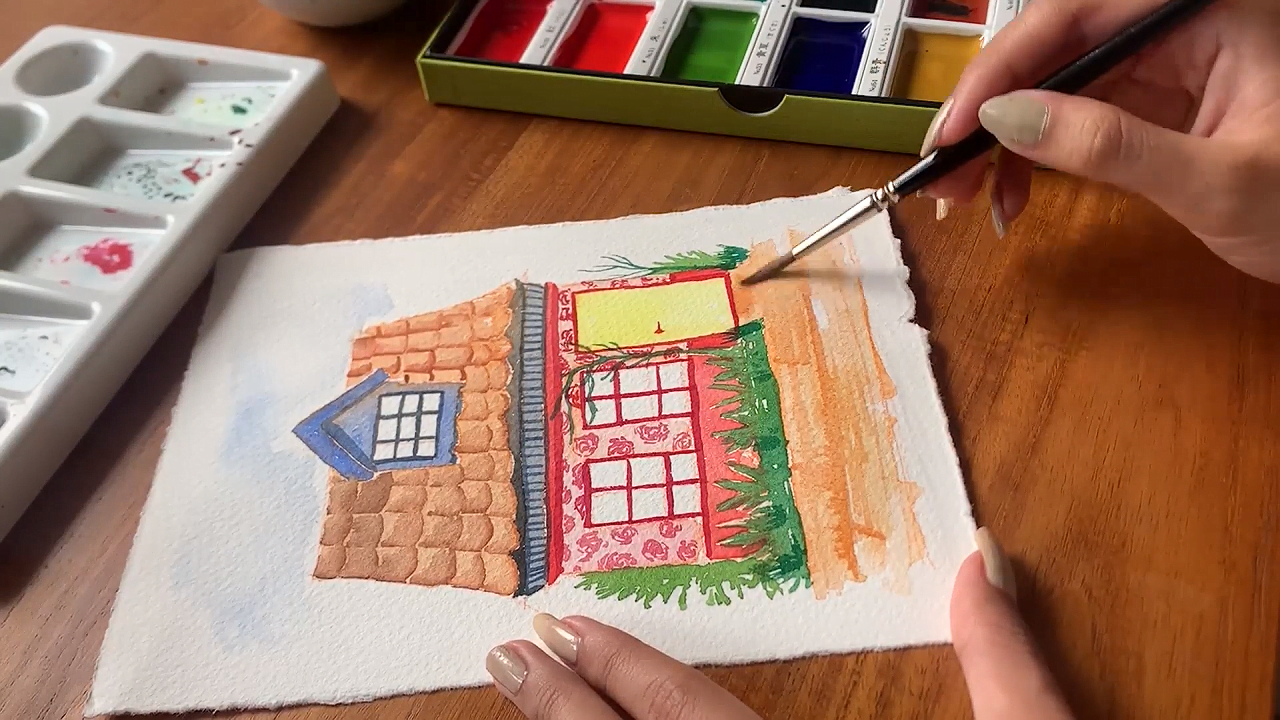
You don’t need to add a lot of detail to the ground area, as it is not the main focus of the painting. Simple highlights and shading will do the trick just fine. I have added a pavement pattern and some extra shading with a brown color. But if you want, you can add some rocks and pebbles or use a different color.
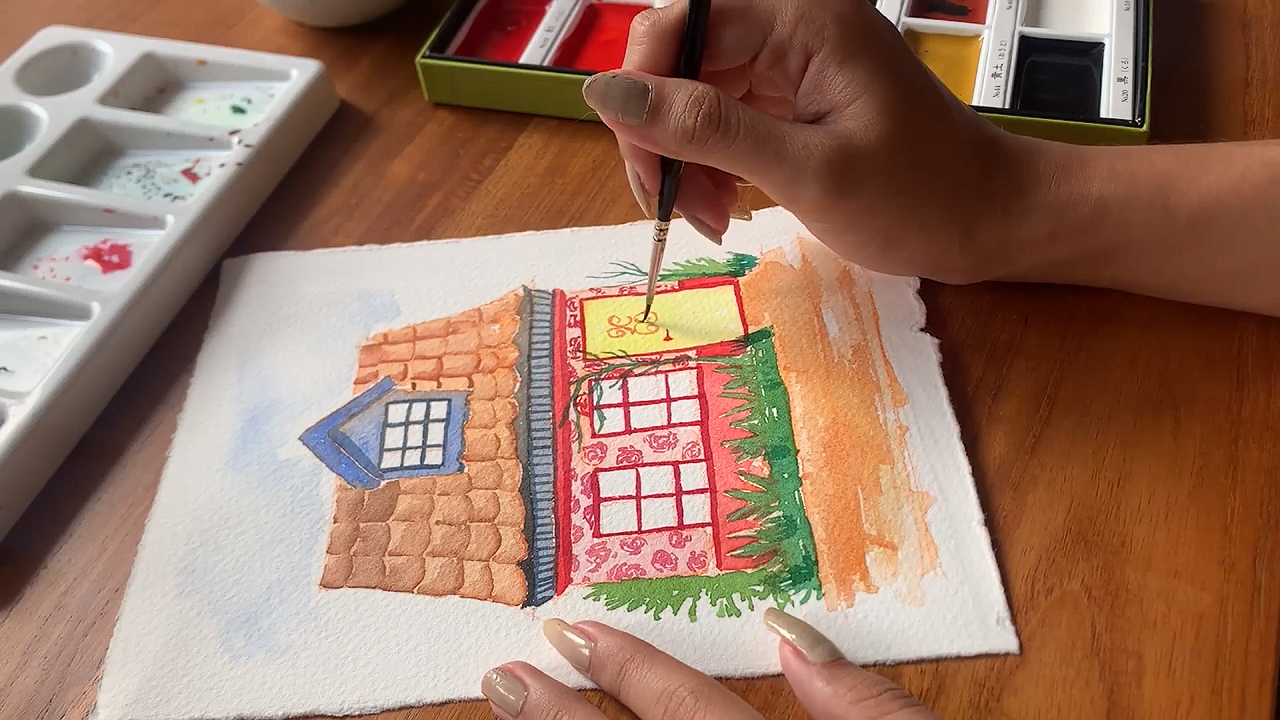
I have made a mirrored spiral pattern on the door, along with a small mail slot near the bottom. You can do the same, or you can opt for any other pattern that comes to your mind. Try to maintain the scale of the patterns so that they feel natural and realistic. If you use large patterns, they may look out of place on the door.
Now that I am almost near the end, it is time for the finishing touches. Here you can add some highlights to the ground and the sky and touch up any other part as necessary. Then you need to let the painting rest for a while so that the colors can dry.
And with that, your art piece is finally complete. You can finally hang it up on your gallery wall!
To be honest, I had a lot of fun working on this art project. And after going through this guide, I hope that you will feel the same.
That said, you will naturally make mistakes at first but do not be disheartened by that. Just keep on practicing and experimenting with different types of houses and colors. Soon enough, you will be able to create such art pieces like a pro!
Don’t want to paint houses? Then no worries, for you can move on to another art project at any time. There are a lot more art posts like this one coming up, which means that you won’t run out of ideas anytime soon, the watercolor lake tutorial and watercolor galaxy tutorial are two of my favorites but there are far more!
Anyways, that’s a wrap for today. See you around, folks!