Expertises: Art, Pastel, Brush, Drawing, Pencil
Updated on

Inspiring Ideas for Modern Home
The shores of a lake are often the location of contemplation, and in the silence of the lake is where ideas are born.

Surrounding a lake is a biome that represents nature in harmony. Life flocks towards the oasis-like nature of such a water body, flourishing in its presence and enriching the landscape. More often than not, all seems well in the world when you’re near a lake.
Hey everyone. Today, I’ll be showing you how you can paint a lake using watercolor in 13 easy steps.
Painting a lake is very straightforward, and you can learn a lot about watercolor as a medium if you follow along. So, feel free to join me as I go through the process!
The first thing to do before we begin painting is to gather the supplies needed. If you don’t have the exact supplies I used, you needn’t worry. A slightly thicker or thinner brush or a different shade of paint won’t make that much of a difference. That is, so long as you follow the process correctly.
I used the following supplies to paint the lake in watercolor:
Paint: Sennelier Watercolor Paint La Petite Aquarelle Set 12 Half Pans | Paper: Saunders Waterford Watercolor Paper - White, 300gsm | Brush: Princeton Aqua Elite Professional 4 Pieces Set 4852
The landscape around a lake has plenty of color variations, so you have plenty of room to experiment with. I used shades of dark brown, blue, and green to bring this painting to life. You can add or subtract the number of colors used in the painting as you like, any watercolor paint set will do, you do you!
If you’ve ever observed a lakeside scene, you may have noticed that there are plenty of elements surrounding the waterbody. This may include grass, small plants and shrubbery, trees, distant mountains, the sky, and more, try to envision only parts of them on your watercolor paper, we are going to go with an easy, loose, calming, and relaxing ambiance.
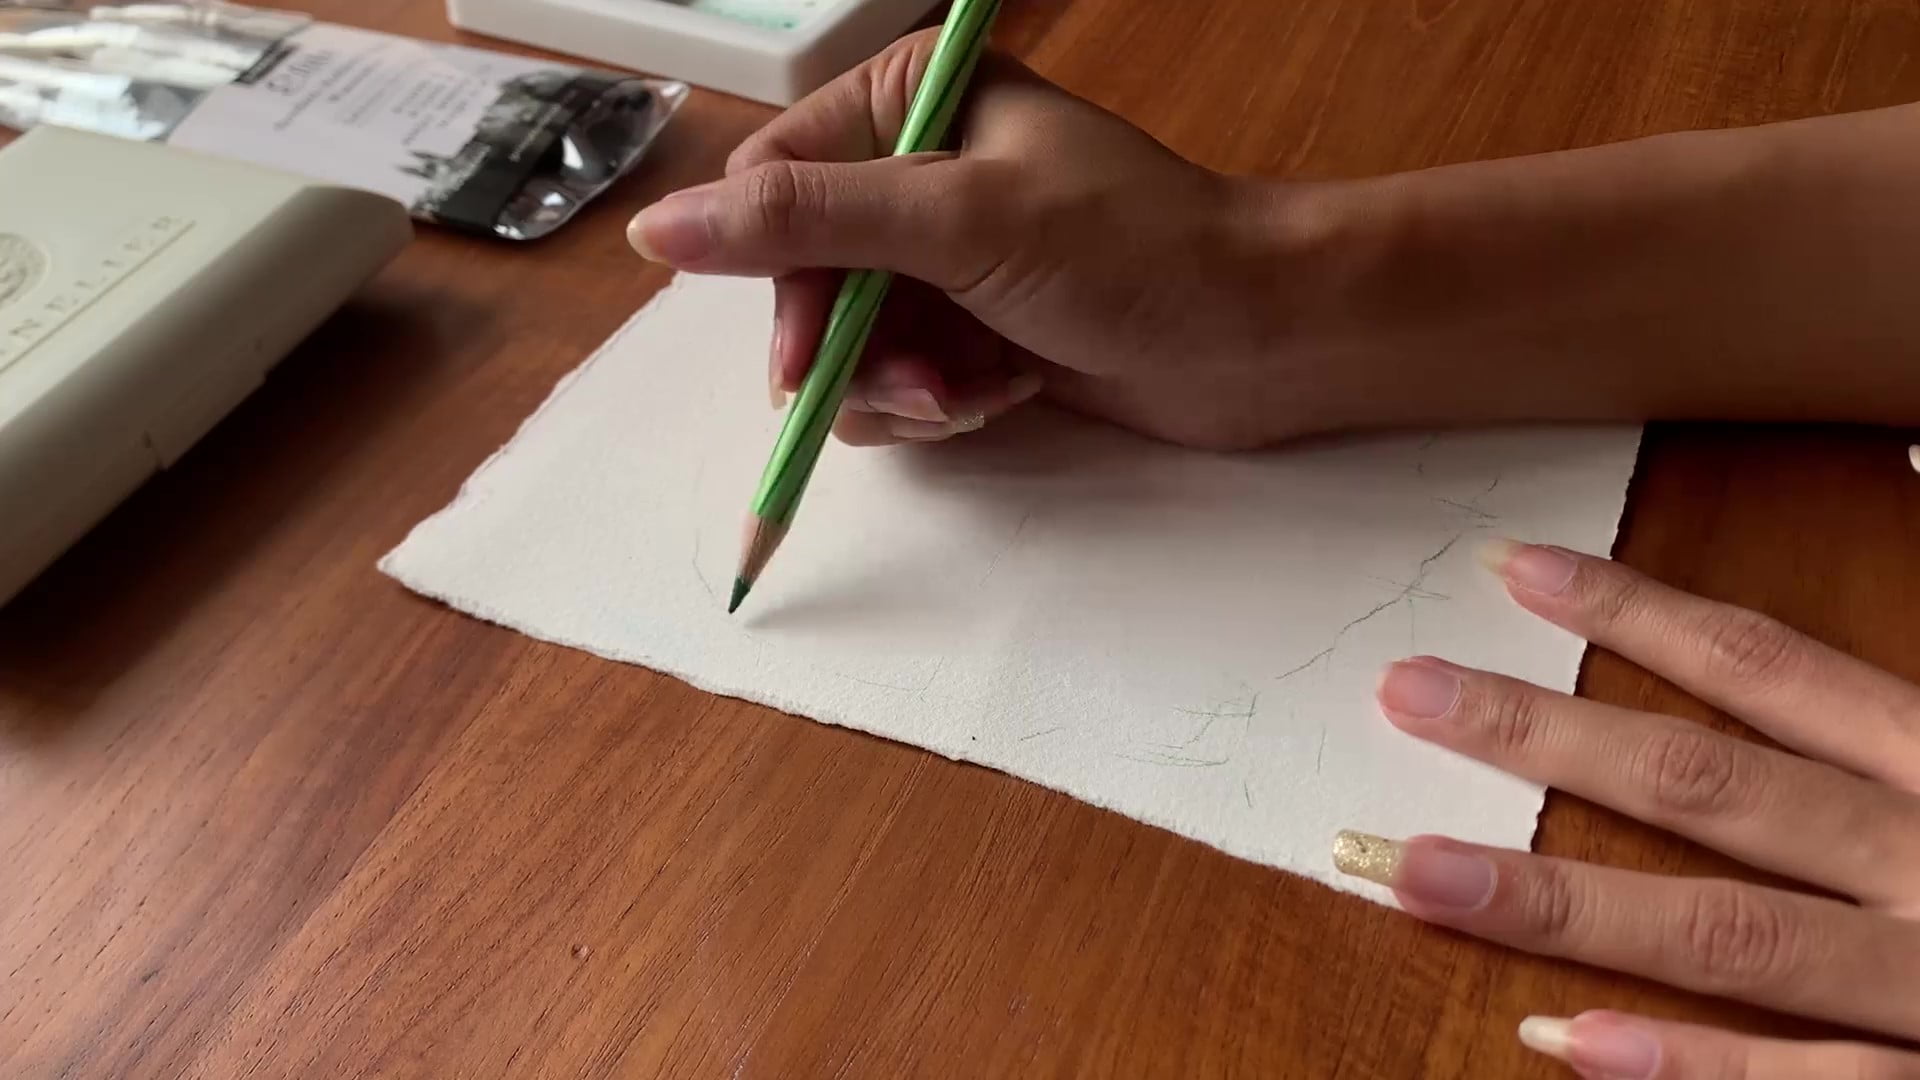
Painting all of these complex elements without planning can be quite challenging, which is why it’s better to make a rough outline first. That way, when you put the paint down, you will have a better grasp of both the scene and the colors needed.
Using a light pencil, create a sketch of your lakeside landscape. Add all the elements from the get-go, and finalize the composition.
Here’s a useful tip that I often use: once you’ve finished sketching, take a step back and observe the composition carefully. What this does is it helps you gauge if something about the sketch looks off, allowing you to fix those mistakes. You should do this before you begin painting, as once you start, there’s no going back.
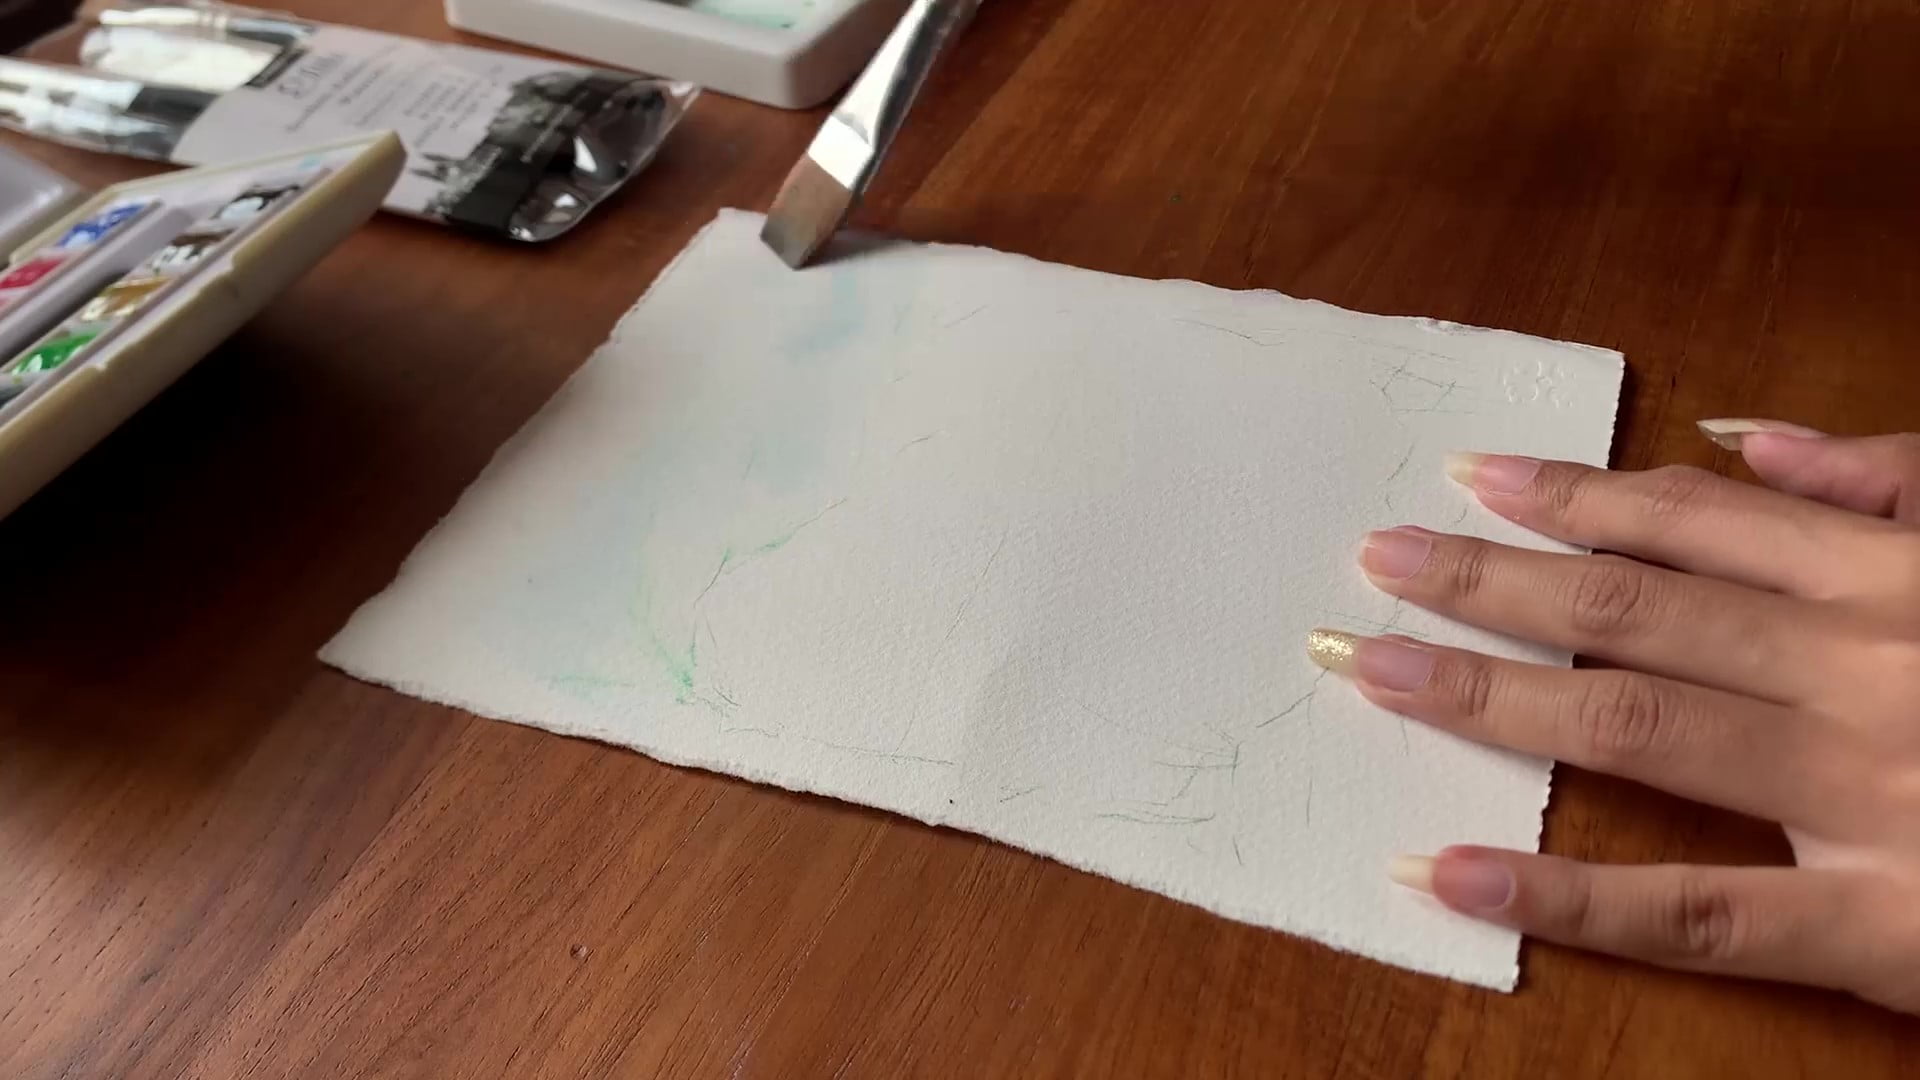
The sky is likely part of your painting that will not see many additions once you’ve painted it once. It’s better to get it out of the way first and move on to the more complex parts of the painting.
I’m using a large flat brush to paint the sky. For this, I used a heavily diluted blue color to give it that natural light blue tinge. Depending on the time of your scene, you can switch this to a darker blue for the night or an orange for dusk or dawn.
There are plenty of ways to give your painting some visually-appealing variation.
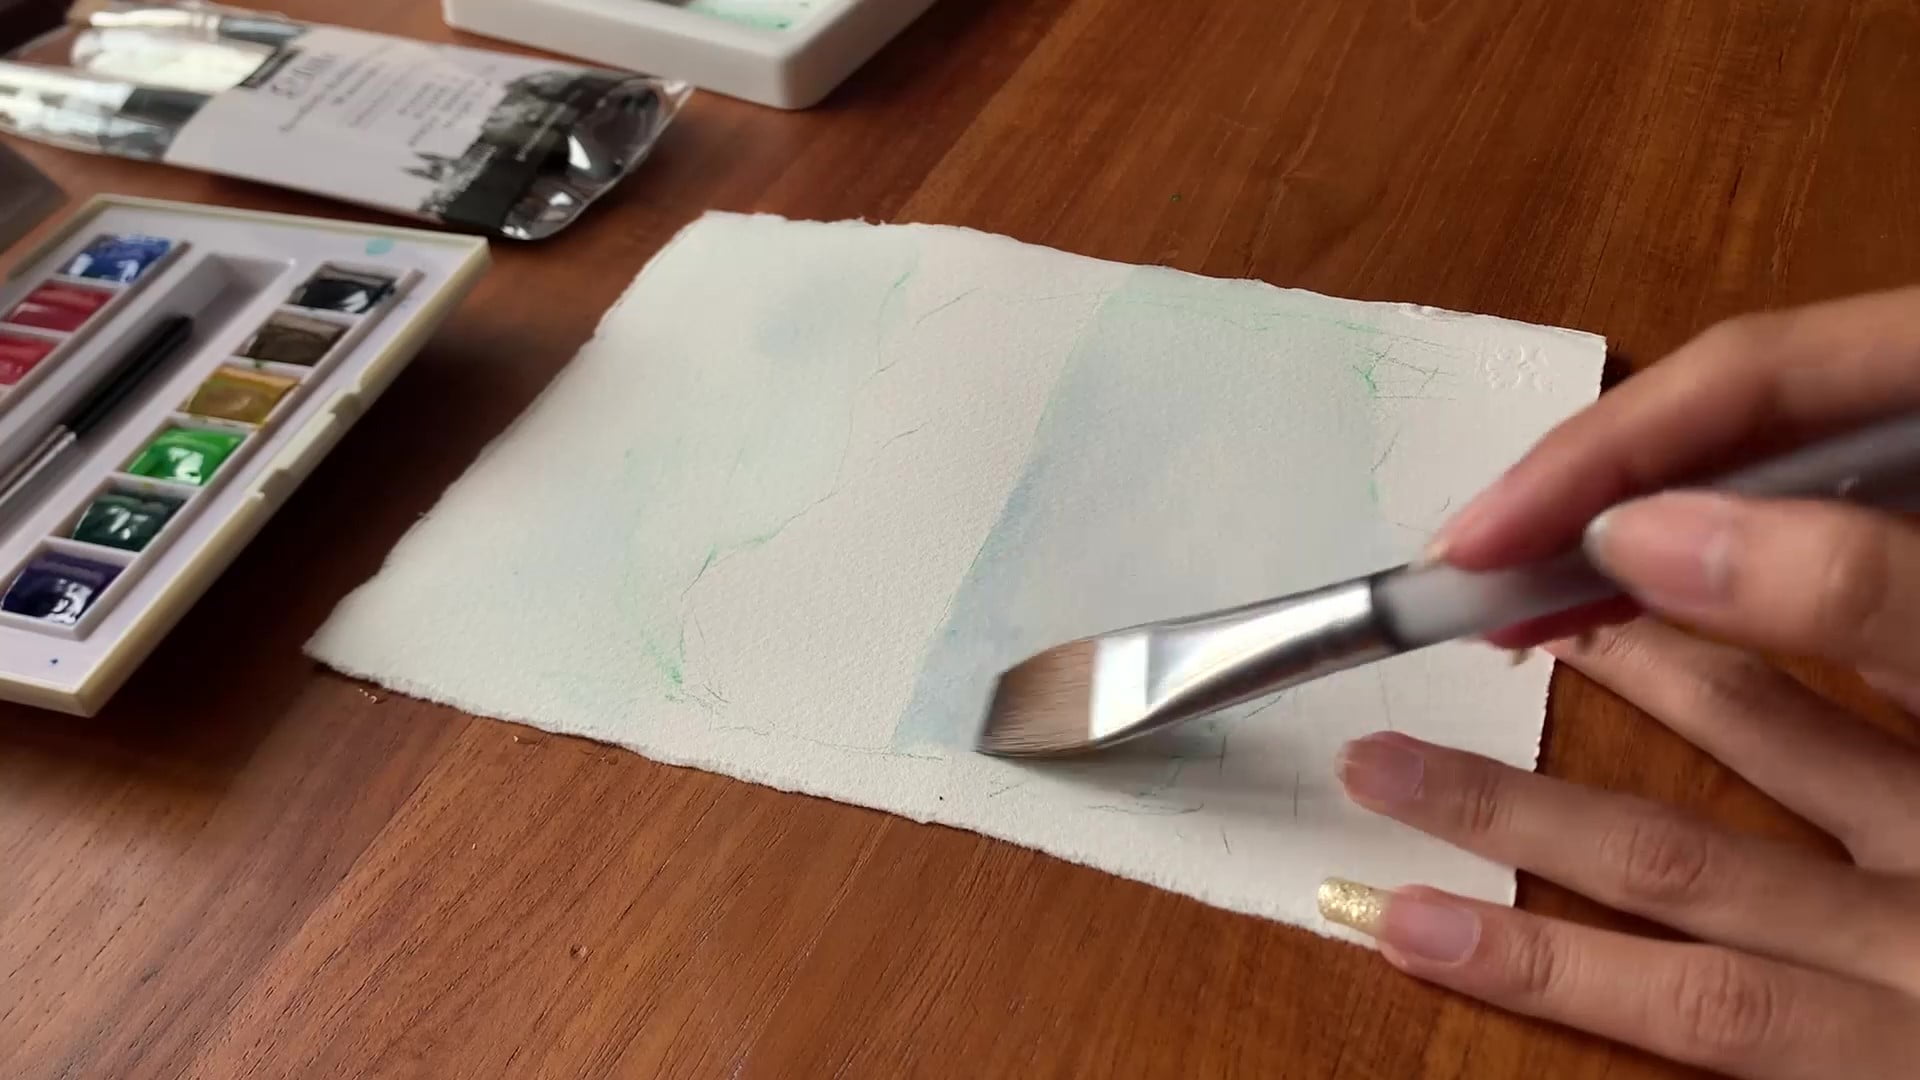
Next comes the lake itself, which I’m painting using the same flat brush. Now, when painting the lake, it’s better to start with a lighter color and darken it progressively as you continue. By doing so, your color will gradually reach the hue you desire, which is better than the risk of going a few shades too dark.
This is only the first layer of the lake, which may make it seem a little flat and shallow. Later on, once the first layer has dried, we will add another layer of paint over it along with a few details.
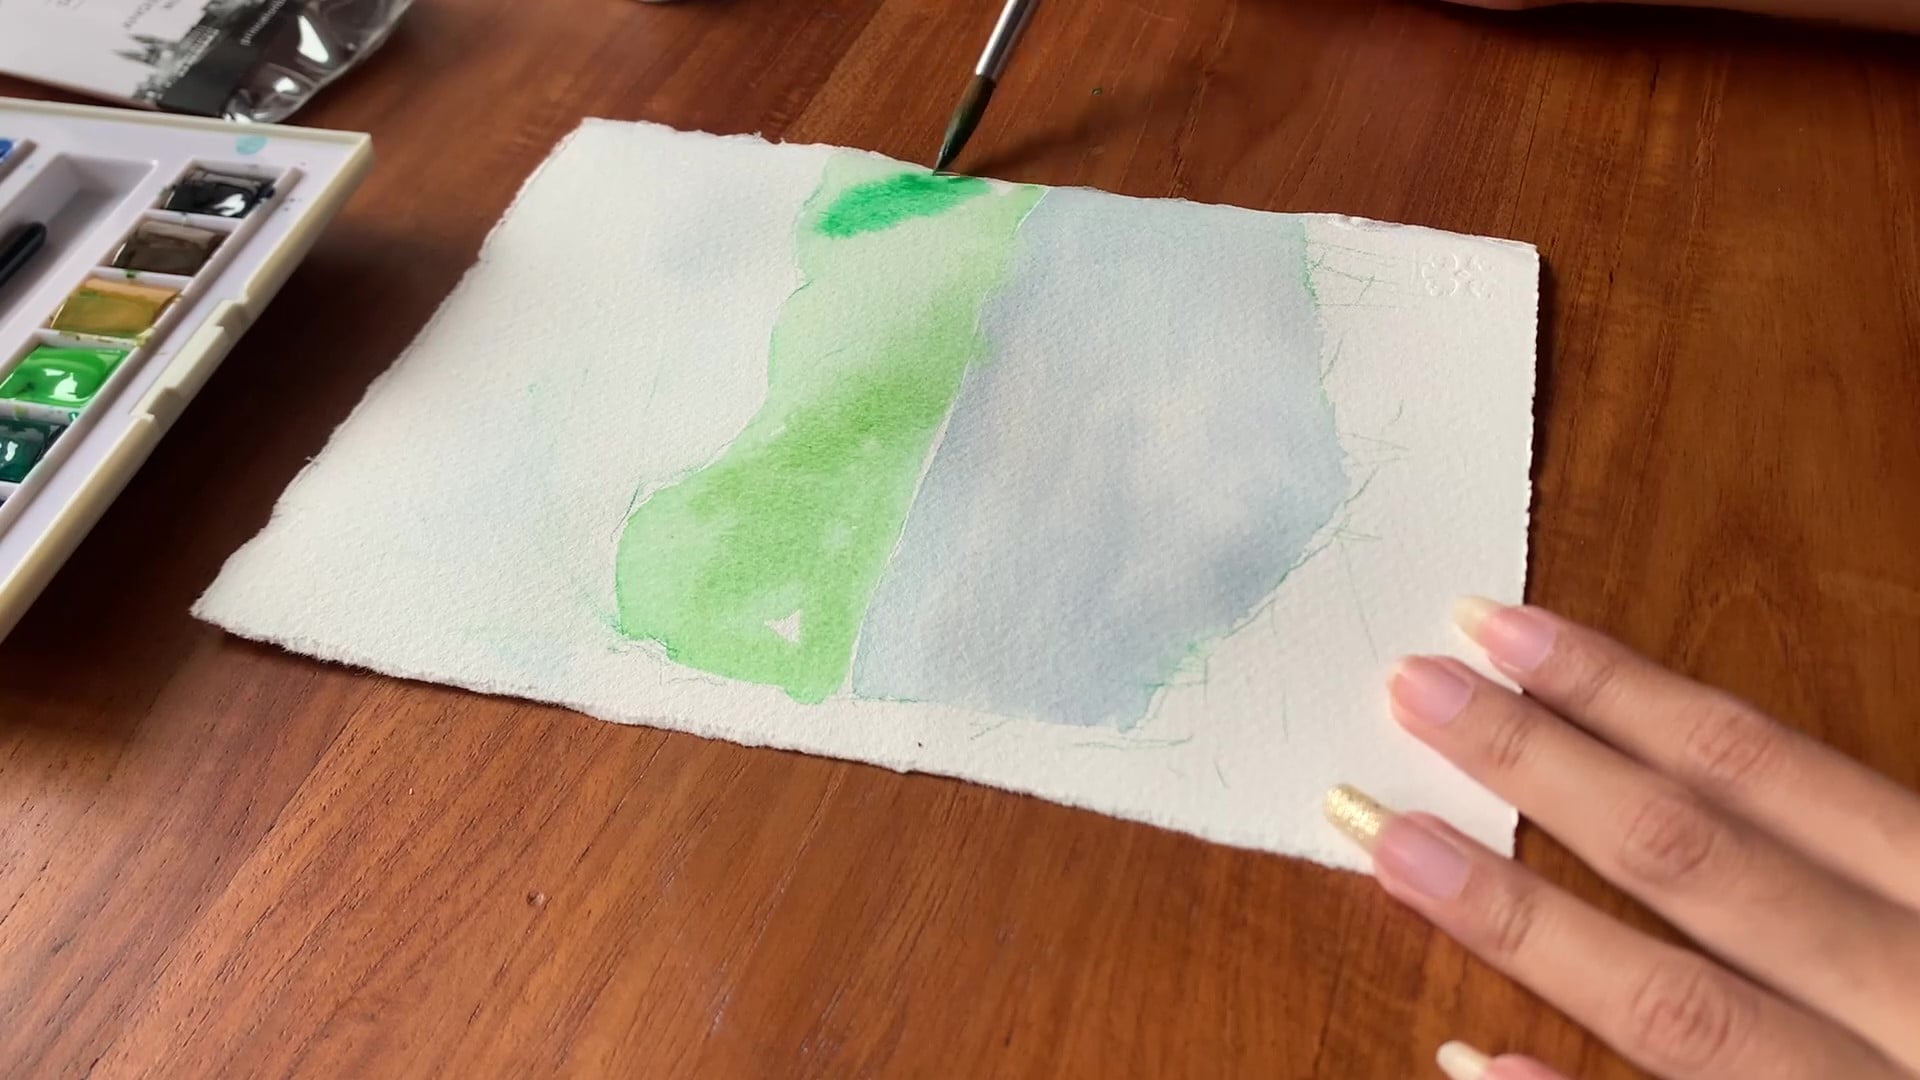
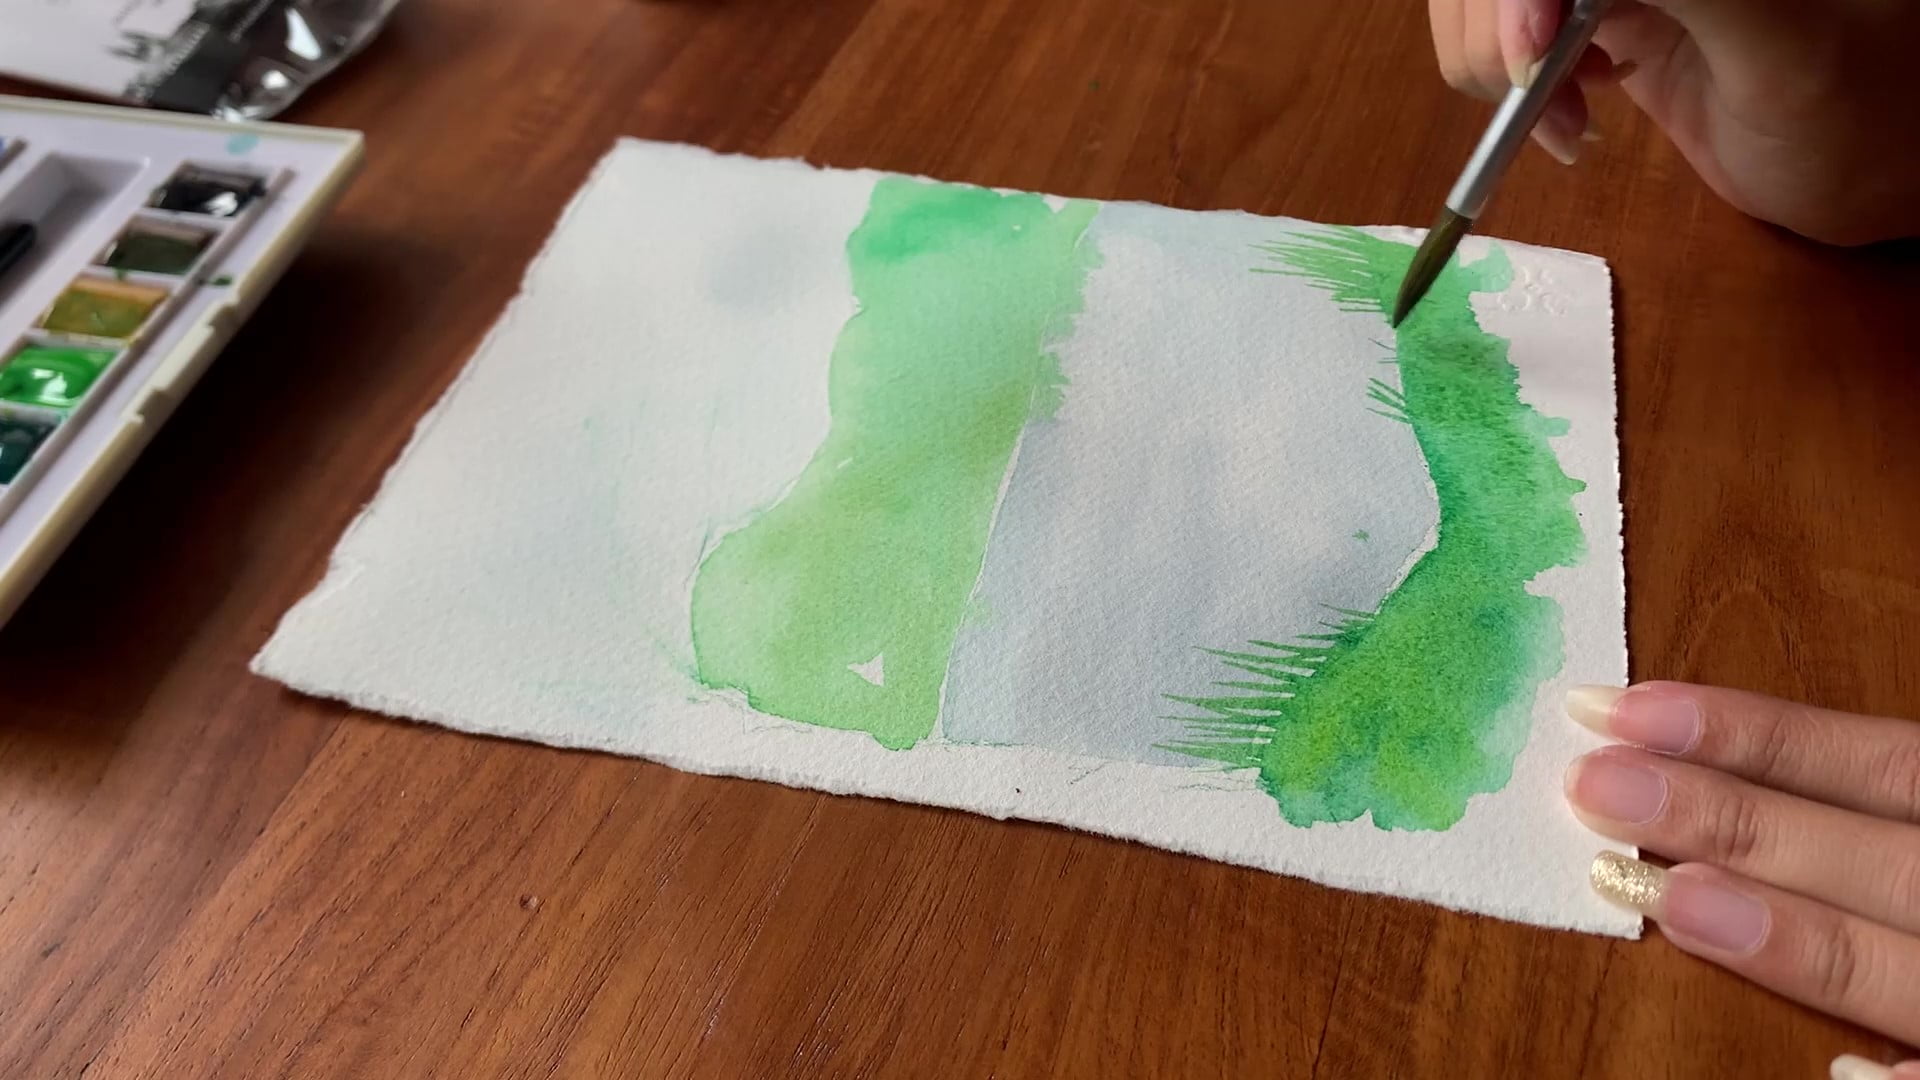
Now, let’s start painting the hills with a round brush. You can use either brown or a lighter shade of green to paint them. I’ve opted for the latter, as it helps create the illusion of a forest.
The process of painting the hills is similar to that of the lake: start light and then add darker shades to it. Where it does differ is the manner in which we add the darker highlights to build depth in the painting.
The foreground is where most of the details of the painting shine, which is why you should also be careful while painting it. Mistakes here will be noticeable immediately, so I would advise taking it slow.
Much like the other elements, start with a lighter green and work your way toward the darker hues. Note that since the land here is much closer to the viewer, it will be more saturated than the foreground. Mix some color into your brush and begin painting.
And while you make the color darker, you may want to leave some spots a little lighter as well. Color variation can help you depict the idea of differently-sized foliage much more, after all.
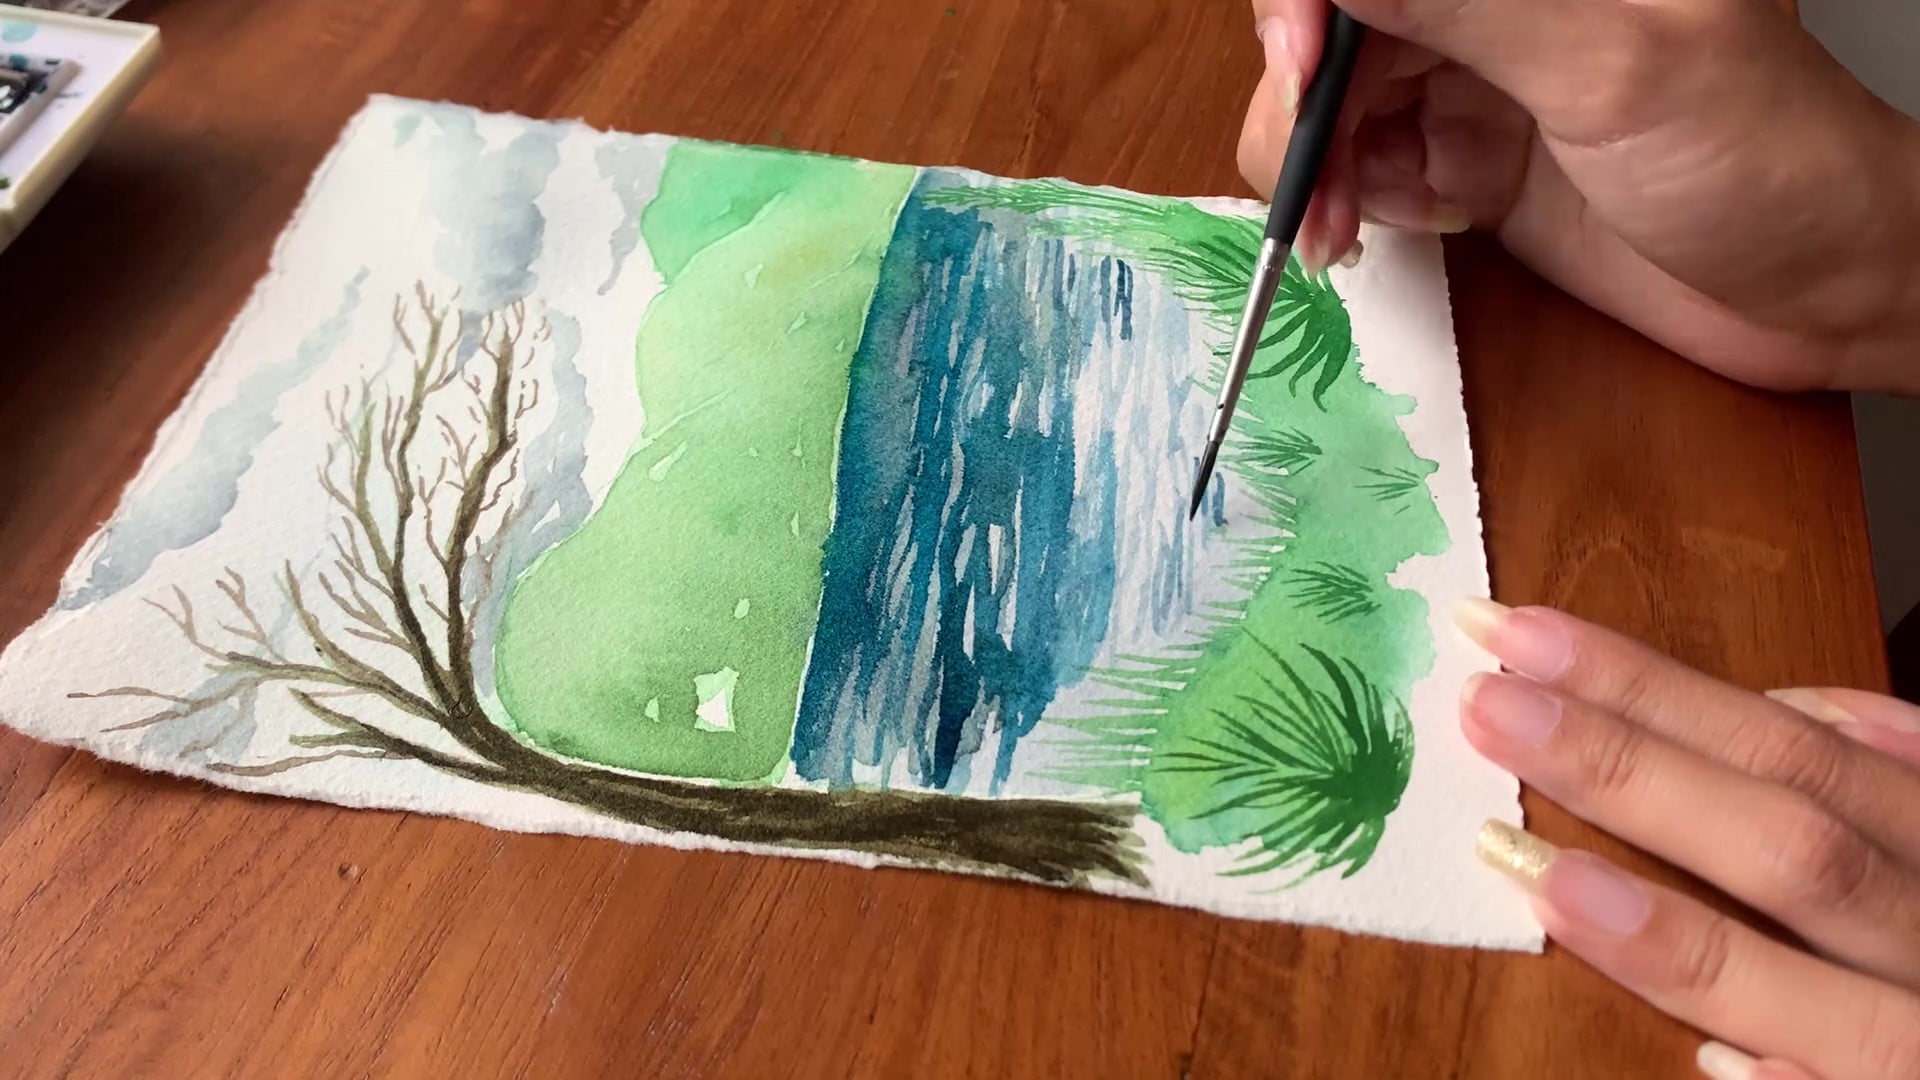
Lastly, if the paint on the lake has dried, you can use a few quick and precise strokes to create long grass, as shown here. Leaf blades have visually sharp edges, so you will want to remove some water from the brush before painting them.
Try to paint them in a single stroke, as the more you paint over them, the more you risk making them look splotchy.
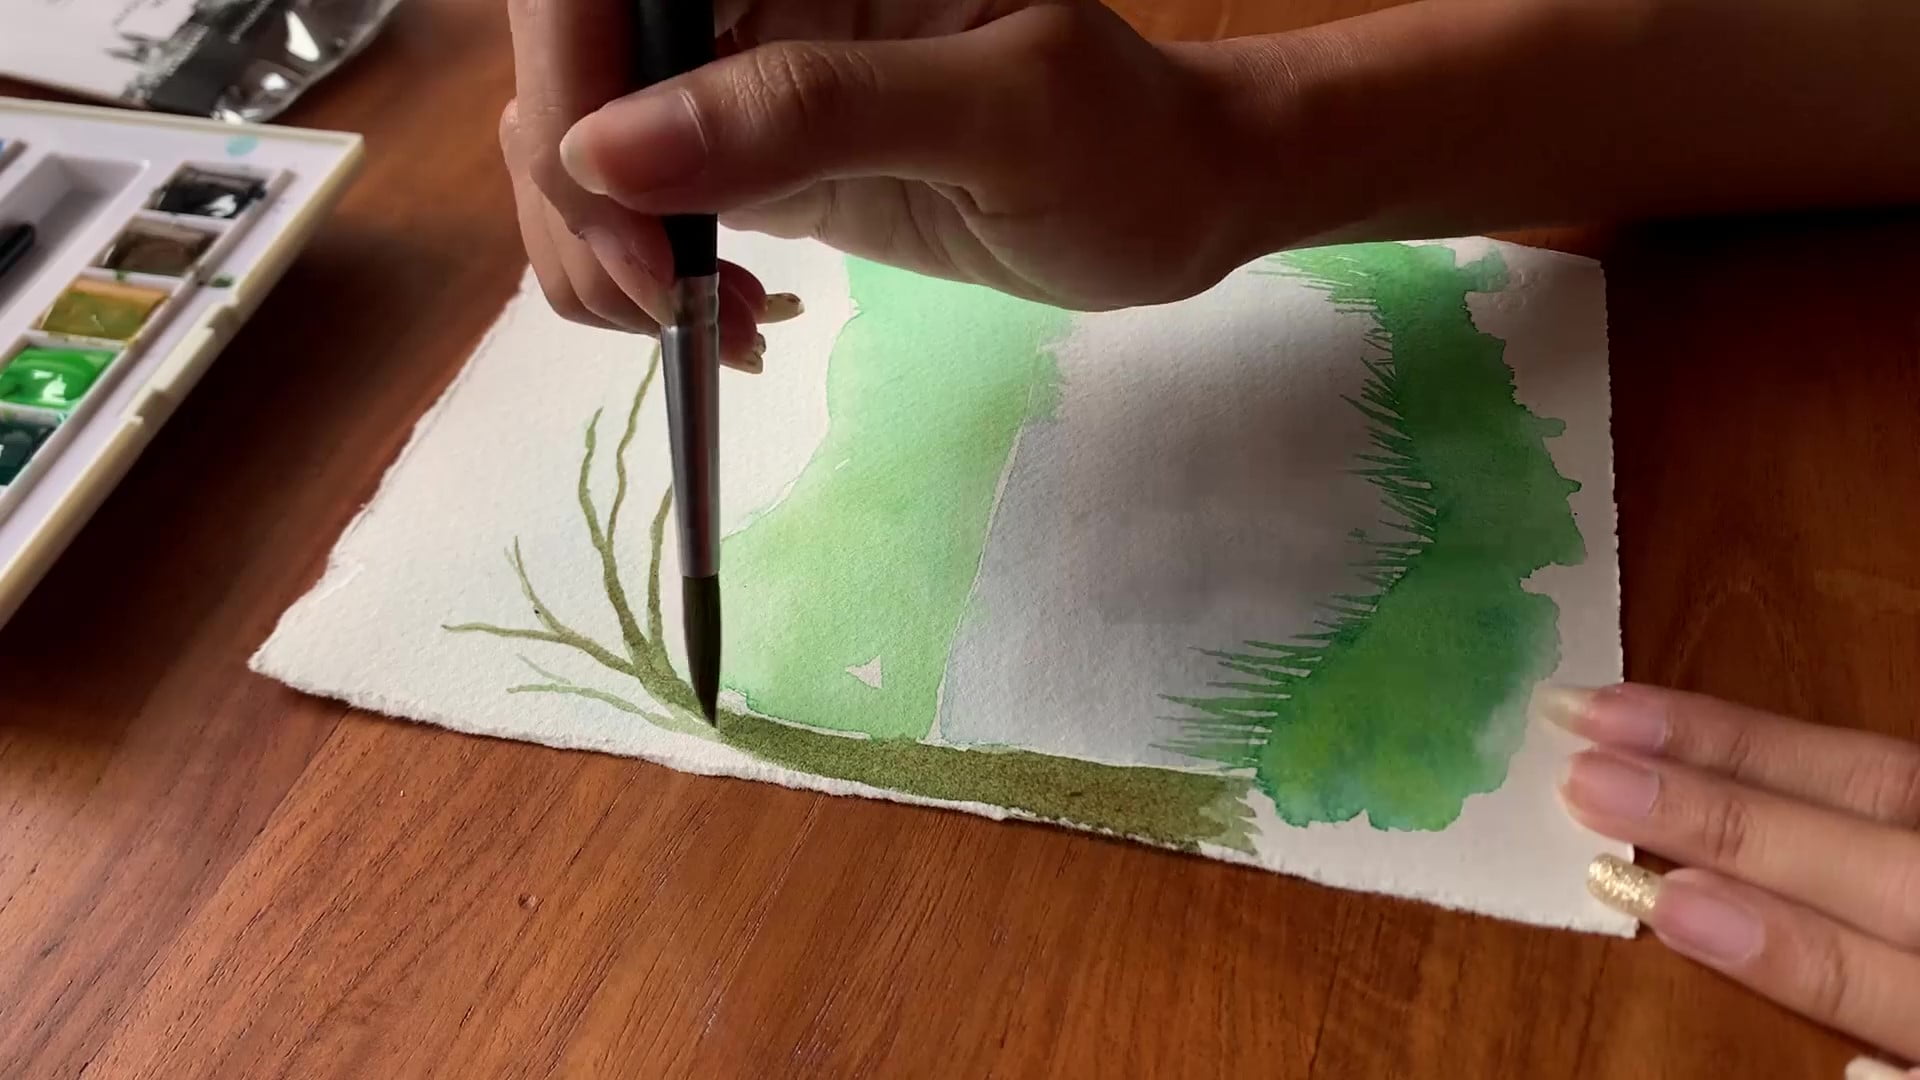
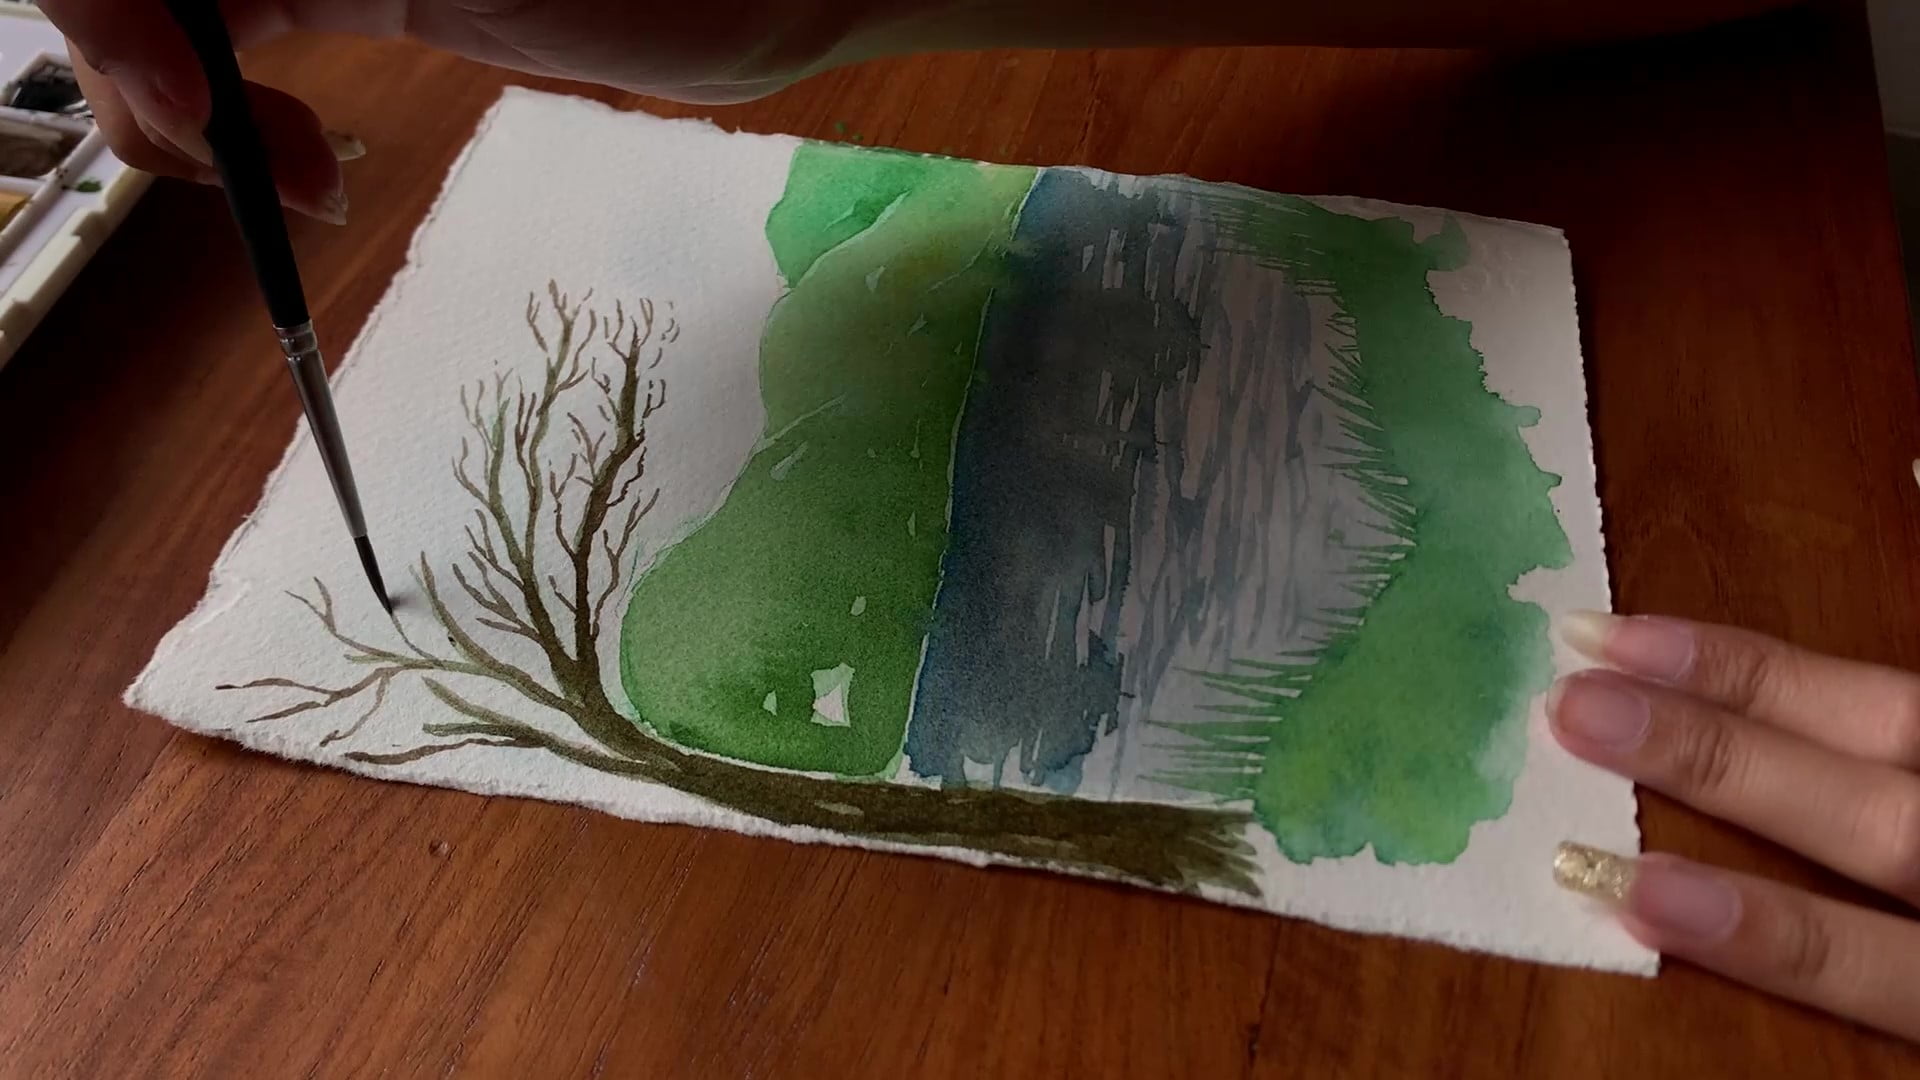
For the tree, use shades of brown to give it that recognizable bark-like look. I’m only wetting the brush a little for this, as the edges of the tree and branches are quite sharp.
Let’s move on to other steps while the paint dries. Creating a tree bark is much easier when you use darker paint on a dry surface.
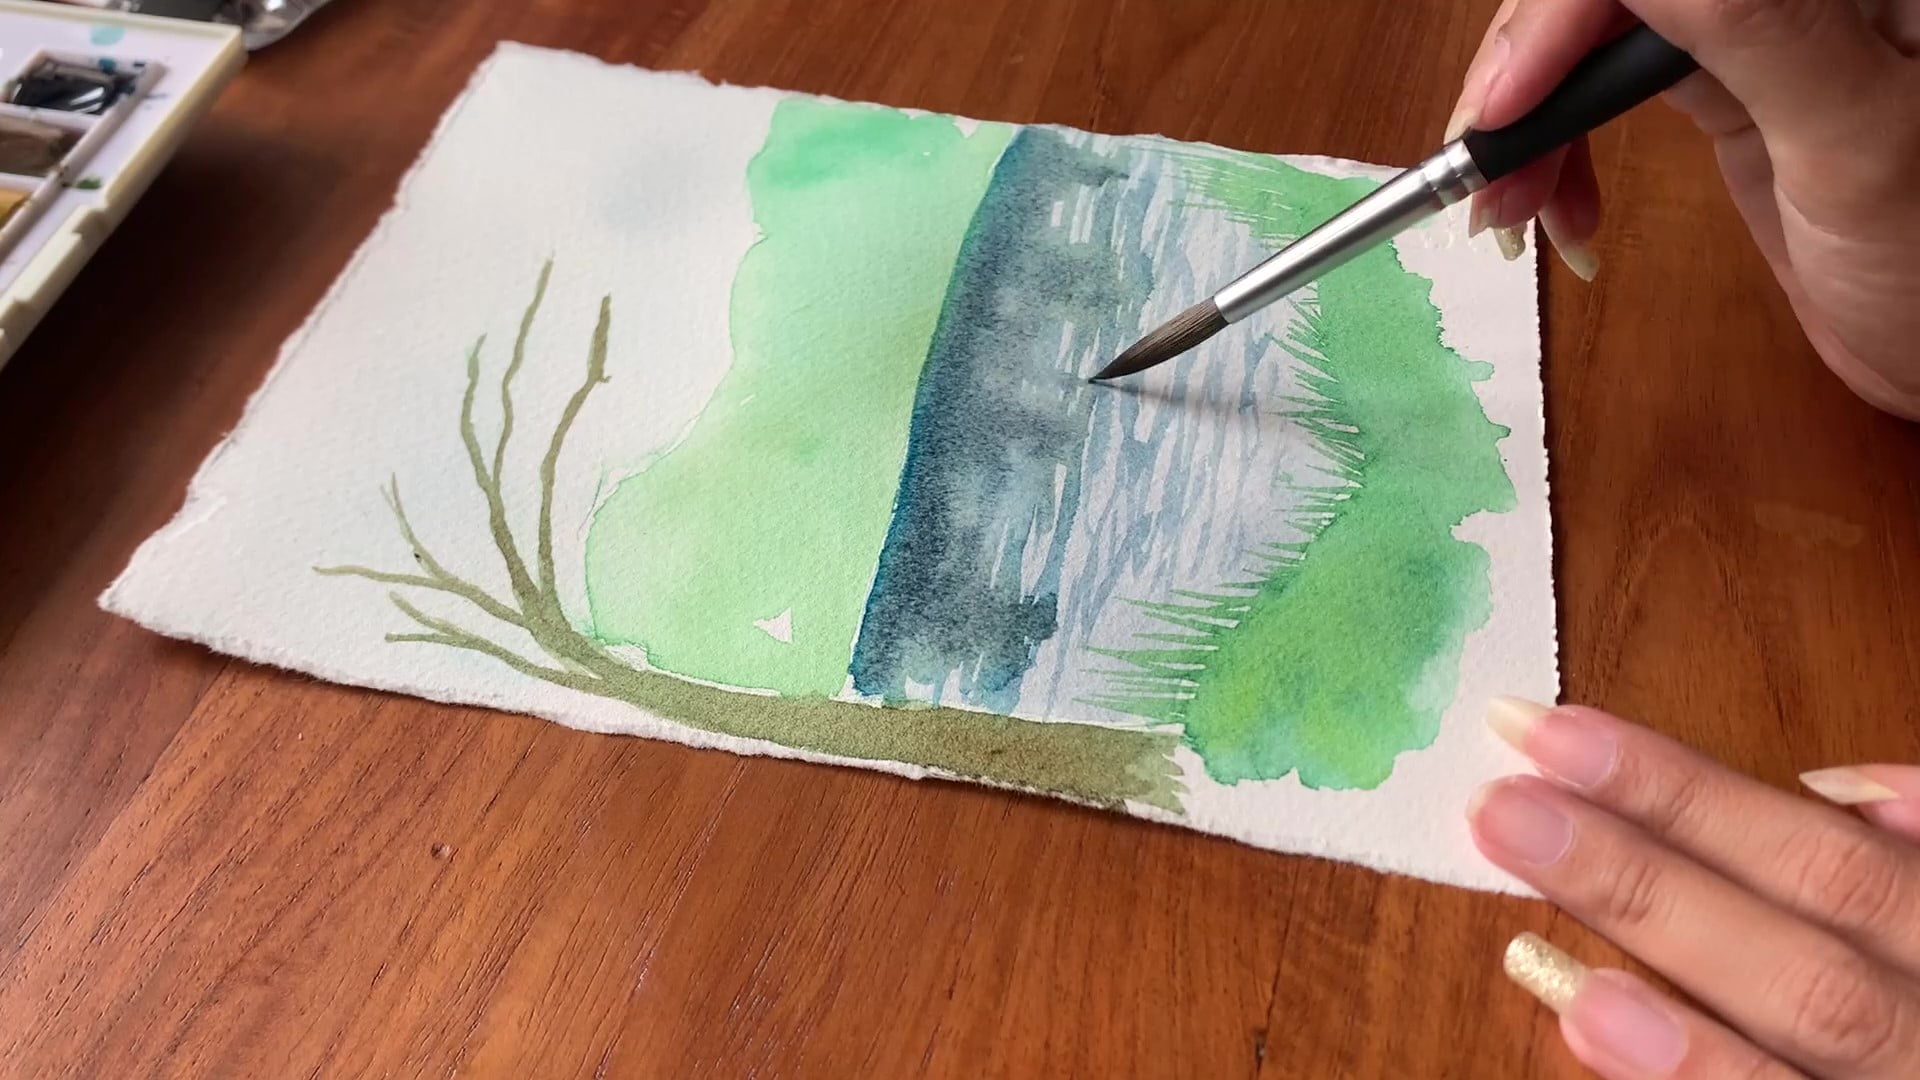
Let’s add another layer of paint to our lake, which looks very desaturated and dull at the moment. I used a round brush for this, but you can use a smaller brush if you feel uncomfortable painting small details with it.
With the brush of your choice, begin painting the lake a dark blue. The sky reflects off its surface, so the part of the lake closest to the viewer will be the lightest. Of course, as you move along its surface, the water will appear darker. To put it simply, the topmost part of the lake will be dark blue, while the bottom part will be light blue.
Be sure to leave a few bright short stripes in the lake to replicate a ripple effect as you paint. I’ve also created a few slightly dark spots near the bottom of the lake for a similar effect. Since nature is scarcely uniform, make sure they aren’t placed similarly or have similar shapes. This will keep the painting from looking sterile.
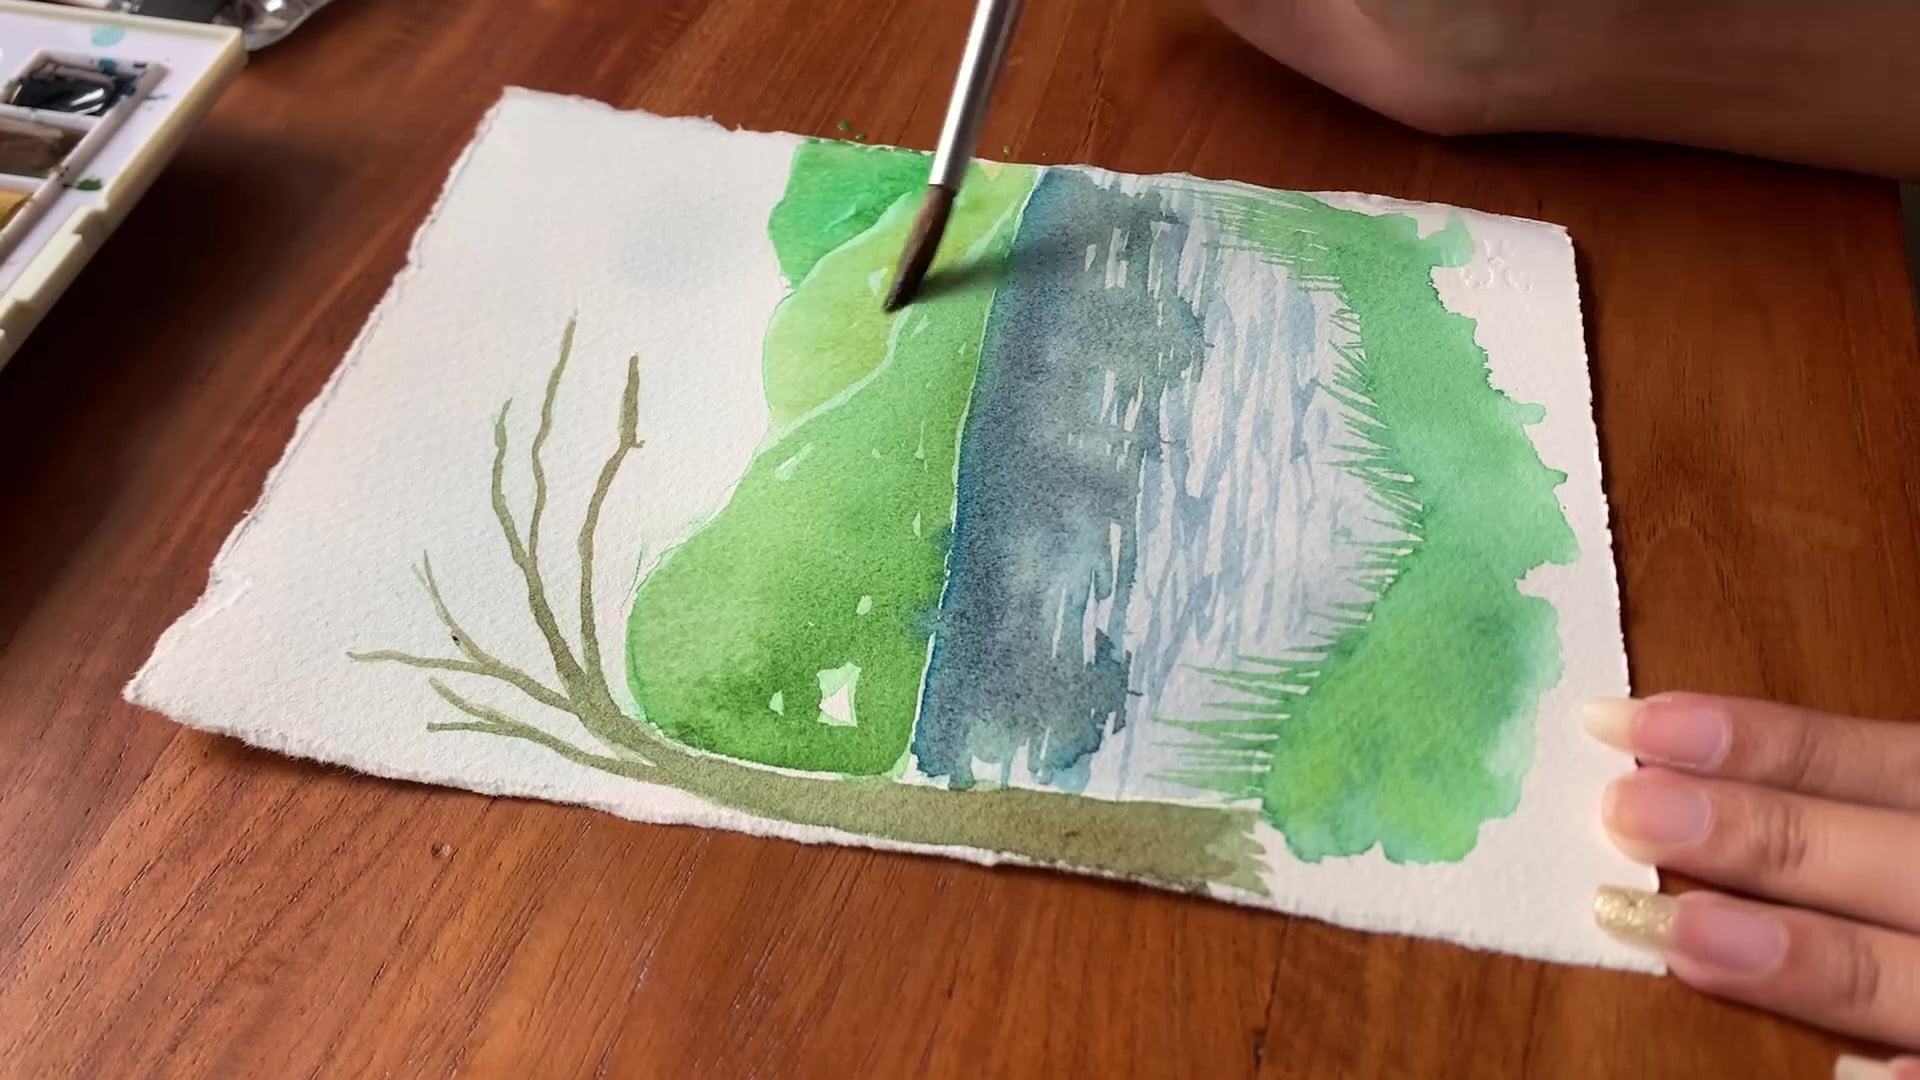
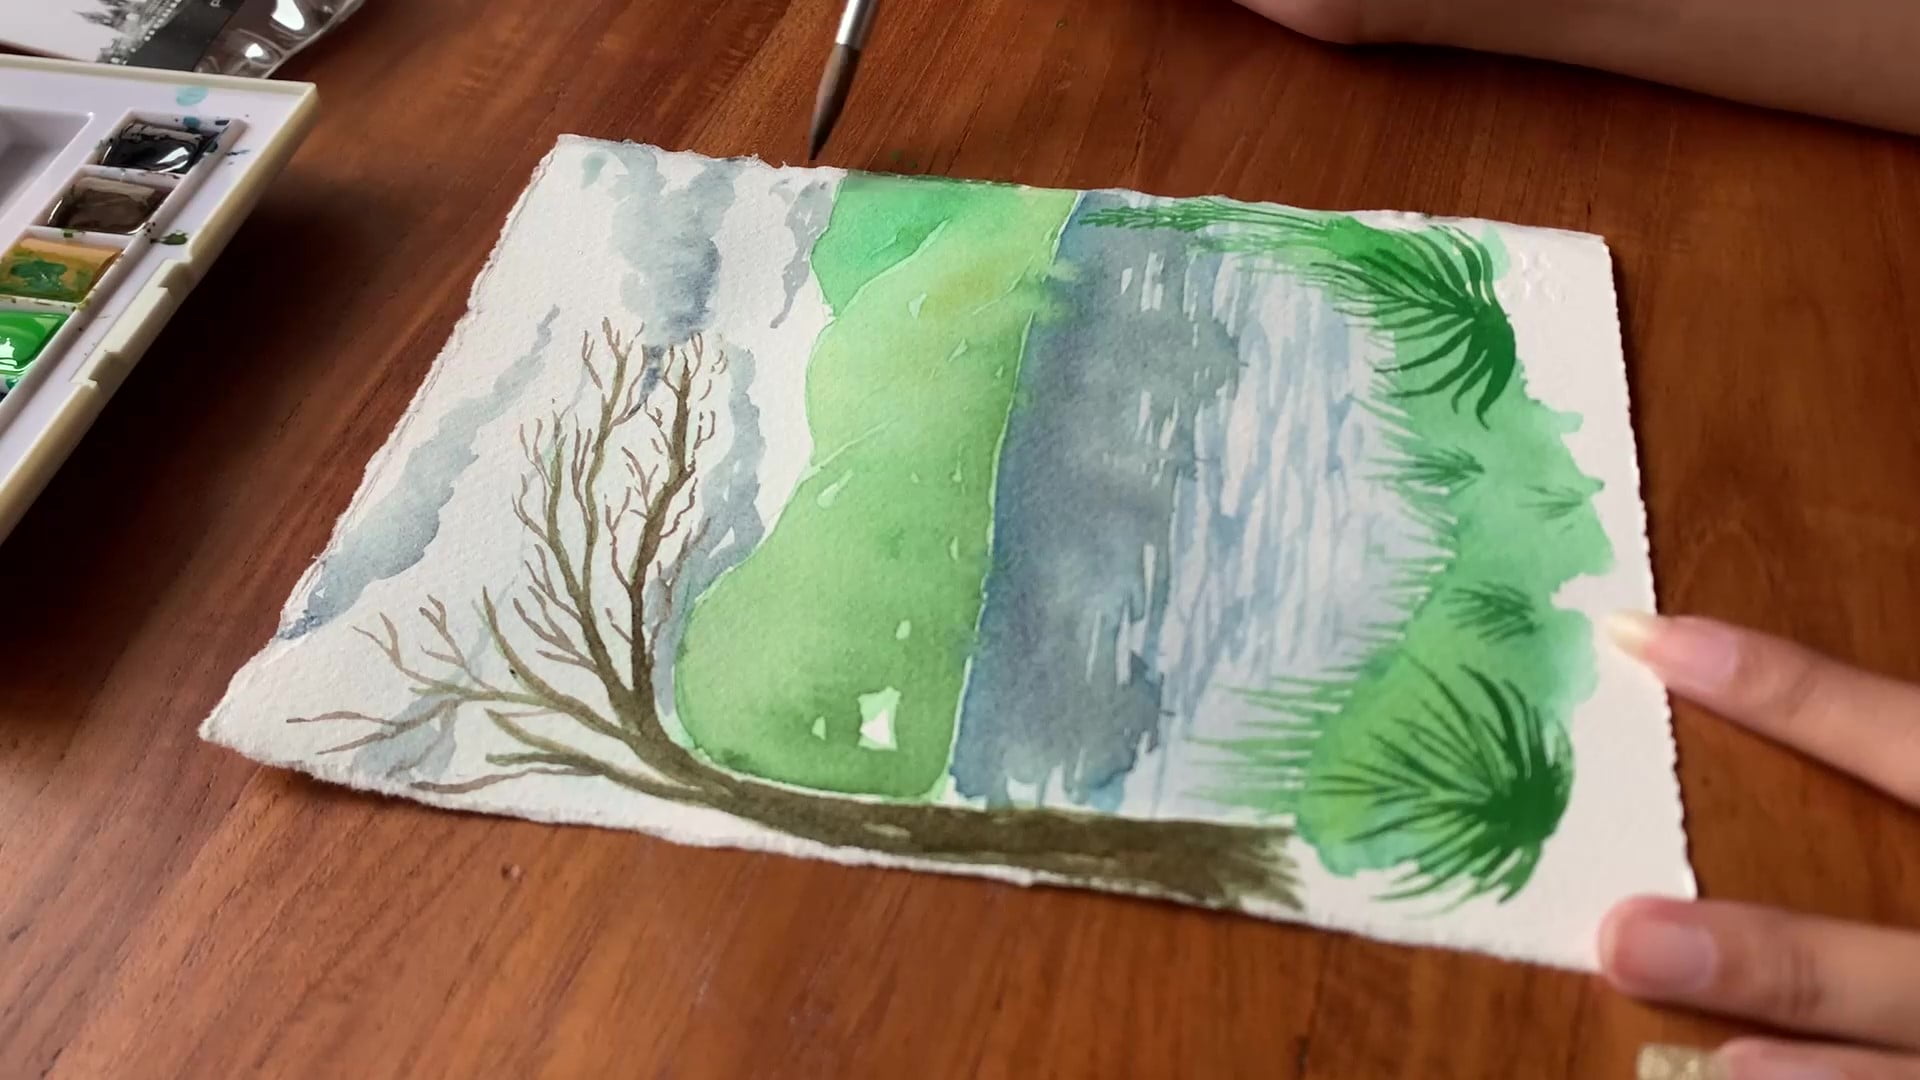
Just like the lake, I’ll now be adding darker shades of green to the hills. This will add a lot more depth to the hills, giving it a lifelike quality.
What you must remember is that the hills are distant, which means they will be a shade or two lighter than the foreground. It’s a general rule of thumb to remember that as the distance grows, the saturation of these elements also decreases. You can see this easily in any landscape with distant mountains.
Hills are not uniform at all, and there will be several dark spots present where light cannot hit them. So, to replicate them, it’s better to have a photographic reference next to you while painting them. This will give you a better idea of how to maintain the structure of the hills using these darker spots.
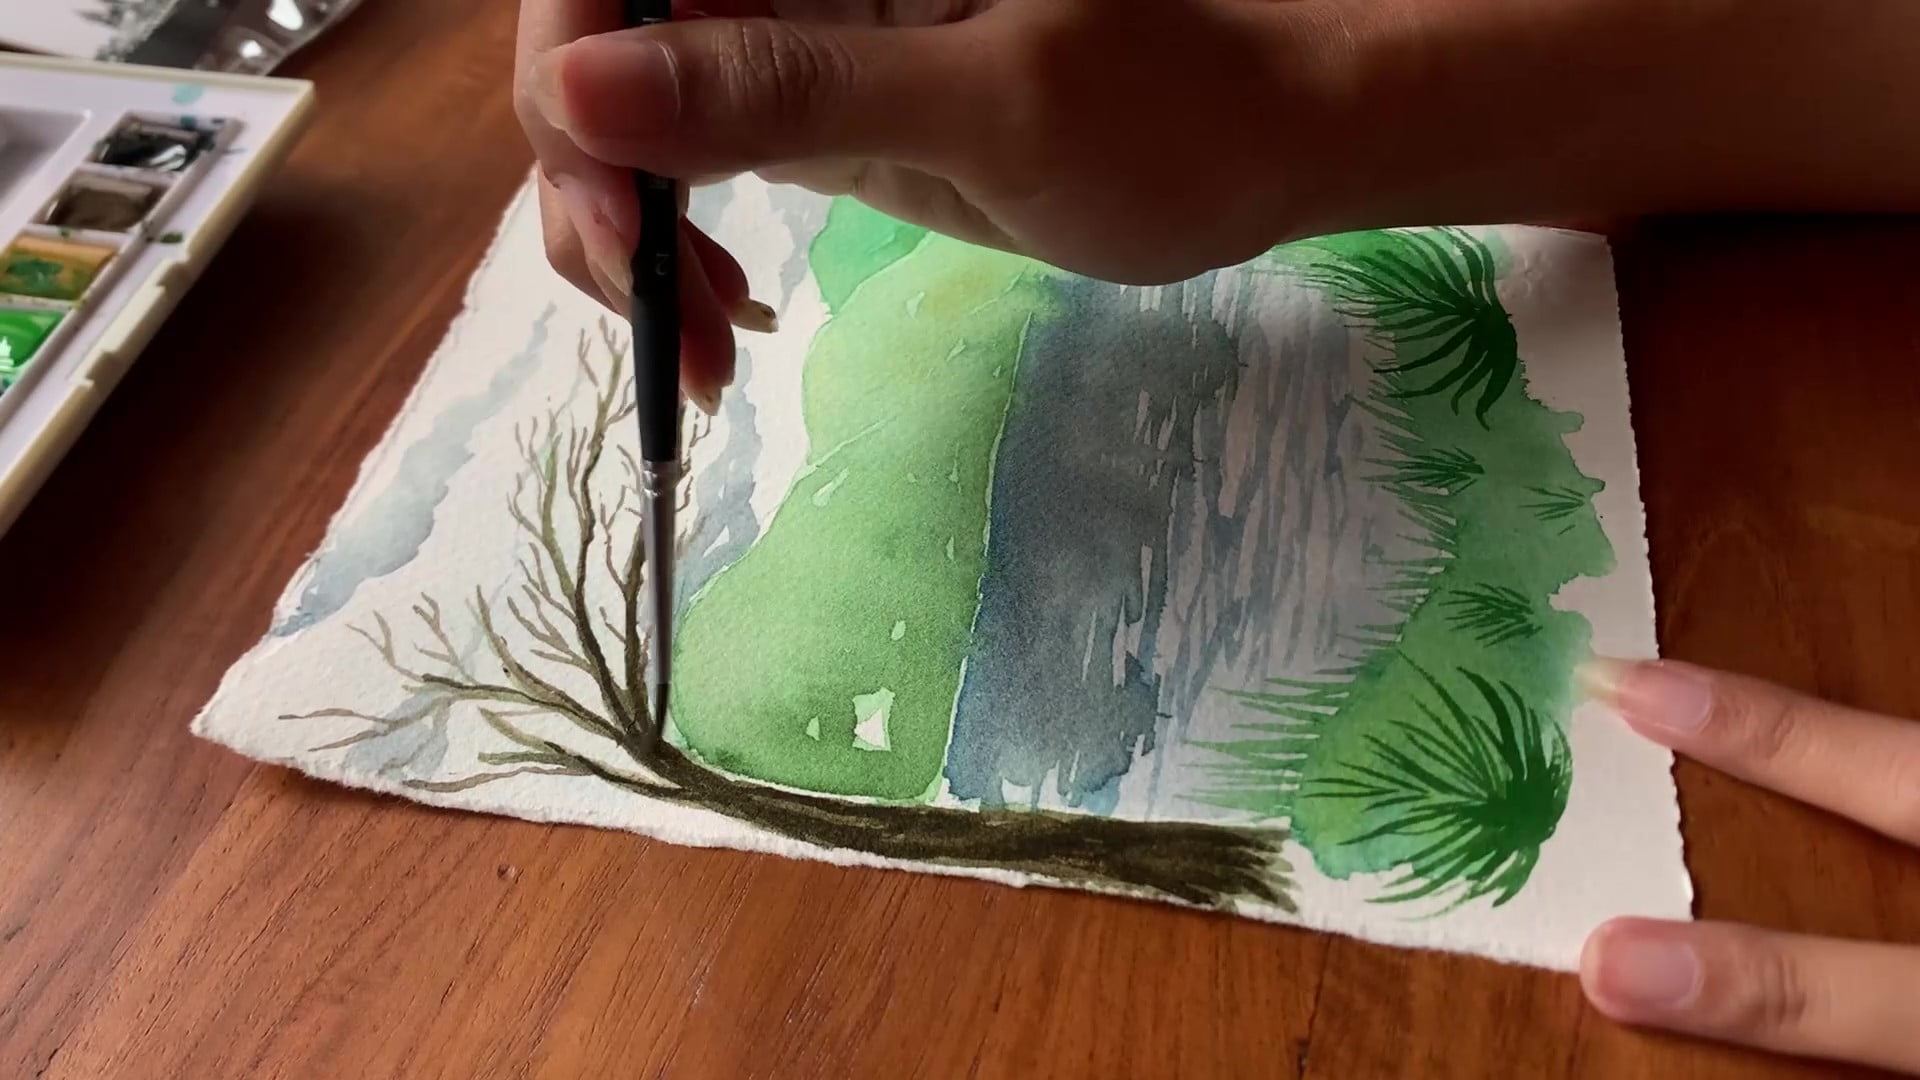
The bark of a tree often has grooves that run along its length. Light often can’t hit these grooves, which creates darker lines that give trees their characteristic look. Note that these grooves become smaller as you move from their trunk towards the branches and leaves.
So, for painting these details, I’m using a slightly wet thin brush and a darker shade of brown. Note that the edges have to be sharp to maintain the texture of the tree. You can run the brush over the bark a couple of times with varying shades to create this texture.
I’ve used the same shade of brown to create the smaller branches.
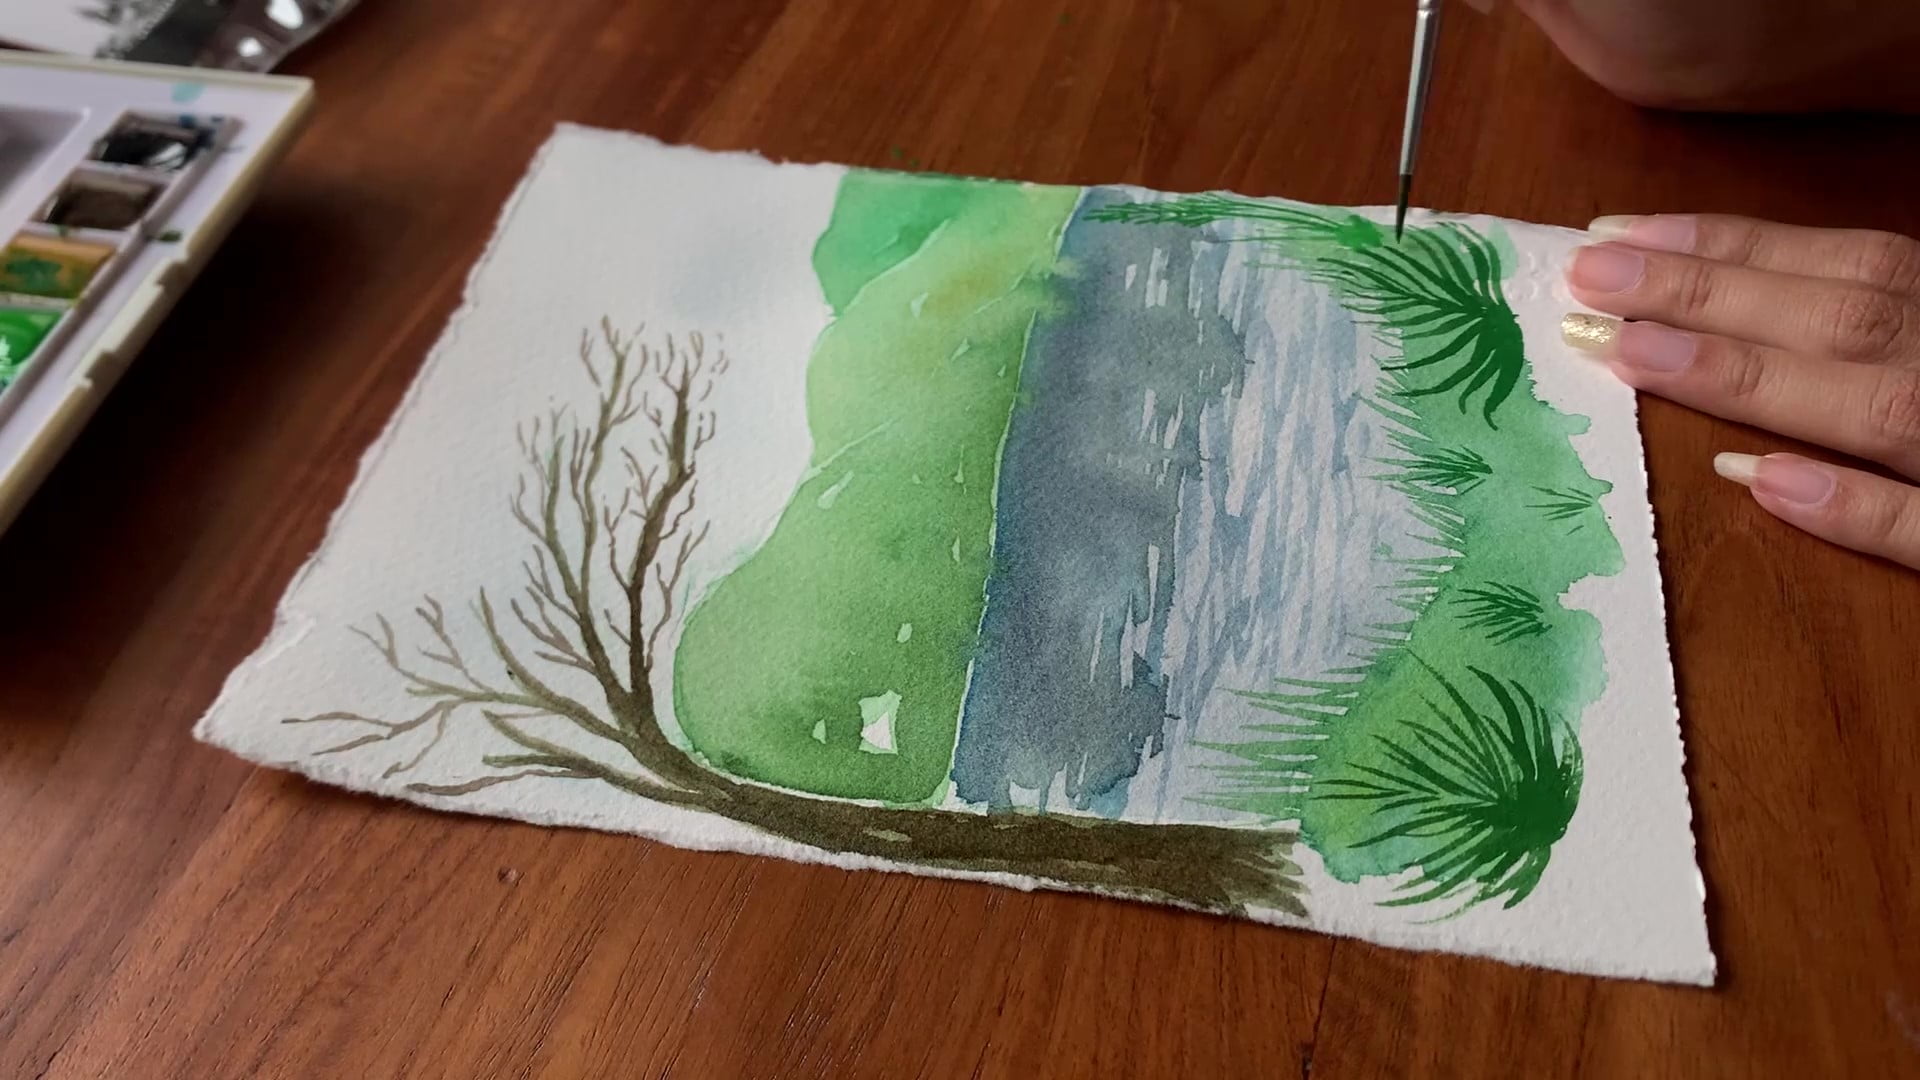
The grass we painted in the foreground will serve as a nice set dressing for the detailed grass blades we will paint in this step.
I am using a thin brush to create the grass blades with a darker color while making sure that they originate from the same point. As you increase the number of grass blades in a particular spot, the point of origin will also be larger.
Create a few spots of grass using the same technique, and remember to vary their sizes and shapes! You can also paint a few spots of short grass using the same paint and brush.
What landscape would be complete without clouds? It’s finally time to give our empty sky some much-needed love.
You can use a round brush and a light blue color to paint clouds like me. The most important thing to remember about clouds is the fact that you need to keep their volumes in mind.
While darker spots help create volume, you will need to replicate their structure as it is in real life. And there is no better way to do so than to use a picture of clouds for reference.
Giving the tree a third layer of color will round out the painting process. This is the final step of creating the texture of the tree, and the overall process remains the same.
I’ve used a small, thin brush to add the grooves present on tree bark.
The light from the sky will illuminate some of the edges, so be sure to keep it in mind as well. I’m leaving a few spots relatively lighter to create this illusion.
Just like the tree, all you need to do now is darken the base color of your lake even further. The reason behind this is simple: watercolor tends to lose saturation as it dries, requiring multiple coats of paint to maintain the required darkness.
Follow the same process as the one detailed before, and you’re done!

With that, we’ve reached the end of this tutorial! Using just a few shades of color and a couple of paintbrushes, you have now created a gorgeous recreation of a lakeside landscape. The painting is ready to be framed and put on display.
What I would like you to remember about art, in general, is that it is a long journey. There will be times when you don’t reach the desired result in the first go- and that’s perfectly fine, if you think it might help we also have an article on basic watercolor techniques for beginners as well as a guide on how to paint a lotus with watercolor, a flower to place on the lake.
If you keep at it and continue learning from your mistakes, you will be a great painter before long. Just try again, and keep experimenting and working with different materials. Art is meant to be an expression of the self, after all, so take as much time as you need to get better at it.
That is about all there is from my end. Till next time!