Expertises: Art, Pastel, Brush, Drawing, Pencil
Updated on

Inspiring Ideas for Modern Home
Planets, comets, stars, and asteroids are all heavenly bodies bound together by gravity in a mass collectively known as a galaxy.

A galaxy is inherently a fascinating point of discussion in both art and science. While galaxies represent unexplored opportunities for scientists, they are breathtaking collections of shapes and colors that showcase the beauty of the universe for artists.
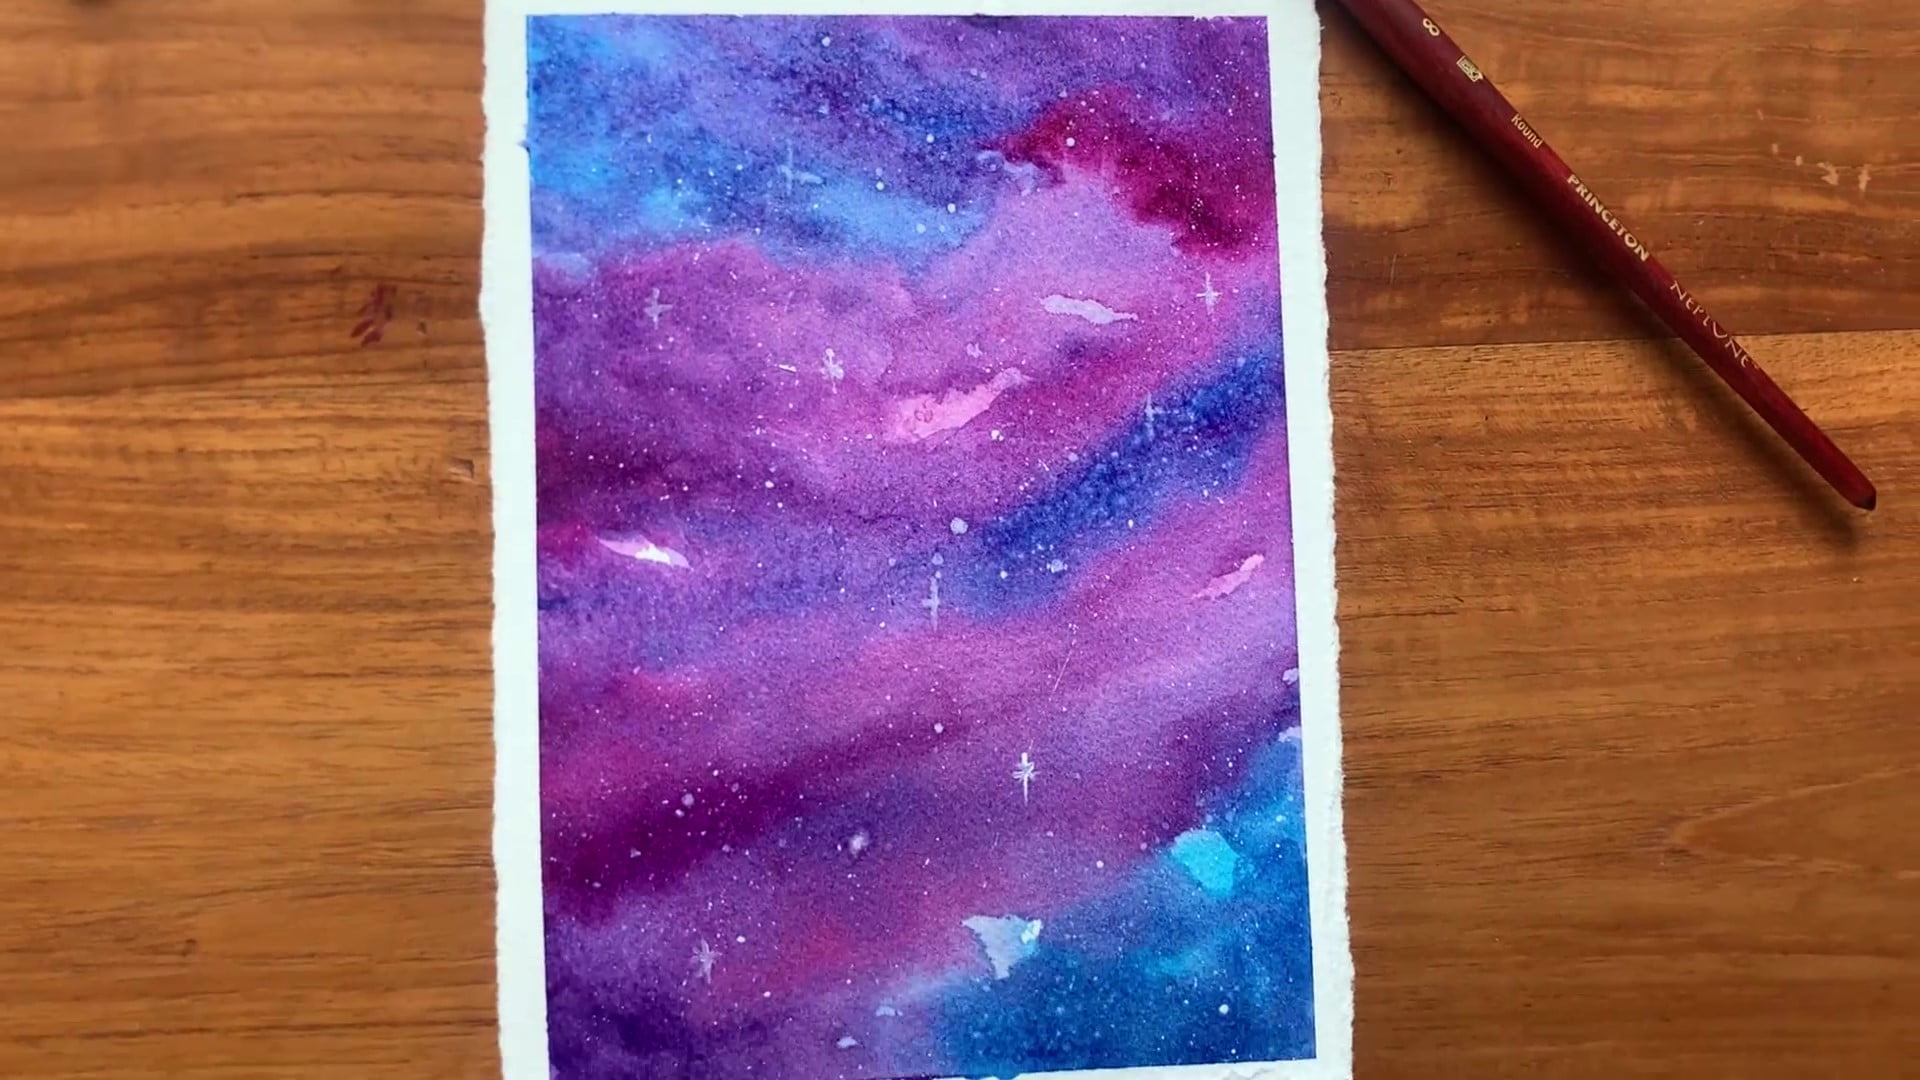
Hey everyone! This time, I’ll be showing you how you can replicate this marvel using watercolor paints in 6 simple steps.
Since galaxies are clusters of gas and heavenly bodies, painting them becomes a rather abstract process. So, get your creative juices flowing and join me as I go through the painting process in the watercolor medium, without a doubt the ideal medium for such a painting, you will soon find out why!
First things first, you will need a few art supplies to start painting. I’ve used the following equipment to create this painting:
Paint: Talens Rembrandt Watercolor | Paper: Saunders Waterford Watercolor Paper - White, 300gsm | Brush: Princeton Neptune Round Brush No. 8
The important thing to remember here is that if you don’t have these exact supplies, don’t let that deter you from painting. Using colors that are slightly different from mine or brushes that are thicker or thinner than the one I’m using is completely fine.
And while using textured paper is generally ideal for a painting like this, you can work with regular watercolor paper. All that matters is that you trust the process and follow it closely.
Galaxies are quite colorful, so feel free to experiment with them as you see fit!

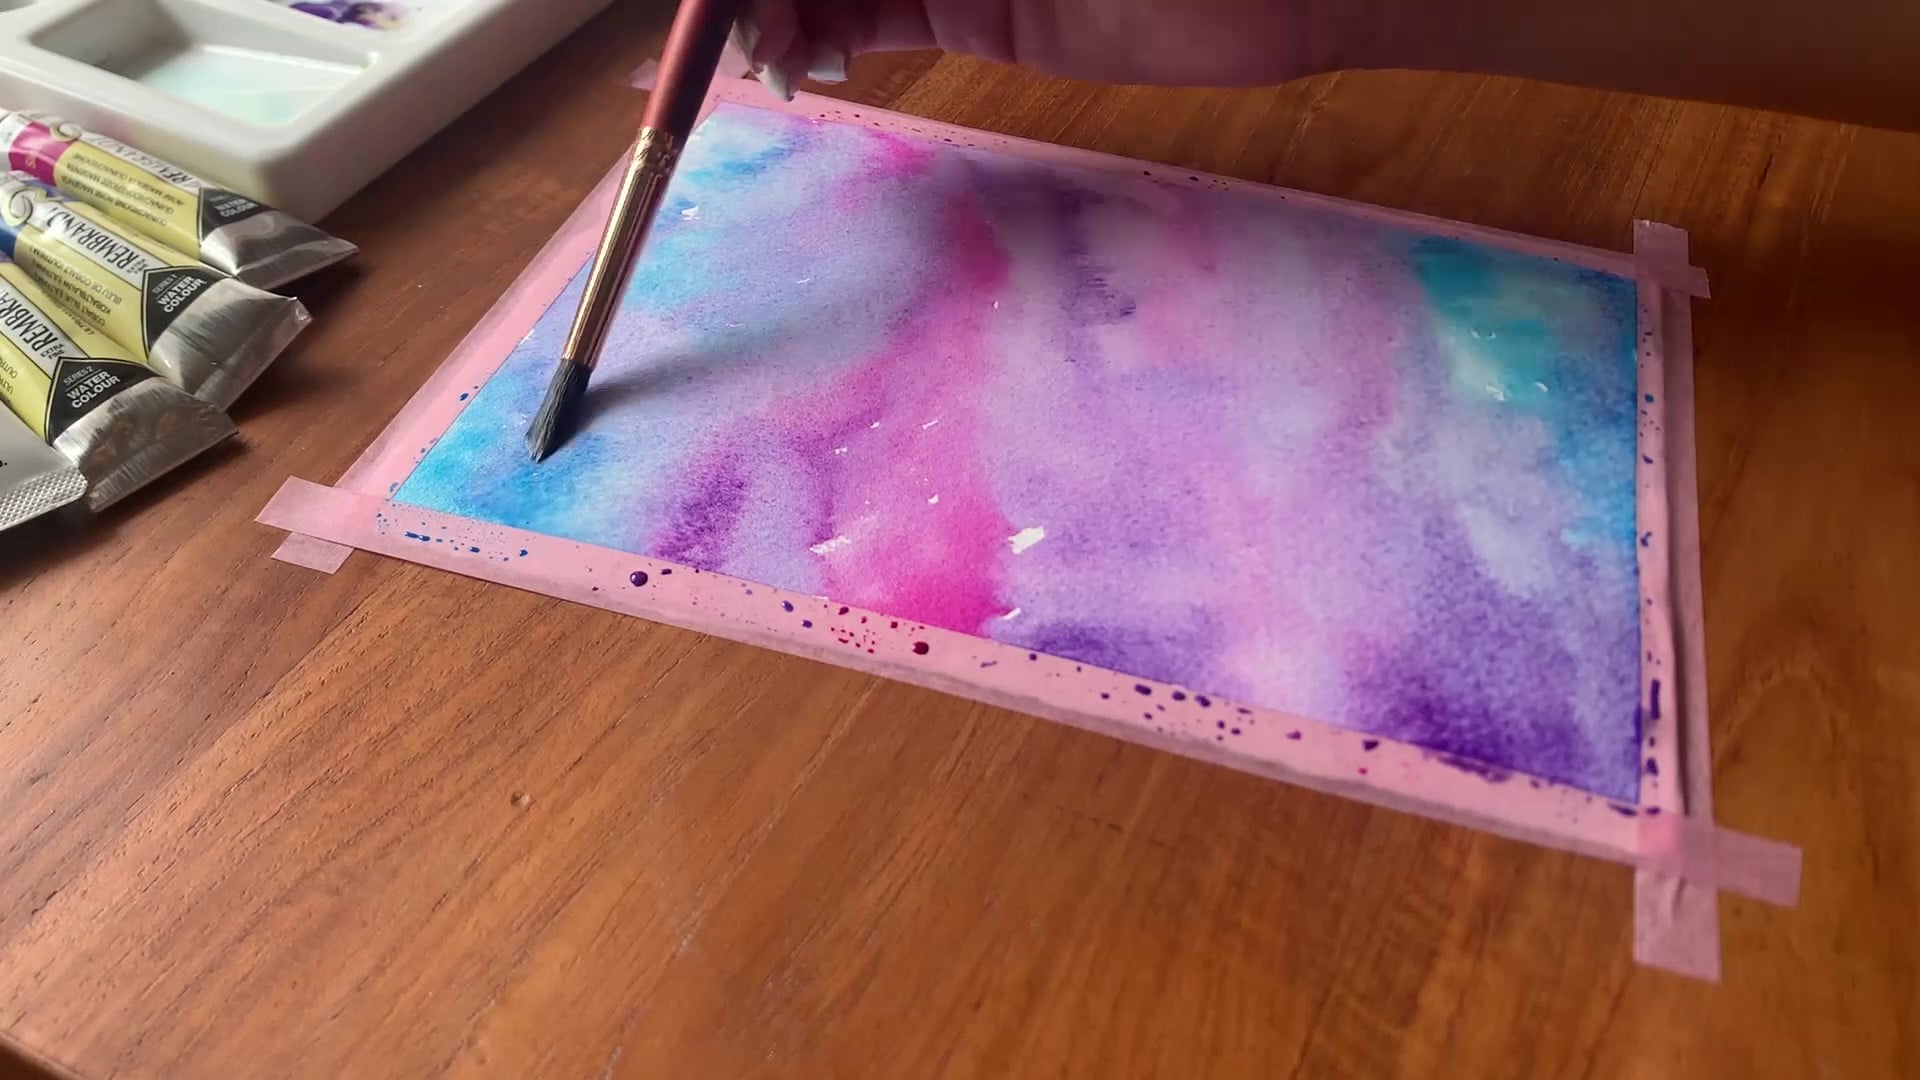
Let’s start by creating the borders using masking tape and painting the base layer. We will be making liberal use of the wet-on-wet technique in this step.
Choose three or four colors to be your primary colors and start applying them one at a time. Here’s a neat little trick that can help your galaxy look visually interesting and awe-inspiring: pick bright colors that complement each other. For example, blue, purple, and pink are great colors for painting a galaxy, with blue serving as the framing color.
I would advise using a moderately diluted color when applying the first layer, as shown. Here, I used a bright blue and created a graduating effect by diluting it near the upper edges, after which I applied a bright pink. This allowed each color to shine on its own without taking away the beauty of the ones next to it.
Repeat this process for each color that you’ve chosen. And if your colors bleed into one another, don’t worry! Once we finish the first application, we will deliberately cross the colors over to create an abstract pattern.
Variation is critical for making the painting appear interesting, so add or dilute your colors as necessary to create spots of high and low saturation. Use a combination of straight, wavy, and cross-hatching to add even more variety to your base layer. Nothing in the universe is uniform, after all!
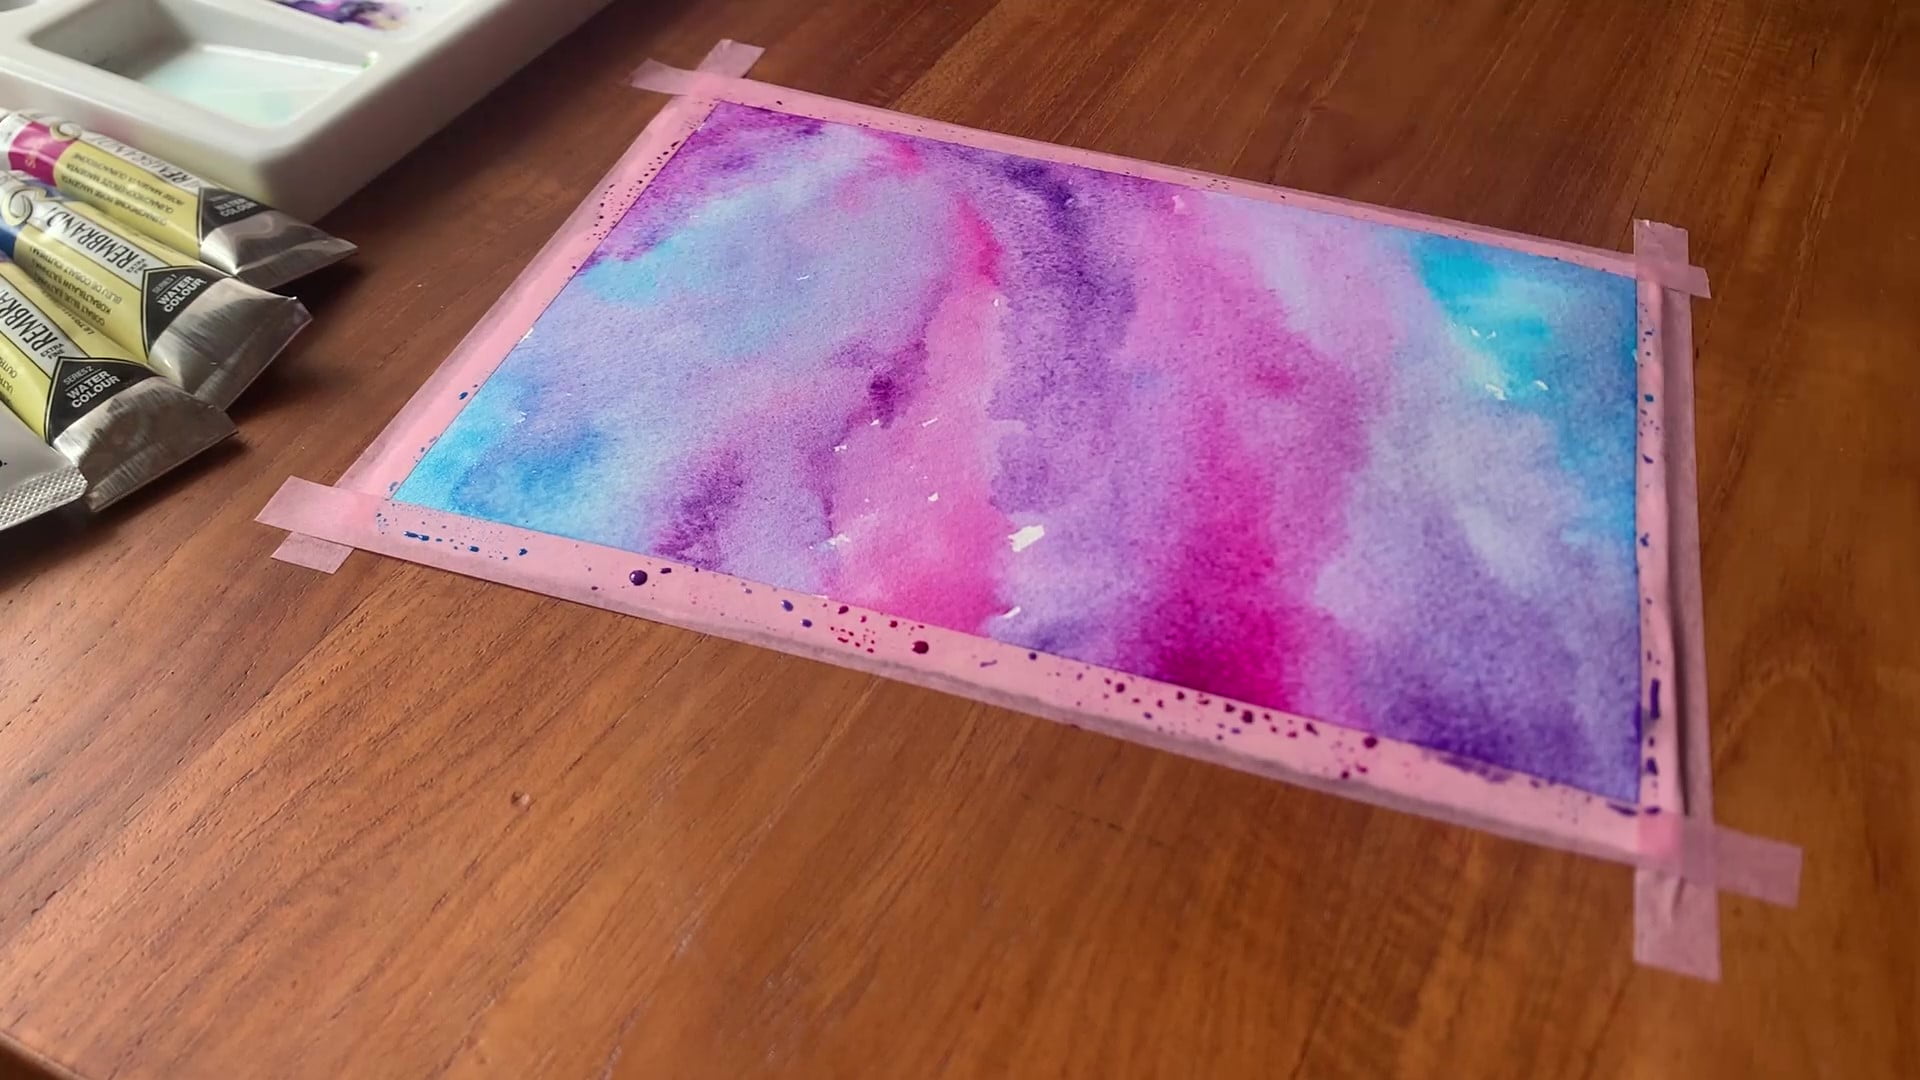
Before we begin painting the second layer, we must let the base layer dry first. If you’ve painted with watercolor before, you may know that it loses nearly half of its saturation once it dries. So, the goal of this step is to bring the saturation of the painting back up.
Here, we will be painting over the base layer using the same colors, albeit with less water on our brushes. Once again, don’t be afraid of letting your colors go over one another! In fact, doing so will create even more interesting shapes when the second layer dries.
I’ve added a layer of pink over the framing blue close to the top, with a touch of purple near the bottom. And to create the characteristic cloudy feel of a galaxy, I added a few splotches of purple to the pink areas. I like to repeat this step all over the painting using all three colors to create as much cloud-like volume as possible.
And just like step 1, use a combination of different brush strokes to breathe some life into your painting.
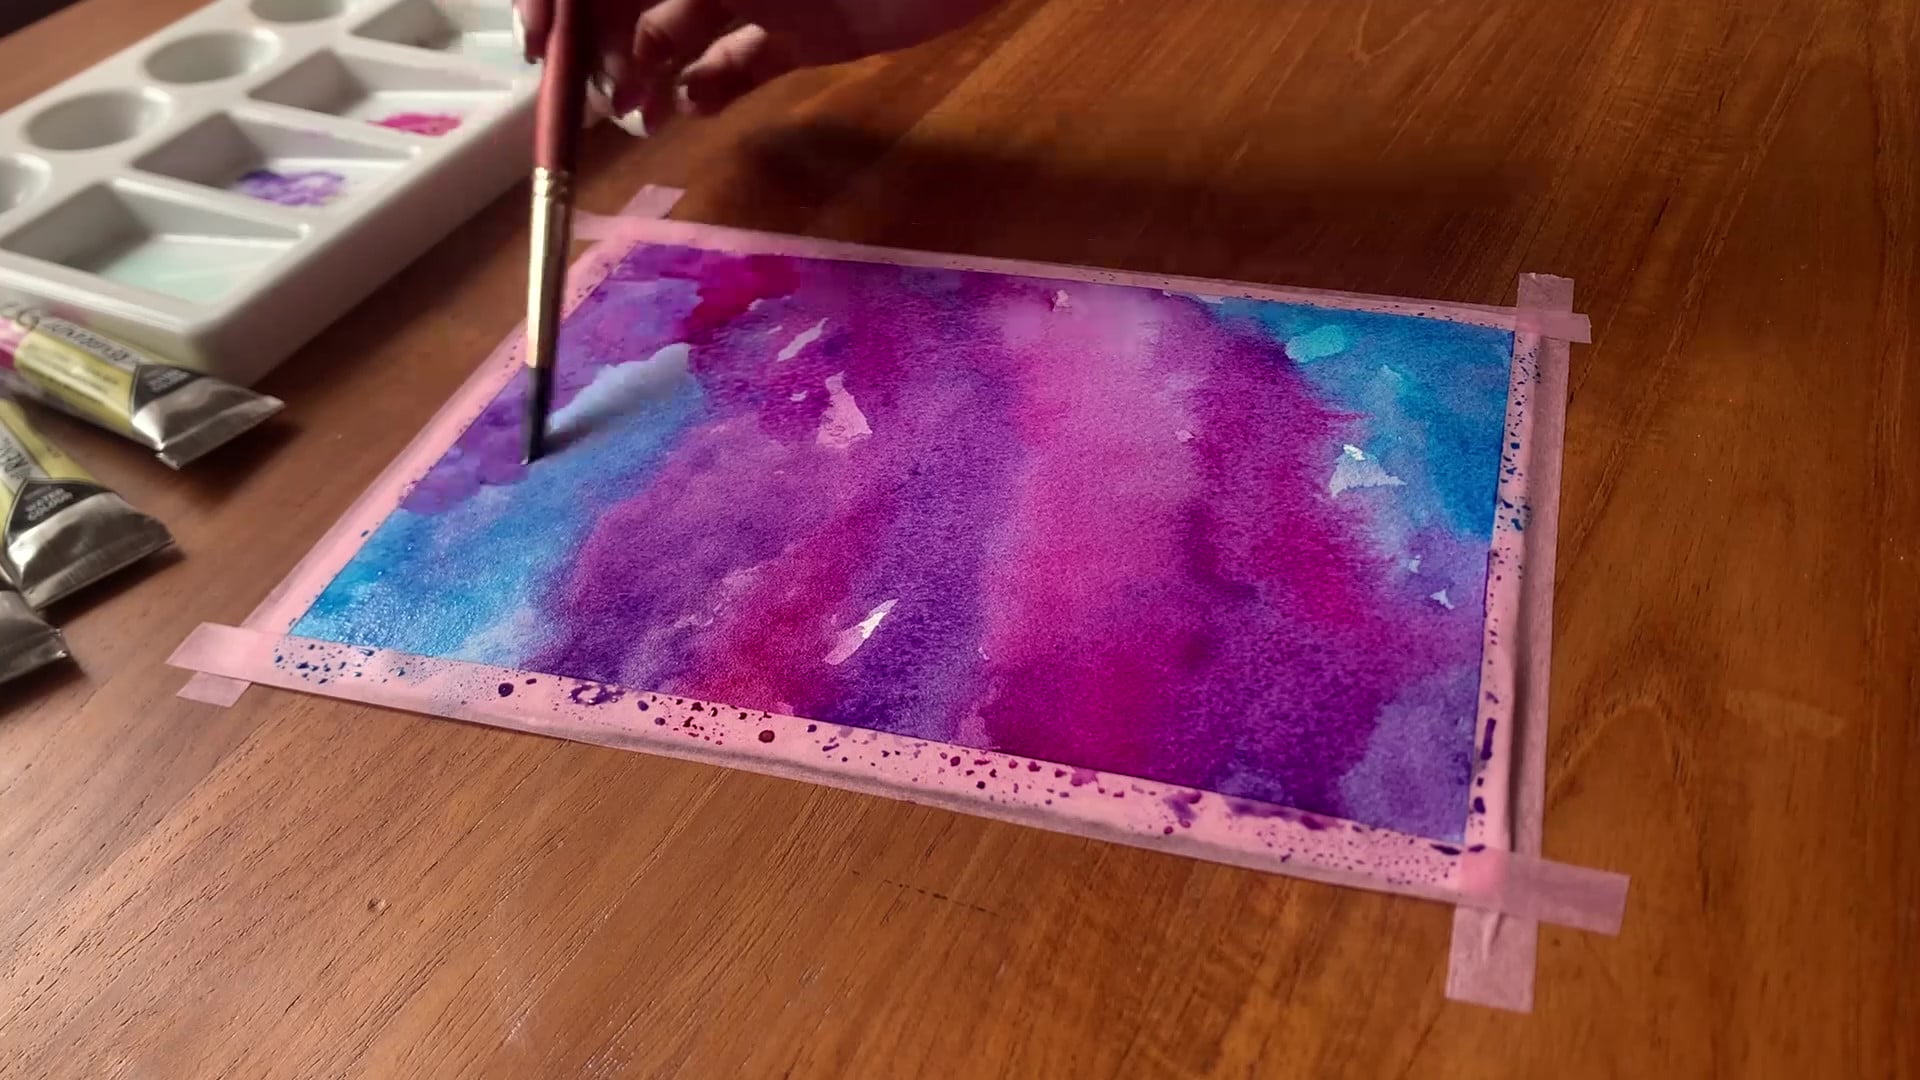
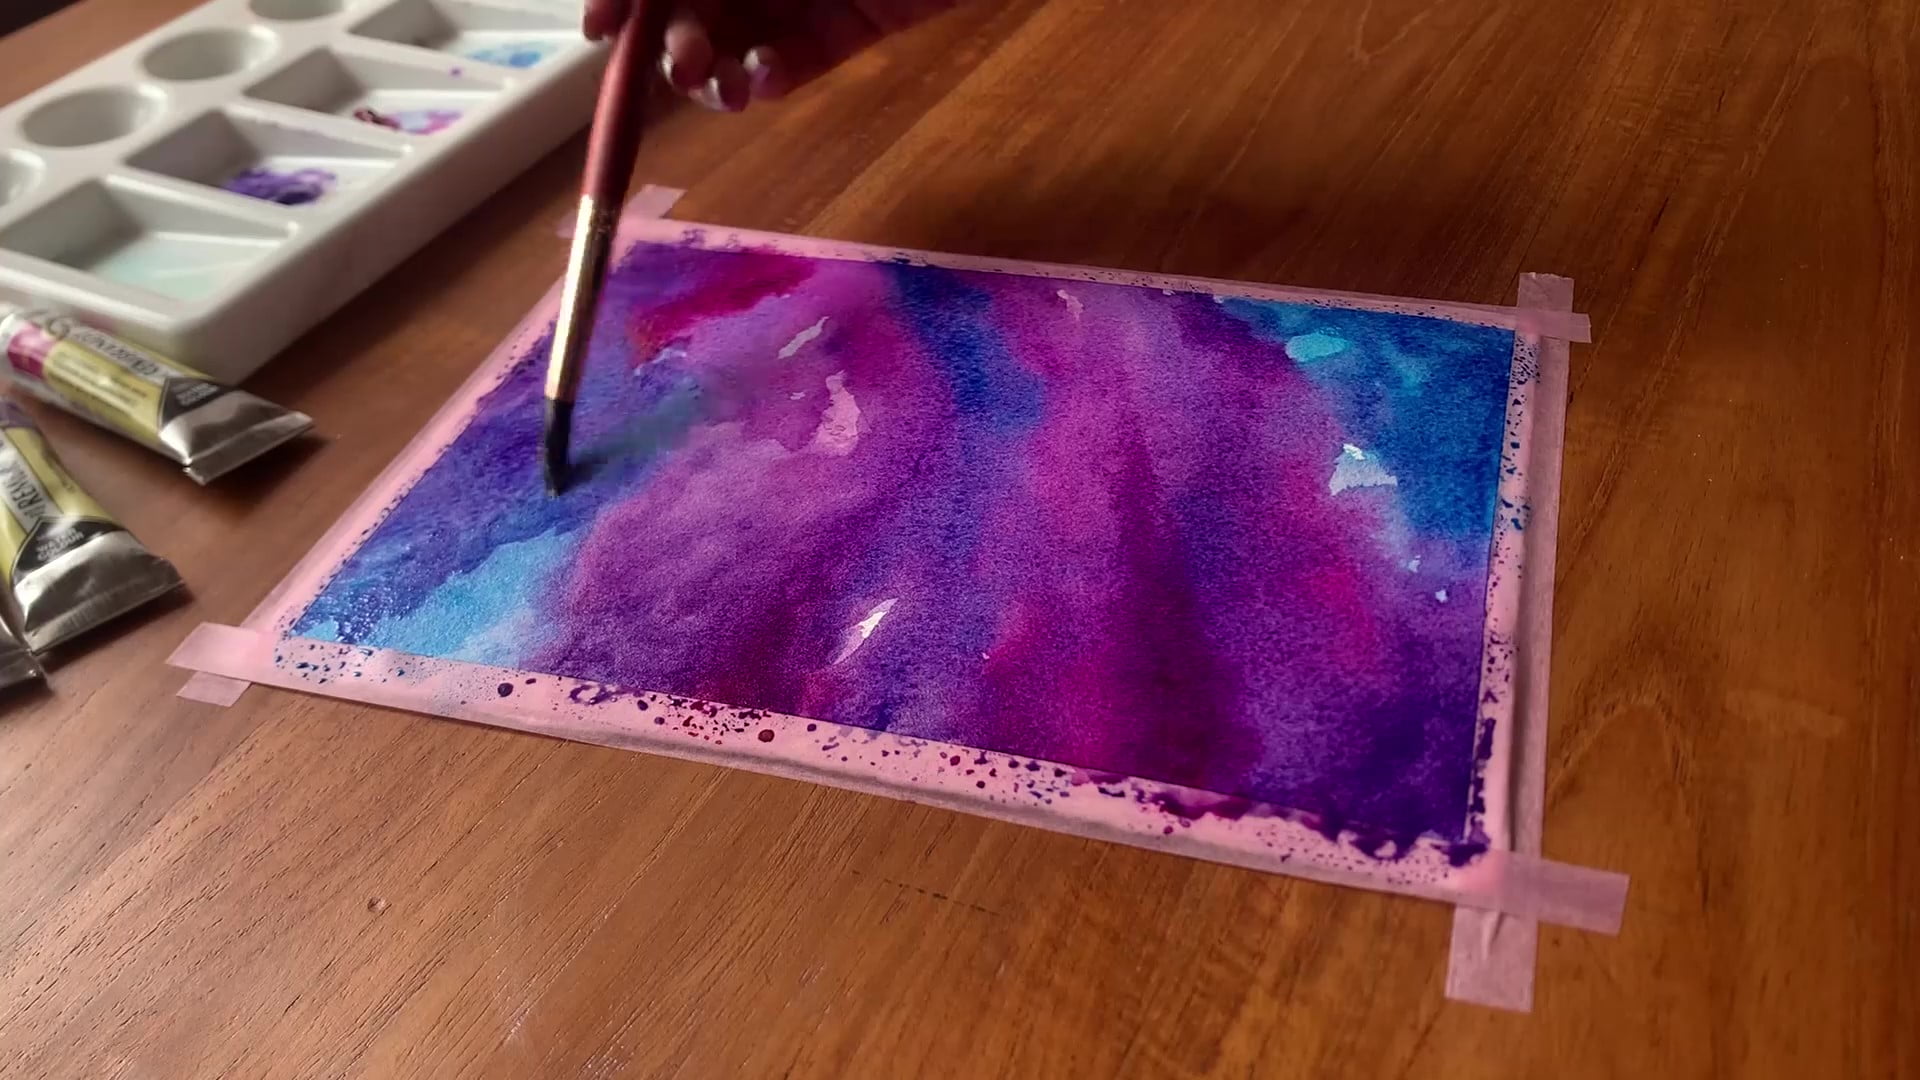
You don’t need to let the paint dry for this step, as we will be enhancing the saturation even further to create volume. To do so, we’ll use the wet-on-wet technique to blend saturated colors into the second layer.
Use a highly saturated version of your framing color and create a stripe close to the middle of the painting. Here, I used navy blue and blended it into the purple and pink mix in the middle.
Similarly, use a highly saturated version of your other colors and paint thin streaks close to the framing color. In this step, I allowed the colors to mix and blend as I applied them across the painting. This helps the piece sell the idea of volume much better than separated colors.
Additionally, vary the shapes of your streaks all across the painting!
If you’re feeling a little lost, consider looking at pictures of a nebula to get a better understanding of how the colors pop. Nebulae have a mixture of several colors, both bright and dark, but with no single prominent color. Our goal is to replicate this!
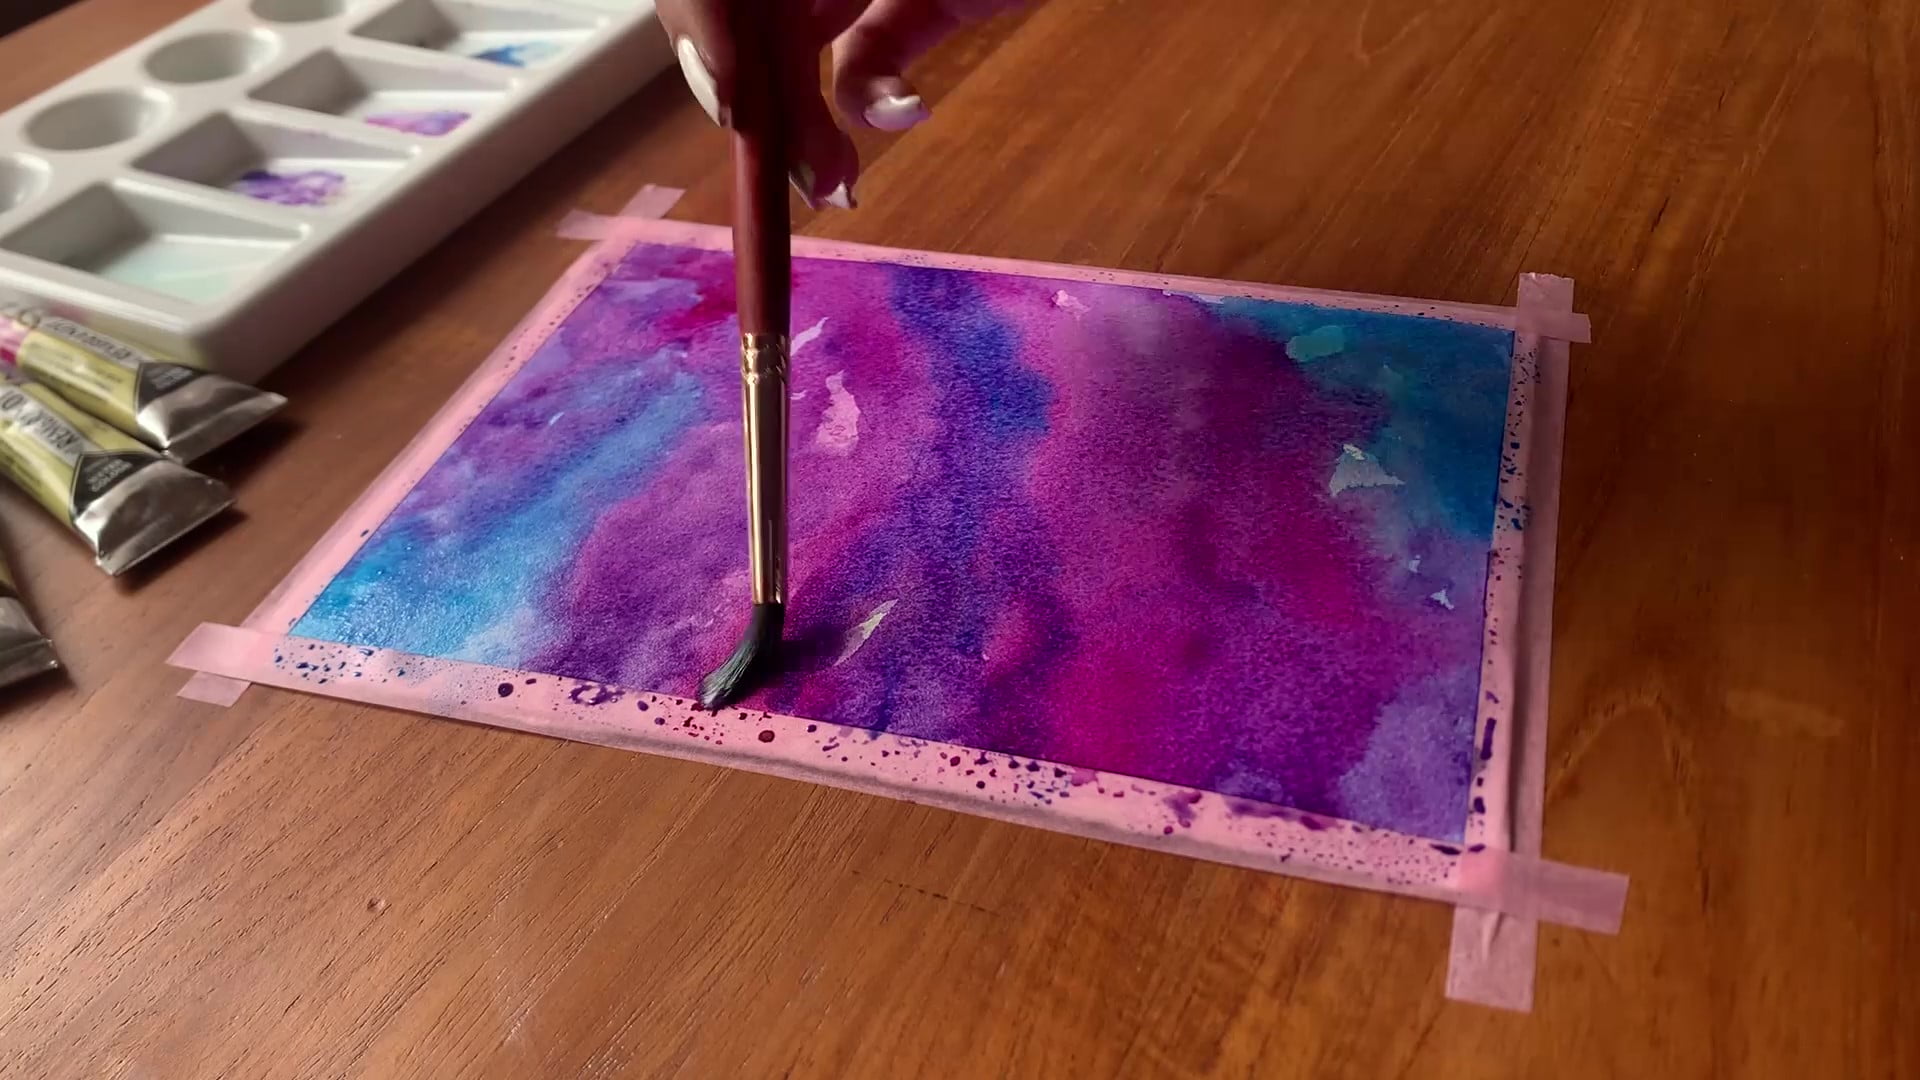
Lastly, we’ll go over the existing colors once again and darken them even more before they dry. This will help you create volume and texture using brushwork techniques and help the piece retain some of the saturation when it dries.
Note that if you blend the saturated colors into the existing ones, the painting will end up looking much flatter than desired. A more textured look will sell the idea of volume much better.
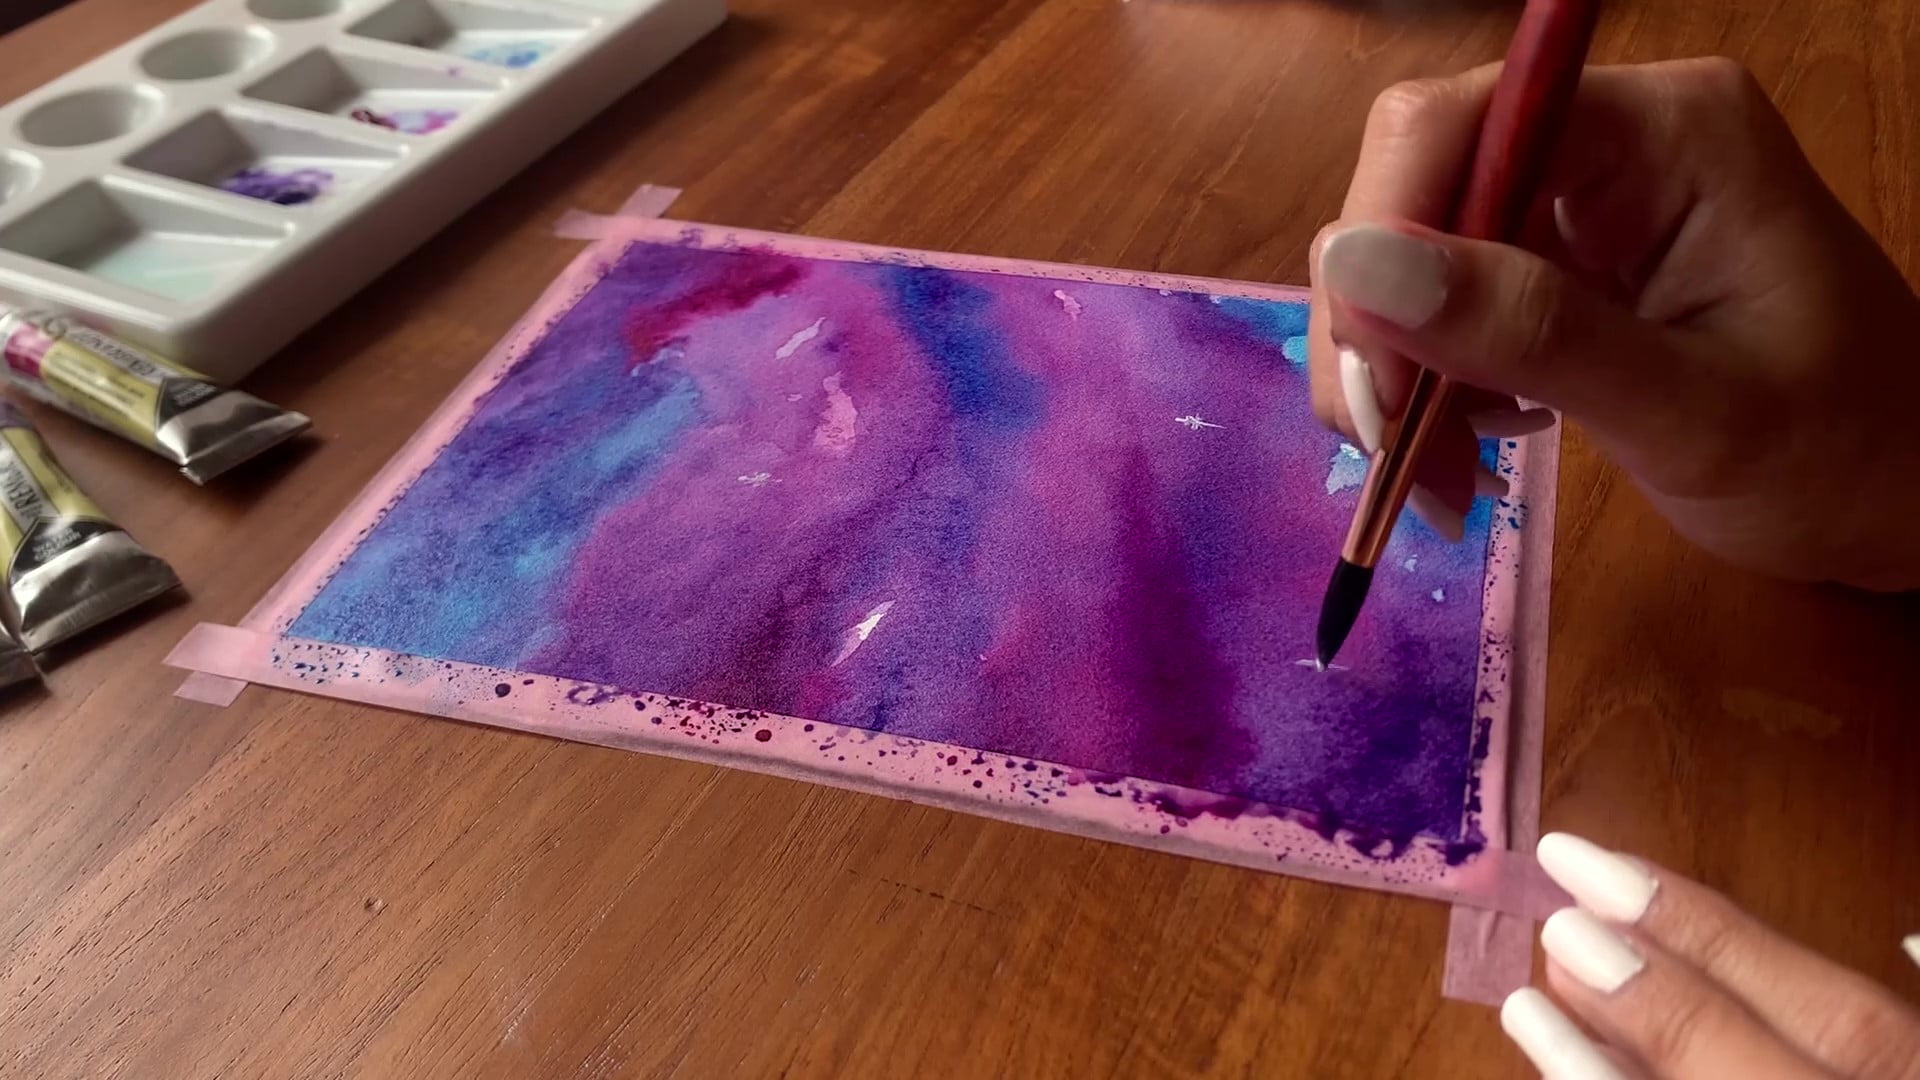
For this, you will need to let the paint dry. After all, creating small shapes with sharp edges on wet paint is extremely difficult, not to mention impractical.
As one would imagine, this step is straightforward: simply paint small shapes onto the artwork. You can use a white pen or a thin brush with white paint to create the stars. I’m varying the shapes of the stars so that no two stars look alike.
The more variation there is in the stars, the more appealing the artwork will be.
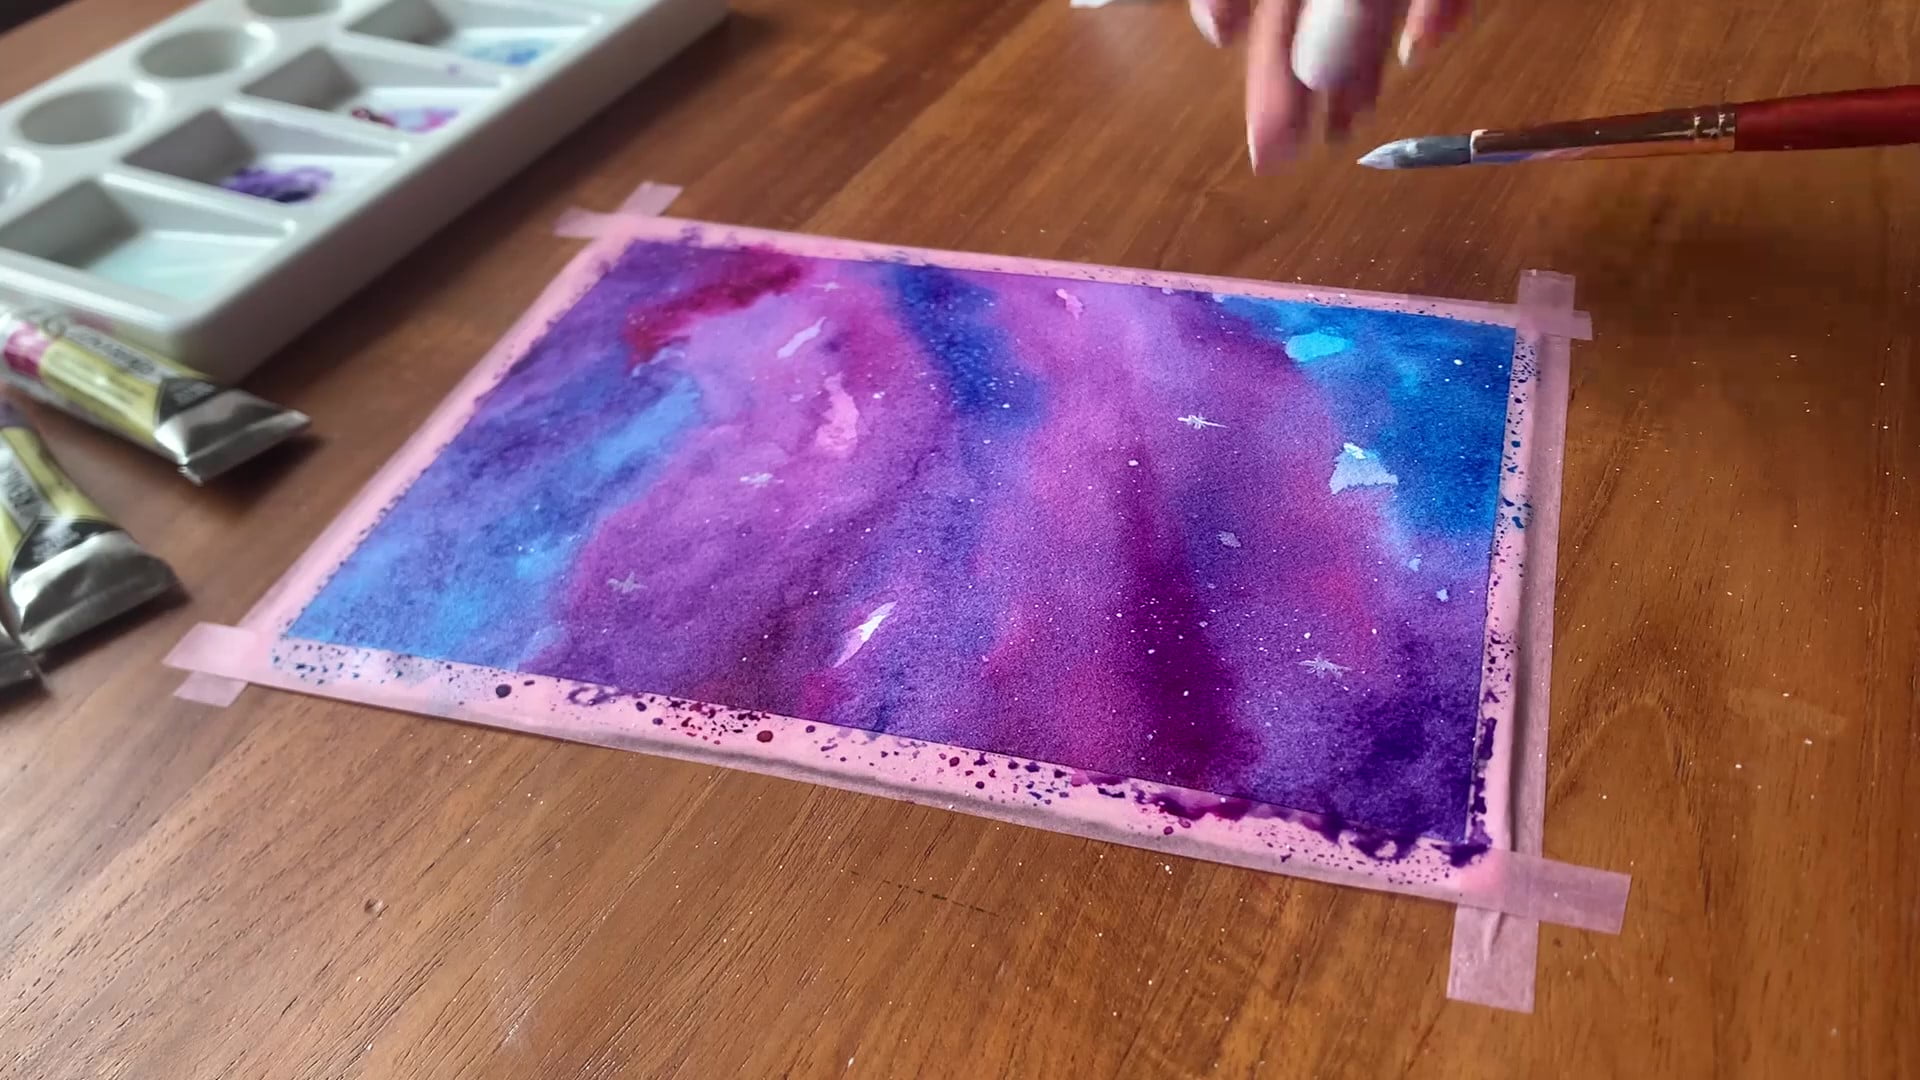
For this step, I will be using the flicking technique to create sparks in the galaxy. This will add the distant star-like particles to the painting that we’ve all seen in pictures of galaxies.
Dip your brush in moderately diluted white paint and hover it above the painting. Flick the brush tip with your other hand and move it across the painting. Doing this will throw small droplets of the paint onto the piece in a somewhat random manner which can be difficult to control.
You may want to make sure that you don’t end up with a large cluster of sparks in one small portion of the painting. Keep the brush appropriately high enough, so you don’t end up with spots that cover up too much of the painting.
If your painting still feels a little empty, feel free to add a few stars with a thin brush or a white pen. Repeat this step a few times to cover the painting in this particle-like effect, and that’s it!
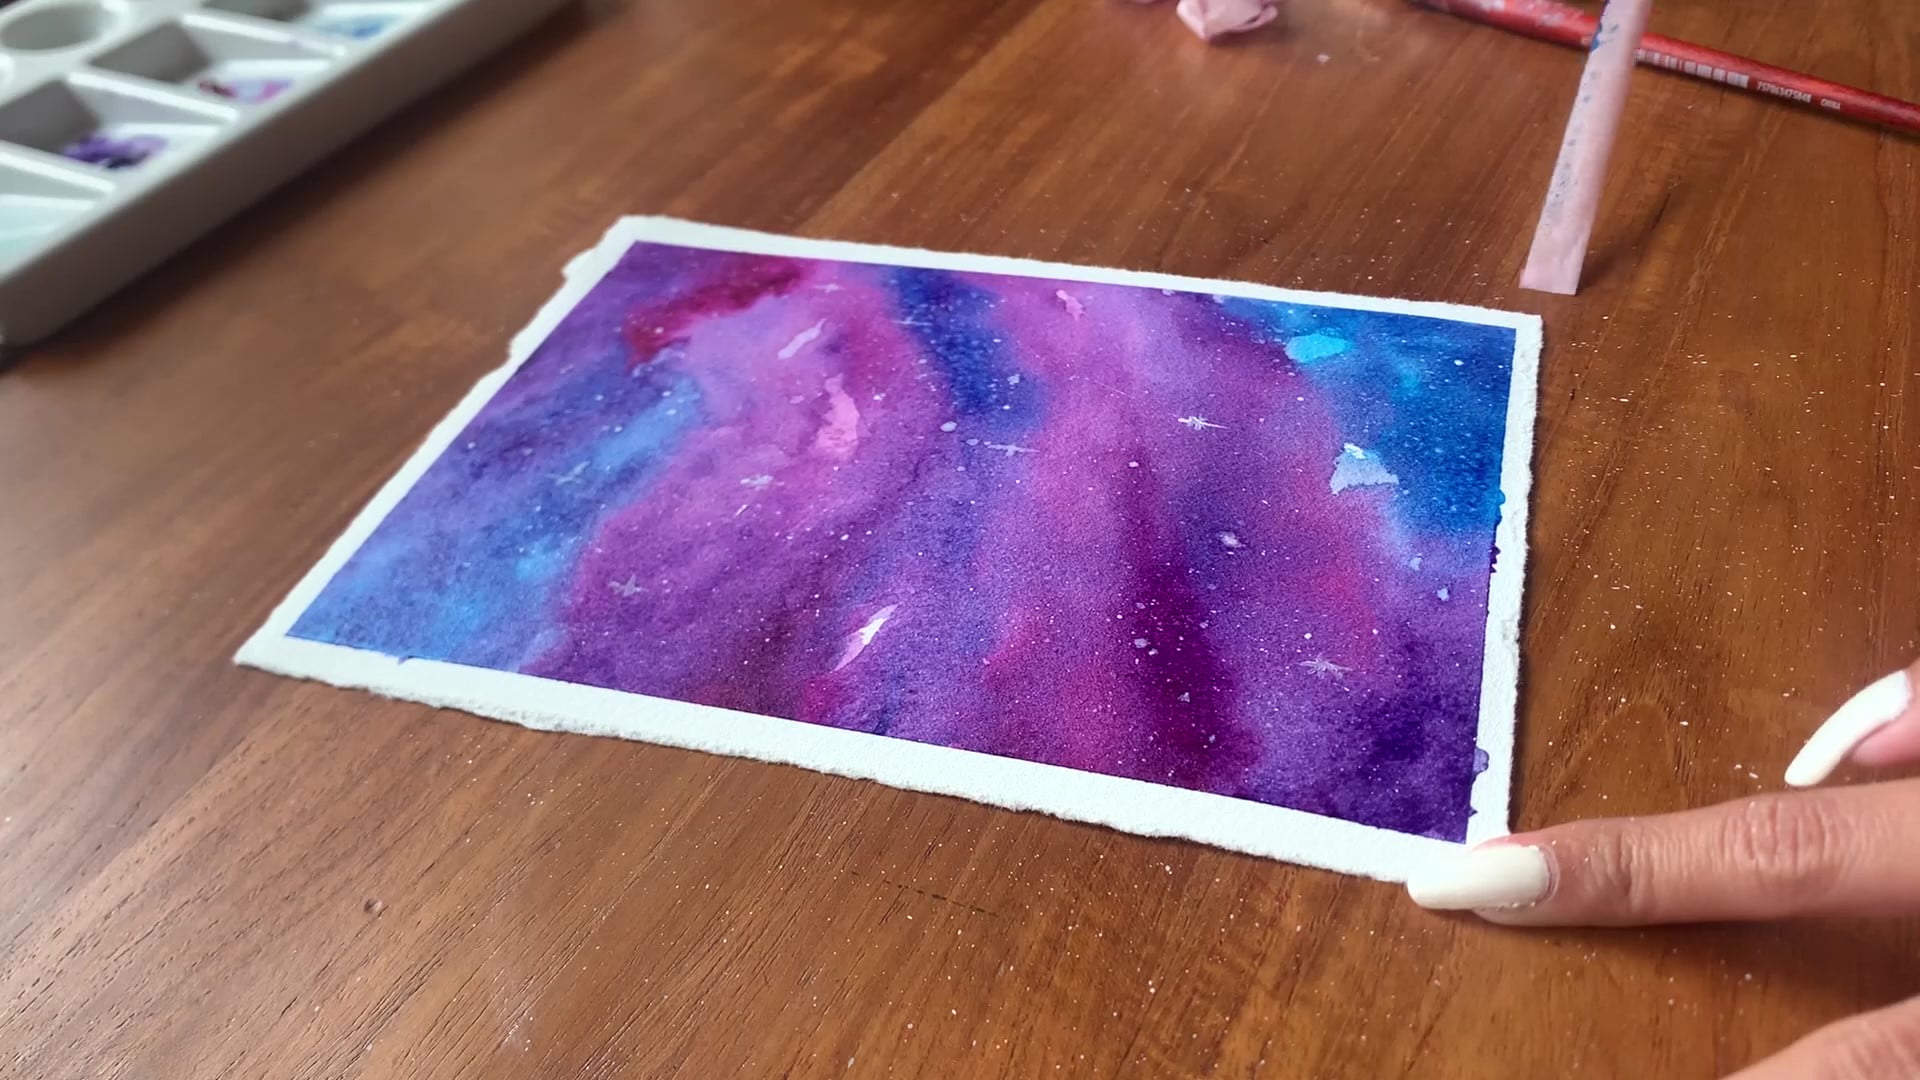
Once the paint dries, peel off the masking tape slowly and carefully. We don’t want our hard work being torn in half because of a strip of tape, do we?
And voila, your painting is ready to be put on display!
And that marks the end of this tutorial! Paint galaxy using watercolor is all about creating texture and volume by using three or four colors and their variations. You don’t even need more than one brush to finish this painting!
When painting a galaxy, remember that you are not bound by warm or cold colors. As far as the color palette goes, so long as the colors match, the world is your oyster. Once you’ve finished painting, you can pair it with an understated frame to let it shine on your wall.
While painting a galaxy is as abstract as art goes, there is a chance that it doesn’t end up the way you wanted it to. And that’s completely fine! Repetition is the key to success, after all, so keep at it, and you’ll get the hang of it in no time. If you would like a more down-to-earth painting to play with, I have this watercolor house tutorial and this watercolor tutorial on how to paint the sea that is soothing, easy to realize, and exceptionally relaxing, cast a glance!
Experiment to your heart’s content, mix in different colors, brushes, and papers, and just express what you must. That is all that matters.
Till next time!