Expertises: Art, Pastel, Brush, Drawing, Pencil
Updated on

Inspiring Ideas for Modern Home
There’s something about watercolors that bring seascapes to life!

You can achieve seamless flow and transitions between the colors to make your paintings look all the more realistic, that too without much effort, even if you’ve just started using watercolors. But I don’t mean that skilled painters appreciate this quality of watercolors any less!
Hey there! Today, I’m here with a detailed guide to painting a seascape with watercolors. You can also learn the different tips and tricks to create realistic effects for different spaces, such as the water, the sky, and everything in between.
So, let’s start, shall we?
The key to a good painting is as much as the supplies involved as the skill and technique. So, I wouldn't suggest compromising on the quality of the equipment you plan to use. On that note, I will quickly walk you through the supplies I have used for this painting today:
Paper: Saunders Waterford Watercolor Paper - White, 300gsm | Brush: Princeton Aqua Elite Professional 4 Piece Set 4851 | Paint: Sennelier Watercolor Paint La Petite Aquarelle Set 12 Half Pans
Please note here that you need not use the exact products mentioned above. As long as you have quality colors, brushes, papers, and a watercolor palette at your disposal, you should be good to go! Besides, I have used a blue pencil for sketching the outline of the seaspace, but you can do that with a regular pencil, too.
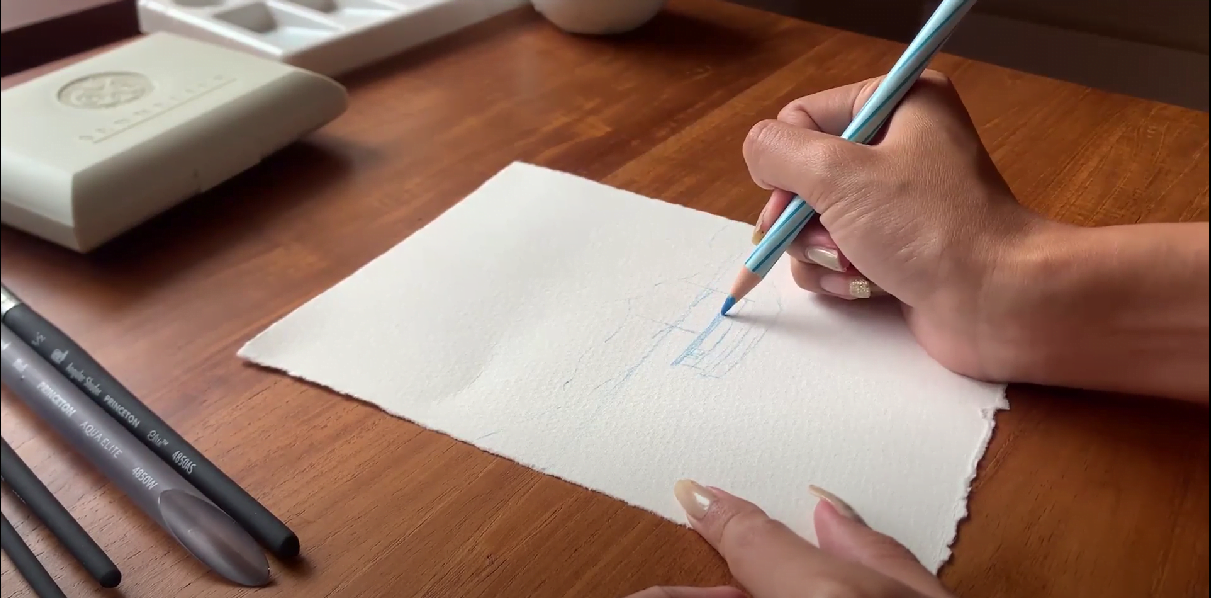
I will start by lightly sketching the outline of my seascape, which has the horizon, a double-story boat, and hills in the background. But feel free to curate your own seascape with as many elements as you want- just ensure that the sea occupies at least the bottom half of the page for your painting to have some depth and perspective.
If you’re using watercolors for the first time or are still new on the learning curve, I’d suggest sketching out something simple. Going into too many elements or details may well require the use of multiple colors, working with which can be difficult on the first go.
Now, the reason I prefer a blue pencil for this step is to help the outline blend seamlessly with the dominant color (blue) I’ll be using later. Black pencil marks are often harder to blend, leaving unwanted strokes in the final piece, as you can’t really erase them.
You can also use a normal pencil for making the outline while applying minimum pressure so that there are no harsh pencil lines.

Since the sky is one of the larger areas of my seascape, I will use the wet-on-wet technique to paint it quickly while ensuring a smooth and realistic fluid effect.
All you need to do is grab a flat brush and dip it in water. Here, I’d recommend pressing its tip lightly against the edge of the water bowl or your pallet to get rid of any excess water that can later drip on the paper. Now, run the brush all across the sky.
Then, dip the same brush in some blue color (I have used a deep shade), thin it out with water, and apply the paint to the sky in brisk dabbing strokes. I wanted my sky to be lighter, so I have used just a couple of layers of blue, though you can add multiple layers according to the desired darkness of the sky.
Make sure you give one layer adequate time to dry before applying another; otherwise, the paint may start dripping on the paper.

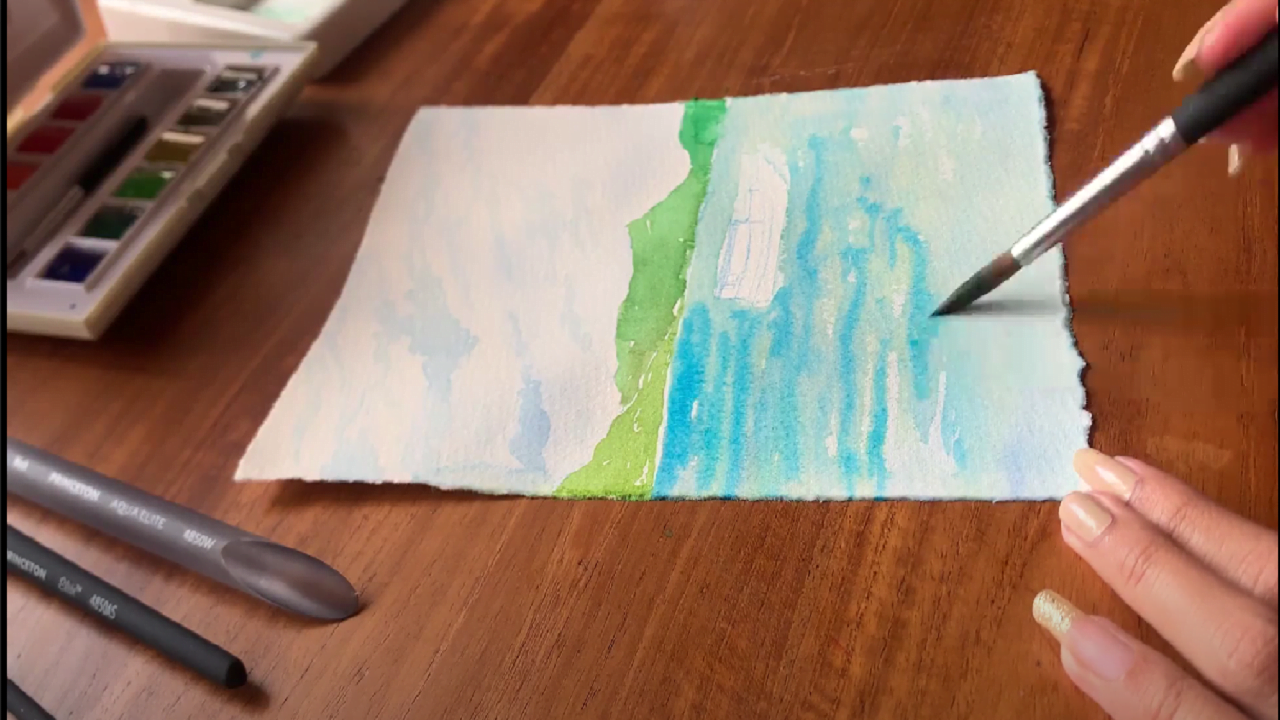
I have used the same wet-on-wet technique described above to paint the sea, this time using turquoise as the base. If you don’t have turquoise handy, you can mix light blue with light green to get the same effect.
Once the base color has been properly laid, add gentle touches of deep blue towards the bottom to render some nice gradient to the seawater. Don’t apply too much color, though, as it will darken once the final layer is completely dry.

For the hills, I will use two shades of green that will help add more realistic highlights and shadows to the terrain.
First, I will thin out some dark green paint with water and mix in a little yellow. Then, using a compact tip brush, I will start painting the left side of the hills with this color in short, brisk strokes up to about midway. For the right side, I will use just thinned-out dark green.
You can also add dark green sparsely to the base of the hill to create the illusion of tree colonies here and there.
Make sure you aren’t using harsh lines for contouring the top or the bottom of the hill- let the colors define its shape naturally. Likewise, we’d want the transition between the dark and green colors to be smooth, so don’t worry if they end up overlapping.
I will now be adding touches of light blue paint to the base layer of the sea to create ripples. For this step, I am not looking for very defined shapes, so all I do is run my compact tipped brush in horizontal strokes all over, sometimes a little slanted, to make the effect more realistic.
I’d suggest adding multiple layers of colors here to give your sea considerable depth. Focus on creating dark strokes near the surface and the boat and lighter ones towards the bottom.
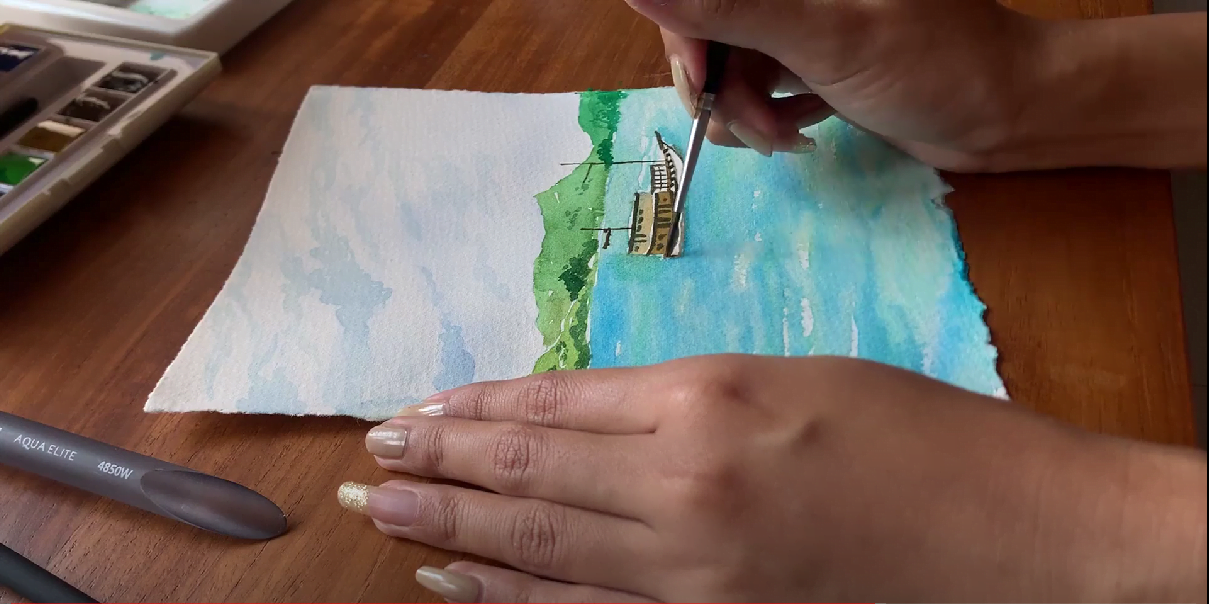
While the layers on the sea are drying, grab a thin brush and start filling the boat with colors. I have used light and dark shades of brown for the two decks, but you can use any color of your choice.
After this, wash the brush or take another thin-tipped brush and dip it in black paint to outline the overall structure of the boat. And use it to add the finer details, such as doors, windows, a deck, and sails.
Of course, the intricacy of detailing will depend on the type and the size of boat you’ve sketched, so I’d suggest drawing something simple if you’ve just started painting.
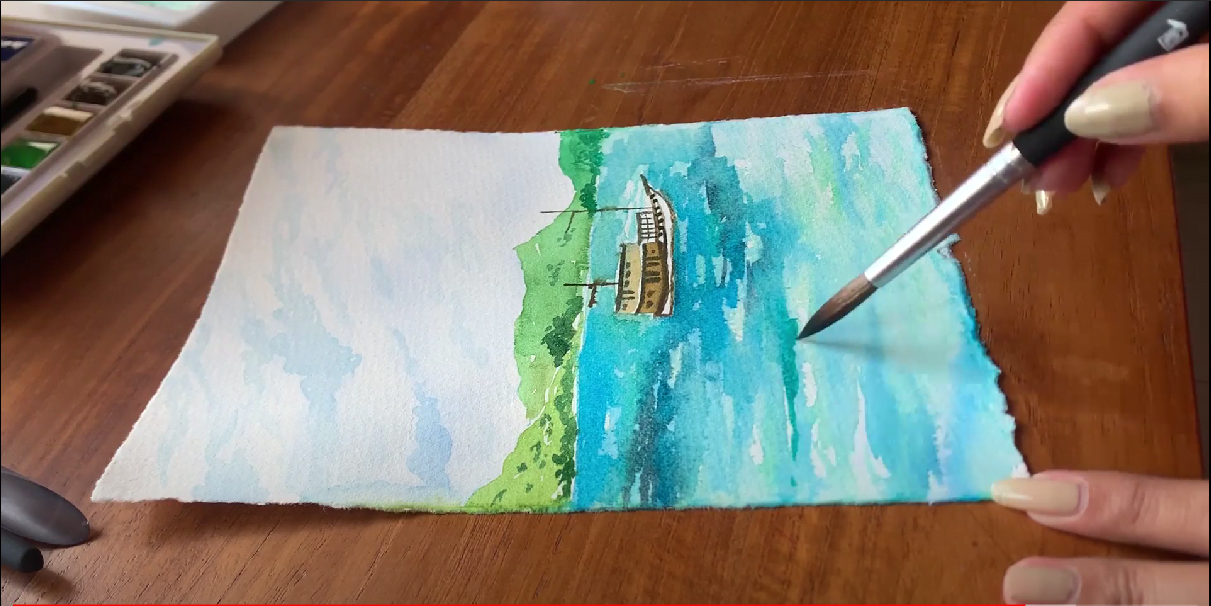
At this point, I felt that my sea was lacking finer details, so I thought of adding some more texture to the water. Using a thin-tipped brush, I am adding horizontal (but not even) strokes of dark blue color to the water, just behind and below the boat, to create small waves. This creates the illusion of the boat moving in the forward direction.
I’m also using other dark colors, like green and black, all over the seawater to create waves in the same way. However, you can use other colors, such as white, to make the waves appear to shine under the morning sky.
Or, you can use hints of pink and purple if you’re feeling a little more experimental- there’s really no right or wrong way to paint your sea your way!
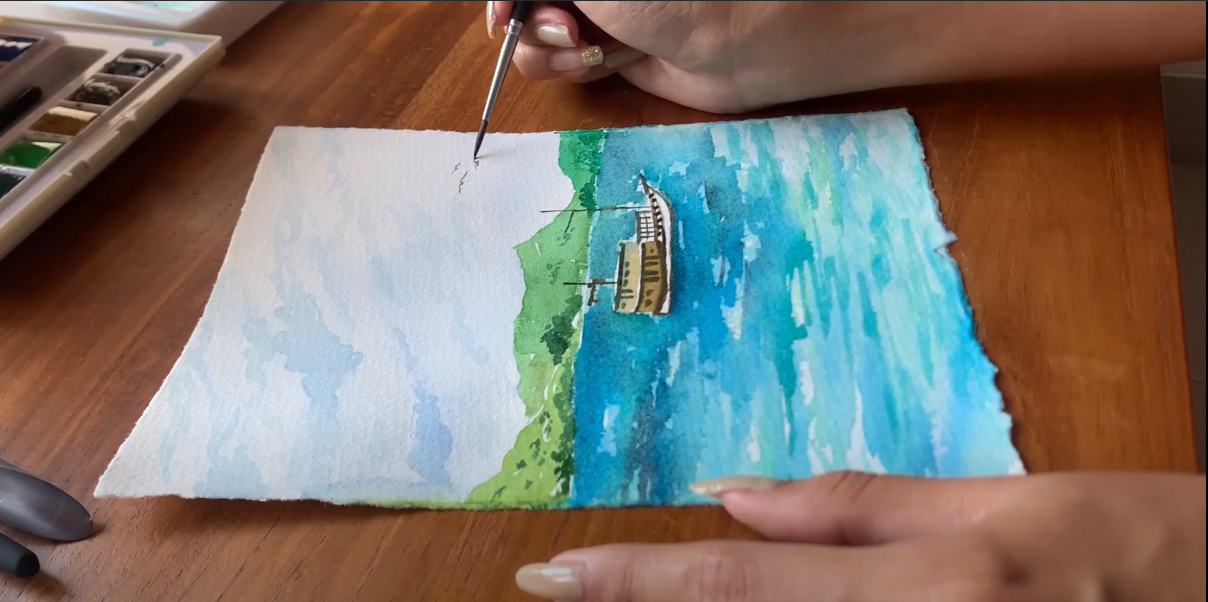
With so much done to the sea, it’s only fair to accentuate the sky a little more! And the simplest yet the most effective way to do so is by adding a couple of birds to the space. I prefer having my birds fly on the edge of my seascape, but here again, their placement isn’t guided by any strict guidelines.
You don’t need to be too precise here, as we want to give the birds the illusion of being in the distance. Just dip a fine-tipped brush in black watercolor and draw different-sized “V”s, similar to what you may have drawn while drawing sceneries as a child!

And with that step, you have successfully painted a seascape with watercolors!
As you may have already figured out, there’s no rule of thumb for completing this piece. You can decide on the combination of colors for each space depending on how you want the painting to turn out.
You can combine different colors to be used for the sea and hills beforehand to see the final effect they create. Similarly, draw some rough sketches of the elements you plan to include in the final piece and paint with colors of your choice to get a better idea about how to create the right shadows and highlights.
Most importantly, don’t lose heart if your first few attempts don’t bring out the result you want. Keep practicing till you get the hang of how to best thin out the colors with water and create natural strokes for a realistic effect. Rome wasn’t built in a day, after all! If you want a tutorial to continue after this one our super easy watercolor galaxy painting tutorial is very fun and a breeze to realize, you can also try to paint roses in watercolor if you feel particularly flowery today but I'd start with the galaxy just because it's so much fun.