Expertises: Art, Pastel, Brush, Drawing, Pencil
Updated on

Inspiring Ideas for Modern Home
Roses have been an inseparable part of several cultures and traditions across the world, used as a representation of love or passion.

For hundreds of years, roses have been used in an allegorical sense to represent a myriad of concepts. After all, there is beauty in the simplicity of this flower. And what better way to replicate the likeness of a rose than by using watercolor?
Hey everyone. Today, I’ll be teaching you how to paint roses using watercolor paint in 8 steps.
The painting process is very simple, so feel free to join me as I direct you through the steps. Let’s get started!
Before we start painting, let’s go over the art supplies you’ll need for this painting. The materials I used for painting roses in watercolor are:
Paint: Holbein Watercolor | Paper: Baohong Watercolor paper 300 gsm | Brush: Princeton Velvetouch Triangle 3950 Brush - Petals
Of course, you don’t need to have the exact supplies that I used for this painting. Whatever piece of equipment works best for you will work fine for this artwork. The colors I’m using are red, violet, magenta, and green, so you don’t have to have a complex color palette either. Feel free to use different colors if you’re in an experimental mood, whatever you see interesting in your watercolor painting set, works, get mixing on the watercolor palette, and have some fun!
As the first step of the painting process, we’ll begin by creating the center of the rose. I like to use light pink to paint this, which I create by diluting red paint with water. You can use another shade like magenta for painting the core if you so prefer.
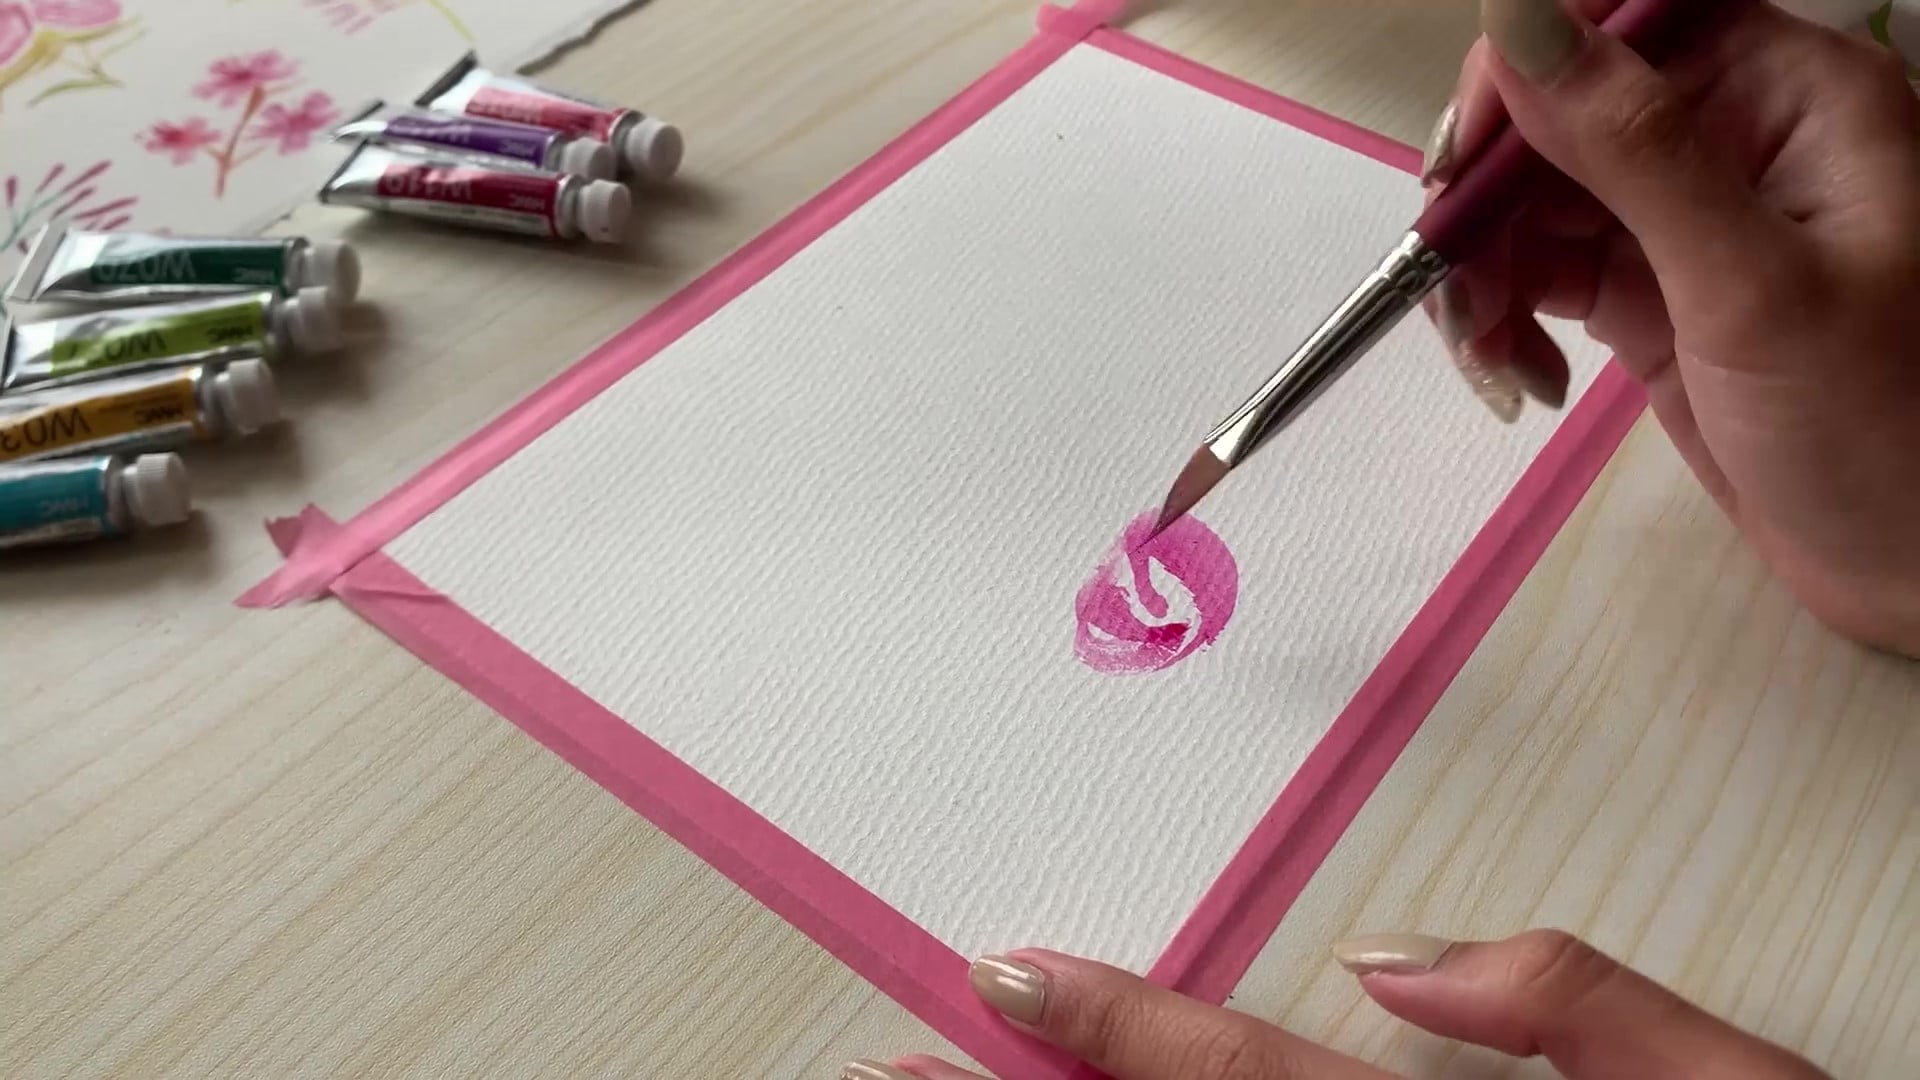
Once you have the color ready, create an unfinished circle in a reversed motion. What this does is it gives the stroke a more natural and lifelike quality. Just be sure to keep your hand steady while performing this motion!
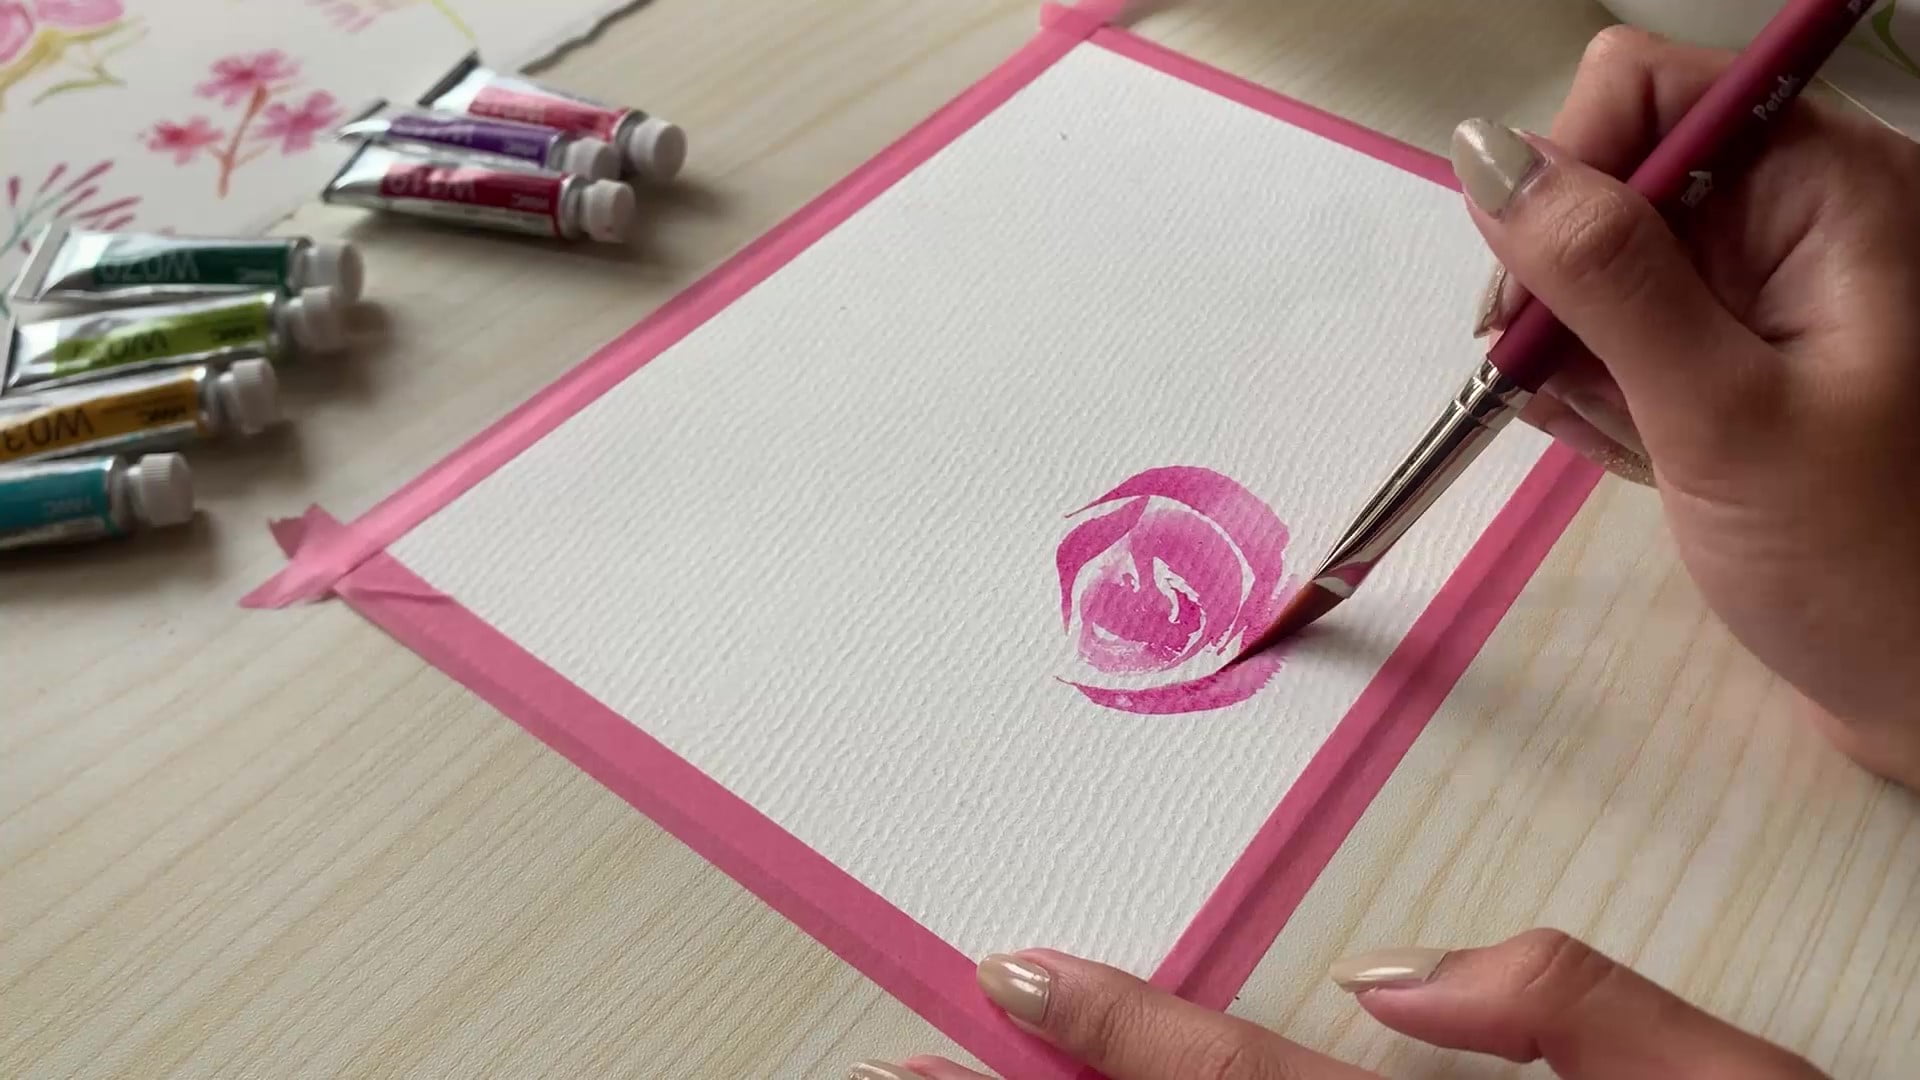
Next, we’ll start painting the petals. Remember that each petal should be painted using no more than a single stroke. Visual variety is key to replicating a rose as it is in nature, so combine thick and thin strokes to paint the petals.
You can change the size and shape of the petals by changing up the pressure on the brush. Increase the pressure on your brush to increase its thickness, and use the tip of the brush for thinner lines. That way, you can achieve a tapering effect as you paint with different types of watercolor brushes.
Few things are uniform in nature, so feel free to vary the petal size and shape to your heart’s content!
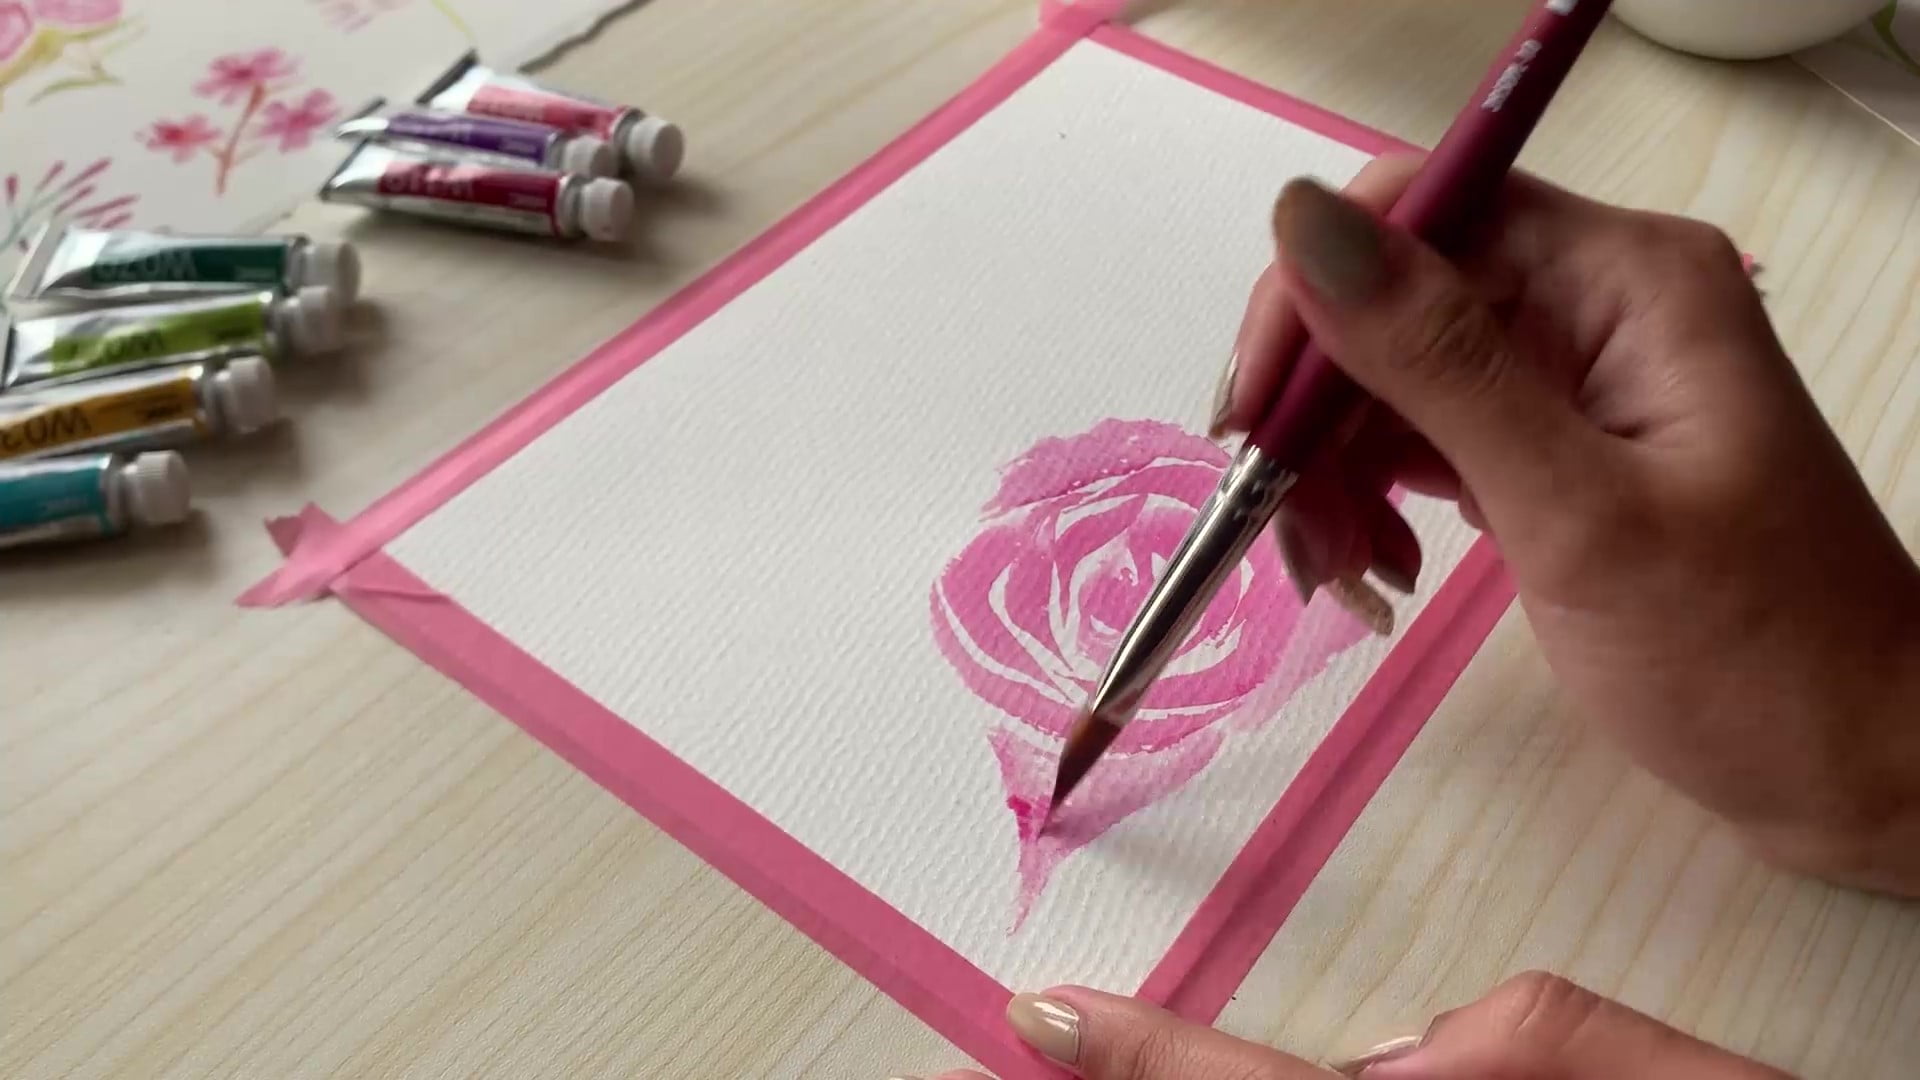
When painting larger petals, you can use a lighter shade to add depth to the painting. This may not be visible immediately, but as you add layers to the rose, the difference will become apparent very quickly.
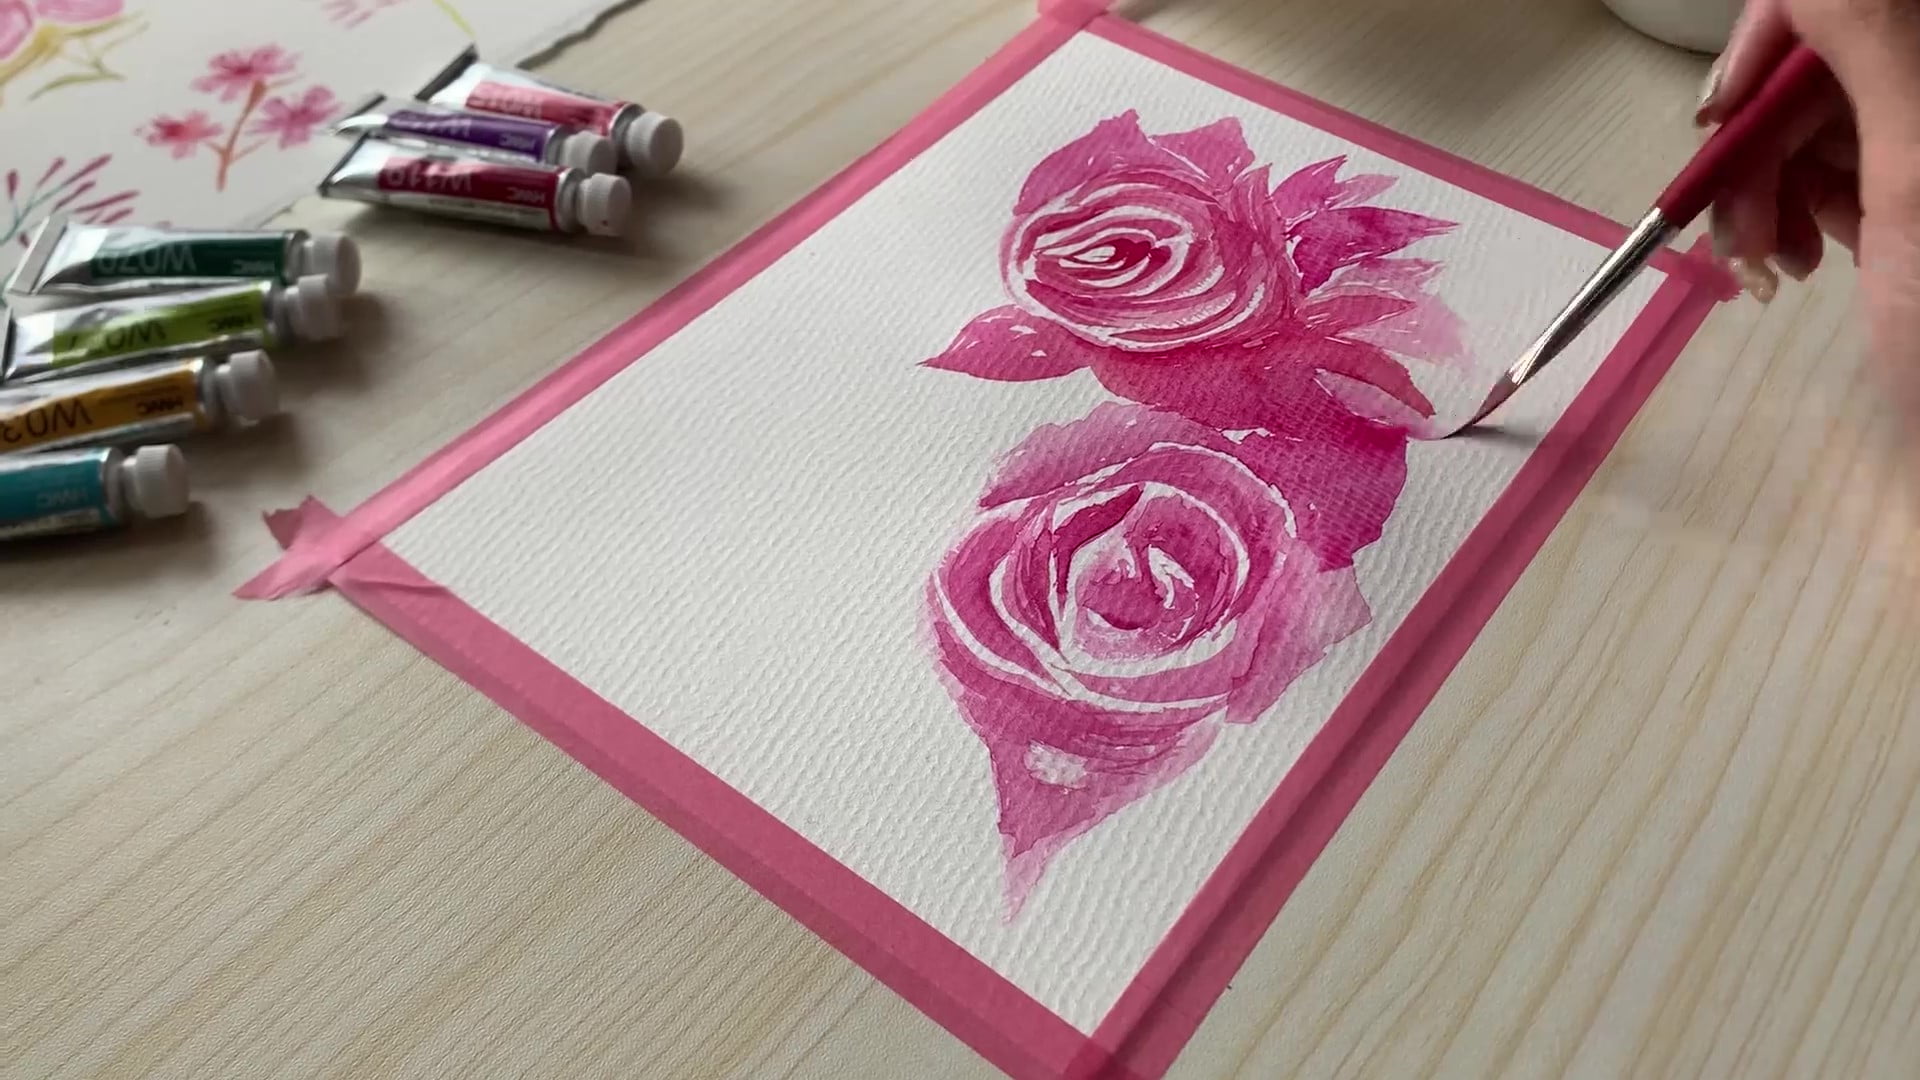
For the second layer, you can darken the paint by adding red or magenta and decreasing the amount of water in the mixture. This will create a much richer shade that we’ll use to build a nice contrast for the petals.
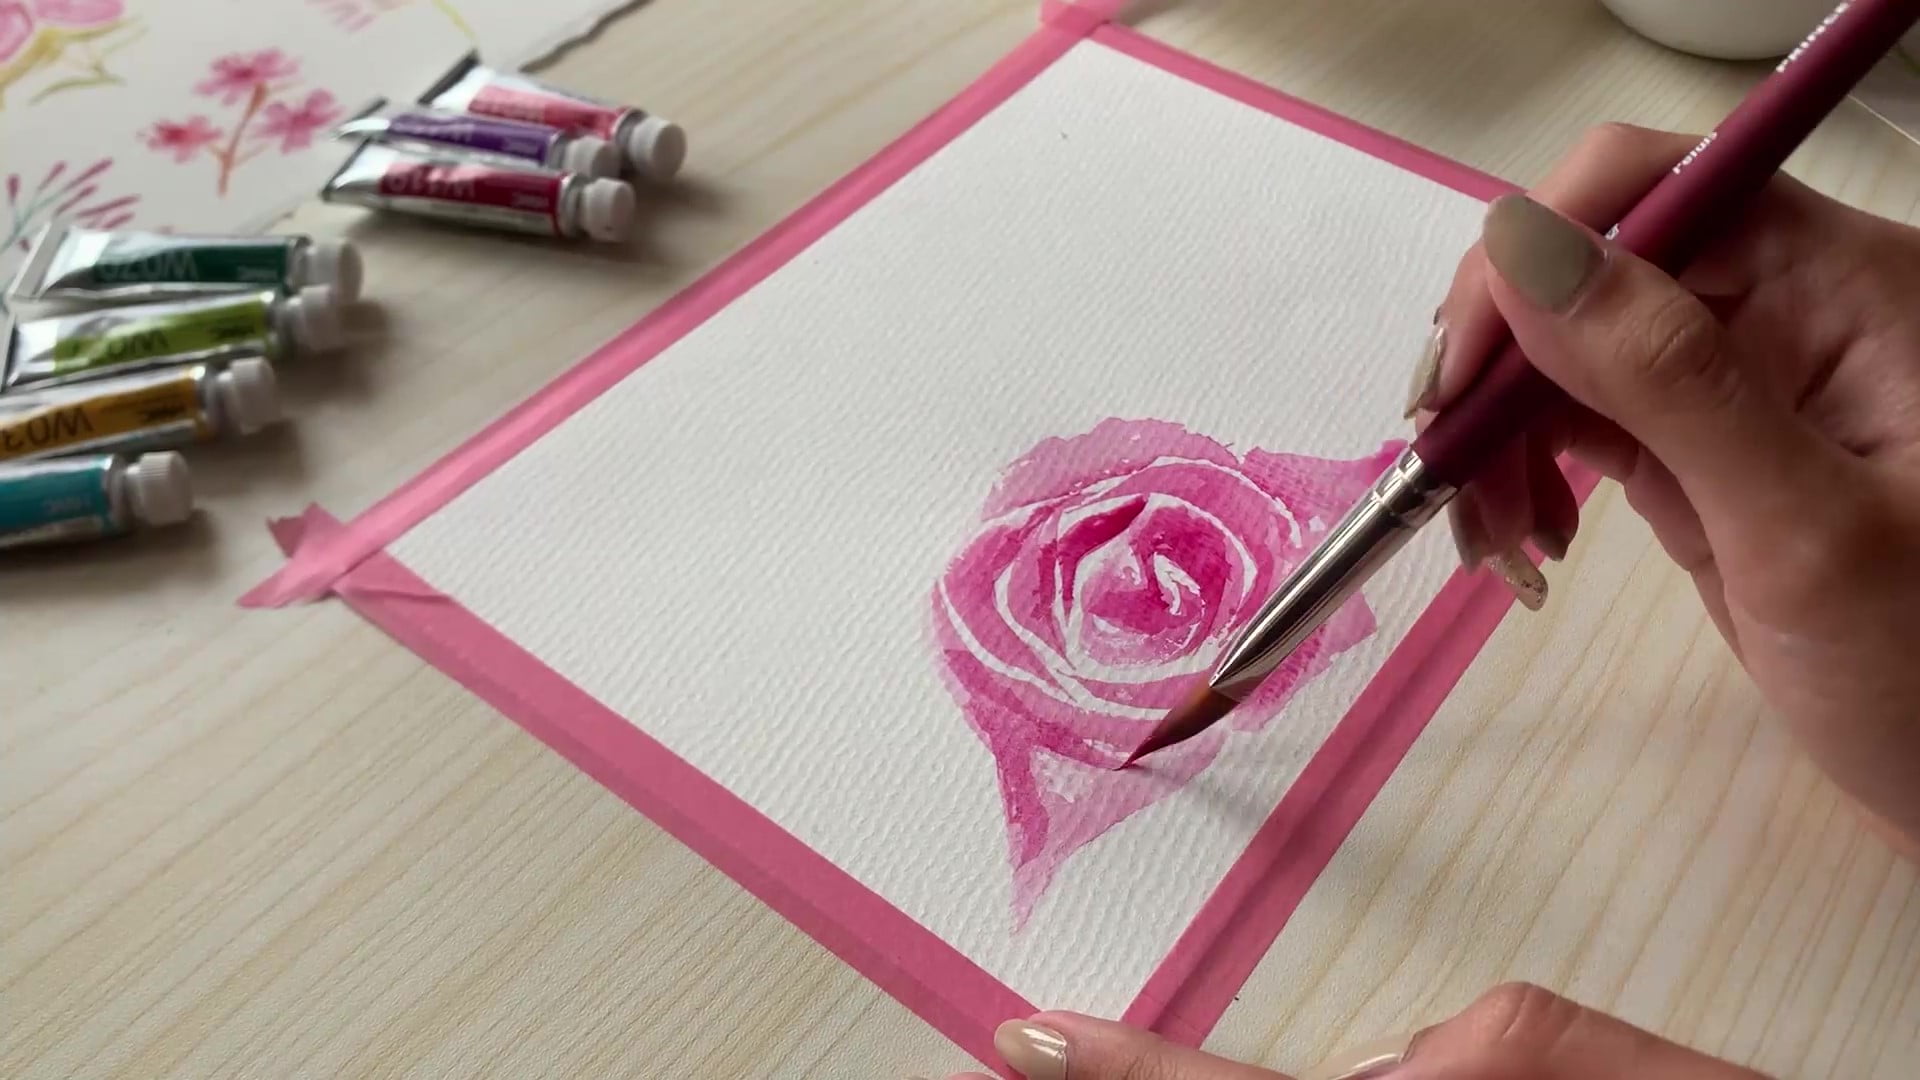
Here, I’ve used different shades of darker reds and pinks to add variety to the painting. As with the petal size, variety can add a lot of oomph to the rose. And with colors, you have a lot of room to experiment with.
Note that the second layer is not exceedingly dark but just dark enough to make parts of the rose stand out. The very purpose of this layer is to add depth to the painting and give the rose some form. As such, it’s important that you leave a few white spaces in the painting to help distinguish between the petals and give an illusion of light directly striking the rose.
You can repeat steps 1 through 3 to paint the second rose and change the colors and petal size to make it stand out.
Another thing to keep in mind here is the spacing. Consider keeping some room around both roses as you paint them. That way, you will have more room to add secondary and tertiary details later on, with leaves and branches.
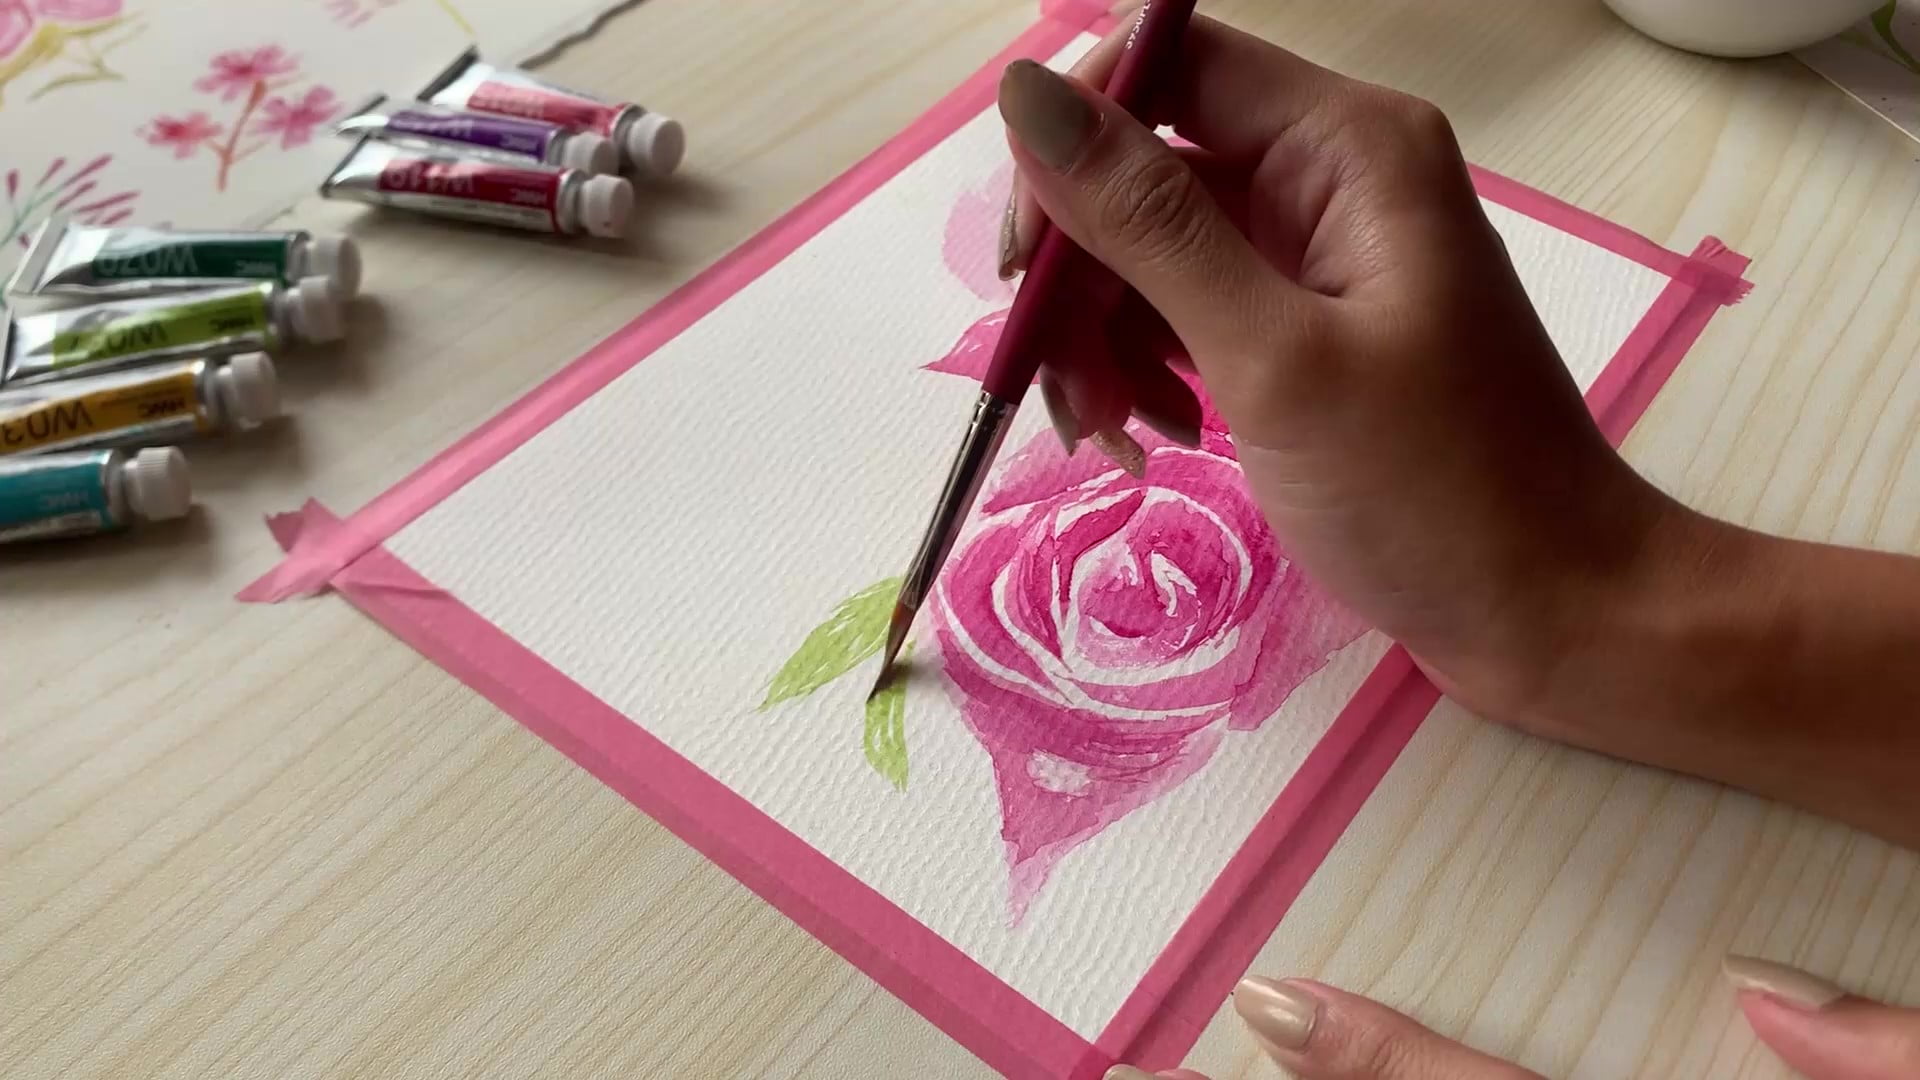
Once both the roses are done, we’ll start painting the leaves. The principle here is the same as the roses: start with a lighter shade and move on to darker hues. I’ve maintained a very light pressure on the brush for better control over the strokes. And I’d suggest using a smaller or thinner brush to paint the leaves.
The leaves of roses are quite distanced in nature, so painting them a fair distance apart would add to the realism of your painting. I like keeping the leaves small for a more spaced-out look, which keeps the painting from feeling crowded.
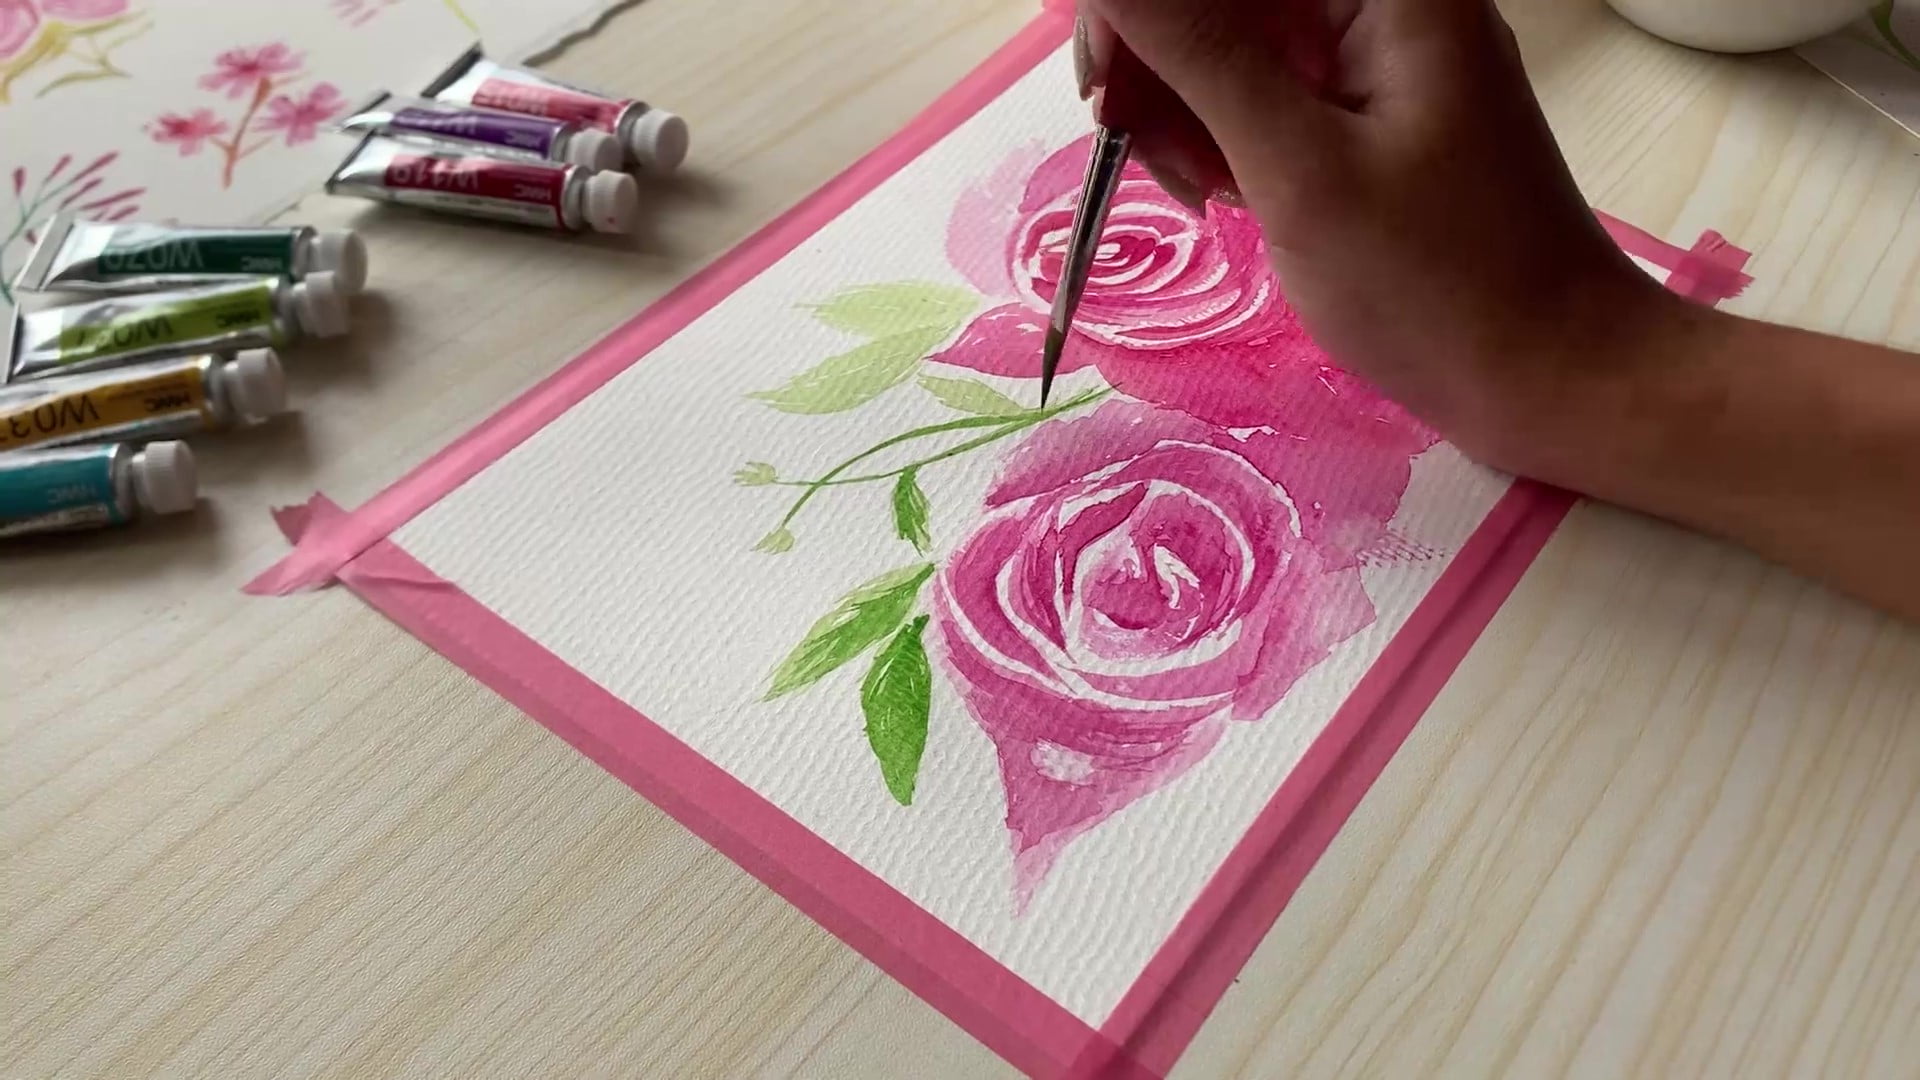
Leaves are incomplete without veins, and veins should be typically a few shades darker than the base color we chose. So, I suggest adding more paint to your light green mix and decreasing the amount of water in it to darken it.
You can start by adding intricate veins and darkening them where necessary. I like adding a few thorns here and there to bring the painting a little closer to reality. If the idea appeals to you, you can do so as well.
Lastly, if your painting includes stems or branches, you can use a similar process to paint them as well. Just remember that the rose branches should be in the same color range as the darker green used for the veins.
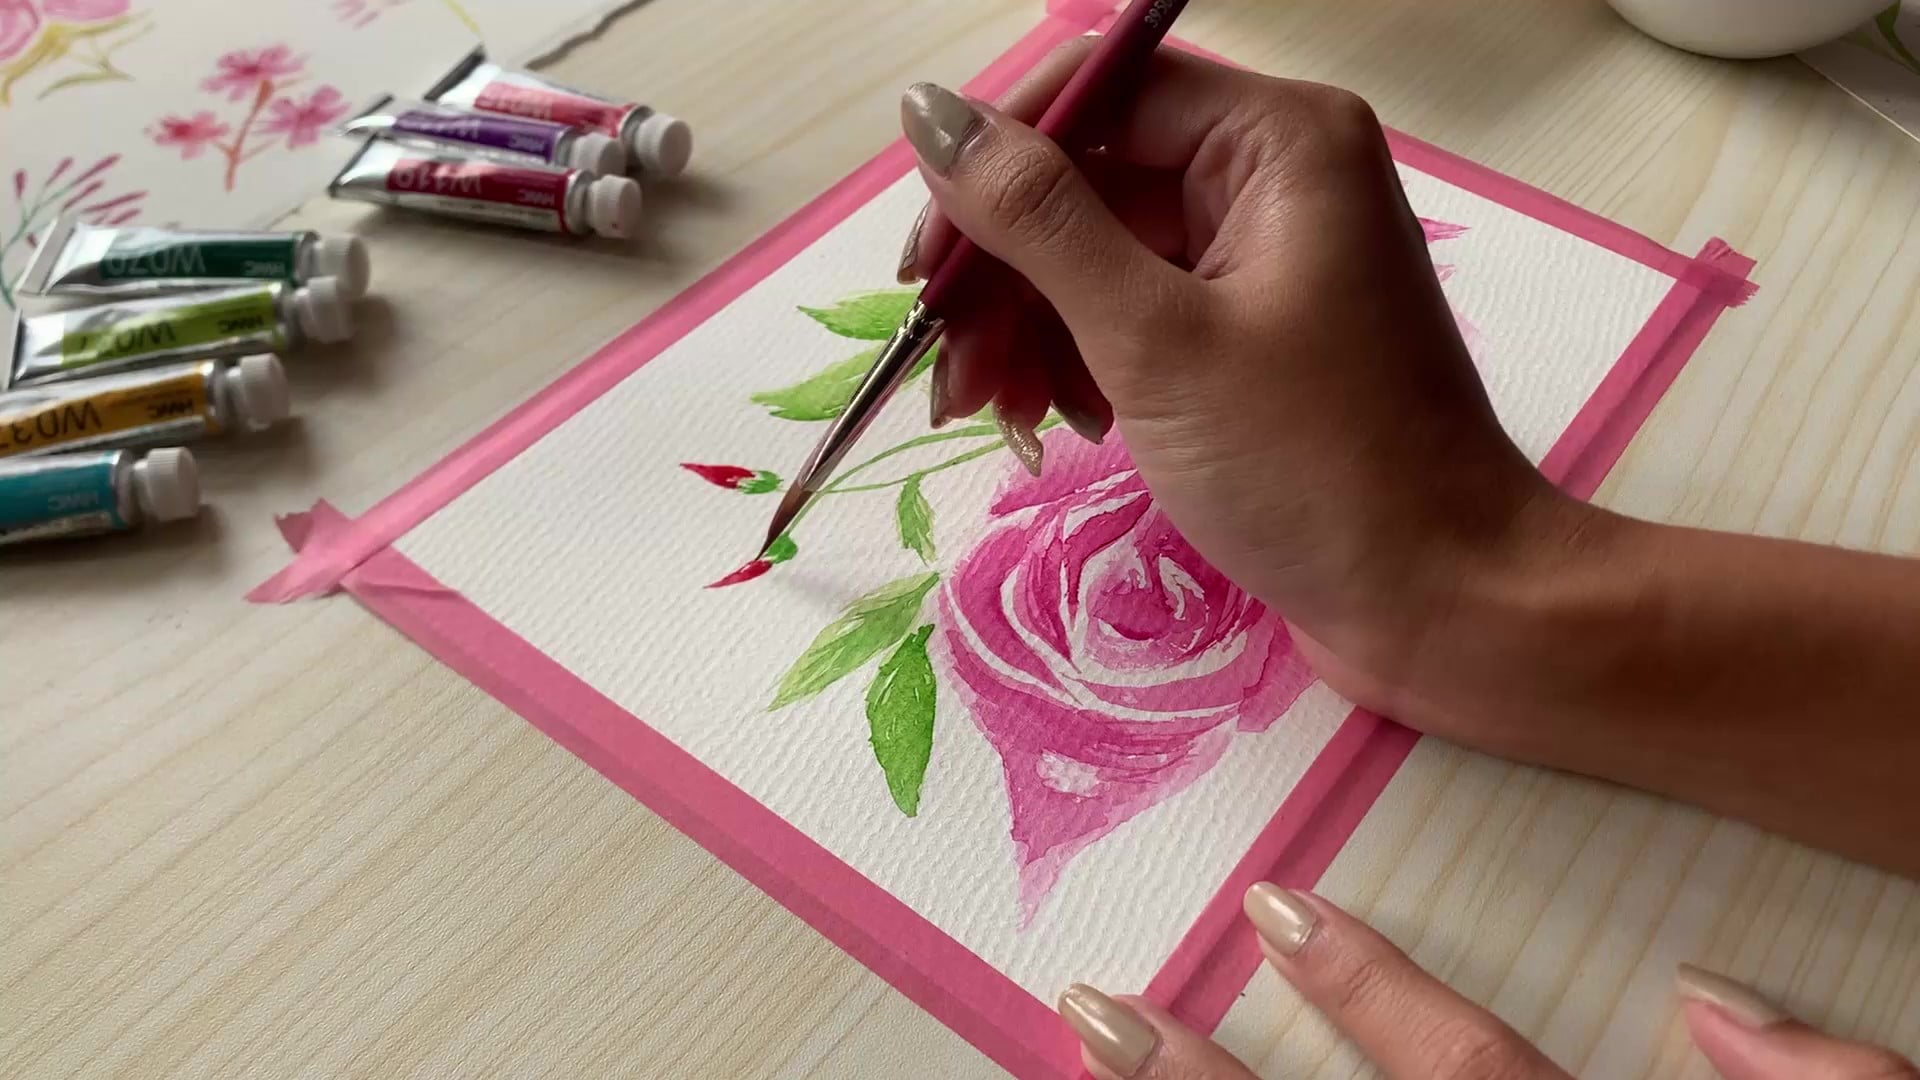
What rose is complete without a few buds? You can add a few buds sprouting from a branch or two using the same principle as the rest of the painting. Start with a lighter color and add a layer to give depth to the painting.
You can use darker colors for the buds and use a small brush to paint them. As you lay the colors down, remember that the lower part of the bud will be a little darker than the rest of it. The same goes for the point where the branch meets the bud.
Even though these are easier to paint than the rest of the flower, I would still suggest following the process one step at a time. That way, even if you make a mistake, you can easily cover it up with white paint.
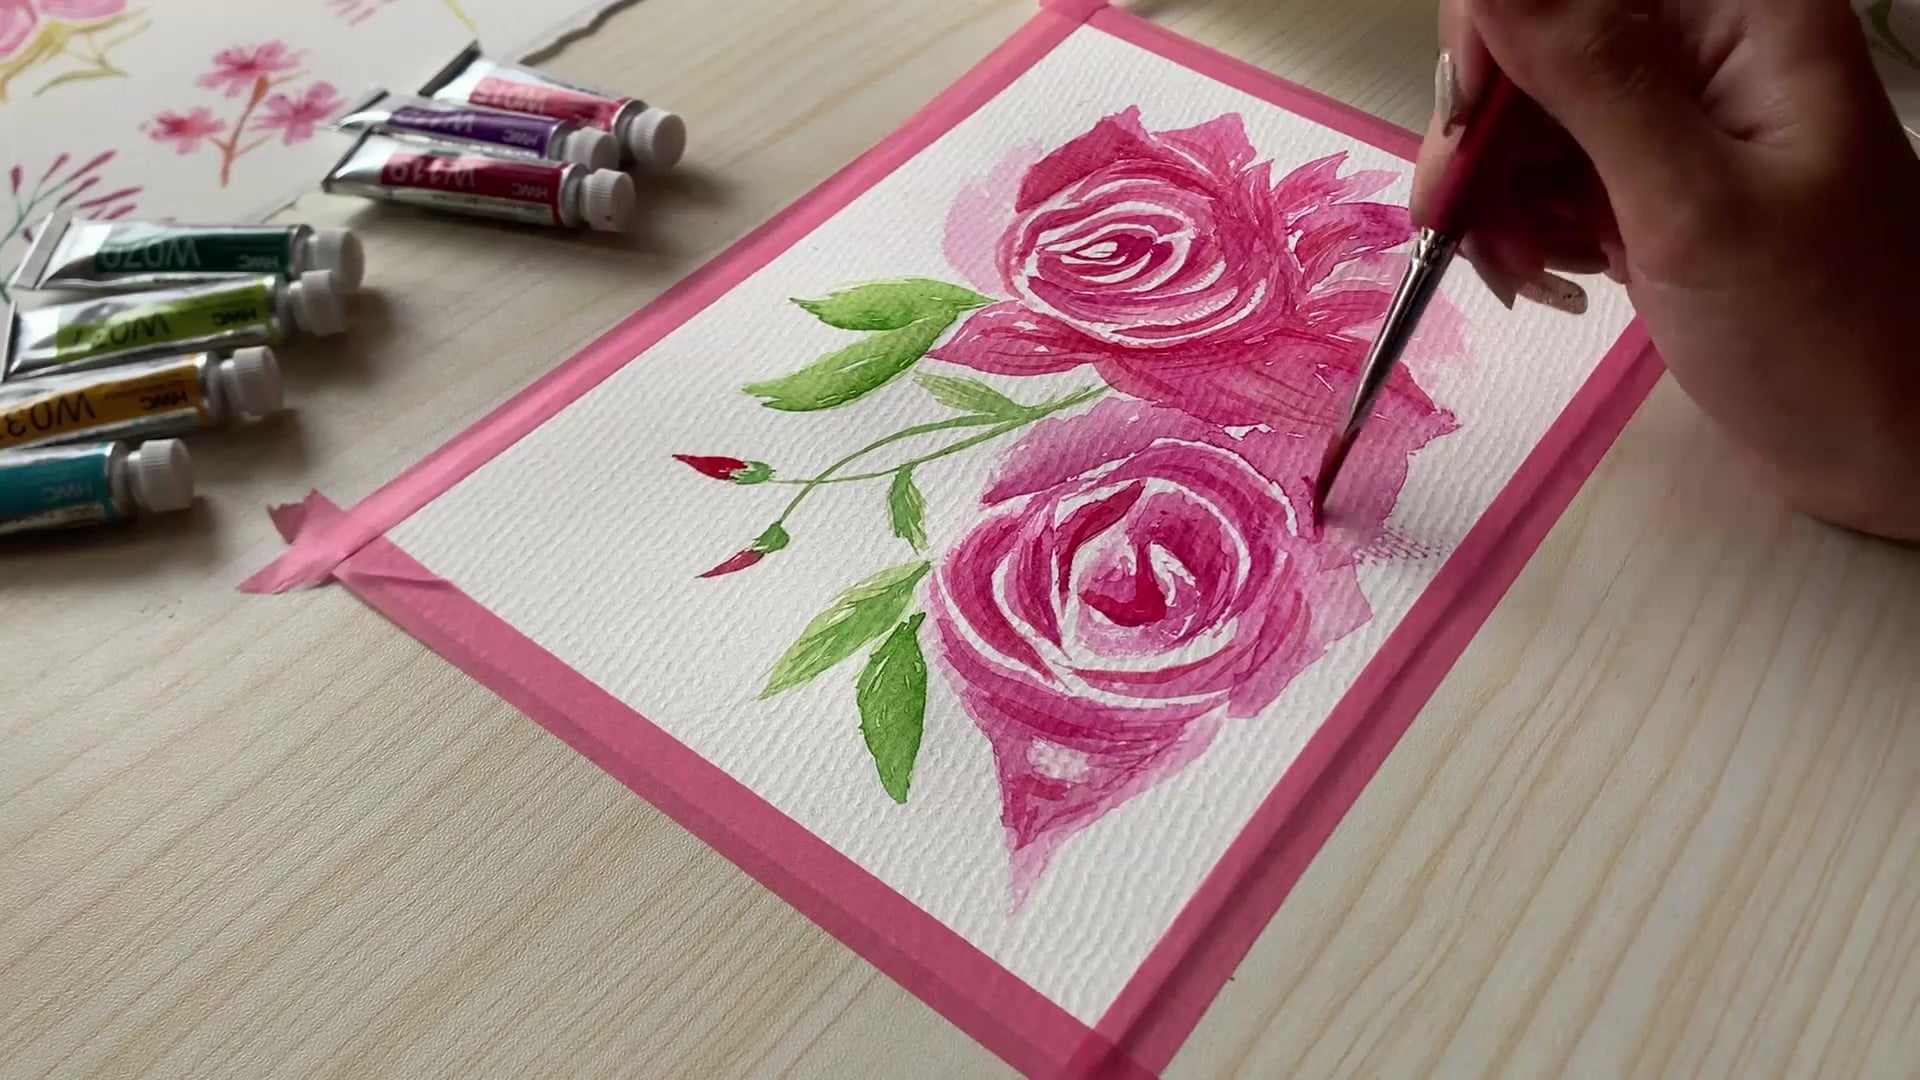
At the final step already! This is where we touch up the painting and add more color to it to make it pop out of the paper even more.
The key points to target in this stage are the lower edges of each petal. Adding a darker shade of red to them brings them much closer to life. And the same goes for the lower parts of the flower.
Consider doing the same for the lower edges of the leaves and the buds as well. Doing so will give them a 3D-like quality rather than a painting that appears to be 2D.
A few finishing touches here and there and the painting is done! It’s as simple as that. You can now frame the newly finished artwork and hang it up on your gallery wall. Or, if you want a digital copy of the work, scan it using a scanner or your mobile phone.
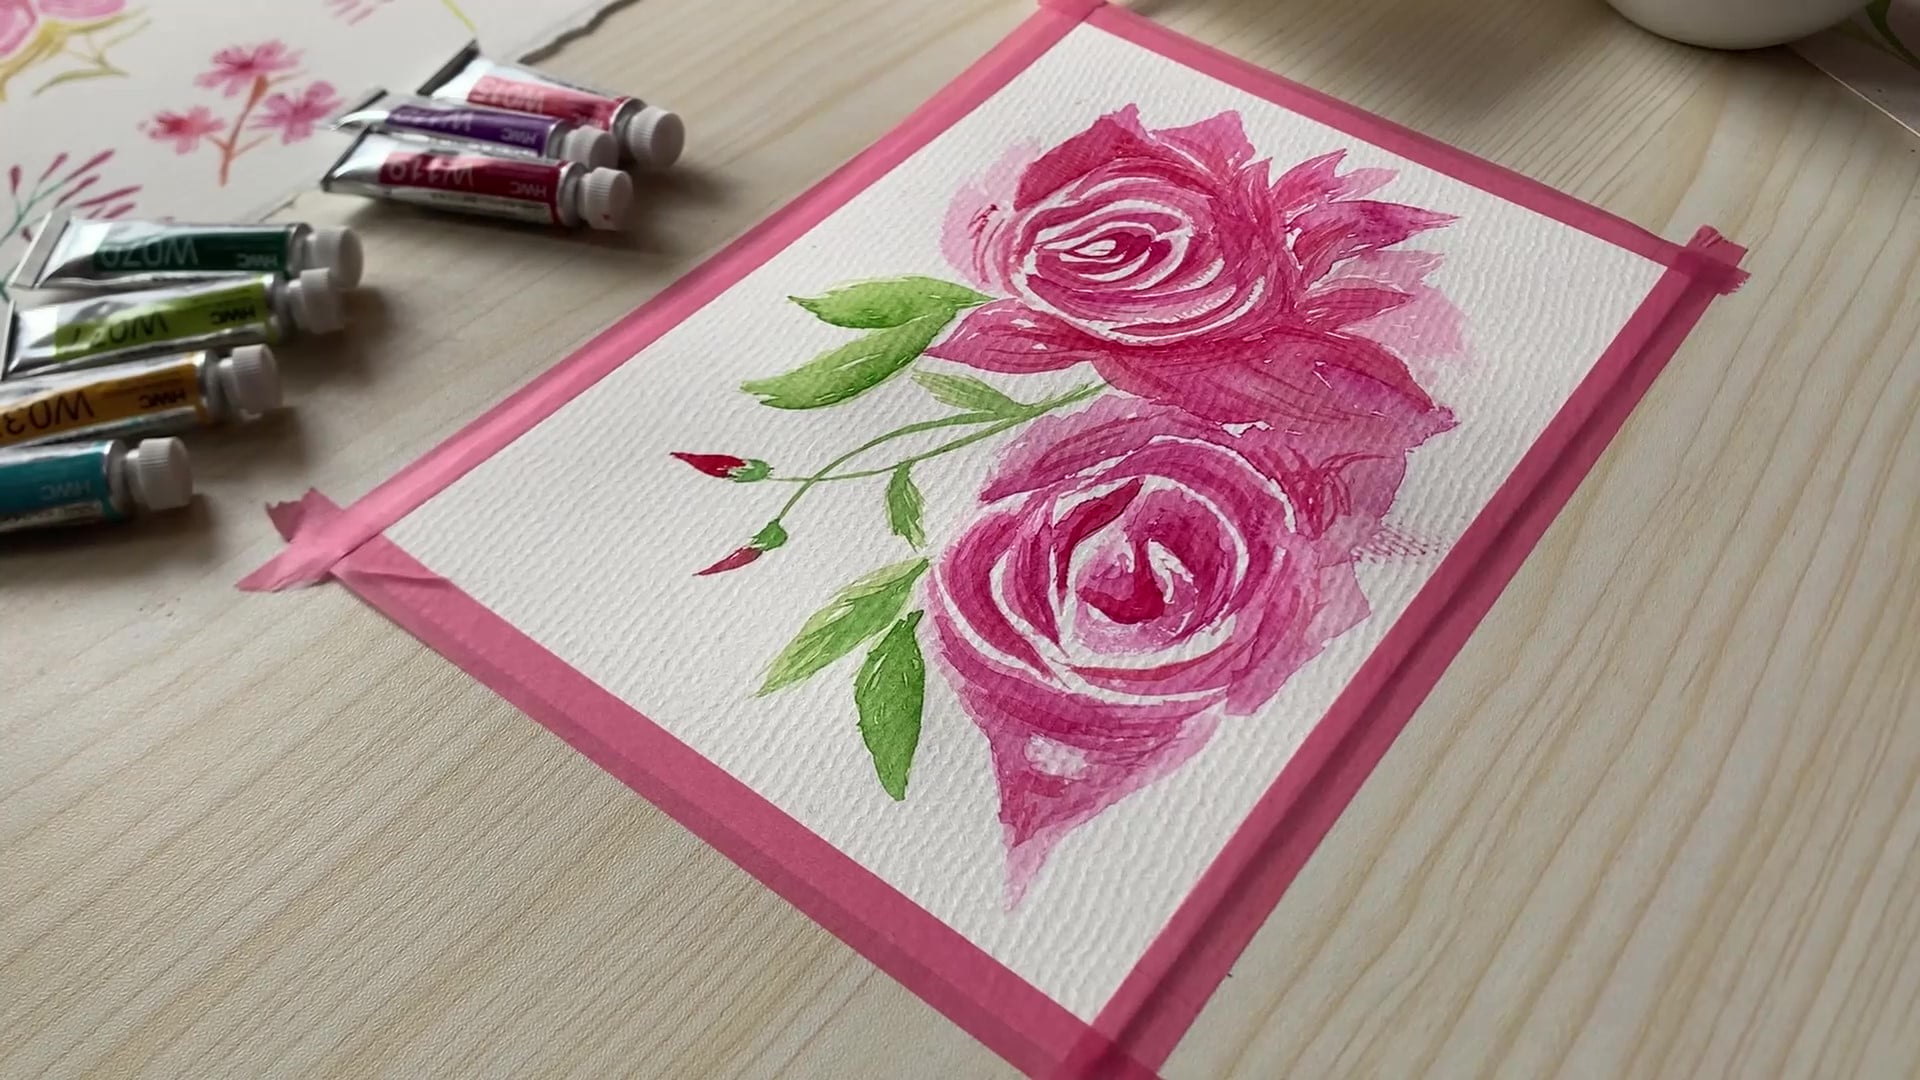
And that brings us to the end of this tutorial. Now, you can paint a couple of gorgeous roses that look as if you can reach into the painting and touch them with just a basic set of art supplies.
Before I finish up this section, remember that you shouldn’t be disheartened if you don’t paint the flowers perfectly in a single try. It takes a lot of time to get a good handle on the brush, let alone make it work well with colors.
So, if your first attempt didn’t go as planned, just try again! Do what works best for you, and that includes experimenting with colors, brushwork, textures, different papers, and more. The very purpose of art is to express yourself, so feel free to take as long as you need to perfect the craft.
And if you’re feeling stuck at any point, find an actual rose or images from the internet to use as a reference. After all, no artist begins with a fully-fledged visual library. They build it over time, and you can too! I also highly recommend checking our watercolor sea tutorial and our watercolor pine forest tutorial to exercise your water-coloring skills even further!
Till next time!