Expertises: Architecture, Design, Art, Home improvement, Painting
Updated on

Inspiring Ideas for Modern Home
There are several reasons for polymeric sand not hardening properly, with the most common being excess water. Resolving issues with polymeric sand hardening is fairly simple, requiring a few precautions during the application process.

The application of polymeric sand is an involved process that can go wrong the moment a step of the process is missed. And a failed polymeric sand project is both costly and time-consuming.
So, to help you fix these issues and avoid them in the future, I’ve created a complete guide on polymeric sand. With this, you can make sure that your polymeric sand installation will go as smoothly as possible.
Made from a blend of sand and polymer additives, polymeric sand is used to seal the joints between pavers of all kinds. For instance, it can be used with brick and concrete pavers for optimal results.
Once you add water to the sand, the special polymers in the polymeric sand activate and begin to harden when the water dries up. The result is a strong binding agent that doubles as a good joint-stabilizing sealer.
Polymeric sand eliminates the need for frequent repairs because of how strongly it binds pavers together, making your patio look good for a long while. And once the compound hardens, it becomes water-resistant, which makes it a worthwhile solution for your patio pavers.
There is no room left over once the sand hardens and so, your patio becomes resistant to weeds and pests as well. But you can consider mixing in pesticides or weed killers to future-proof your patio from potential critter or weed infestation.
Moisture present in the base or the bedding sand can lead to problems with polymeric sand. It can lead to the sand either hardening improperly or not hardening at all. Additionally, a lack of soil compaction can lead to the bedding sand holding more water than necessary, which can further exacerbate this issue.
Tip
Another thing to be wary of when you install polymeric sand is the weather.
If it has rained recently, your bedding sand may have too much water for a successful installation. I would suggest keeping the base of your pavers completely dry for proper installation.
One of the most important steps of polymeric sand installation is the watering stage. This step involves using a garden hose on the shower setting to spray the patio with water to activate the polymers.
If you’re not careful, this stage can easily lead to over-watered sand, which ends up separating the polymers from the sand during activation. The bonding strength suffers as a result, and the sand ends up not hardening properly.
On the flip side, if you don’t water the sand enough, it will form a slightly hardened top layer without properly bonded joints. As time goes on, the sand will erode and create gaps, exposing the sand that hasn’t bonded down to the base of the joint.
Poor drainage can easily destroy all the progress you made on the paver project. If water has no space to leave the bedding sand, the polymeric sand won’t set properly. And once the rainy season comes around, the polymeric sand will be left vulnerable to be washed out.
The lack of a slope can also lead to water pooling underneath your paving stones, further exacerbating the issue. And if the pavers don’t have a boundary of an either artificial or natural kind, the edges remain susceptible to the same issue.
Both the lack of space in a paver joint and an abundance of it can lead to issues with polymeric sand. Too narrow or tight joints can cause spill-overs during the activation process, and the lack of space gives water no room to flow while showering.
In a similar vein, larger joints with too much space between them can lead to washout as well since they allow too much water between them. The same is applicable to joint depth as well.
Not only is this problematic for the polymer activation process, but the sand that washes out can also form a hazy, hardened layer on your pavers. This is an unsightly mess that can be quite difficult to resolve without professional help.
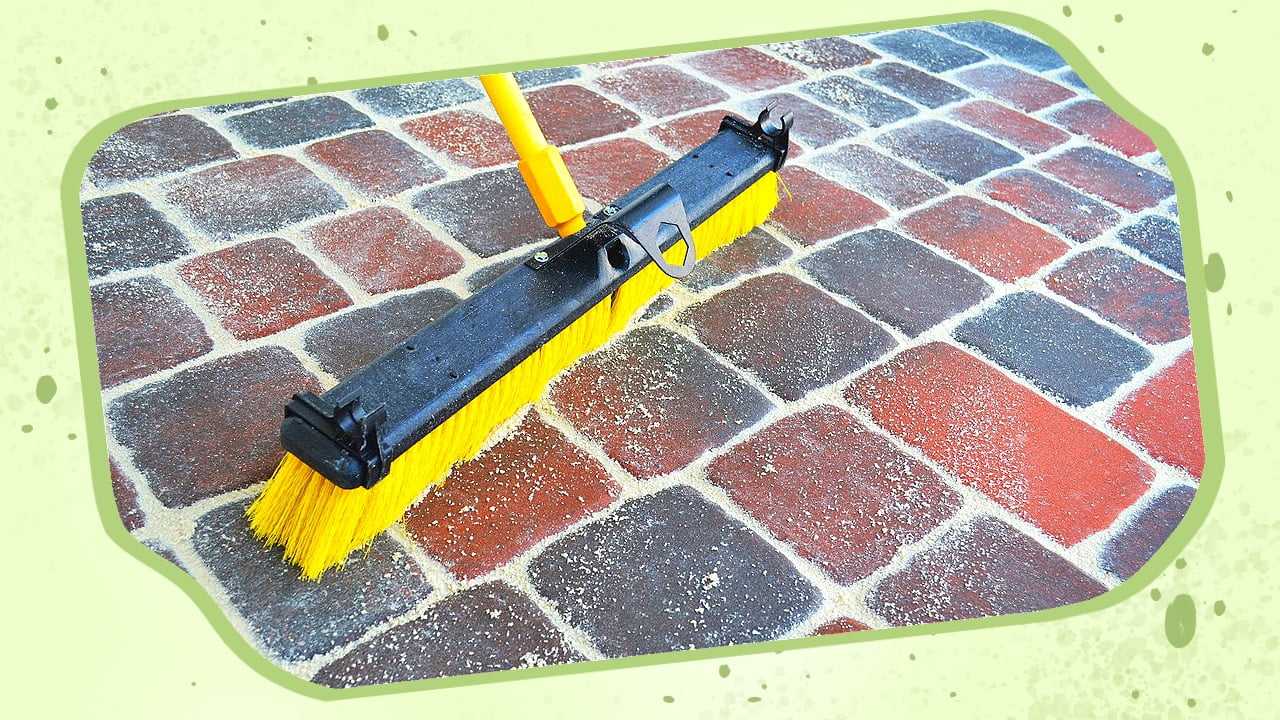
While using polymeric sand, you will need to brush off excess sand before and after the compacting step. But if the excess sand isn’t removed properly, the polymers in it will activate first and dry up before the sand in all the joints. And if you’ve already applied a sealer on top of it, the problem can become much worse.
The dried crust ends up trapping water underneath, causing issues in the long run. Moreover, the resulting hardened polymeric sand is far from a pleasant sight, leaving behind dried-up polymers that are a blemish on your pavers. The appearance is akin to a permanent layer of stone dust on your pavement, which is not a good look, to say the least.
Unfortunately, there are plenty of polymeric sands on the market that are simply not up to the mark. A cheaper price tag may seem enticing at first, but the product is likely to cause trouble in the long haul.
Poor quality polymeric sand uses cheap ingredients that lower its price and can set up quickly, but the results can be far from desirable. One such ingredient is portland cement, a material known to leave behind a hazy residue on the pavers.
Likewise, the combination of poor-quality materials may also result in the sand not hardening well enough to be satisfactory.
A crust forms on the surface of the sand as a result of it being filled too high or not being watered enough. This causes the sand to remain fairly loose underneath the hardened surface that erodes over time, necessitating frequent repairs. The only permanent solution to this problem is to remove and replace the existing sand with new polymeric sand.
A white haze forms over the pavers as a result of improperly swept excess sand or overfilled joints. This hardened haze can be quite difficult to remove, requiring saturated chemicals to clean the pavers thoroughly. The process is quite involved and has several steps to it, which is why most people strive to avoid such hazy results.
If this is your first time applying polymeric sand, you are probably going to encounter at least one of the issues I listed above. I certainly did the first time I got to use the paver filling material, and it was an educating experience, to say the least.
You can try to mitigate these issues- or outright prevent them- by following the set of tips below. These tips cover all the essentials of polymeric sand application, and I ensured to leave no stone unturned when it came to being thorough.
One of the first steps you can take to make sure that your polymeric sand doesn’t fail you is to use high-quality products only. You won’t have to spend extra money on repairs for a long while, and the time you spend on it will be well worth the while.
Low-quality polymeric sand will require repairs far sooner than one would expect, and it’s generally better to use high-quality variants when such a time arrives. The price difference between high-quality and low-quality sand ends up saving you money as time goes on.
It may sound contradictory, but rest assured, you’ll be getting your money’s worth for years to come. Just be sure to use enough polymeric sand when starting the project.
Several polymeric sands come with instructions specific to the particular product. So, if there is an additional sand application step that you have missed, you may want to start over with the project.
It’s always best to look up the paver manufacturer’s instructions manual before starting a DIY project, after all.
A rush job can be the root of many issues, and polymeric sand installation is no different. While the application process will take you about an hour, the sand will require multiple days to set in well. Rushing through the steps will give the sand no time to harden, leading to a host of issues that are expensive and time-consuming to fix.
So, take your time with the application process and prepare well in advance to keep the patio off-limits. After all, you wouldn’t want to keep fixing the pavers over and over again for any accidental damage, would you?
Over-watering and under-watering can both occur while showering on the patio, and you can avoid them by using your garden hose carefully. Some polymeric sandbags may make mention of the optimal amount of water required for the sand to set in properly.
You should wait for up to three minutes between watering sessions to let the water seep into the pavers. And once you see foam, stop watering at once. Doing so should give you a proper idea of how much water you need to spray in future showering sessions.
Tip
If you’re unsure about the amount of water needed, consider setting up a few square feet of test area away from your main pavement work.
It’s for the best to avoid spillover while lightly watering if you can.
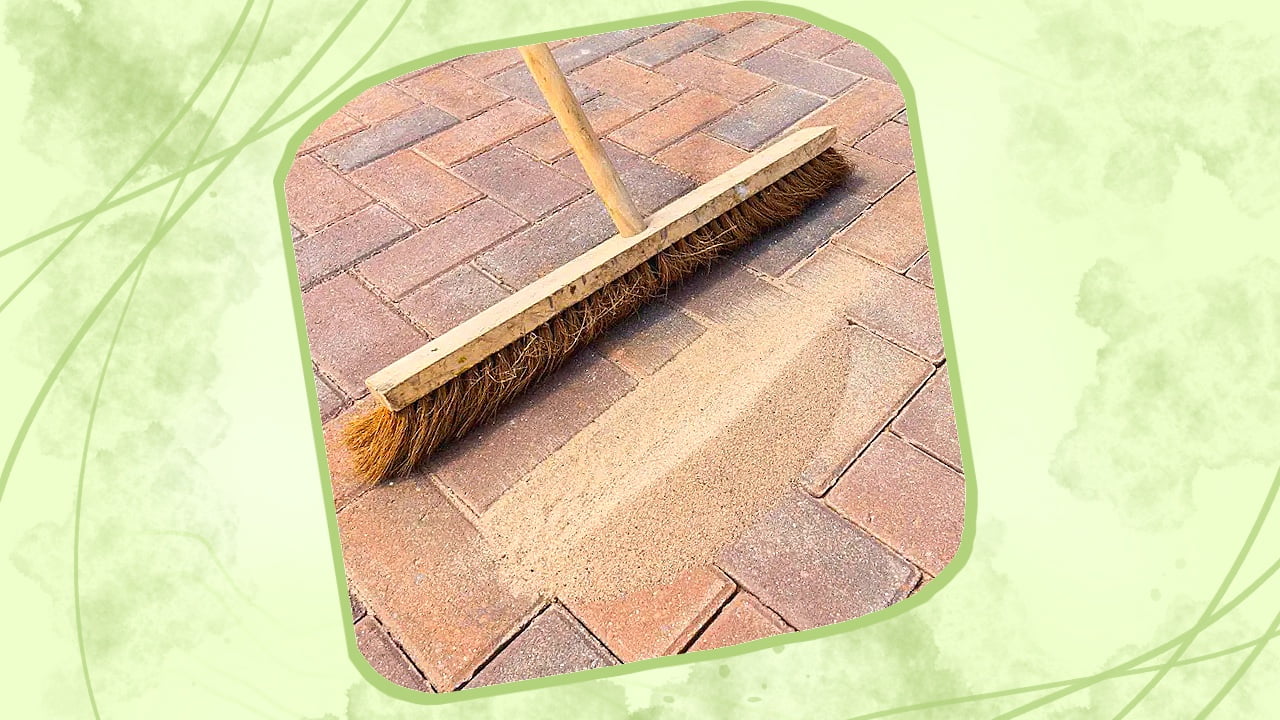
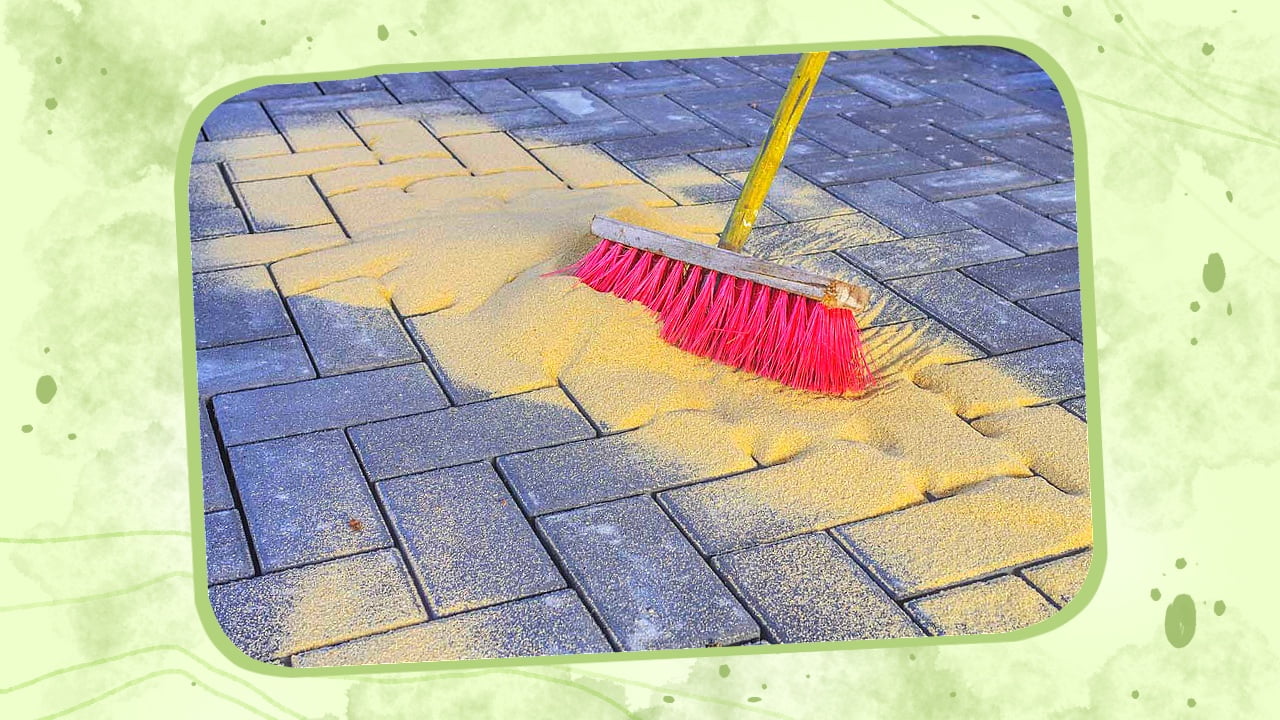
Moderation is key when sweeping your patio to remove excess sand. Sweep too vigorously, and you may not leave enough in the joints to form a good seal. And if you do so too lightly, the excess leftover paver sand will form a hazy residue on top of your pavers.
Thus, you should be careful while sweeping to leave as little sand on top of your paver surface as possible, particularly with textured pavers.
If you are left with a hazy coat of sand on your pavers, you may be able to remove it using a hot water pressure washer. Water from a hot pressure washer can help reactivate the polymers in the sand and make it easy to remove again. Once again, moderation is key to successful removal.
There are a few solutions to poor drainage problems that are easy to implement during installation. These include: installing pavers on a surface that lets water through, establishing boundaries, and creating a slope. Issues with standing water are eliminated completely with these practices.
Installing pavers on a surface made of crushed concrete sand or natural stone with bedding sand in between creates a medium for the fluid to pass through undeterred. Thinner pavers benefit from these particularly, getting the extra support while the polymeric sand hardens.
Depending on where you live, you may also want to look into installation guidelines on the impact of such substances on the garden soil. If you have a garden near your patio, this is a helpful practice in keeping the plants safe.
Next, create an artificial or natural boundary around your pavers to allow water to flow off the edges. Even if the surface doesn’t allow drainage, a boundary can help remove water from the pavers.
Lastly, you can consider giving your new patio a slight slope that naturally redirects water away from the pavers. Note that the slope should be tilted away from your home, so it doesn’t pool around the base of the structure. Additionally, electric gates and other electrical installations should be placed away from the end of a slope.
Before you begin installing polymeric sand, you should check the weather forecast for chances of rain. Rain can easily wash away all of your hard work with no fault of your own, after all. And the same goes for any weather condition that can lead to the pavers becoming damp, such as snow storms.
Try to ensure that the weather conditions are completely dry before starting your patio project. And, for good measure, consider using a leaf blower on the surface before you begin working.
Topping is the act of using regular paver sand to fill in the paver joints before covering them with a layer of polymeric sand. Though this may sound effective both in terms of cost and results, this is anything but effective.
The primary issue with topping is that the base isn’t packed densely enough with regular sand, which can wash out quite easily during the rain. A thin layer of polymeric sand won’t last long enough to withstand the rainy season and soon, you will have a mess on your hands. It’s entirely possible that topping can end up costing you more money than simply using polymeric sand for the job.
Suffice it to say topping is not a wise approach when it comes to creating solid paver joints.
It may be tempting to skip out on the compacting stage of the polymeric sand installation, but it remains a vital step of the process.
Using a roller compactor or plate compactor for this causes sand particles to remain close while the binder materials in polymeric sand do their job. This ends up creating a solid and durable bond that will last for a long time. The pressure applied during this step removes pockets of air and any spaces left between the joints, reducing the likelihood of cracked and broken joints.
Though the application of polymeric sand is straightforward, the process requires a lot of care to be executed properly. After all, there is a lot that can go wrong with the compounds involved in the workings of polymeric sand.
If your polymeric sand doesn’t harden, the culprit is often excess water. Regardless of the reason, issues with polymeric sand hardening can be resolved without much trouble. All you need to do is remain vigilant during the application process and ensure you’re following the manufacturer’s instructions.
Should you face any issues with polymeric sand, I would suggest contacting professionals and letting them handle all the heavy lifting. The end goal here is a gorgeous-looking patio, and professionals can guarantee it for you at a small fee.