As far as we can remember, oil painting has always been the best painting option to create the most astounding and most delicate paintings.
The reason is that oil paints are really rich in pigments. And they also provide the artist with the ability to work with the smallest details.
That is why when it comes to creating masterpieces, both famous and seasoned artists turn to oil painting for this reason.
But then, choosing the right surface for your oil painting is equally important as choosing to work with oil paint itself.
Moreover, some surfaces work really well for oil painting. Some surfaces compromise the effects of oil paints while some flatter it.
We shall take a look at a few surfaces that are both good and enhance oil painting.
Best Oil Painting Surface
Canvas
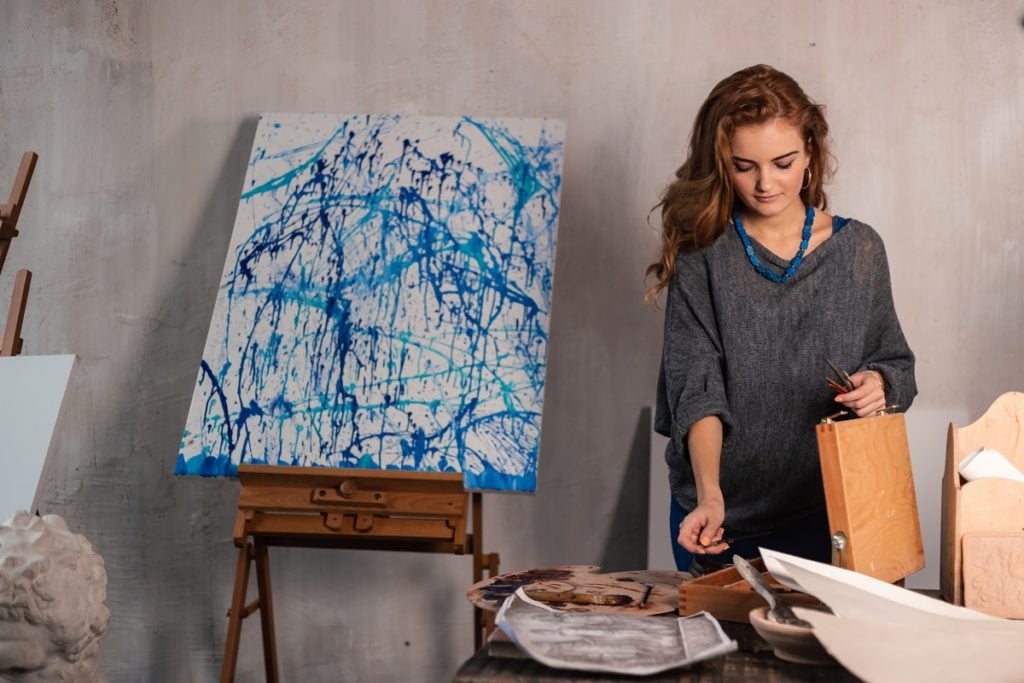
Needless to say, the best surface for oil painting is a canvas.
For hundreds of years, artists have always preferred canvas because it provides the best support for oil painting.
The most commonly used canvases are made of cotton and linen.
Linen canvas is much tougher to work on. Stretching and priming it is not easy. It will take some time to prepare it. It is also much more expensive.
But linen canvases are considered as gold standard surfaces and they deliver the best results when it comes to oil painting. Paintings done on a linen canvas will last for generations.
Yet, on the one hand, cotton canvas is much easier to work with and also comes at a much lower price when compared to linen canvas.
The main difference between a cotton and a linen canvas is the overall finish of the painting.
With linen, the paints are visible and luminous while with cotton, the paints appear to be semi-matte because of the cotton’s absorbency.
However, if the surface of the cotton canvas is primed beforehand, it will reduce the absorbing effect.
There are different varieties of canvases and each of them delivers different effects and textures accordingly. Let’s take a look.
- Stretched Canvas
This is a very famous kind of canvas used for painting. It is called a ‘stretched’ canvas because the process of creating it requires stretching and stapling it on wood stretchers.
What this does is allow the fabric to have a certain degree of elasticity which makes the canvas flexible to work on.
Stretched canvas is preferable when it comes to paintings that are used for displaying.
- Canvas Panel
A canvas panel is mostly ideal for beginners and students because they come at an affordable price. Most amateur artists use canvas panels for this reason.
The structure is also different. It is done by gluing and attaching the canvas on a compressed paper or cardboard.
The surface texture is more or less the same as that of a stretched canvas, offering enough teeth for better and lighter brush strokes.
- Canvas Pad
Another canvas option that is good for practicing is this one.
If you are still mastering the art of oil painting, you will likely find this option very convenient.
These canvas pads contain multiple sheets that are easily tearable. They come in different fixed dimensions.
So it is favorable if you must test new methods of painting. It leaves space for errors too.
Moreover, canvas pads are versatile for other art creations and crafts.
However, the overall structure of these sheets is not as strong as that of a canvas that’s been fixed on a support. Also, canvas pads are meant for temporary paintings and are not suitable if you want to keep your painting for a long time.
- Canvas Roll
This next canvas surface is also one of the most preferable surfaces for painters working with oil paints.
Canvas rolls allow the artist to work on the desired size. The surface to work on is limitless.
We think this is the kind of canvas that works pretty well for artists who want to illustrate bits of continuous stories through their paintings.
Comparably, if you buy this canvas in a large quantity, it will probably come at a lesser price.
Paper
Paper is another surface that welcomes oil paints.
Although it depends on both the consistency/amount of the paints and the thickness of the paper, it delivers great results.
Most artists prefer papers for certain specific oil paintings because of their price and their ability to provide enough tooth on the surface. They find that paper offers really good support for oil paints.
Some papers are of great quality and some, are not so much.
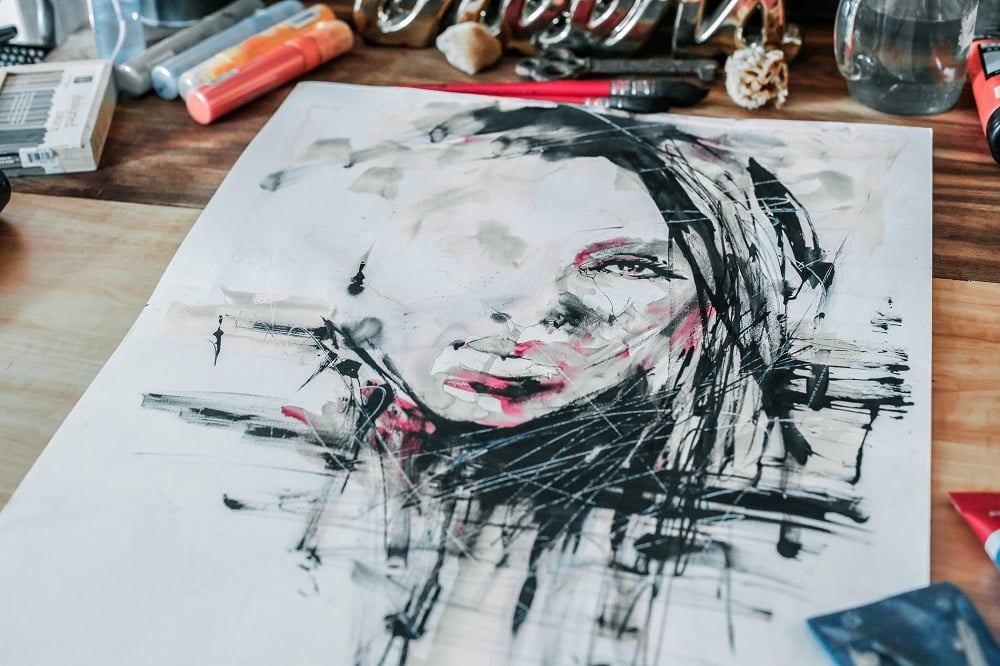
To get the right kind of paper that’s good for oil paintings, you have to consider some of the things below-
- Weight. When working with heavy oil paints, you will also need heavyweight papers.
Heavyweight papers do not buckle easily when it gets in contact with a liquid, therefore, making it dry off beautifully.
For oil painting, we would recommend getting paper as thick as 300 gsm or above. This will be indicated on the label of the packaging.
- Acid-free. If you want the painting to last for a long time and age successfully, acid-free papers are a must.
Papers with acid content will likely affect the quality of the painting afterward.
But acid-free papers prevent the painting from discoloration, making it stay fresh and vibrant for years to come.
High-quality papers will usually be marked as ‘acid-free’ or ‘pH neutral’.
- Durable. Besides being acid-free to ensure longevity, a paper must be able to endure actions like sanding, erasing, and other rough techniques.
Strong papers are normally those that are entirely made of either cotton or linen fiber.
Try to avoid papers that are made from wood because these do not usually last that long. Moreover, papers made of wood fiber contain acids.
- Primed. Primed papers offer the best and strongest support for oil painting.
Some drawing papers are already primed and that’s why you’ll see that they are sturdier than regular papers.
However, if the paper is not already primed, we advise first coating it with a primer like gesso.
Wood
Wood provides a robust and smooth surface at the same time. Although, you can get one in different textures if you want to.
With wood, there is no cause to worry about the durability of the platform. Yes, wood can decay but that depends on the type of wood and the preparation.
These are the different types of wood surfaces that are the best for oil painting:
- Walnut
- Basswood
- Birch
- Maple wood
- Baltic Birch
Wood can last for several years. However, as we have experienced, the natural atmosphere where you live can also affect the quality of even the best wood.
Humid and misty places do not host wood very well. That is why, in such similar places, you will need to use coats of wood protection/conservator followed by priming it before the actual painting begins.
Otherwise, in normal climate temperatures, priming the wood surface is all the preparation you will require. For priming, we always recommend using gesso because it is the most favorable primer by artists all over.
Choosing the right wood surface depends on the style and nature of your painting. It will not be hard to choose because the above wood variants that we mentioned are all good for oil painting. All that’s left is your preference.
MDF
MDF or Medium Density Fibreboard is a modified type of wood that contains resin and wax.
Normally, the process of making this type of wood is by grinding wood fibers with a mix of resin, wax, adhesive, and other properties under extreme pressure. This makes the wood much more condensed, heavier, and stronger than any other board.
Such a type of wood is ideal for permanent paintings because it is highly durable. It also comes at a much cheaper price if compared to other boards like hardwood and plywood.
To prepare it for oil painting, you will need to:
- Clear off obstacles by sanding the board
- Clean and polish the surface, and
- Coat it with a good primer
For the process of sanding and smoothing the surface, we suggest using grit sandpaper of 360 grit or higher. That will speed up the sanding process.
After the sanding is done, clean the surface using a damp cloth then polish it with a dry cloth. You can choose to apply a coat of conservator.
The last step is to prime the painting area. This makes sure that your paints stay secured in place. Priming also enhances the texture and quality of the painting.
If required, each of these steps can be done twice to achieve the best painting results.
Glass
The one surface which is far from the ones we’ve mentioned is glass.
Unlike the above surfaces, glass cannot absorb liquid paint in any way. It’s completely smooth and oilproof.
However, other types of paints do not work well on a glass surface except for oil paints and acrylic paints.
Oil paints stick well on glass surfaces if done correctly although preparing it takes more time than other surfaces.
Tip: For oil painting on glass, thin layers are much more durable. Thick layers have the potential to crack and peel off in the long run, even with so many preparations.
Moreover, thin layers of oil paint look better because it does not hide the glass surface. It gives the painting a whole unique look.
To use this surface, a few steps are required to be followed:
- Cleaning the glass surface. Paints can crack if used on a glass surface. Therefore, it is crucial to clean the glass.
You can use detergents to normally clean it. But for a complete and thorough cleaning, you might want to use a cleaning solution such as isopropyl alcohol.
What this does is remove hard and any other stubborn stains on the glass.
- Form a texture on the glass. Next up is creating the tooth for painting.
After the glass is dry from the washing, you will need to create a texture on the surface for painting.
To do so, sanding the surface is recommended. Sand it until you get the desired texture.
Why creating texture is highly recommended is because it prevents the paint from peeling off in the future. Hence, this ensures that your piece will last for a very long time.
- Priming. And the final step is priming the surface. For priming the surface, you will need a gesso to make it happen.
Generally, primers are white. While some artists might like to use this on the glass surface, there is also another option. And that is a clear gesso.
We would suggest using clear gesso because it does not compromise the actual appearance of the glass and it works the same way a white gesso does.
Using Gesso
Throughout the article, we kept mentioning that the gesso application is preferred by artists all over.
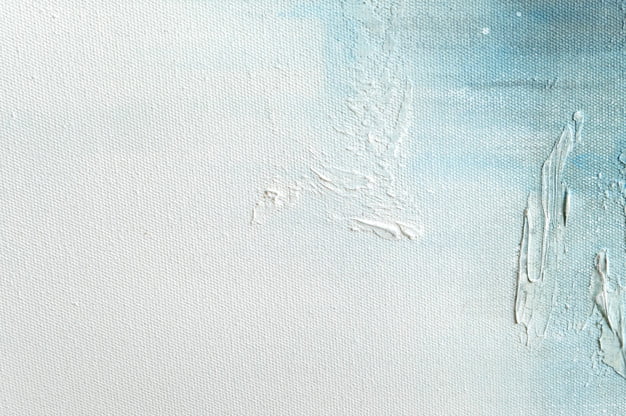
The reason is that this primer makes any surface stiff and suitable for painting. Without the application of gesso, the paints will come out messy and uneven.
What gesso does is offer more teeth to your painting surface, hence, ensuring excellent painting results.
Moreover, gesso works well on a tonne of surfaces that you wish to work on.
There are different kinds of gesso: the normal white, colored, clear, and black gesso.
For Students
If you are just starting to learn about oil surfaces, you might want to choose from the student grades category, such as canvas panels or canvas pads.
They are meant for practicing and making errors. But they do deliver good paintings although they may not last as long or have all the qualities of professional-grade surfaces. Moreover, they are so much cheaper.
Well, we have come to the end of today’s post!
Hopefully, this has helped you explore more about different oil painting surfaces and their characteristics.
We hope you get the best surface for your upcoming paintings. And we hope to see you again!
Good luck!
Related Articles
10 Best Canvases for Oil Painting | Beginner & Artist Grades Reviewed
11 Best Oil Paints for Beginners & Professionals Artists Alike
How Long It Will Take Oil Paint To Dry & How to Speed It Up
Oil Painting for Beginners Basics & How to Use Oil Paints
Learn How To Dry Oil Paint Faster Overnight
12 Oil Painting Supplies That Every Oil Painter Needs in the Studio
11 Best Palettes for Oil Painting Reviewed
5 Things You Should Know Before Painting Oil Paint on Glass
