Expertises: Paint, Home improvement, Wood, Car, Painting
Updated on

Inspiring Ideas for Modern Home
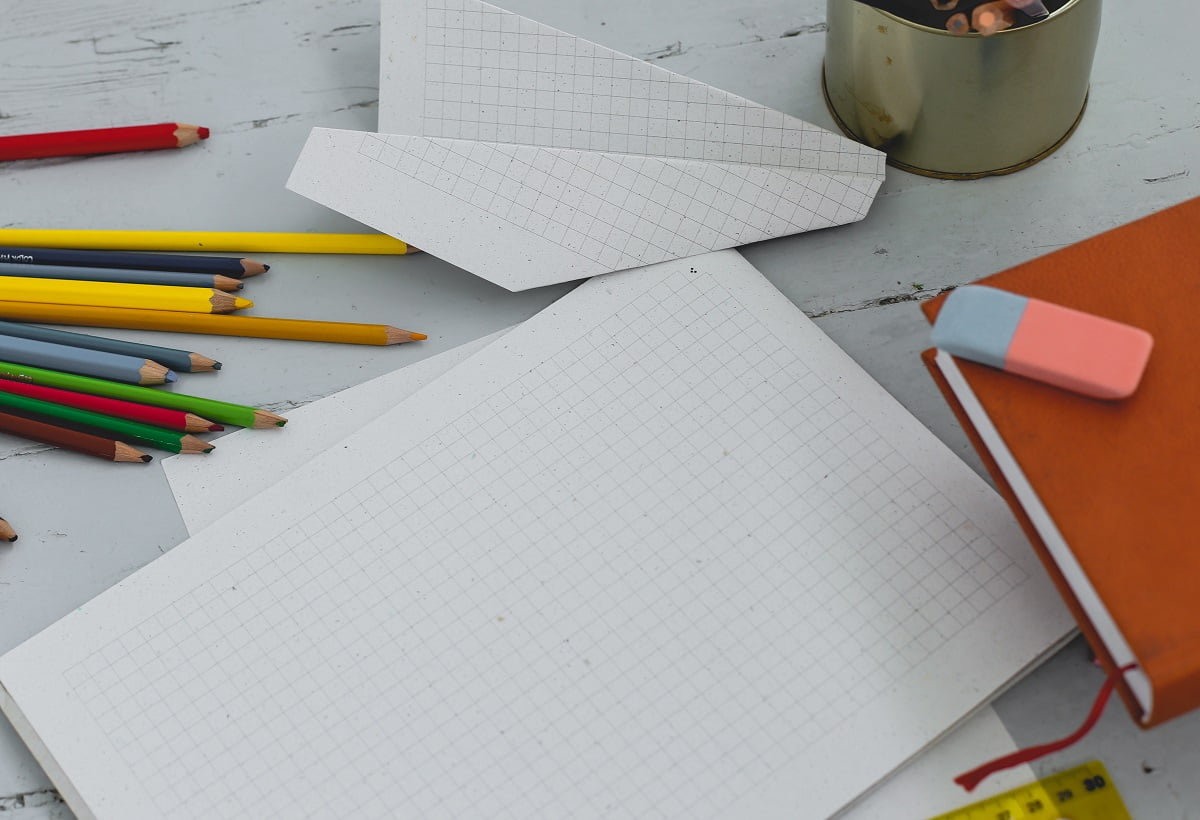
As a beginner drawing with colored pencils, you are bound to make mistakes, and you will have to erase several times before completing a picture.

While the standard pencil erasers may not do the job well, there are a number of options that are designed to remove colored pencil marks. Some common erasers that you can try, include -
But before you do so, it is essential to know the right method of using these erasers. Also, you need to work on high-quality paper to ensure it does not tear or crinkle easily when erasing.
There are some other alternatives that we have discussed as well if you do not have colored pencil erasers. Read on to learn all about them.
You need to get your hands on the right colored pencil eraser before you begin the work. Such type of erasers are cheap, and you will not have to pay more than $5 for a product.
Before erasing colored pencil marks, test the eraser on a small portion of the paper. To do so, you can start by erasing a corner of the pencil marks. Check to see if you notice streaking while erasing and make circular motions with the eraser. We always recommend beginning from one corner so that it does not affect the main picture.
Remember that even if it is premium-quality paper, the colored portions will be fragile, and it is best not to apply too much pressure on the paper. Colored rubber erasers are thick, firm, and coarser than normal erasers and can tear the paper easily.
Hence, do not apply the same pressure as you would when using a normal eraser. Rub on the colored area gently and check for streaking marks so that they can be removed as well.
You can always use a vinyl eraser to remove colored pencil marks if a colored pencil eraser is not available. Follow the steps below to do it properly.
Vinyl erasers are available in different shapes, and you can purchase one on the basis of your needs. You will find these erasers online and they can be used to erase pigment from a colored paper. We will recommend getting the eraser pencil versions since they are easy to hold, and you can work on smaller areas as well as large surfaces.
Before you erase the entire picture, we will recommend erasing a small area. You may have purchased erasable colored pencils, but this eraser may or may not work well on them. So, choose a small area and rub in circles to test the product. If you notice too much streaking or the color does not fade, then you will have to use a different eraser.
Vinyl erasers are very stiff and are considered to be the hardest among all other options. Hence, you will have to be very careful so that you do not tear the drawing paper. Rub gently and take your time with the process to ensure you have removed all the unnecessary details before coloring on the paper again.
Kneaded erasers are made of a sticky substance that looks like putty. These are easy to shape, and you can shape them depending on the area that needs to be erased. For detailing on small areas, the kneaded eraser can be made pointed, while for large areas they can be stretched to erase colored pencil drawings quickly.
Kneaded erasers are easily available online, and purchasing them should not be tough. But know that a kneaded eraser will not erase colored pencil marks completely as it will only lighten the marks to help you color over them. A kneaded eraser works like wall putty, and you will get a similar effect.
Moreover, you can begin by using a kneaded eraser over a small area. Test it before to see how the paper reacts, and always begin from a corner so as not to destroy the entire image. After testing, start rubbing the eraser gently to remove colored pencils marks without streaking.
Now you may be wondering how much pressure to apply While kneaded erasers are soft, you should always refrain from applying too much pressure. Rub and fold the eraser as you work your way through the drawing. It will keep picking up color pigments, and you can fold over that section.
After you are done, remember to clean the kneaded eraser well. To do this, stretch the eraser and then rub it on another surface to get the pigments out.
Sometimes black lines are difficult to remove with normal erasers, but an electric eraser can do the job well. It can lift pigments from the top, making a region brighter and cleaner. But before you use an electric eraser, make sure to add a little solvent to the desired region. This loosens the pencil marks making it easier to remove them.
It is best to test the solvent on a small area to see what happens to the paper. Then you can continue erasing the other parts of the drawing.
Before you use scotch tape, take a standard eraser and rub it gently on the paper without applying a lot of pressure. You will just need to lift the color for the tape to be effective.
If this is your first time working with scotch tape, then begin by cutting small pieces of tape. You can also use clear tape, artist tape, or masking tape for the job.
As we have already established, it is essential that you erase a small portion to get the hang of the process. Also, the tape can damage the paper, and you will have to test it first to see if the paper can withstand it.
Attach a small piece to one of the corners of the picture and then rub gently over it. There is no need to apply a lot of pressure as it may damage the picture when you peel the tape off.
You can use a sharp pencil to write on top of the artist's tape by using a normal pencil sharpener. Also, make sure you apply even pressure on all the areas with the pencil, and that should make the pigment stick to the tape. Most colored pencil artists use this method to easily remove pencil marks from high-quality paper.
After the pigment sticks to the tape, peel off the tape slowly but firmly. Most colored pencils leave marks that come off with tape, but there is a chance that the paper may rip. So, do not repeat the process over the same area as the paper becomes thin and more vulnerable to tearing.
After it has peeled, you may still see some color remaining, for which you can use a standard eraser to eliminate the marks.
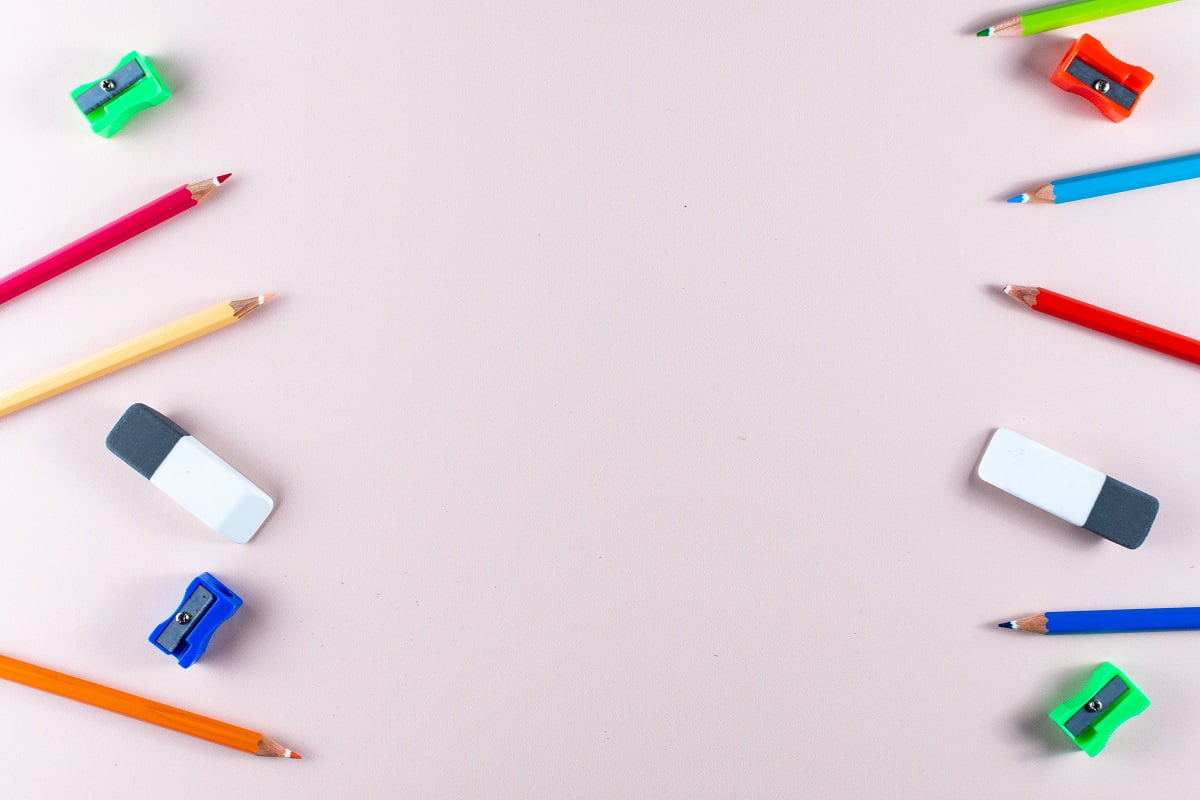
It is essential to learn about how to organize colored pencils and erasers as well when you are working with them. We will always recommend taking them out of the pack and lining them up according to shades.
This will ensure you have access to all the colors when needed and you can keep the eraser of your choice beside the colors. Moving on, we will talk about some of the frequently asked questions about colored pencils in this section, so keep reading.
There may be times when you do not have a colored pencil eraser to erase colored pencil marks. You will be surprised to know that bread can help you in the process.
Yes, take some bread without the crust and then create a small ball with it. Use it just like a kneaded eraser and then rub it gently to erase colored pencils.
Another method is to use a rubber band for this job, as you can roll a rubber band and then rub it over the surface. Anything rubbery should do the job in case proper materials are not available. However, ensure that you do not end up smudging the colored pencil marks.
We will also talk about one more alternative, and that is flip-flops. You read that right, flip-flops are made of rubber, and the sides can be used to rub remove pencil marks. But they are big, and we will recommend cutting a small portion of the flip-flops before using them.
Erasers are made of rubber, and rubber becomes hard and brittle when exposed to continuous sunlight. You can restore their quality again by sprinkling some water on them.
If this is your first time coloring, watch a few beginner videos to learn how to use color pencils. You can learn about the process of using different shades and blending them perfectly with each other. Also, keep practicing so that you can get better with time.

While some erasers are specifically designed to remove colored pencil marks, you will still need to test them before using them on the paper. While choosing colored pencils, check the back of the pack to see if they are erasable.
Additionally, do not use a number of different erasers together but opt for just one and check if it works for your drawing. In case it does not, you can try another type for the job.
Using the right tools is essential to protect the paper. We believe that a white eraser is a better option to choose than the traditional pink eraser as it can often be too firm, damaging the paper easily.
If you like this article on erasing colored pencils, checkout our previous article on furniture paints and can you use acrylic paints on furniture to gain an outstanding look to your drawing room or any other part of your home.