Expertises: Architecture, Design, Art, Home improvement, Painting
Updated on

Inspiring Ideas for Modern Home
Installing a benchtop jointer involves gathering the necessary tools and identifying an optimal workspace, continuing by assembling the base and table. Subsequently, the motor and cutterhead are mounted, and the final step involves connecting the dust collection system to ensure a complete setup.

Learning benchtop jointers installation and maintenance serves as an essential woodworking skill for woodworkers seeking to achieve precision in their craft. This article focuses on the meticulous process of installing benchtop jointers, a pivotal tool in woodworking for producing straight and smooth lumber surfaces. It underscores the necessity of accurate installation techniques and an in-depth understanding of these machines.
Additionally, the article encompasses vital aspects of jointer maintenance, crucial for the tool's longevity and optimal functionality. By equipping readers with detailed knowledge on both installation and upkeep, the guide aims to aid woodworkers in overcoming challenges related to uneven or rough lumber edges, thereby enhancing the quality of their work.
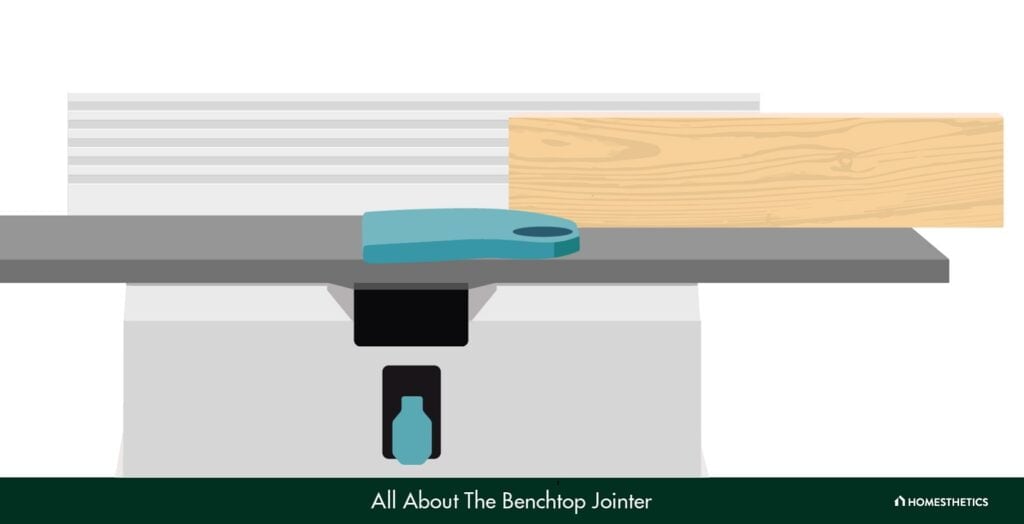
The benchtop jointer, a small but powerful tool, is a woodworker’s best friend, capable of transforming rough and uneven planks into smooth and polished masterpieces. With their razor-sharp blade and precise cutting action, benchtop jointers effortlessly shave off imperfections, flatten surfaces, and create seamless joints, bringing out the natural beauty of wood in all its glory.
As you embark on your cabinet or sink installation project, take notice of the significance of installing your benchtop jointer carefully. With the right tools and knowledge of how to install benchtop jointers, you can ensure that your benchtop or stationary jointer is securely and tightly set, level, and in alignment with your wall.
Don’t let a poorly installed benchtop jointer mar the beauty of your new kitchen. Take the time to check your work, and you’ll be rewarded with a flawless finish that will last for years to come.
A benchtop jointer is a pinnacle of craftsmanship and design, and a symphony of form and function. Installing this fine piece of machinery is an art in itself.
Set aside time to read the how-to-install benchtop jointer manual, check your tools, and assess your space design. Start by checking your wall or cabinet to ensure it’s level, then join the jointer to the edge with care. Secure it tightly, and give it a little wiggle to check its stability. Now set the jointer at the perfect height, and tighten the bolts.
Whether you’re a seasoned craftsman or an amateur hobbyist, the benchtop jointer is an indispensable addition to your workshop, offering unparalleled accuracy and efficiency in every project.

Drawing from experience, before crafting that perfect edge, you must first gather all the necessary tools and materials.
You’ll need a cabinet or workbench to mount the jointer. This surface will need to be level, so it is important to check this before beginning. Once you have a suitable surface, I’d suggest gathering the required tools, such as a drill, screws, a screwdriver, and a wrench.
Before diving into the woodworking world, it’s time to check the level of your workspace and set the right location for your benchtop jointer. Are you tight on space? Consider mounting it on the cabinet and securing it tightly. Are you looking for a more central location? Place it near your kitchen countertop, allowing easy access and maximum efficiency.
Measuring and marking an area for installing the benchtop jointer is a crucial step in crafting a beautiful and functional workspace. With the right tools, this task can be accomplished with ease and precision.
Begin by carefully considering the design of your space and the placement of other fixtures, such as the cabinet, sink, or cooktop. Then, using a level and measuring tape, mark the area where you plan to install the benchtop jointer. Re-check your measurements to ensure a perfect fit and then use your tools to join the edge of your benchtop to the wall securely.
Assembling the base and table of your benchtop jointer is a truly exciting undertaking that requires a delicate touch and a keen eye for detail.
Begin by securing the base to a level surface, whether it be a sturdy workbench or a wall-mounted cabinet. Ensure that the base is level, and then attach the table using the screws and bolts. Tighten each fastener until it’s snug, but be careful not to overtighten and risk damaging the threads.
Next, it’s time to join the motor and cutterhead to your tool. With the design and efficiency of modern-day benchtop jointers, I feel this process is as simple as ever. Align the cutterhead with the edge of the jointer table, ensuring that the blades face the right direction. Then, set the motor in place and secure it with bolts or screws, checking to see that it’s tightly fastened.
It’s essential to ensure the jointer is level, so take your time to adjust the height of the table and blade as needed. And while you’re at it, check to see that the blade is sharp, as a dull blade can lead to a splintered and unsightly wood.
Once you’ve set the benchtop jointer in place, you’ll need to join the jointer and the dust collection system together. Make sure to secure and tighten the connection to prevent leaks.
The jointer should be perfectly aligned with the dust collection system so you don’t have to worry about pesky dust and debris getting in the way of your masterpiece.
There is a certain finesse to adjusting the infeed and outfeed tables of a benchtop jointer, one that requires both a delicate touch and an unwavering commitment to precision.
Keep the edge of your board firmly against the fence. Then, join it against the spinning blade and carefully move it forward, checking to make sure that the infeed and outfeed tables are set at the same height. Adjust as necessary, tightening the bolts to ensure that everything is securely in place.
As you embark on a journey to test the benchtop jointer for accuracy and functionality, the excitement and anticipation can be palpable. As you turn on the machine, the sound of the motor whirring to life will fill the air, and you will know that it’s time to get to work.
With a steady hand, guide your material towards the rotating cutterhead, and watch it as it glides effortlessly across the surface, transforming rough, uneven edges into smooth, straight lines. As you finish each pass, tighten the fence, adjusting it slightly to achieve the perfect angle for your project.
After spending time in your woodworking studio, using your jointer, it’s time to indulge in the task of cleaning it up. The intricate design of this tool may leave behind shavings, dust, and debris, but restoring your jointer to its pristine state is a breeze.
The first step is to switch off the machine and unplug it from the wall, ensuring it is secure and stable on the benchtop. Then, check and tighten all bolts and screws to ensure the jointer is level and stable.
Remove any excess debris using a brush or air compressor, and carefully clean the edge of the blade, ensuring it is free of any residue that may cause damage to the wood. You can then finally wipe the surface down with a damp cloth.
First, you must carefully remove the old blades, not damaging the edges or surrounding parts. Replace them with new blades, tightening the screws just enough to secure them in place without over-tightening.
Before you fire up your newly sharpened benchtop jointer, it is important to check that everything is in place. So, run a test board through the machine, making any necessary adjustments to ensure a perfect edge.
I noticed that to maintain the effortless movement of a benchtop jointer, one must take time to lubricate the machine properly.
The jointer effortlessly glides over the surface, edge to edge, cabinet to cabinet, creating a perfect, smooth finish. But to keep those parts moving like a well-oiled machine, you must take the time to lubricate them properly.
When it comes to ensuring the longevity of your tools, the process of properly storing your benchtop jointer after use is paramount. Taking the time to store your benchtop jointer shows respect for the tool and the art of woodworking.
A well-maintained cabinet or a wall-mounted shelf is the best option, where it can rest safely and securely until its next use.
Warning: Some benchtop jointers may have improperly aligned cutterheads, causing dangerous kickback. Always ensure proper setup and use with caution to avoid injury.
Using a benchtop jointer to flatten and level non-wooden surfaces is possible but it is not recommended. Through my practical knowledge, I can say that the high-speed rotary cutterhead is designed specifically for wood and may cause damage to other materials.
The jointer table is not typically large enough to accommodate non-wooden surfaces, making achieving a level and consistent result difficult. It is best to seek out specialized tools designed for your specific material.
A benchtop jointer is typically not used for making curved or angled cuts but based on my observations, it is possible to achieve some curved or angled cuts with the right technique and accessories.
Consider using a sled or jig to guide your material through the cutterhead while maintaining the desired curve for curved cuts. For angled cuts, you can adjust the fence on your jointer and use a miter gauge to guide your material through the cutterhead at the desired angle.
Keep in mind that these techniques require precision and practice to achieve consistent results.
Benchtop jointers can be used to create simple decorative edges or profiles on wood with the right cutterhead technique although keep in mind that they are primarily designed to flatten and square wood surfaces. Some tools like benchtop and stationary jointers have specialized cutterheads for creating decorative edges, such as bevels or chamfers. After flattening your wood on the jointer, you can also use a handheld router to create more intricate profiles.
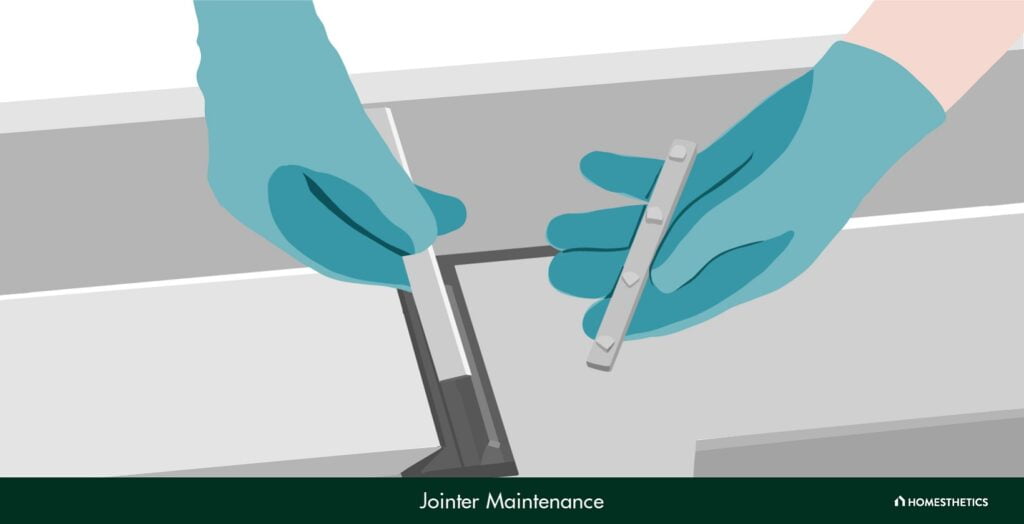
Installing a benchtop jointer elevates your woodworking capabilities significantly. It's a transformative addition that can enhance your craft. Yet, proper maintenance is equally crucial. Neglecting it is akin to planting a beautiful garden and then disregarding it—resulting in a withered, useless mess.
Regularly cleaning, sharpening, and lubricating your jointer is essential for smooth and efficient operation. This upkeep ensures precision, turning rough boards into smooth masterpieces. A well-maintained benchtop jointer opens endless possibilities, yielding results that are nothing short of a symphony of craftsmanship.