Expertises: Architecture, Design, Art, Home improvement, Painting
Updated on
Inspiring Ideas for Modern Home
To use a trim router, attach the base plate and adjust its depth to the ring level. Then, guide your router through your workpiece and maintain a steady pressure as you create the cuts. Ensure to remember safety precautions like wearing protective gear while using the trim router.

The best trim routers can help you trim or shape wood, plastic, and laminate edges easily.
This handheld power tool is quite versatile and can be used to trim lamination pieces, cut decorative edges, make mortises, and so on. Moreover, trim routers can help you create intricate work at every inch of the edge of your workpiece with greater control.
So, in this blog post, I will walk you through a detailed guide on using trim routers. Let us begin!

As mentioned above, there are a lot of risks that come with using a trim router. However, most are avoidable if you wear the right safety gear. A few safety gear you can use while using a trim router are dust masks, safety goggles, earmuffs or earplugs, etc.
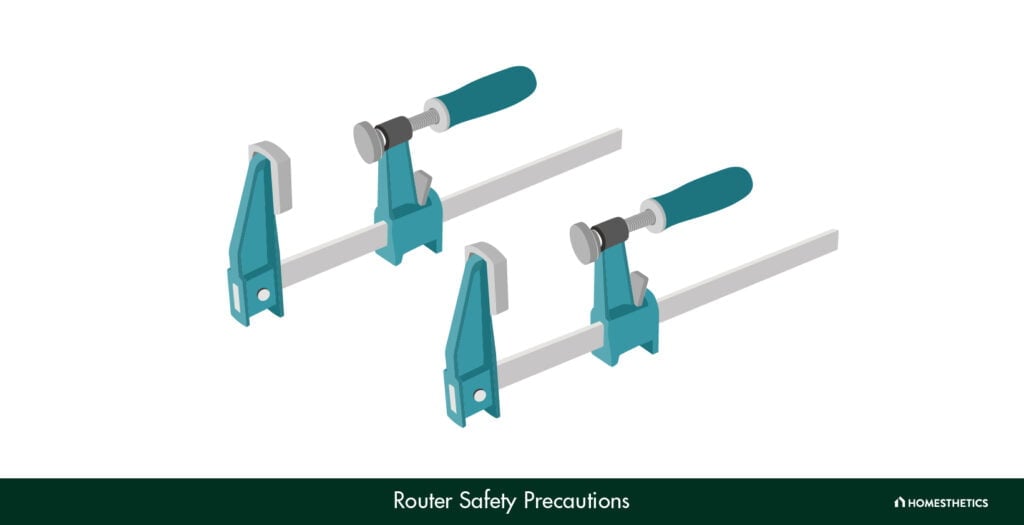
While you work on creating sharp edges, flush trimming, or even decorative edges, securing your woodworking projects is important. You can use devices such as clamps to attach your workpiece to your workbench. This will ensure that your material does not slip while you use a flush trim router bit on it.
While I understand that it may be tempting to create a, let's say, decorative edge as you sit in your comfortable position - I strongly advise not to get too creative with it. For instance, holding your wood piece above your head and using a trim router can put you at an exponentially high risk of injury.
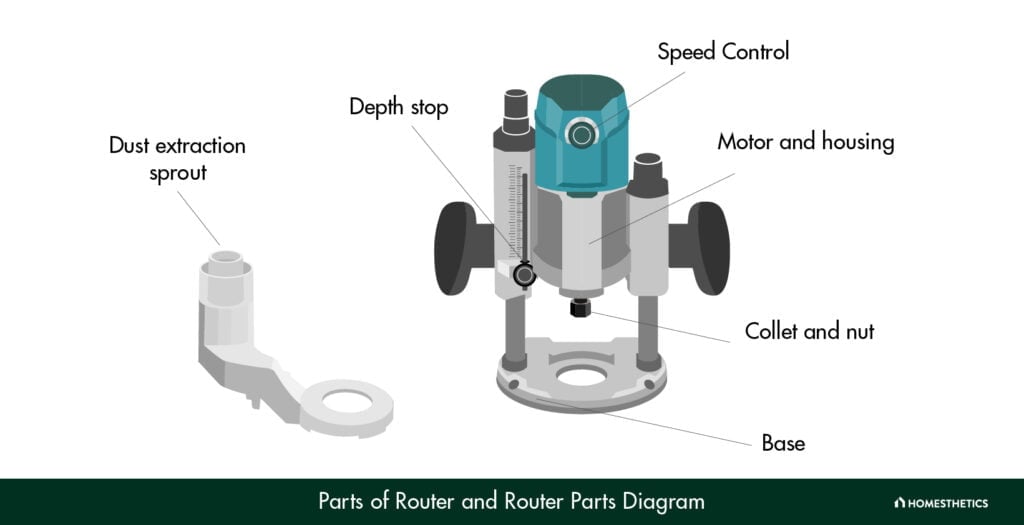
The motor is one of the primary components of a trim router that supplies it with power. It drives the router bit at high speed to make cuts.
While rotating, the router bit needs to be firmly in place to work properly - and the collet does this. A collet also allows the bit to be changed easily.
Whenever a trim router is used, it requires some support and stability in the process. The base plate, a flat surface at the bottom of the trim router, provides this support.
As the name suggests, a depth adjustment ring allows you to control the depth of the cuts you create on your woodwork using a trim router. It is typically located on the motor housing of the router and can help you create more precise cuts.
A speed control dial helps you adjust the speed of the motor. It is an important component because you may need to alter the speeds based on factors like the material of your workpiece, desired depths of cuts, etc.
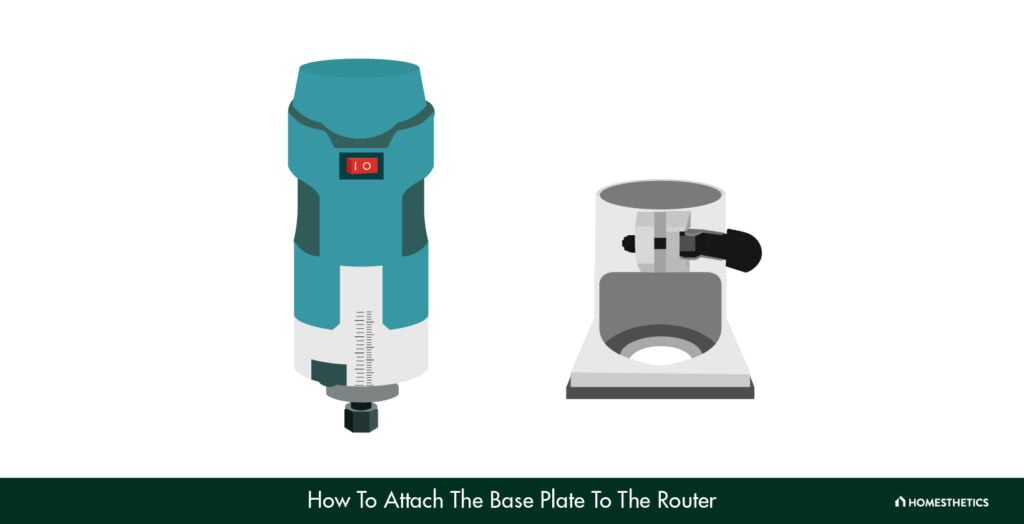
Before beginning any work on your router - in this case, attaching the base plate - it is crucial to turn off the power supply to the tool to prevent any accidents. So, it would help to unplug it from the power source to eliminate any potential risks.
Find the components that will be required to assemble the base plate. Generally, the base plate and screws are included in the purchased trim router package; but if you can't find them, contact your manufacturer.
Next, position the base plate so that it is at the bottom of the router so that the holes of the former align perfectly with those of the latter. To ensure stability and balance, make sure that you keep the base plate at the center of the router.
Once the two components are aligned perfectly, start inserting each nut and screw through the holes of the base plate. You can use either a screwdriver or a drill to tighten the holes and make the attachment more secure.
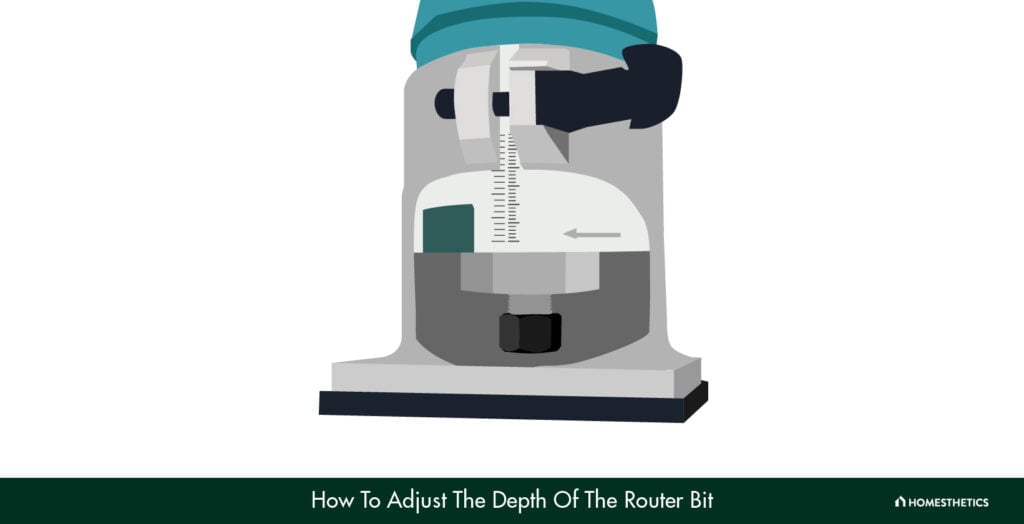
Before adjusting the depth of the router bit, you should unplug it from the power source. Doing so would ensure no accidents and that the depth is adjusted securely.
To start adjusting the depth of the router bit, you need to install it into the collet. To do so, loosen the collet and insert the router bit. Once done, tighten the collet securely.
Locate the depth adjustment ring at the base of the router bit. Then, turn this ring anti-clockwise to loosen the ring. You should ideally slide this ring up and down the shaft in small increments until you achieve the desired depth. Once you do, tighten the adjustment ring securely by turning it clockwise.
Tip
A good way of determining the ideal depth you should maintain on your depth adjustment ring is to measure the thickness of the material you are working with. You can also use depth markings for the same.
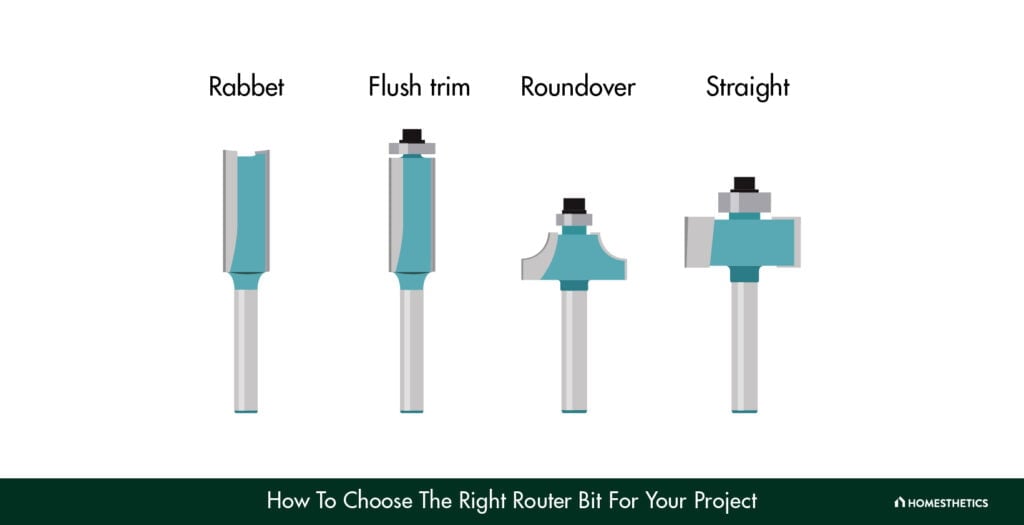
One of the major aspects that should affect the kind of router bits that you go for is what kind of cut you want to create on your workpiece. For instance, consider using two-flute carbide-tipped router bits to create a straight cut. However, if you want to cut router dovetails, it would be best to go for dovetail router bits.
The material of your workpiece should also influence the kind of router bits you purchase. For instance, I like going for chamfer router bits whenever I work with wood. Similarly, the kind of router bits you use shall differ depending on whether you want to go for other materials like plastic or metal.
Your motive for using a trim router should also affect your decision while choosing the ideal shape and size (diameter, for instance) of the router bits. For instance, I prefer the larger ones whenever my project requires me to get rid of a lot of material at once. But I go for smaller bits when I wish to create intricate details.
Similarly, drawing from experience, I have noticed that straight bits are great for cutting straight lines, and round-over bits are ideal for creating rounded edges.
While such compact routers might be more expensive, the cheaper ones may not work or last as long. Hence, take a call based on your priorities! You should try sticking to reputable brands with decent reviews while choosing the right handheld/cordless router.
While starting and stopping compact routers is not difficult, some tips can help you make the process even easier. You should consider keeping the following tips in mind while doing so:
Before you begin to scrap wood (or whatever the material of your workpiece is) on your router table, it is crucial to plan the cut. You can do so easily by marking the path you want your palm router to follow on your workpiece before cutting. It is also good to secure workpieces to router tables using clamps to prevent the former from slipping.
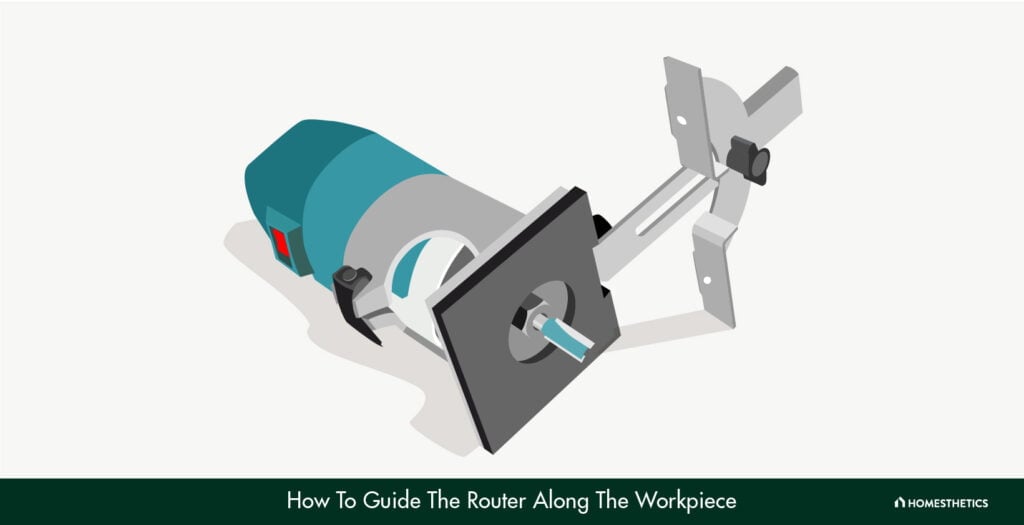
You can use a straight-edge guide to facilitate the process of cutting material from your workpiece. This will help you achieve a precise cut.
Adjust the depth on your router base before using techniques such as flush trim on your workpiece. Ideally, you should keep the depth of the router a bit slightly deeper than the thickness of the material of your workpiece.
Begin the cut slowly, and gradually increase your speed as you guide your router base towards your marked path on the workpiece. Maintain consistent speed and pressure to create beautiful and clean cuts.
Using flush trim can help you trim one piece of wood to match the contour of another piece. Hence, people usually use this technique to create regions like joints. Here is how you can use this technique like a pro:
Generally, you need two pieces of wood to begin the process of flush trimming. One piece is the one that you wish to trim, and the second should be the one that you want to match the former's contour to. Clamp the two pieces together, and keep the one you want to trim on the top.
Pick a flush trim bit with a bearing on the top. Install and tighten it securely.
Loosen the depth adjustment ring at your router base and keep it slightly deeper than the thickness of the top wood piece.
Keep the router base flat against the wood and guide it along the edges you wish to cut. Ensure you maintain a steady pressure and consistent speed to create even cuts with this electric battery router.
From creating beveled edges to ogee edges - you can get as creative as possible with a trim router. Here is a step-by-step guide on using it to create decorative edges:
Trim router bits come in various shapes and sizes, so you can choose the one that fits your needs best. You can go for anything from round over to cove bits to create your choice of decorative edges.
Loosen the bit depth ring on your choice of routing tool. You can move the ring up and down the shaft until it reaches the desired level.
Use a guide or jig to cut through your workpiece effectively. If you do not have a jig, use a router table with a fence to guide the workpiece along the routing bit.
Once you are done, create the decorative edge on each side and each edge smoothly. Doing so would eliminate any roughness or burrs left behind by the routing bit.

You can use the best trim router jigs to guide your routing tool along the edge of your workpiece. Here is how you can use this tool:
Whether a trim router or a regular router is better will depend on the task you wish to accomplish. Regular routers are better if you want to carry out heavy-duty tasks such as cutting deep grooves. However, if you want your cuts to have more finesse and wish to work with a lighter tool, it would be best to go for the trim routers.
The difference between a trim router and a molding planer is that a trim router - also known as a laminate trimmer - is used to trim and shape small workpieces. This compact tool can create a laminate veneer, decorative edges, etc. On the other hand, a molding planer is a stationary woodworking machine. Typically, the best molding planer tools can help you remove large amounts of wood quickly and accurately.
A good trim router can help you create precise and smooth edge profiles without many hassles. Before you begin using such routers, you must be aware of their components and the process of getting them together.
You can browse through a router bit types chart and create joinery points like mortise and tenon, rabbet and dado, etc. However, it is crucial to note that you should always take the necessary safety precautions while working with this tool to prevent any scope of injury.
Since using this small tool can help you massively while working on your next woodwork job, it would be best if you do it yourself too. Remember, you will not master it on your first go - the key is to consistently practice your skills until you reach your desired level of expertise!