Expertises: Architecture, Design, Art, Home improvement, Painting
Updated on

Inspiring Ideas for Modern Home
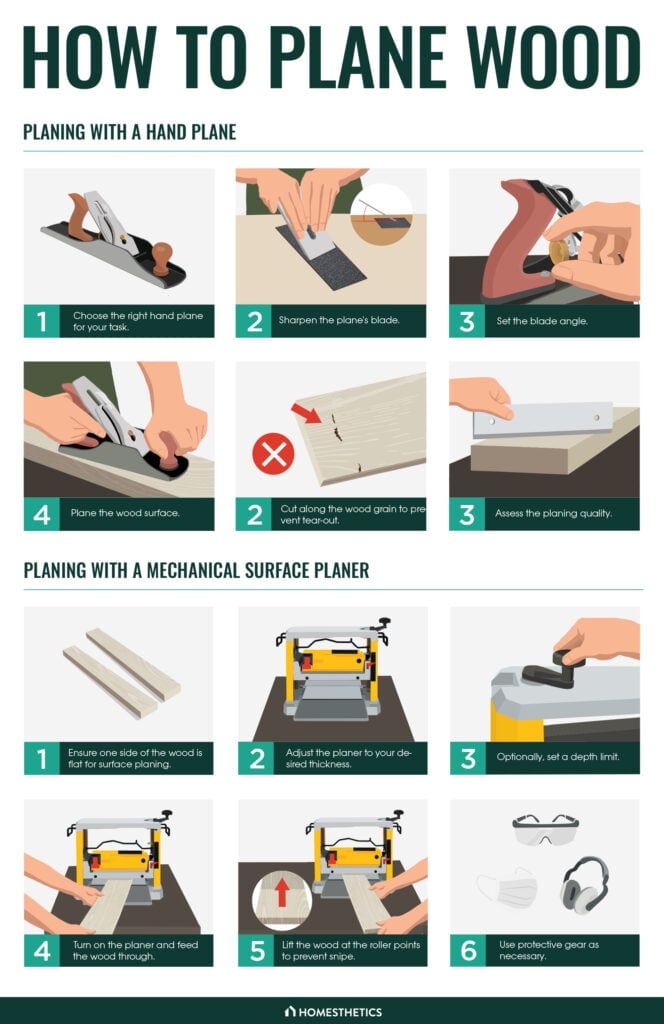
Wood can be planed with a hand plane or mechanical surface planer. In the case of the former, you need to pick the correct hand plane, sharpen the blade, adjust its angle, and then run the planer over the wood. But when using a mechanical planer, you’ll need to set its thickness and depth stop before feeding the wood into the planer housing.

Planing is one of the most important tasks in woodworking, making wood planers very important tools for a woodworker.
However, not everyone may be experienced in using a planer tool. This is especially true in the cases of large and complex benchtop planers, molding planers, and other similar mechanical power tools. As such, these individuals may find it difficult to perform simple planning tasks.
That’s why we have discussed how you can plane wood easily with such tools in this guide. So, if you want to create flawless furniture items, then read on!
Using a hand plane is fairly simple, but it may take a lot of time and effort to complete the task with this tool. That’s because, unlike a mechanical plane, a hand plane needs to be manually operated.
In any case, here is the procedure for planing wood with a hand planer.

The first and most important task in the process is to choose the correct hand plane, for if you pick an unsuitable tool, your task will become unnecessarily difficult. Besides, picking the wrong hand plane will give you unexpected results, which will lead to the wastage of wood and other resources.
There are different types of hand planing tools available today, with each having a specific usage scenario. That said, the primary aspect that differentiates these different types of hand planes is the size.
A plane with a long size can smoothen large areas of the wood at once, which improves the overall efficiency of the process. On the other hand, a short planer offers better control and is well-suited to perform precise planing tasks.
We have discussed the different hand planer types available today. It is important that you pick the one that best suits your work requirements.
I. Jointer plane
Jointer planes are typically the longest hand planer tools, having a body length of at least 22 inches (56 centimeters). These hand tools are highly effective for trimming or straightening doors, boards, and other long wooden surfaces.
II. Jack plane
A jack plane has a body that is between 12 and 17 inches (30 centimeters and 43 centimeters) long. Thus, it is slightly shorter in size than a jointer plane. However, it is much more versatile by comparison, which is why it can be used to shave both longboards and smaller lumber pieces.
III. Smoothing plane
As the name suggests, a smoothing plane is highly useful for creating a smooth surface from a rough lumber piece. It can also be used to trim medium-sized wood surfaces and even longboards to some extent.
Therefore, the smoothing plane is the most versatile hand-planning tool available today. This is thanks to its 10-inch (25- centimeter) body, which can cover a decent area in a short time and is easier to control than a jock or jointer plane.
IV. Block plane
With a body length of less than 10 inches, the block plane is the smallest hand planer tool that you can get. It has superior maneuverability, which makes it the perfect choice for planing tight corners or hard-to-reach spots on wood.
Furthermore, it is great for wooden boards with low thickness since it creates a very thin shaving. On the flip side, it is not very effective for trimming longboards or large pieces of rough lumber.

Once you have chosen the most suitable hand plane for this task, you will need to sharpen the plane blade. The blade (or the iron, as it is often called by carpenters) needs to be sharpened to a razor’s edge before starting the task. If you don’t do this, then the trim will not be perfectly flat.
Sharpening the blade is mandatory if you have used the hand planer before. As a matter of fact, even new plane blades need to be adequately sharpened before use. You can accomplish this task with the help of a sandpaper of suitable grit.
Ideally, we would recommend using 220-grit sandpaper here since it offers the best results. Hold the blade at an angle of 30 degrees over the sandpaper, making sure that the blade bevel lies flat on its surface. Then, rub the blade over the sandpaper in a circular motion by applying some downward pressure.
Stop rubbing once you see burr (fine metal shavings) accumulating on the back of the blade. After you remove the burr by wiping the blade’s back on the paper, you can use it for planing.
Warning: Do not change the angle when sharpening the blade, as that can lead to a non-uniform sharpening. Also, avoid applying too much pressure on the blade since that can wear it out quickly.
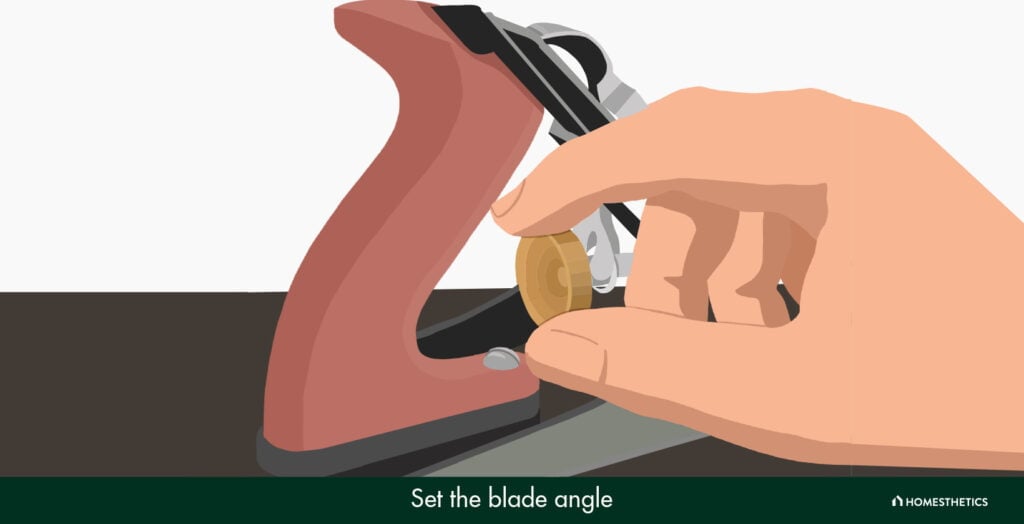
Adjusting the angle of the blade is an important step that should not be ignored. That’s because this angle determines how thick the shaving will be.
If you increase the angle depth by too much, then the planer might tear into the wood or crack it. Besides, a high-angle blade can jam the planer, especially if the wood material is tough.
Thus, you need to carefully adjust the angle of the hand planer blade so that it reaches the optimal trimming angle. As a rule of thumb, you should start from a shallow angle and steadily increase it by turning the depth adjustment knob.
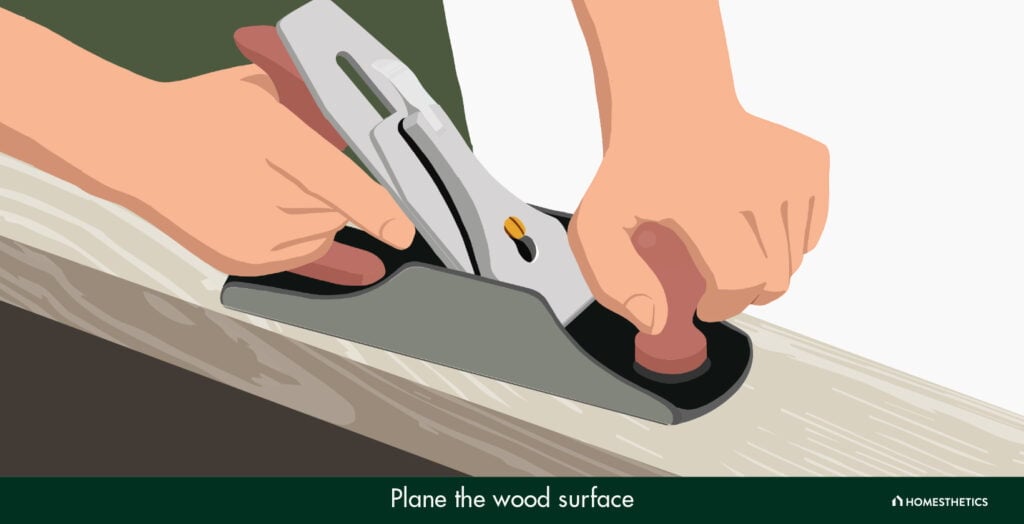
Now, it is finally time to plane the wood surface. To start, place the wooden board on a workbench and set the hand planer at the edge of the wooden board. Then, gently push the planer forward in a straight-line motion by pushing on the rear handle. At the same time, use your non-dominant hand to apply a steady downward pressure by pushing on the front knob of the planer.
Make sure to maneuver the planer in a smooth and continuous fashion, avoiding any erratic or jerky movements. Try to maintain this technique as you work your way across the wooden surface. You need to pay extra attention to any uneven areas or irregular protrusions on the wood.
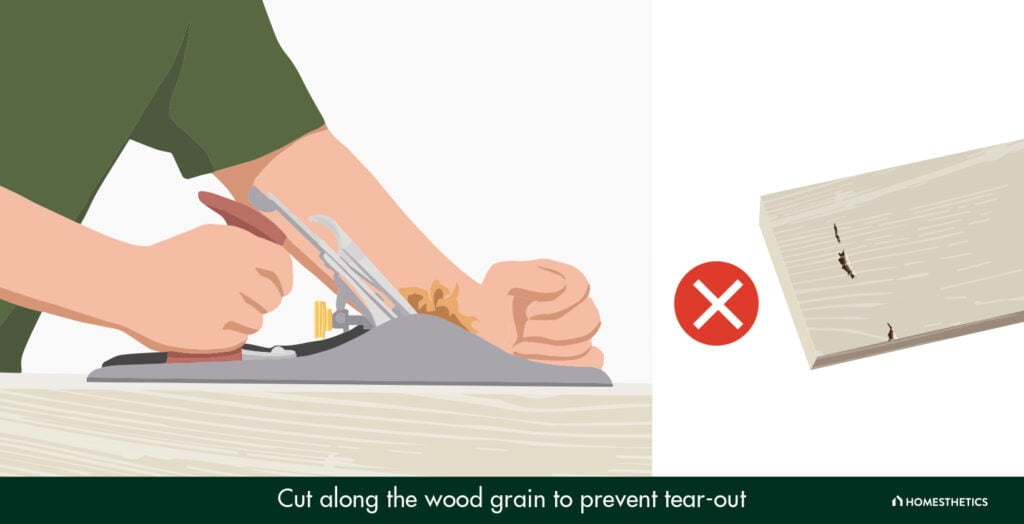
In order to get a flat surface of uniform thickness and smoothness, you need to cut along the grain of the wood. And since the grain direction does not always remain constant, you may need to change the direction of the planer accordingly.
However, you should avoid planing against the wood grain at all costs. If you do that, the blade will give rise to angled imperfections on the surface. These imperfections can lead to tear-outs, where small chunks of wood break off from the surface, thereby disrupting the finish.
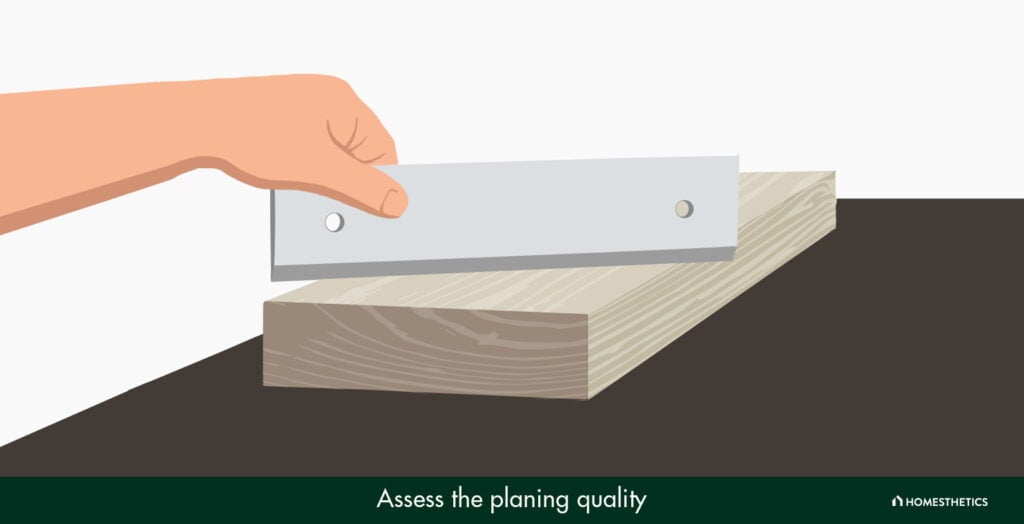
After you are finished planing the wood surface, you should check its accuracy to ensure the wood has a uniform finish. For this purpose, you will need to use a straight edge and a try square.
To check the uniformity and flatness of the main wood face, place the straight edge along its surface. If it has been shaved smoothly, then the straight edge will lie flush on the surface. But if there are any minor imperfections or protrusions still present, then it will leave a gap.
Similarly, you can use the try square to check the angle between two adjacent wood faces. Ideally, the adjacent faces should be perpendicular to each other, which means that the angle should be 90 degrees. If that’s not the case, then you will need to trim one of the faces further.
Now that you know how to plane wood using a hand planer, it is time to learn how you can use a mechanical surface planer to do the job. Mechanical planers are power tools that use a set of adjustable spinning blades and rollers to plane wood automatically. As per our expertise, the planing task can be completed very quickly with a power planer machine.
Due to this reason, it is preferred by veteran woodworkers. You can choose between different types of mechanical planers, such as handheld planers, stationary planers, and bench planers. However, most mechanical surface planers are fairly complicated tools, regardless of the type. That’s why beginners with no prior experience may have trouble using such a tool.
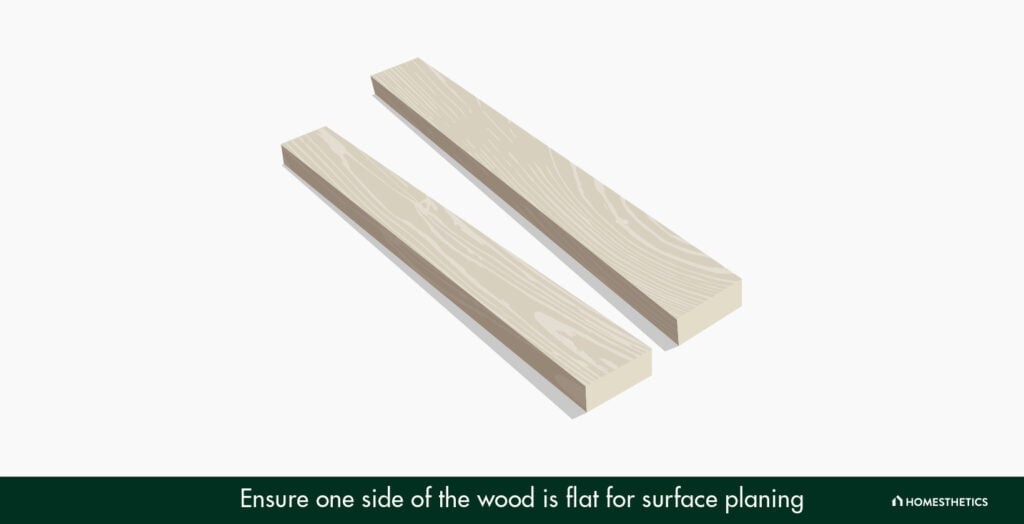
Besides, such a power tool generally performs relative planing that requires both the upper and lower surface of the wood to be flat. So, if the lower surface contains imperfections, those will be maintained on the upper surface as well. This can give rise to problems later on, which is why it requires proper expertise to use.
But there is no need to worry, for the procedure discussed below will allow you to use this tool easily and without any issues.
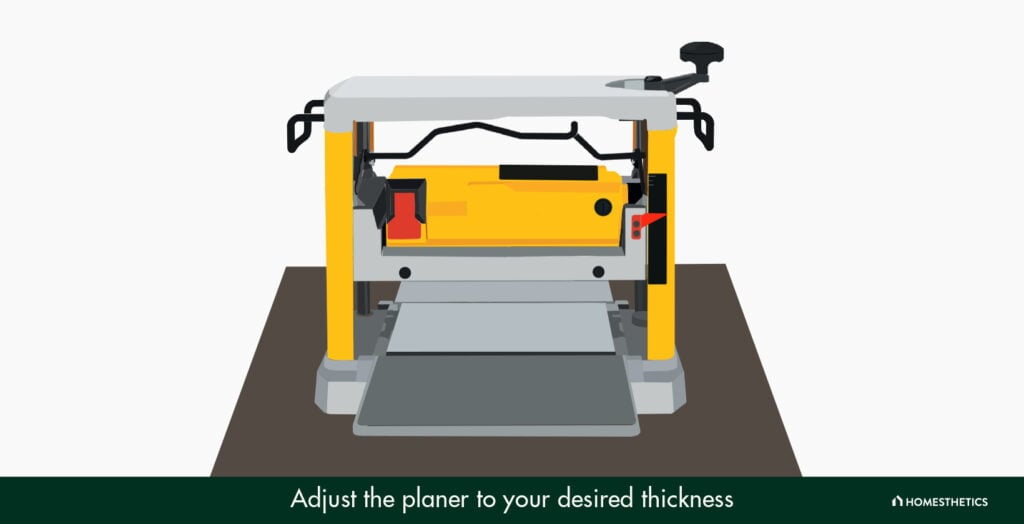
Before you start planing the wood, you need to adjust the thickness of the mechanical planer. This can be done by rotating the circular crank present on the planer manually. By adjusting the crank, you will be essentially lifting or lowering the planer’s housing.
If you move the housing higher, then the cut will be shallower, and vice versa. It is advisable to start with a shallow cut and gradually increase the depth. However, try not to keep it too shallow, as that will not yield the desired results.
In that case, you will need to make several passes, which can increase the time taken to complete the task. On the other hand, you should avoid increasing the cutting depth excessively, as that can tear the wood.
Based on our first-hand experience, we would say that it is unwise to cut deeper than 1/8 inches (0.32 centimeters) in one go. Doing that can strain both the wood and the planer machine.
Here, you should keep in mind that the displayed depth is not actually the depth of the cut but rather the thickness of the wood that you will get. So, you need to adjust the depth according to this aspect.
For instance, let’s say that you have a piece of wood that is three inches thick, and you want to shave off 1/16 inches of wood. In this scenario, you will need to adjust the crank so that the planer housing has a depth of 2-15/16 inches.
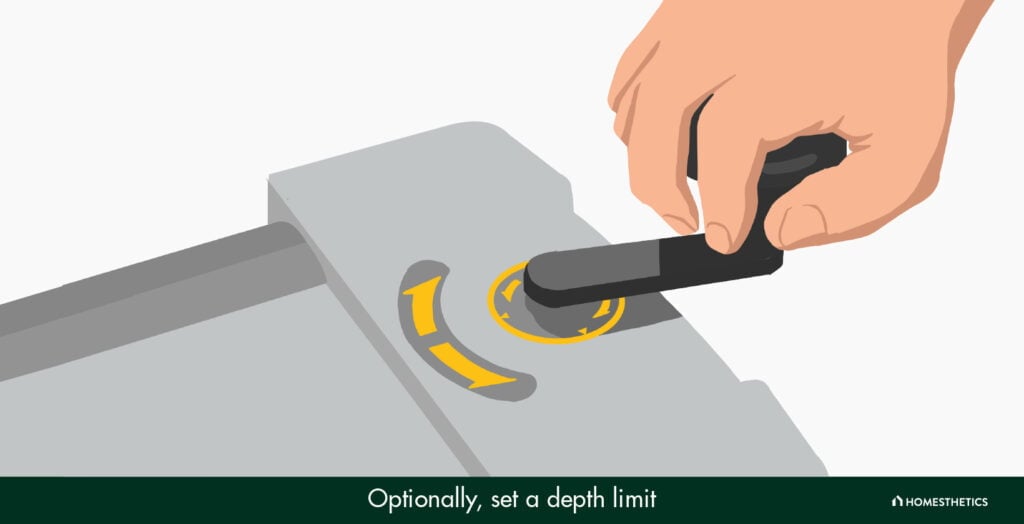
Most mechanical planers these days come with a depth stop mechanism that allows you to lock the depth of the planer. In other words, you can prevent the planer from going beyond a certain cutting depth by using his mechanism.
For instance, if you set the depth stop to two inches, then the planer will not trim the wood once it reaches the specified thickness. Thus, it is a handy feature that can be used by woodworkers to prevent over-planing the surface.
However, it can cause problems if the wooden piece is thinner than the specified depth stop to begin with. For example, if you want to plane a two-inch thick wood in a planer that has a depth stop of two inches, then the machine won’t be able to perform the task.
In that situation, you may have to lower the depth stop setting to complete the task. Alternatively, you can skip using the depth stop altogether, in which case, this step becomes entirely optional.
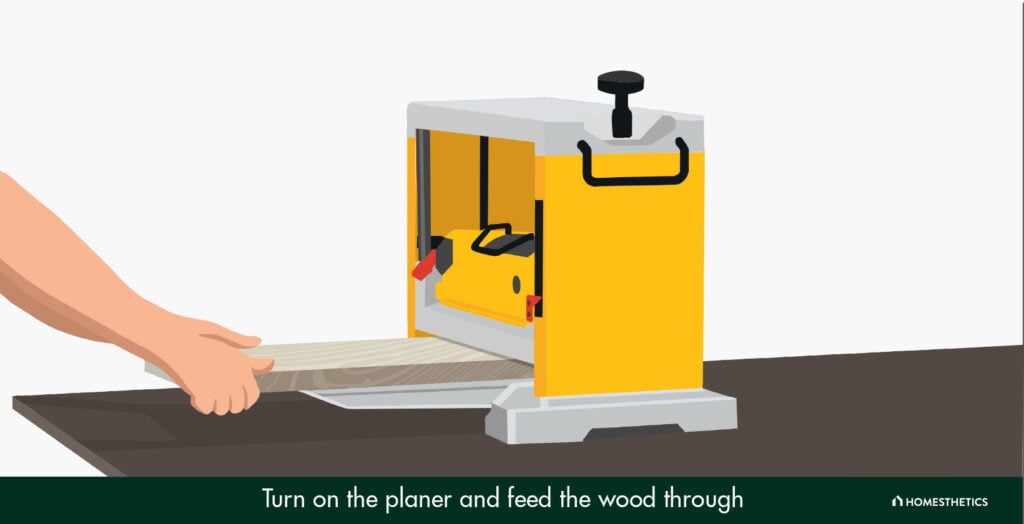
Next, turn on the power to the planer machine and pass the wooden board carefully through the planer’s housing. It is important that you feed the wood along the grain and in a controlled motion to avoid any accidents or tear-outs. Once it reaches the rollers, though, the wood will begin feeding through the machine automatically.
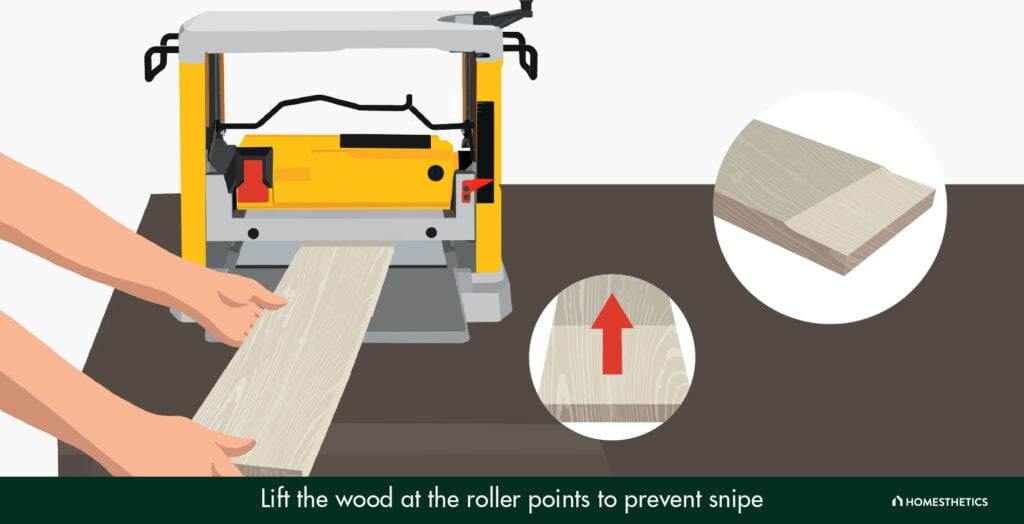
Using a mechanical surface planer to trim wood often gives rise to a condition known as “snipe.” Here, the wood exhibits a slight inconsistency in trimming thickness, where the leading or trailing edge of the board has a slightly deeper cut than the one at the center.
This occurs due to the blades of the feed table being set too high. It causes the leading and trailing edges of the wood to be pulled upwards, thereby causing a deeper cut. In order to resolve this discrepancy, you will need to slightly pull up on the opposite ends of the wood as it is fed into the roller.
By now, you will have gained a clear idea about how to plane wood using manual hand planes and mechanical surface planes. However, if you want the best results, you should keep some of the following tips in mind while undertaking this task.

When planing wood, a lot of dust and debris is generated in the form of wood shavings. So, make sure to wear goggles and masks to protect your eyes and mouth, respectively. And if you are using a mechanical planer, you should wear a pair of earmuffs as well since the machine can be quite noisy.
If there are tear-outs on the wood due to errors in adjusting the depth or angle of the blade, you can re-plane the wood to get rid of the issue. Alternatively, you can try to sand the surface to smoothen the tear-out.
After you are done planing the wood, you should make sure to store the blades properly on their sides to preserve their edge.
Wood planing is a necessary and important woodworking task that helps to maintain the consistency of the material. Raw lumber pieces often have coarse and uneven surfaces. There may be loose splinters on the surface that can be harmful to the user. Besides, you’ll find numerous holes, crevices, and uneven protrusions on the surface.
Such uneven features can be found on newly crafted wooden furniture as well. Likewise, the surface of a wooden furniture item loses its consistency over time. So, by planing the wood, you can get rid of all the above problems.
How smoothly a planer can trim the wood depends on its configuration. If you use a properly configured planer, you can achieve a very high degree of smoothness on the wood surface. The blade of the planer needs to be sharpened well, and the depth and angle should be correctly adjusted before starting the task.
The smoothness achieved by a planer is superior to what can be achieved using sandpaper. The latter uses a rough surface or grit to smoothen the wood instead of a blade. The grit basically scratches into the wooden surface, which means that sandpaper does not give you the same level of smoothness as a planer.
Naturally, a higher grit creates rougher scratches and vice versa. On that note, the scratches are usually not visible to the naked eye, which is why the wood may appear relatively smooth at a glance.
Some alternative tools that you can use to plane wood in case you do not have a planer are a table saw, drum sander, or wood router kit. They can achieve acceptable results but you will need to be extra careful while using them tools since planing wood is not their primary purpose.
As you can see from the above discussion, planing wood can be a fairly straightforward task. And as long as you follow the instructions we have provided, you can get it done in no time.
It goes without saying that prior woodworking experience can come in handy here. But even if you are a beginner, you can get the job done without any issues by following the tips we have mentioned. At first, you may make mistakes, but there is no need to become disheartened by them.
The more you practice, the more you will become familiar with the planing tools discussed here. And before long, you will be able to create flawlessly smooth wooden surfaces.