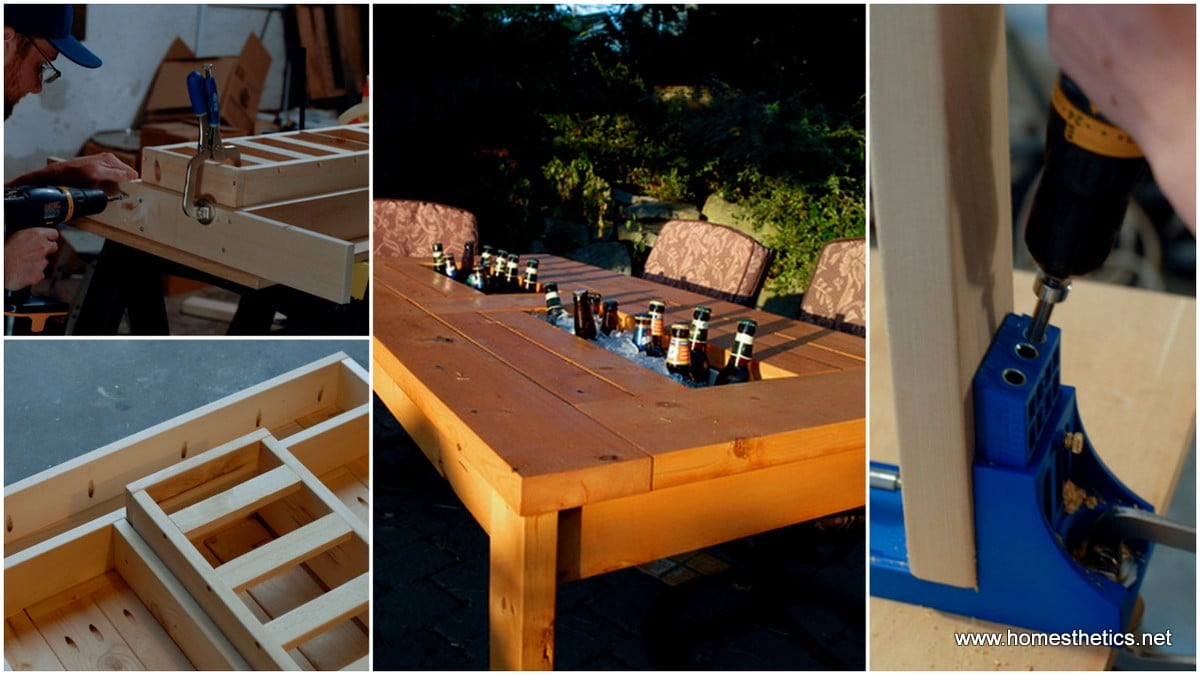
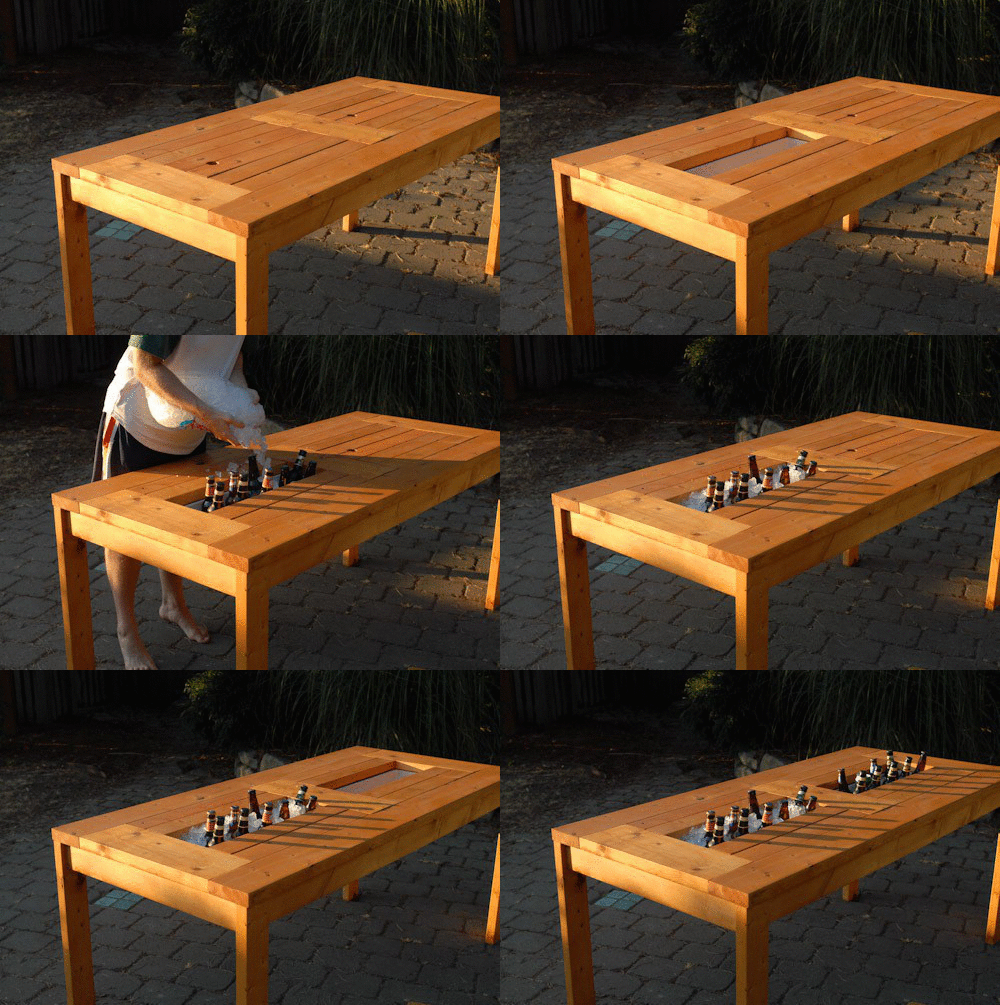
Today we continue our DIY backyard furniture projects with one that will fit the great farmhouse bench we have proposed you. We will offer you a set of guidelines that will teach you How To Build A DIY Patio Table With Built-in Beer/Wine Coolers perfect for the warm seasons spent outside in the garden. We have often encountered this amazing project on our daily searches for appealing creative ideas for you to get inspired from and we have decided that there is no better time than spring to try out this inspired DIY project. Take it step by step follow the instructions below and prepare your backyard for the party season.
Required Materials
Wood-$75 from local lumber yard
Wood glue- $5 from Home Depot
Wood filler- $7.50 from Home Depot
Wood screws (1-1/4″)- $10
Wood screws (2-1/2″)- $10
Sandpaper (110 grit)- $8 from Home Depot
Two plastic planter boxes- $24 from Home Depot or Amazon
Required Tools
- Sander
- Kreg Jig
- Square
- Clamps
- Electric Screwdriver
- 1/8” counter bore drill bit
- 1-1/2″ hole saw bit
- T-square (or a ruler)
- Pencil
Total Cost: $139.50
Dimensions for cutting the wood pieces
2 – 6X2 @ 5′ 9-1/4″ (top long board)
3 – 8X2 @ 1′ 9″ (top side and middle board)
12 – 2X4 @ 1′ 11-3/4″ (top center board)
4 – 2X4 @ 2′ 5-1/4″ (legs)
2 – 1X4 @ 5′ 2-1/4″ (outer long skirt)
2 – 1X4 @ 5′ 6-1/4″ (inside long skirt)
2 – 1X4 @ 2′ 5″ (short skirt)
4 – 1X4 @ 2′ 3-1/2″ (cross beam)
4 – 1X4 @ 2′ 1-1/4″ (box supports)
4 – 1X6 @ 1′ 11-3/4″ (long box side)
4 – 1X6 @ 8-3/4″ (short box side)
10 – 1X2 @ 7-1/4″ (bottom box)
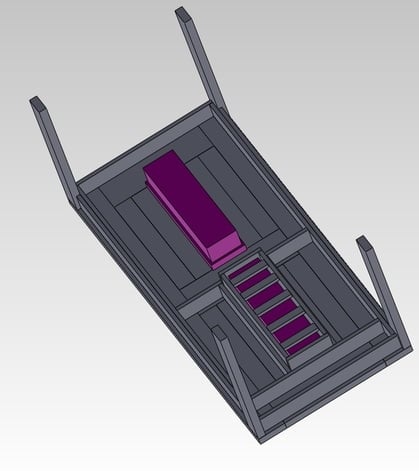
The design has been created and sketched out in SolidWorks and as coolers planter boxes have been used, allowing the melted water to drain perfectly.
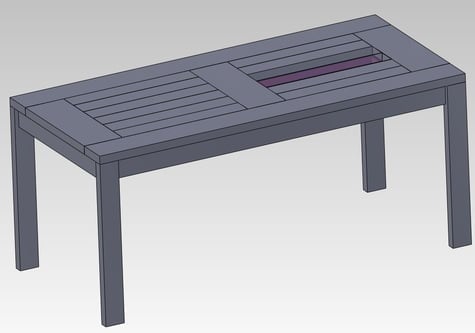
This option was the easiest solution, cheap enough so you can change it anytime you want to or in the case the planter breaks during winter season due to temperature changes.
Follow these instructions step by step:
Acquiring the wood is the first logical step you have to take. If you do not have the skill or tools to cut the pieces yourself you can ask for the wood to be cut at the exact dimensions you require for a small fee, which makes to entire process easier.
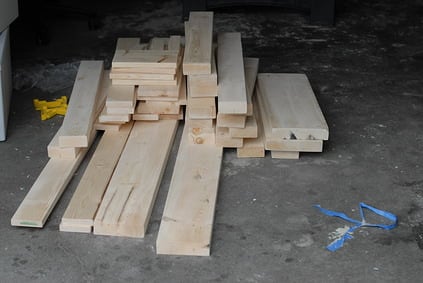
Sanding is the next step you are required to take.
Using the Kreg Jig put pocket holes in both ends of eight of the top center boards (2X4 @ 1′ 11-3/4″), the other four will be used for the lid and do not require these holes. Use this website to walk you through the set up and how to use it.
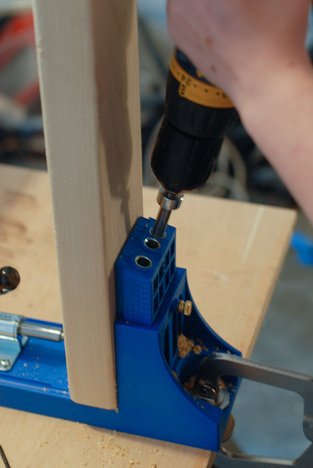
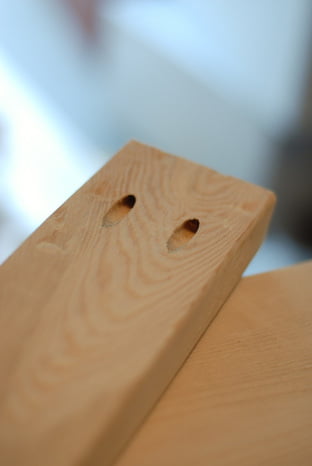
Take all the top board and arrange them on the floor with the pocket holes facing up and insert the planter boxes in their corresponding place upside down. Make sure there is enough space to be able to remove the boxes from their place.
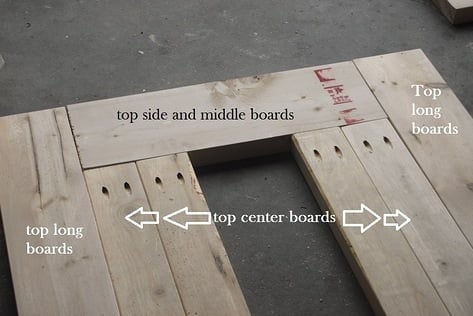
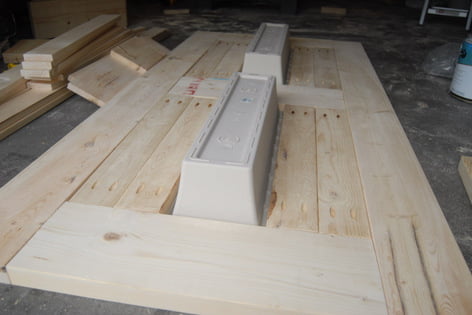
Apply the wood glue you have chosen to the end of the Kreg Jigged top center boards. Unite the top center boards to the middle boards through the pocket holes using the 2-1/2″ wood screws.
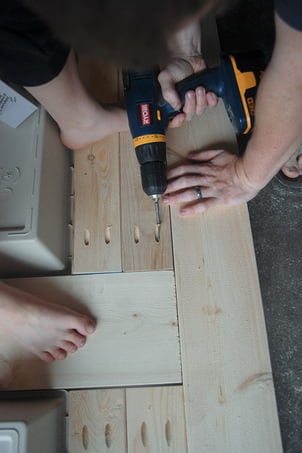
Repeat the process for the two side boards attaching them to the center boards. Use the Kreg Jig to make holes down the top long boards. Draw with a pencil the points where the side and middle boards unite with the long board (two spots at each junction were pocket holes will be made). Make six pocket holes on every top long board.
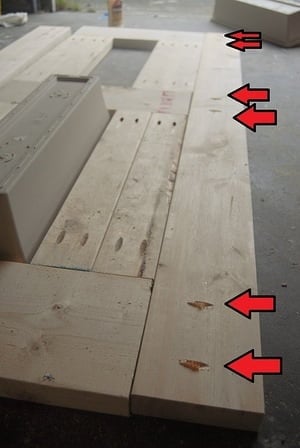
Apply wood glue then unite the long side board through the pocket holes using 2-1/2″ screws.
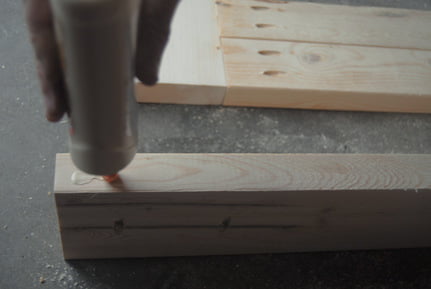
The flower boxes need a wooden box to hole them in place. Screw together the sides of the boxes and add glue between the uniting surfaces. Be careful to align everything just right before using the 1-1/4″ screws to attach them.
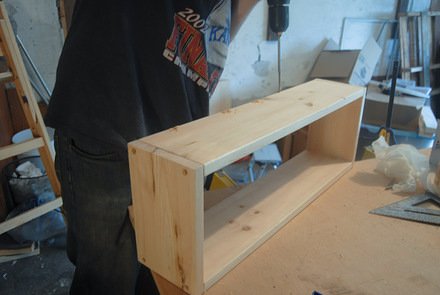
Use a pencil and counter bore bit, mark off and counter bore five even spaced holes on both long sides of the box.
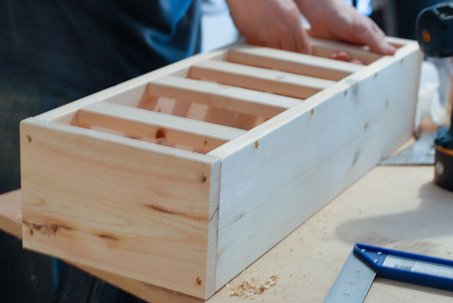
Place the box inside its support and take the box supports (1X4 @ 2′ 1-1/4″) and set them up against the wooden box so it is flush on both ends and also siting on the flat surface (the same as the plastic pb).
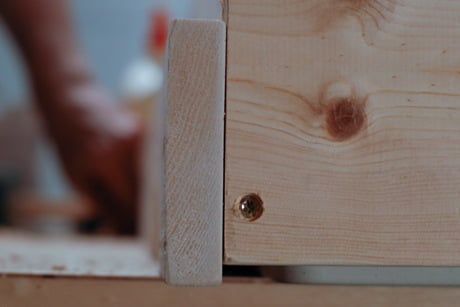
Use 1-1/4″ screws to attach the box support boards to the wooden box and add wood glue.
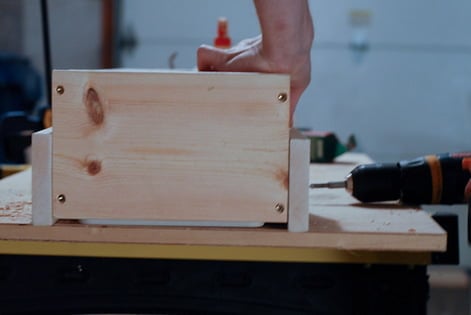
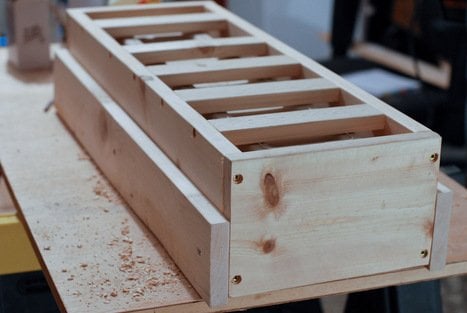
The most difficult part is to attach two of the cross beam boards to the box assemblies before assembling the table skirt. Measure and make the centers of both the cross beam board and the short box side of the wooden box. Use a T-square to make nice straight lines at the proper lengths.
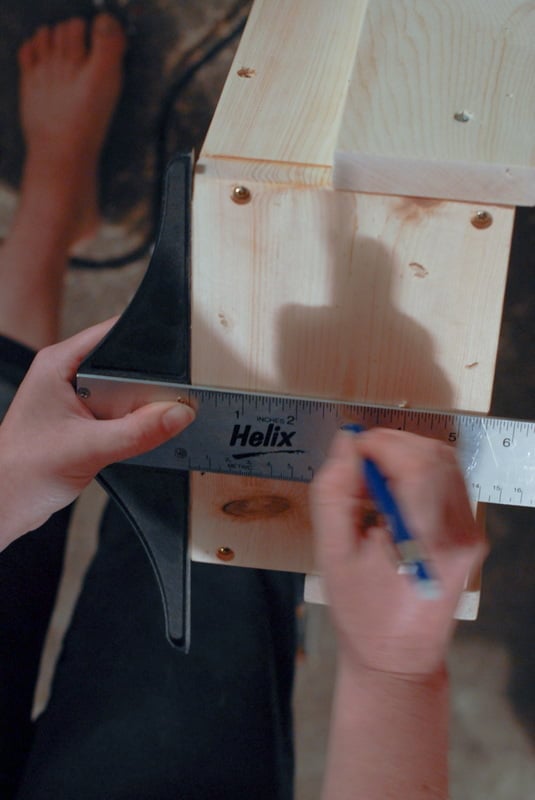
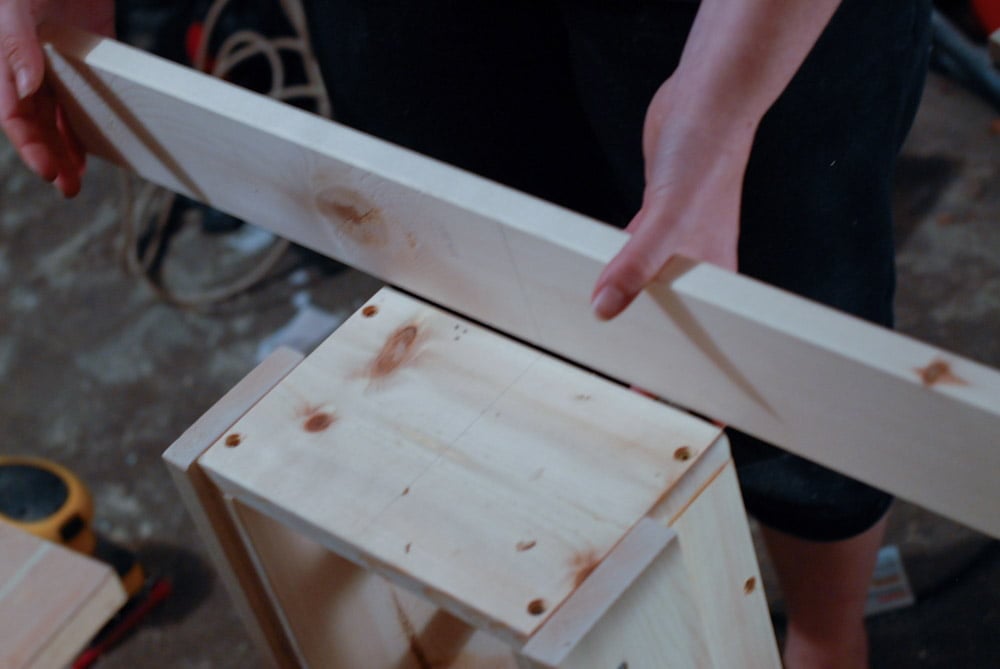
Use a clamp to hold it in place and add wood glue before clamping.
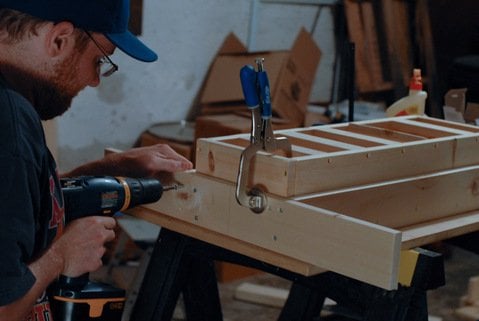
Unite the cross beam board to the wooden box using eight 1-1/4″ screws. Place the box assemblies and table skirt boards on top of the facedown table top. Mark out the placement of the needed pocket holes to attach the skirt to the table top. Use the Kreg Jig to make the pocket holes at the drawn marks.
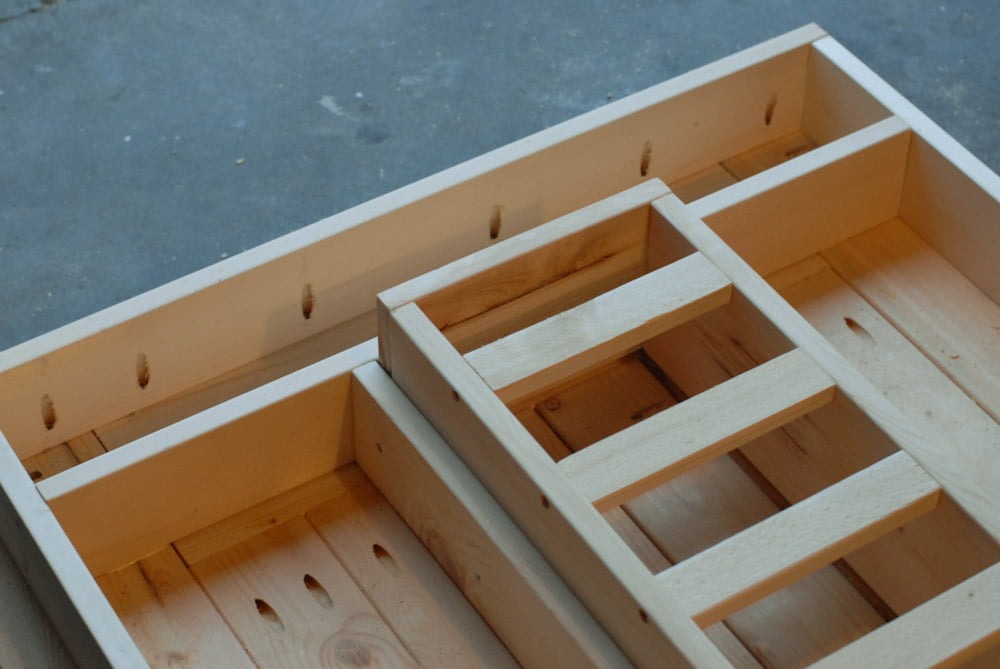
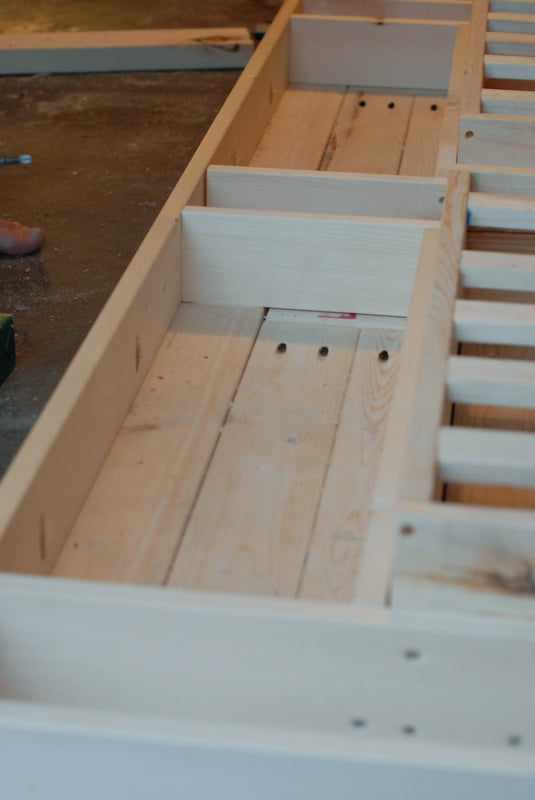
Wood glue the table skirts and unite them to the table top through the pocket holes.
Next pull up the box assemblies, add wood glue on the areas that make contact with the table top and placethem back down. To unite the cross beams to the table skirt drill two counter bored holes at each junction. Use1-1/4″ screws to unite all eight junctions together.
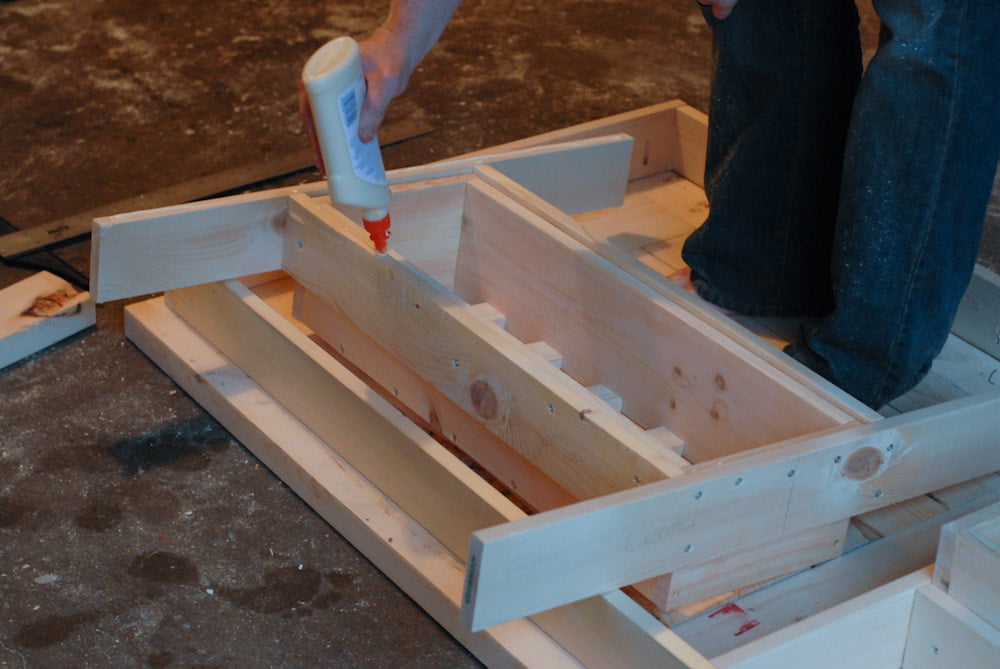
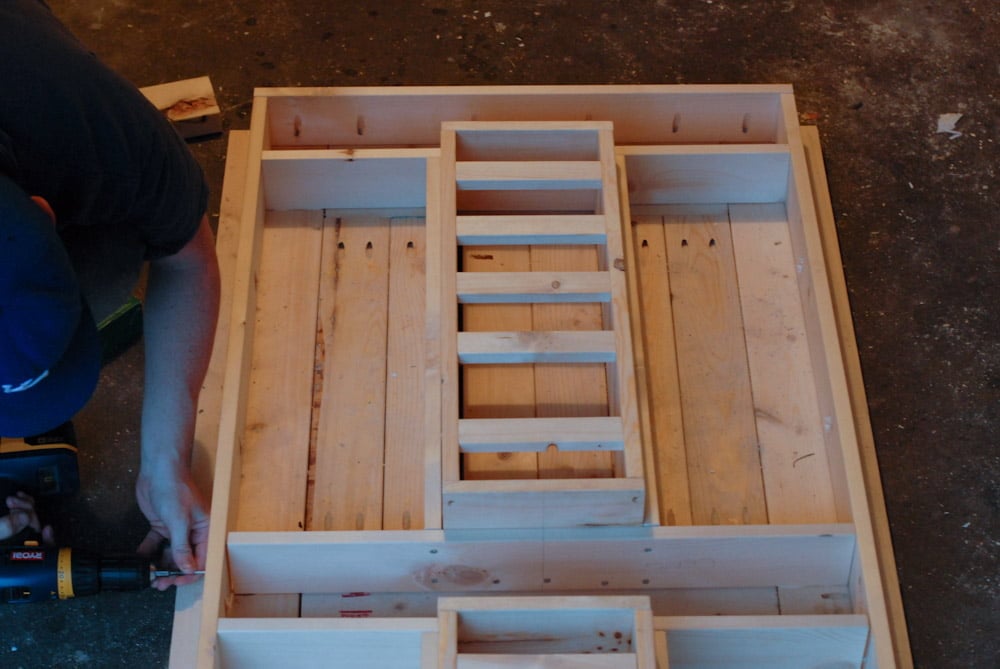
Make sure you line up the legs (2×4 @ 2′ 5-1/4″) and the outer long skirt (1X4 @ 5′ 2-1/4″). Attach the outer long skirt by first applying wood glue to the backside and screwing it together through the inside using 1-1/4″ wood screws.
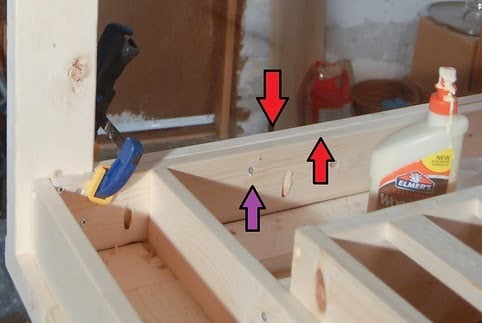
To attach the legs raise the table onto sawhorses and add wood glue and use 4 1-1/4″ wood screws in each corner, using a clamp to hold things together.
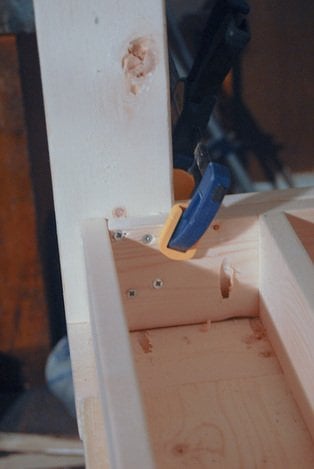
You can now turn your table and set it onto your legs. Cover the remaining holes with wood filler. The final step in this section is to sand the table in order to prepare it for the finish.
The final part of the construction step is designing the two lids which were made from two of the center boards attached together in 4 sport through pocket holes with 2-1/2″ wood screws and wood glue.
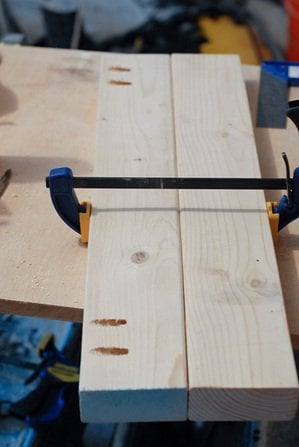
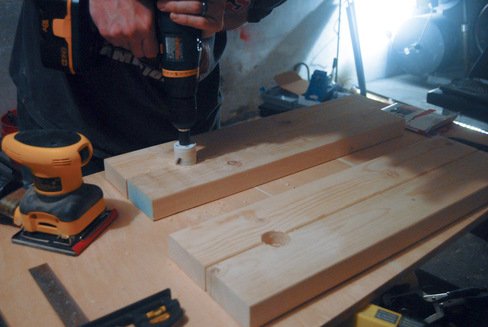
To lit them up easier cut a hole through them by using a 1-1/2″ hole saw bit.
Part II: Staining and obtaining the finished product
Required materials:
- Benite wood conditioner (1 quart)- $16.75 from Dalys
- Wood stain (1 pint, Dalys’ 45 cherry)- $10.45 from Dalys
- SeaFin Teak Oil (1 gallon)- $53.95 from Dalys
- 3M Final Stripping Pads-$2.41 from Dalys
- 110 grit sand paper
- Sponge brushes-About $3
- Rags/ old t-shirts-Free
- Disposable cup
Tools needed:
- Electric sander
- Total finishing Cost: $86.50
- Total Overall Cost: $226
Instructions:
Use a clean sponge to apply Benite wood conditioner on each corner of the surfaces which will protect your table from outdoor weather. Remember to wipe out the excess and let the conditioner dry out for 24 hours.
For the rest of the the wood conditioner and staining process see the following link: Farmhouse Table
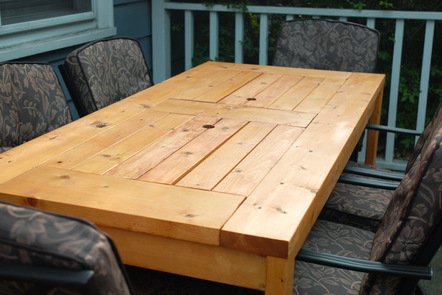
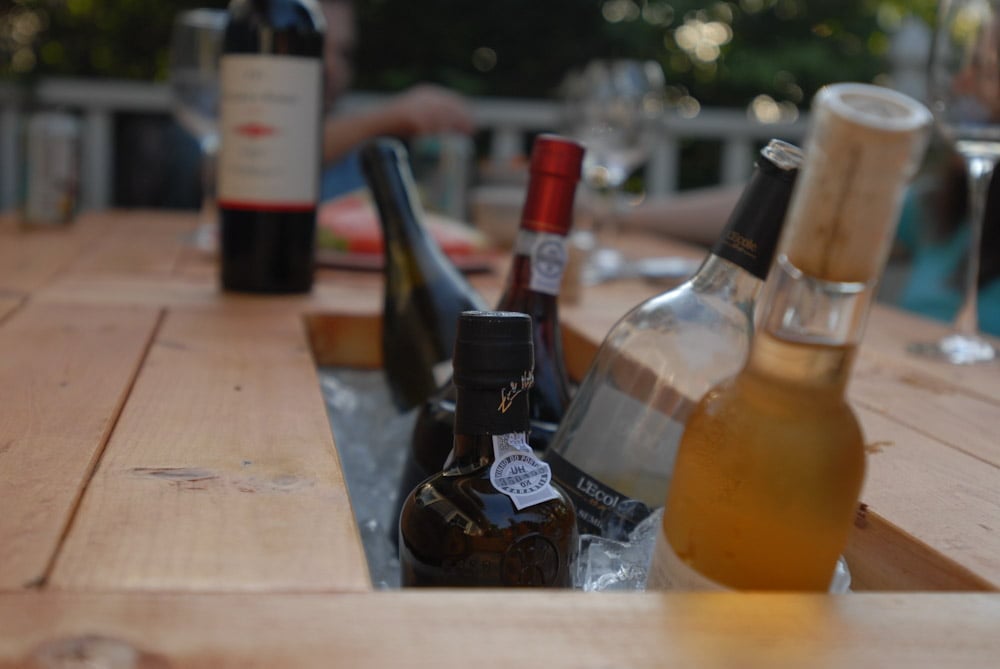
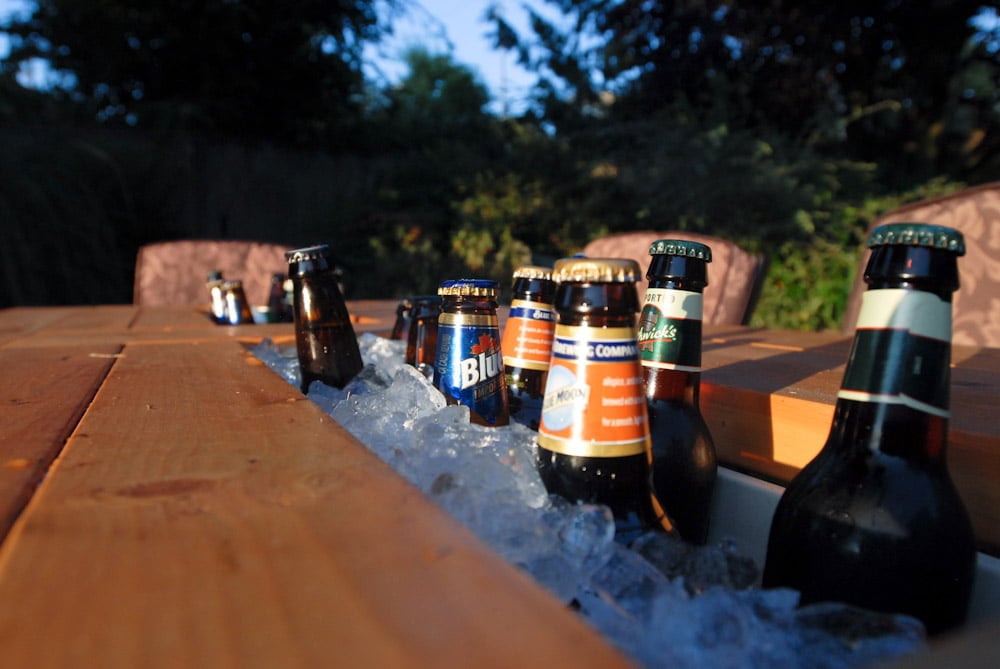
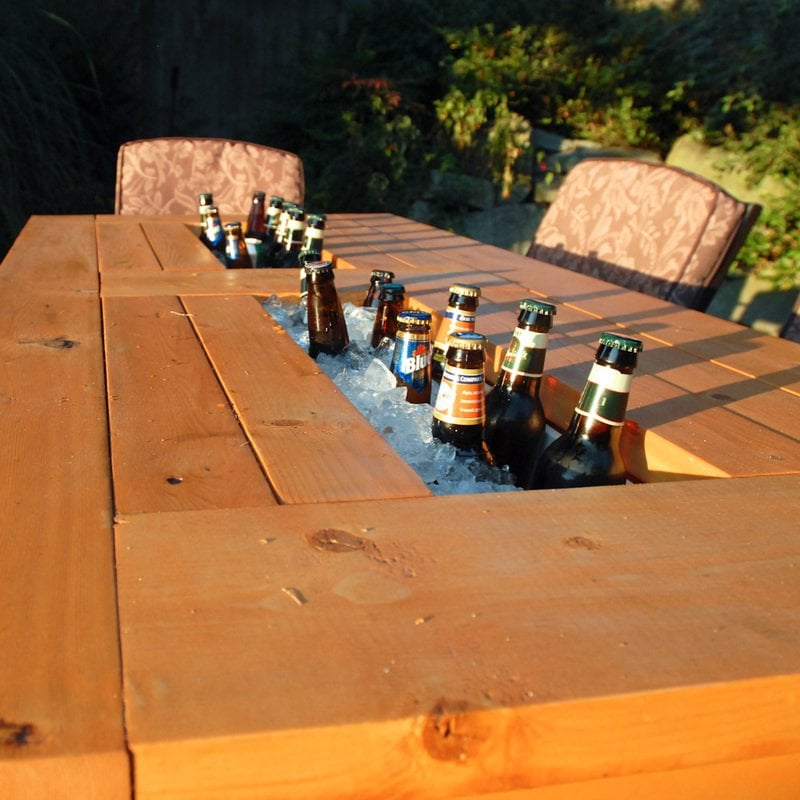
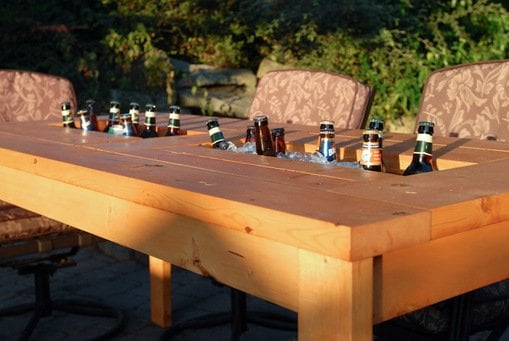
We hope you will find this creative process interesting and appealing and we would love to see your own DIY projects as well. Feel free to share your thoughts and opinions in the comment section below.
Source & Courtesy of domesticated-engineer
Related Articles
10 Best Small Patio Tables With Umbrella Hole
43 Super Cool Bar Top Ideas to Realize
43 Ingeniously Creative DIY End Table For Your Home
53 100% FREE DIY Farmhouse Table Plans for Your Rustic Dinning Room
