Expertises: Painting, Art, Drawing, Pastel
Updated on

Inspiring Ideas for Modern Home
Looking back, we never thought these familiar, common colored pencils used on coloring books to have the capability of producing exceptional masterpieces as well.

Colored pencils give the artist power to manipulate the outcome of a drawing in the easiest ways other mediums would since they are very easy to erase and work with.
Unlike other mediums, colored pencils do not require any preparation besides sharpening. They are also portable, which is ideal for artists who love to travel and work simultaneously.
While using them is easy, they can actually be very hard to master without both practice and tricks.
In this article, we divided the tips and tricks into two parts: the basics and the techniques. We suggest going through each section because they correlate with each other. But most importantly, they will come in very handy on your journey to mastering colored pencils art.
So without any further delays, let’s dive in!
While many beginners overlook the kind of color pencils and papers for drawing, these materials actually play a very crucial part in producing a great piece of artwork.
When purchasing colored pencils, the first feature you need to look for besides the price is the quality. The result of your drawing heavily relies on the quality of the pencils you use.
We all have seen that using inferior quality pencils results in low-quality artworks most of the time. So it is only obvious that working with higher quality pencils, we get amazing outcomes.
However, high-quality colored pencils do not necessarily have to be expensive. Of course, most cheap pencils are terrible when it comes to quality but what we’re saying is you should look for a good-quality set that comes at a decent price.
In order to find a good set of colored pencils, check for the grade that they normally use on most art supplies. You will see it’s either student or artist grade.
If you are a beginner, student grade pencils will do you just fine, even though the quality is compromised to an extent. But if you are an intermediate artist, we would suggest going for the latter option to improve your artworks.
The difference between the two grades goes beyond quality in the sense that they differ in price and purpose as well. While student grade pencils are made to fit the budget of students, artist grades are way more expensive. Moreover, artist quality pencils offer you more flexibility while working due to their soft composition.
When you compare low and high-quality colored pencils, you’ll also see that the texture is completely different from each other.
Within the range of professional or artist grade, you’ll find that there are pencils which deliver great layering results while there are others which provide desirable coverage.
Although many high-quality pencils have most of the features that we need, it is likely that they always excel more in one single aspect. Therefore, when buying a pack of colored pencils, you might want to look for the one that best meets your requirements.
There are also pencils which are oil-based but these can be difficult to start with if you’re a beginner.
But keep in mind that these are much vibrant than regular colored pencils because of the oil or wax composition. You can also blend them pretty easily without any hassle, which makes them highly desirable for creating a magnificent piece.
If you face difficulty finding the right set for your work, the good news is that good colored pencils are available for purchasing individually too. So, you can try out the same shade from different brands and find the most suitable one.
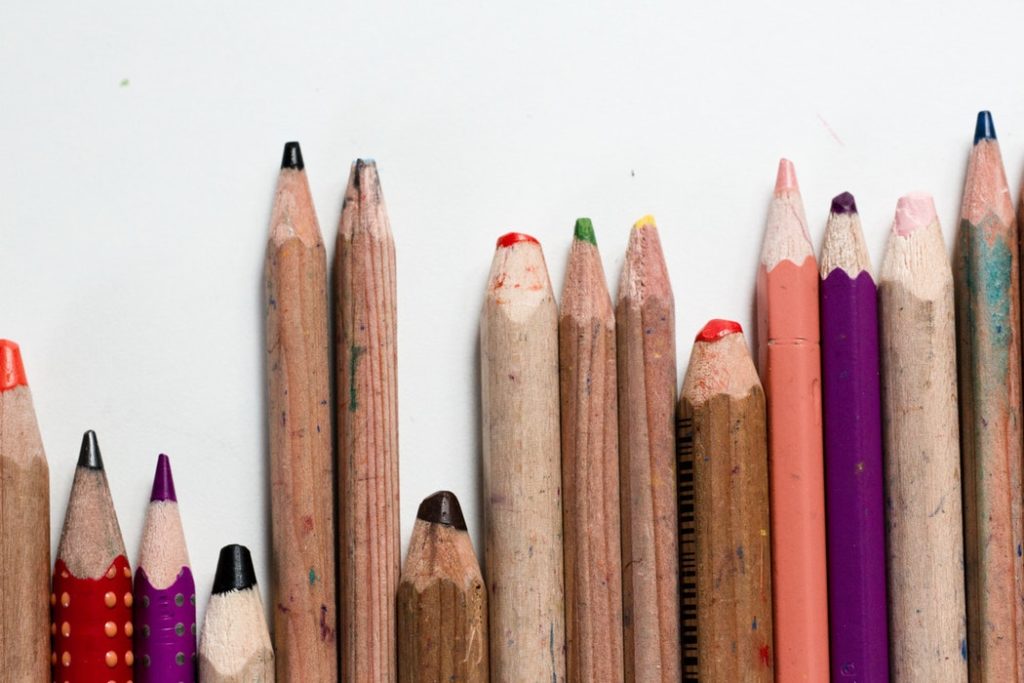
It is important to always keep a sharpener beside the colored pencils.
You may be wondering why we’re stressing on keeping the pencils sharp and what difference does it make.
The main reason is they produce better drawings! A sharp tip lets you work on the drawing very precisely, hence, giving you more control over the outcome of each stroke. The best example for this benefit is when working with outlines and filling in the little details.
On the other hand, a dull tip leaves messy trails beside the actual lines and requires you to apply pressure which can ruin the tooth of the surface.
Although we mentioned using a sharpener, there is also another more convenient way to sharpen your pencils - a blade.
While using a mechanical sharpener is faster, it also can waste more pencils that you may realize. But with a blade or a knife, you have control over sharpening the tips to prevent unnecessary wastage.
We know high-quality pencils are not cheap at all so if you want to preserve them from getting chewed off quickly, we suggest using a knife/blade instead of a mechanical sharpener.
However, if you’re drawing with soft pencils, using a blade for sharpening can easily break them. This is when using a sharpener will help keep them pointed without damage.
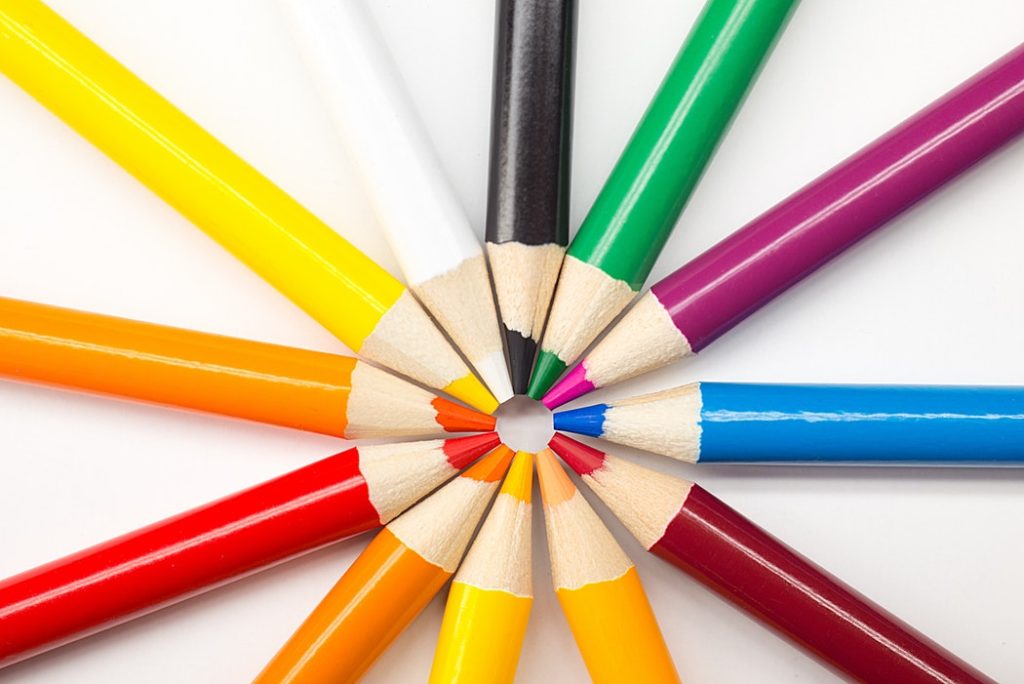
On the way to becoming a great artist, it is important to understand and learn about different colors.
It’s alright to admit that we judge the color from the outer shell color most of the time. However, there is always a difference between the real colors and the ones depicted. Even with the help of a color chart, there’s still a tendency of slight changes in the shades.
What you can do when looking for the right shade is to actually swatch some of the colors you already own and title them. Some shades will be very similar to each other, hence, by naming them you can find the exact intended shades.
Another way to find the exact shades is to get yourself familiar with the shades from a single brand. It can be tough for beginners to memorize the names of each color so that’s when you can use the same trick of swatching colors on a piece of paper before heading out to look for those tones.
And if you want the colors to produce amazing results, go with the brand names which have high ratings from other previous users. It is likely you’ll always find vibrant and rich pigmented colors most of the time.
If you want to preserve the sheets, work on them efficiently and get them laminated so that they will come in useful for future references. Keep a separate sheet for every color and their immediate shades, then store them in a file.
It’s no surprise when we catch ourselves overlooking the paper surface sometimes, especially when we’re just very excited to get started already. But if we pause for a moment to think about the outcome, we might want to reconsider the rush.
While using any kind of surface is encouraged for artistic creations, finding the right one for a specific medium is also crucial, especially when you’re learning.
The same way artists choose papers for watercolors, colored pencils also require the right surface to produce an archival quality piece.
Whether they are oil or wax-based, working on the right paper helps highlight the best performance of those colored pencils.
Although testing different papers is a must to find the desired surfaces, however, we do not recommend shifting from one brand to another too soon. Doing so can only interrupt the flow of learning about a particular surface.
On the other end, if you stick with one brand, you get used to it and can easily tell how your piece is going to turn out, therefore, giving you more control over the final results.
We would also suggest having different types of papers that you can practice every now and then while at the same time, keep the ones you can work on better for display purposes.
Also remember that choosing a surface for colored pencils mostly depends on these two aspects: tone and tooth.
The tooth or texture is responsible for creating effects on the surface of the paper. If you take a smoother pick, the final result will also appear smooth. It even allows you to work on it very easily.
However, this does not mean that papers with a rougher tooth are bad, but both have their own benefits. For instance, if you want to have more control while working, the latter would be a good option as it can accept more pigment.
Sometimes techniques can be very complicated but the following are both simple and easy to follow.
The pressure you apply on the colored pencil decides how your painting will look like in the end. And the problem usually comes up while layering - not all layers need the same amount of pressure to be used.
To get the desired intensity, the artist must learn to apply the right pressure. If you are new to this concept or have issues with it, don’t worry because all it takes is practice.
Get yourself familiar with applying the right pressure by experimenting with swatches. We recommend trying to create a piece while practicing since then, you’ll be able to tell where and when to use the right pressure in order to achieve the intended results.
There are times when you’ll notice that a single color does not give full coverage to the area in the artwork because it can either be too thin or too dull. In such cases, applying more layers is necessary.
Layering can help the artist get satisfying outcomes as it provides the piece with more depth, hence, making it appear more real.
To get the best layering results, choose colors which are close representatives of each other or those which are of similar shades. You can also use colors which are total opposites to each other.
Following this technique, you will witness amazing enhanced color combination which cannot be achieved when using a single shade throughout.
This is a technique which most beginners usually do not pay close attention to.
No doubt, it is fun to move the pencil in whichever direction you want to while coloring. But when it comes to creating commissioned or archival quality art, following a stroke technique becomes necessary.
The same way brush strokes are important to monitor while painting with liquid mediums, so are colored pencils with every stroke.
The direction of the strokes will decide how the texture of the drawing will be. If they go in every direction possible, that will leave the piece look uneven and messy.
In order to get this technique right, it’s important to first decide where the strokes should face, especially when working with realistic pieces.
However, if you do not know how to put the right strokes for the right effects, try following the cross contouring trick. Cross contour means filling in the colors by going with the shape of the subject slowly and precisely. Although it may take some time in the initial stage, it will eventually pay off when the drawing is finished.
The benefit we get from mixing colors is that they appear to be more natural.
With wet medium, we can always blend two colors together and create a totally different tone. But in the case of dry mediums such as colored pencils, we are required to layer the colors.
Mixing colors is a technique which produces exceptional results, yet, working with it does not come very easy.
For example, if we want to produce a natural shade of red, we can try mixing the colors yellow and purple by layering them.
But since good layering is hard with colored pencils, there is a trick called ‘optical mixing’ where you progressively mix the right shades by dotting them in the area where you want to. On a closer look, you can tell the different shades used while the big picture reflects the intended look.
Similar to the previous point of creating your own shades, we shall also focus on how you can produce a unique shade of black which can meet unique preferences as well.
Finding a natural black or white can be pretty hard in the world of many options.
We cannot deny the fact that black is an extremely strong color which when mixed with any other color, it can turn them dark every time. This is one of the reasons why black as a color is used for mixing only when required because it can make the drawing look flat.
So instead of using the ready-made black, you can try mixing dark colors such as brown and dark blue to achieve a completely different shade of black which can also be used for mixing with other colors easily. Moreover, it will appear looking less synthetic as the normal black would.
The process of mixing dark colors to create black requires layering and burnishing directing on the surface of the paper.
We also encourage experimenting with other colors to achieve different shades of black for your masterpiece.
It can be pressuring at times when having to work on small details but we’re gonna tell you to have fun with it. Think of it as the moment you put your brilliant judgment to work.
The best thing about details is that you can assign a different time to work on it - and that’s when you’re coming to the end of the drawing.
Moreover, it is an easier task when done with colored pencils since they allow the artist to have more control over the outcome. Also, the amount of time required for creating details is shorter if compared to wet medium paintings.
Having high-quality colored pencils is a bonus since they do not require pressure to work with. A light application is all it takes to highlights the pigments.
The idea is to first work on putting the color underneath, then when it’s sufficient, start working with the edges and details on top of it.
However, it does require preparation and planning beforehand on where to put the details since lighter areas can give you a hard time to highlight.
As a cautious action, we sometimes tend to apply the colors gently over the surface so that it does not look too harsh. This can work if the concept is to produce a light drawing.
But for a realistic value, it will need more work to be put in since the light effect only shows off the white bit of the paper which is definitely not ideal for this purpose.
In order to achieve a more natural look, the artist has to use heavy application of colors. But then again, applying colors heavily does not mean dumping all the pigments at once. Instead, it’s about using multiple light application over and over again.
One must work through the application by progressively layering the shades until there is visible full coverage, and this is how the drawing will become more appealing to the eye. Keep in mind to burnish those layers for achieving that compact look.
While there are many ways to use the pencil and create different effects, we will recommend one of the tips which always work for layering.
For layering, do not hold the pencil too close to the tip. Instead, place your hand a little higher from the tip and start with light, thin strokes.
The direction of the strokes should be uniform and light. When one light layer is done, move on to the other. Using this trick will prevent visible lines and make the drawing appear smoother.
We do not recommend rubbing the colors if you’re trying to mix them together because it can damage the painting. Colored pencils tightly hold on to the surface of the paper and this is what makes the pigments hard to rub off, especially if they are oil-based.
If you make a mistake and want to erase it, use a kneaded eraser which can be peeled off afterward.
Since blending is a major part with colored pencils, there are many ways to get it right.
First of all, there are solvents to help smoothen out the texture of the colored pencils. We suggest mixing the colors with odorless mineral spirits because they work best when used with oil or wax-based pencils.
The trick is to finish the drawing, then brush it up with the solvent so that the pigments will deeply sink into the tooth of the surface, making the paints look more subtle. When the harsh edges disappear, your work will look more realistic and natural.
In case you’re not aware, there are manufacturers which offer solvents in the form of markers, making it easier for us artists. However, after using markers, do not forget to wipe off the remaining stain on the tip after use so that it does not dry along with the marker.
Use tissues for blending because they are great for creating a smooth feel over the surface. Do not use too much pressure as the tissues can take off most of the pigments. Instead, gently and carefully pat over the area you want to blend.
But if you’re not ready for solvents, try using the white colored pencil instead. Gently going over the other colors with the white pencil helps smoothen them and cover the empty areas.
And it is obvious the white pencil will make the colors lighter than how you want them to be. This is the reason why manufacturers come up with the idea of a colorless pencil to meet the blending requirements.
Burnishing is what makes a drawing turn into a painting through colored pencils. What it does is letting the colors seep into the surface’s texture to help make the drawing appear more compact.
When using either wax or oil-based colored pencils, the process of burnishing automatically happens because the composition starts to build up.
If you want to learn the process of burnishing with colored pencils, keep in mind that it’s very easy. All you need to do is use a light-colored pencil and apply it on the spot using pressure. The best colors to perform burnishing with are cream, white, and similar light colors.
Acknowledge that the actual intended pigments will be compromised in that the appearance will be lighter.
But as it is with blending, there are colorless blenders, such as a marker or a pencil, which can be used for this purpose as well. We do recommend going for the pencil because it suits the process better since they are made to meet this need.
Another way to burnish your drawing is to use Turpentine of rubbing alcohol over it with a brush after the drawing process is done. This will take more effort but the results are pretty much similar to when using manufactured blenders.
The trick to a beautiful piece is finding the right tooth for layering your colors perfectly.
If you are new to the term, ‘tooth’ means the texture and depth of the paper’s surface which influences the overall outlook of the drawing/painting. Think of it as the grain of the paper and the intensity needed to hold the paints firmly so that they don’t flake.
Since oil or wax-based colored pencils are not meant to work on a smooth surface, it becomes crucial to first look for a rougher platform with a deep tooth.
Although selecting a surface with a nice tooth isn’t a tough job, but mastering the art of working on it actually is.
An important aspect to consider while working on the tooth is the way you hold a pencil. However, it’s not as complicated as one might think since you can hold it the usual way holding a pen for writing - vertically. That is how you’ll get to sink deeply into the tooth.
The second immediate trick is to go with circular strokes because they can be blended easily at the end without leaving any harsh visible lines. But if the concept is different, in that you want to create a crosshatch effect, circular strokes are not required.
The pressure applied to the paper will determine how deep the pigments go under the tooth. But it’s important to start off with a light application and proceed to adding more layers than just giving it all at once.
Finally, keep in mind not to press on the tooth too hard because that will make it go completely flat, hence, you won’t be able to create further textures anymore.
Tortillons are very similar to those colorless blenders used for burnishing. These are made from paper which is rolled tightly in order to form a tip at the end.
The tips are used for blending colors in areas which are difficult to blend with tissues or blenders, especially around the edges.
The main benefit of using tortillon is that they cost lesser than blenders and they are also indispensable.
In order to improve your master skills, we would recommend going to several art communities which are specialized in guiding upcoming artists in the area of using colored pencils.
Examples of such communities include WetCanvas, DevianArt, and the like.
Lastly, the only path to becoming a master in any artwork is to embrace both practice and patience as all great artists do. Give yourself the time required for learning the art.
With that, we will wrap up today’s article and we hope it has been helpful for your progress.
Good luck!
15 Best Electric Pencil Sharpeners
11 Best Colored Pencils for Beginners & Professional Artists
13 Best Sharpener For Colored Pencils
11 Best Adult Coloring Books That Will Color Your Mood
7 Best Electric Pencil Sharpener For Colored Pencils
10 Best Paper For Colored Pencils
Learn How to Shade With Colored Pencils Swiftly & Correctly
Learn How To Use Colored Pencils | 12 Brilliant Beginner Techniques
6 Best Erasable Colored Pencils Right Now
You Won’t Believe What Colored Pencils Are Made Of!
10 Colored Pencil Techniques to Enhance Your Drawings Swiftly