Expertises: Painting, Art, Drawing, Pastel
Updated on

Inspiring Ideas for Modern Home
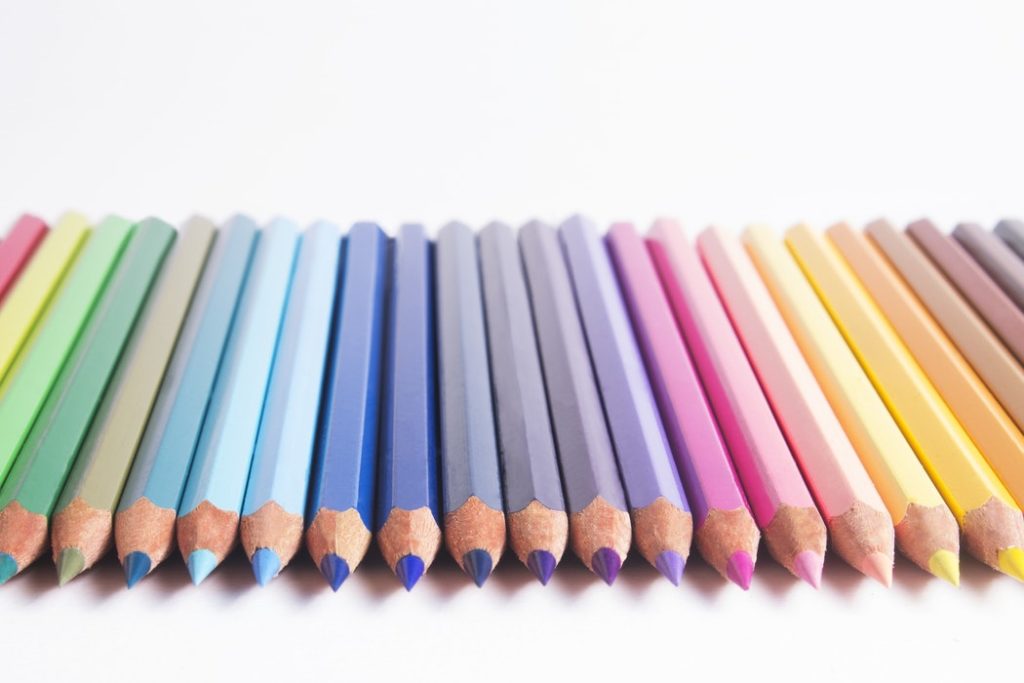
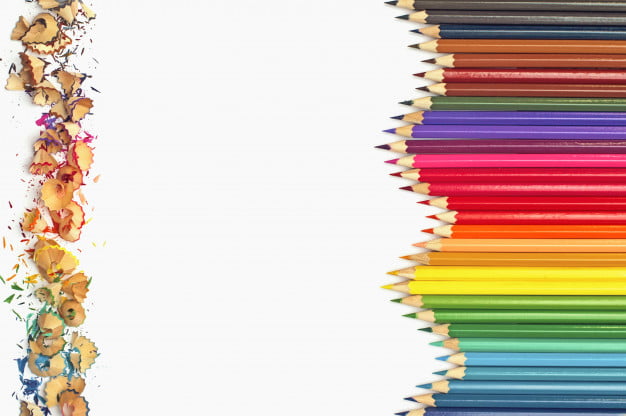
Colored pencils are one of the easiest ways to get started with painting. But as you practice and learn to start getting better at it, you'll want to take it to the next level.

And if you want to make your paintings look more sophisticated and elegant, there's no better way than to start blending your colors and experimenting with different shades.
Unfortunately, learning how to blend is easy, to begin with, but is hard to master. It becomes even more problematic with color pencils.
If you're working with charcoal or soft pastels, it's pretty easy to get the colors to blend. A simple smudge with a figure is enough to get the ball rolling. The pigment material is powdery, thus it's very malleable and can easily be transferred across the page under or over different shades of colors.
Colored pencils, on the other hand, aren't that powdery and tend to stick to the materials on which they are applied. Thus, we can't just use our fingers or do simple overlapping to blend the colors. We'll have to use a few special tools instead, which are used for the explicit purpose of blending.
But before we teach you how to get started with blending, let's take a look at how the composition of your paints affects the blend-ability.
First and foremost, you'll need to ensure you're using the right paper for your pencils. Paper made out of wood pulp are usually cheaper, but the fibers in it are really short and unwieldy.
They can quickly get distorted and break off under excess pressure or under the application of too much pigment. As always, it's best to get a high-quality paper, as it's just one less thing to worry about.
Just like the drawing paper, you will get different results with different brands of coloring pencils. The results will also vary depending on the color of the pencils.
Some pencils are a bit powdery and chalky and are therefore not that easy to smudge. Other ones, though have a wax base which makes the color much more malleable and easier to blend together.
When it comes to the color, darker colors might seem to blend more quickly, however, whereas some pigments will be drier or more granular. The most opaque ones work best.
Because blend-ability differs so much from brand to brand and also, within brands, it's hard to pinpoint which ones will work best and which ones won't. However, the techniques we'll tell you about below should suffice for pretty much everything out there.
Although this method isn't as effective as the other ones on this list, this is still the most common and easiest way of blending colors - put one layer on top of another. By overlaying light layers of different colors, you can get an excellent gradation going as long as you are using high-quality pencils.
As every artist would know, the bottom layer should never be too heavy, and it should get heavier and heavier as you go from the bottom layers to the top. Also, remember to never use darker colors for the foundation layers. Once dark colors stick to the fivers, it becomes hard to blend. So, always start with your lightest colors.
Solvents are liquids which melt the color binders in oil and wax-based color pencils. They can be used to remove pencil strokes, flatten the surface of your work, and they let you layer different colors more easily and quickly.
Solvents are to be used sparingly and are applied via paintbrush. They are usually mixed with a little bit of liquid. Here are the most common types of solvents.
Oil-based solvents
Turpenoid or turpentine alternatives are frequently used because they can dissolve the wax in the color pigments very easily. The dissolved pigment can then be worked into the tooth of the paper. Of all the solvents, turpentine makes for the strongest blend and works the best when it comes to eliminating the texture and tooth of the paper.
Just remember that these are toxic and you should practice with extreme care while handling these solvents. Make sure you store it in a sealed container, and you blot out excess solvent from your brush. Keep a few paper towels handy.
Alcohol Based Solvents
If you're looking for a less intense blend, apply rubbing alcohol, which is 70 percent or less in strength. Stronger blends will suck the color right out.
It might take some time, and the blend might not be as smooth as you want it, but there definitely is a lot less room for error while using alcohol-based solvents.
Baby oil
Baby oil is the choice of solvent for plenty of people and has always been a popular choice for blending colored pencils. Baby oil dissolves the binding of the pencils, which allows the pigment to be spread easily over the surface. It is safe, odorless, and can be easily applied with a soft brush.
These look like regular markers, but they have no color. You can use them to soften and then blend the paints, making for a watercolor-like effect. They are a lot like using solvents except that they are in the form of a marker.
These markers are usually alcohol based. The tip of the marker is laid out with alcohol, and when you move the tip over the colors, it dissolves the binding and lets you blend your colors. Because the application is so localized, you can have a much more seamless blend of all your different colors.
A colorless blender pencil is essentially another wax-based color pencil, however, it is devoid of any pigment. When you use this color pencil, you are putting on applications of wax over all your colors.
Once, there is enough wax on top of your colors, you can start to blend them. These blenders allow you to have more control over the specific areas which need blending. Since you can also sharpen a pencil, you have a lot more precision as well.
Burnishing or shining is a technique used for layering colored pencils, by using your pencils to apply very heavy pressure. Burnishing with a blending pencil lets you even out your colors and decrease excessive saturation, thereby making for a smoother painting. These blenders are particularly useful in mid-tones and highlights.
Paper products and paper stumps like tortillons are used mostly in the domain of charcoal paintings, but they work to a fair extent on color pencils as well. And the best part is you don't need to buy any tools separately.
A piece of tissue paper, or paper towel or any paper with a slight amount of grain in its texture will work. You can even use a cotton swab - it doesn't need to be fancy at all.
If you want a bit more precision though, our suggestion would be to use a tortillon (blending stump). They will let you fine-tune your blending and will be a valuable addition to your painting arsenal.
These techniques are most effective when you're blending a very heavy layer of color. Burnishing or putting in as much color as you can will maximize its effect. Just make sure your paper is sturdy enough to hold that much pigment.
Now that you've got the basic hang of what tools you need and how to start blending your colors, here are a few more suggestions to keep in mind.
- As we already mentioned above, you need to blend colors from light in the bottom layers to darker up top.
-When using a solvent, make sure it dries before you start painting on it again.
- While burnishing, build up the pressure gradually. If the surface of the paper has become too dark, let it dry out for a bit.
- Draw on smooth paper. If the texture is more grainy, it helps in color absorption, but it will be harder to fill in gaps and also smoothen out the different shades.
Well, that wraps it up from us today. Remember that different methods affect your painting differently. Hence, it's worth experimenting a bit to figure out which ones are most suited for your particular piece.
15 Best Electric Pencil Sharpeners
11 Best Colored Pencils for Beginners & Professional Artists
9 Best Cheap Colored Pencils of 2022 Reviewed
13 Best Sharpener For Colored Pencils in 2022 Reviewed
11 Best Adult Coloring Books That Will Color Your Mood
7 Best Electric Pencil Sharpener For Colored Pencils in 2022
10 Best Paper For Colored Pencils in 2022 Reviewed
Learn How to Shade With Colored Pencils Swiftly & Correctly
12 Colored Pencil Tips & Tricks to Enhance Your Skill
Learn How To Use Colored Pencils | 12 Brilliant Beginner Techniques
6 Best Erasable Colored Pencils Right Now
You Won’t Believe What Colored Pencils Are Made Of!
10 Colored Pencil Techniques to Enhance Your Drawings Swiftly