Expertises: Painting, Art, Drawing, Pastel
Updated on

Inspiring Ideas for Modern Home
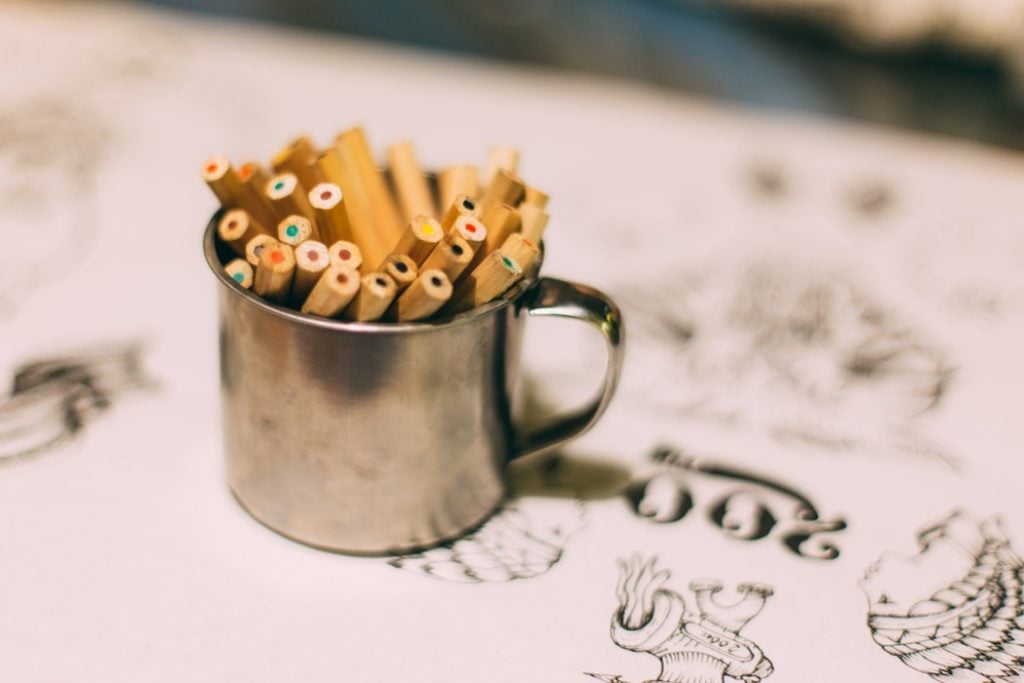
Colored pencils are a versatile and capable medium of producing some of the most tantalizing, attractive and creative artworks.

Many people underestimate its capabilities because of the simplicity of its design and the method of its application.
But, as friendly as colored pencils might seem, there are many artists who have proved that these pencils can be used for some marvelous and outstanding works of art.
And if you happen to be looking for techniques and tricks that will enrich your skills using colored pencils, then you have come to the right place.
Because today, we are going to discuss the 10 effective colored pencil techniques that will seriously enhance your drawings.
So, what are we waiting for? Let’s take a look!
Hatching is one of the simplest techniques you can adopt with pencils that will make your artworks look amazing.
But even if the trick may seem simple in its implementation, both application and implication of this technique have serious depth.
If all that you have been doing with colored pencils is back and forth filling, then hatching will incredibly improve your results. It is a wonderful technique to emphasize shade and define the form, depth, and volume of the subject.
It is also incredibly effective in providing a sense of direction in terms of lighting and gives the artwork a menacing and unique look.
The core idea of hatching is very simple. All you have to do is draw consecutive lines that are evenly spaced and are uniform in terms of size and direction. But the execution has to be mastered.
First, make sure that the pencil that is being used for hatching is sharp and is of a darker shade. Otherwise, then the lines will be thick and irregular.
Second, do it fast. The core of this technique is that you draw fast by using muscle memory instead of conscious thought.
If every line is put down measured and carefully, then it’ll be uneven and look odd. Only with regular practice, the lines will be even, smooth and will look natural.
An advanced version of the previous technique is cross-hatching.
In this technique, you basically do two layers of hatching. In a more traditional version of cross-hatching, you use the same color and keep the lines of the two layers perpendicular to each other.
A more nuanced version of this trick include a variance of colors and drawing the layers at arbitrary angles instead of making them perpendicular to each other.
Of course, to get the desired result from this technique, you’ll not only need to master hatching but will also require you to have a good understanding of what colors and angles work the best with your piece.
While the choice in the latter part remains to be your artistic choice, the right way to do it remains to be the same as hatching.
That is, do it quickly so that the lines are even, crisp and uniform.
Scumbling is an incredibly unique and kind of a strange technique. It is done by drawing circular figures in a seemingly random way.
It can be done using one layer or only one color but mostly it used in multiple layers at a time; sometimes, with different colors.
The goal of this technique is to achieve specific kinds of texture that is otherwise not achieved. Now, what you use this for specifically depends on what you deem it fit for.
But the crux of the technique lies in drawing an evenly shaped circle that travel in an apparently random way.
The trick is a simple one overall but the craft of it lies in how genuine this “randomness” seems. The success of the technique purely depends on how aesthetic the texture is, or whatever is your visualized end result.
All and all, it is a very unique, simple and interesting way to add more depth to your work.
Directional lines are exactly what they are called, directional lines.
Often, like hatching, you do it around the contours of an object. But instead of going against the direction of the contour, you go along with it.
Now, you can vary this technique by altering the density of the lines and the combination of colors you use.
You can even vary how long each line is because not all lines have to be of equal length like hatching.
Overall, the method itself is not very complicated. However, the choice of its use can be.
This technique is often used to make voluminous textures like grass, fur or hair. The idea is to represent each element of texture to produce an overall volume.
It can be also be used to draw things like flame and gust of air. Anything that has volume and direction of movement can be better represented with directional lines.
The right way to implement this technique will be to start with less dense lines and increase the density and number of colors as it best suits the desired texture. Just make them of the same thickness.
Besides scumbling and directional lines, stipping is also a great way to make some interesting textures.
But often artists use this technique to create unique art pieces made entirely from stippling.
In stippling, you make dots. How dense and what color depends on the region you are trying to cover.
Often a denser stippling represents a darker part of the solid while a blank or low-density stippling is used to represent the lighter region.
The choice of color is simple and only depends on what the object is supposed to look like. You can use two colors in the same region if you are trying to represent a blend or a mix of hues.
There is not a lot of complexity to it but there is one thing to remember, always keep the dots separated from each other.
Ultimately, this technique is incredibly rare and tedious one to execute. But when executed correctly and aptly, it can have a strong and unique result.
Incising is a method in which you create white line indents on the paper using wax, parchment paper or butter paper and a hard pencil.
When we paint over these crevices the pigments don’t settle inside the valleys which leaves fine white lines behind.
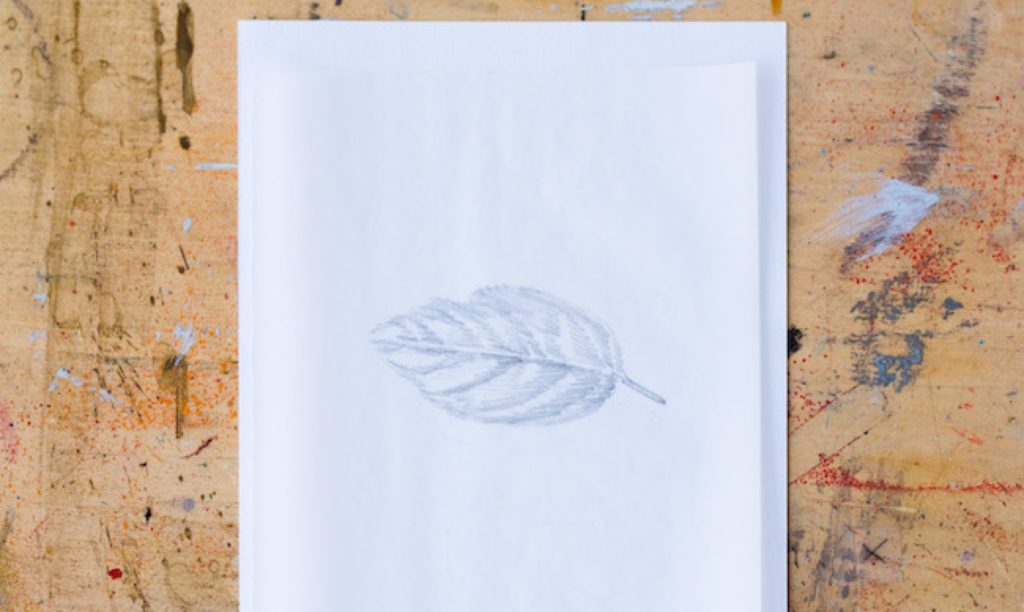
Image via mybluprint.com
As might be evident, this technique is not a conventional one. Hence, some part of the craft also lies in the decision of where and when to use it.
It can be used when you are trying to produce fine white lines for detailing, like veins of a leaf.
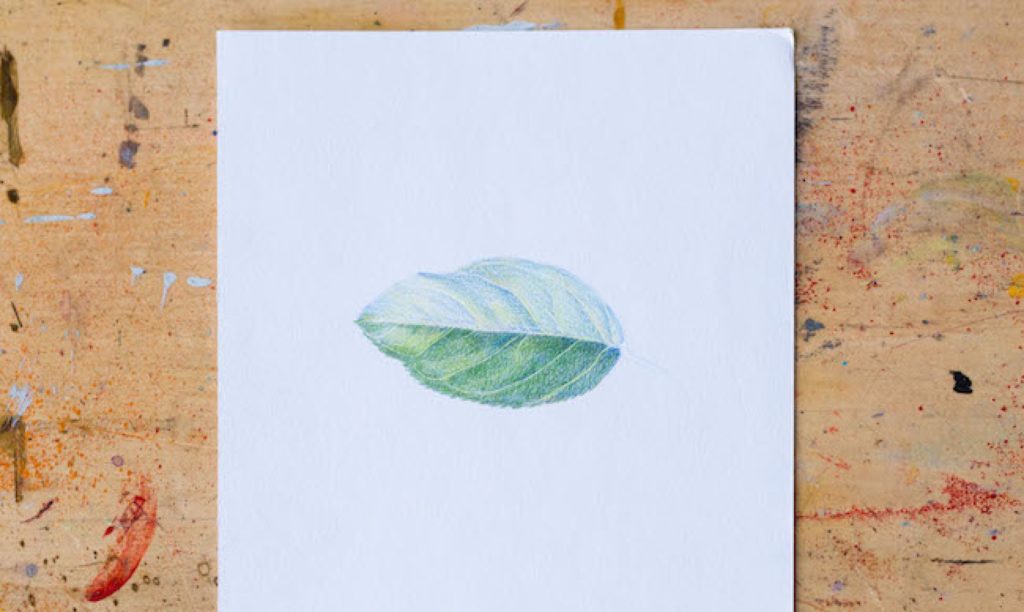
Image via mybluprint.com
Overall, there isn’t much to this trick. It’s a quite innovative and simple trick that can come in handy when you least expect it.
Even if it takes some extra equipment and deviation from the conventional use of colored pencils, when smartly used this trick might prove to be worth it.
Rubbing also performs a very similar function of incising, i.e., create depressions on the paper that leave white spaces around.
But while you make fine valleys of white lines using incising, in rubbing different textured surfaces are put underneath the paper to translate it on the paper.
Light strokes on the paper with a textured surface underneath will only produce colors on the top of the texture. All the crevices will result in blank white space.
Of course, this technique doesn’t have widespread usage in this art form. It’s either you find very specific cases to use this for or dedicate the whole piece to this technique.
But some common uses, of course, include copying patterns and imitating coarse textures.
Overall, it’s a non-conventional but innovative and fun way to use your pencils. But, if you use this method wisely, you might be able to save a significant amount of time and produce excellent results.
Unlike incising and rubbing, scraping manipulates to colors after application rather than before it.
In incising, we used translucent paper and a hard pencil to make the crevices for producing white lines.
But for this method to work out, you’ll need a knife. Many artists prefer [easyazon_link keywords="X-ACTO knives" locale="US" tag="homesthetics0a-20" link_id="194561" type="link" ref="misen"]X-ACTO knives[/easyazon_link] to make this work but you can use any other sharp blade.
The trick is to just scrape out the color from where you need to make the white line. Of course, this technique is much more imprecise than incising where you can trace the lines with the help of butter paper.
On the other hand, this technique requires you to meticulously scrape off the color to create white regions.
It may seem that this technique is overly complicated, but that’s not the case. Scraping is much better than incising or rubbing when you need to create a gradient of white space.
Since you control how much color remains on the paper, you can create softer whites and more stark white regions.
But overall, this technique does need a lot of practice to do perfectly. And also, to make sure that you don’t tear the paper, try to use a thicker paper if you are planning to use this technique.
In burnishing, you use a colorless blender or a tortillion to create a smooth blend that looks incredibly realistic.
It’s one of the most widely used techniques with colored pencils because it brings out the full potential of the medium.
To execute this trick correctly, you need to first decide the colors of the various regions and many layers you may want to put on top of it.
If you don’t do that correctly, then there’s no point to this technique because it acts as more of a touch up rather than the main work.
After filling up the complete region with different colors and/or in layers, it’s time to slowly blend the pigments from the lighter to the darker side.
The reason behind this is that it creates a more intense color contrast than the other way around. So, do this very slowly and methodically as you don’t want to create a blend that looks unnatural.
And as always, practice is the key. Try different colors, textures, and shades, and practice blending them. You’ll, then, get a hint of what works and what doesn’t.
Working with colored pencils doesn’t mean you can’t use other mediums to enhance its appeal.
There are many ways to use other mediums to enhance the work of colored pencils but there’s nothing better than watercolors for this case.
The most ideal scenario for the mixed-use will be by using watercolors to fill out larger regions and working the details with colored pencils.
You can also use watercolors in an incognito fashion to give more volume to your subject. For example, you can use watercolors to fill out the hair while using colored pencils to shine each strand of hair.
You can also use watercolors primarily and use colored pencils for hatching and contours.
Obviously, the possibilities are many. But there’s no denying that watercolors and colored pencils can be used together to effortlessly give birth some incredibly attractive works of art.
So, that’ll be all for this piece.
We hope that these techniques helped you finding new ways to advance your skills. Of course, these tricks will aid you to draw more swiftly and also provide your work with some uniqueness.
With that, we wish you well in your creative endeavors and thank you for reading!
111 Best, Fun and Cool Things to Draw
11 Best Colored Pencils for Beginners & Professional Artists
13 Best Sharpener For Colored Pencils
11 Best Adult Coloring Books That Will Color Your Mood
7 Best Electric Pencil Sharpener For Colored Pencils
10 Best Paper For Colored Pencils
Learn How to Shade With Colored Pencils Swiftly & Correctly
12 Colored Pencil Tips & Tricks to Enhance Your Skill
Learn How To Use Colored Pencils | 12 Brilliant Beginner Techniques
6 Best Erasable Colored Pencils Right Now
You Won’t Believe What Colored Pencils Are Made Of!