Expertises: Art, Painting, Drawing, Home improvement, Gardening
Updated on

Inspiring Ideas for Modern Home
Cleaning a carburetor is not as difficult as you may perceive. If it looks and sounds dangerous, read on.

Are you under the impression that lawnmowers need to be taken to garages or a repair store every time you need to get it cleaned? Let us break the bubble. With a few essential pieces of equipment, you can do the job at home itself.
But again, you must take specific precautionary measures beforehand. If there are problems with the mower, it is best to let an expert handle the job. But if the mower is working fine, then you can do the job yourself.
Let’s proceed to the tools that are required for this process, and we will also be giving you tips along the way so as to not go wrong. The engines will be purring perfectly by the end of this guide.
Now that you have decided to clean the machine instead of taking it apart, you will need the following sets of equipment for partial cleaning.
First, before using any other tool, an air compressor gun needs to be used to remove any visible dirt from the machine. There are chances that lumps of grass or soil may be stuck with grease in some areas of the machine. Use this device to blow off the dirt, and then rags can be used to clean it further.
A screwdriver is essential in any place where screws need to be removed. Here you can choose a Philips product for opening the filter. It can also be used for opening snapped on parts of the machine. Again, if you feel you do not know how to go about using a screwdriver, opt for a plastic card, which is a safer choice and will help in the process.
For those who do not know what an aerosol cleaner is, it is a liquid solution that is generally used to clean electrical equipment. It can be used on all the parts as well as any other device which runs on fuel. This solution works wonders for machines and keeps them free from rust and other forms of discharge.
Cotton rags are a must while working with machinery and machine parts. You will be soiling your hands multiple times, and would not want the grease to remain on the fingers for long. So, make sure that you carry a piece of cloth to clean your hands as well as to clean the carburetor.
It is essential to have the inner parts of the carburetor visible to the naked eye. So, make sure that you have a flashlight or headlamp while working because even if the room is well lit, the parts may not be visible. A headlamp is a better choice, as this will keep both your hands from being occupied.
There are mainly three types of lawn mowers presently available.
The traditional lawnmower is one that is devoid of any engine. It works on kinetic energy that is produced when the blades of the wheels inside keep turning. It is a pretty basic machine and cannot be expected to run very efficiently.
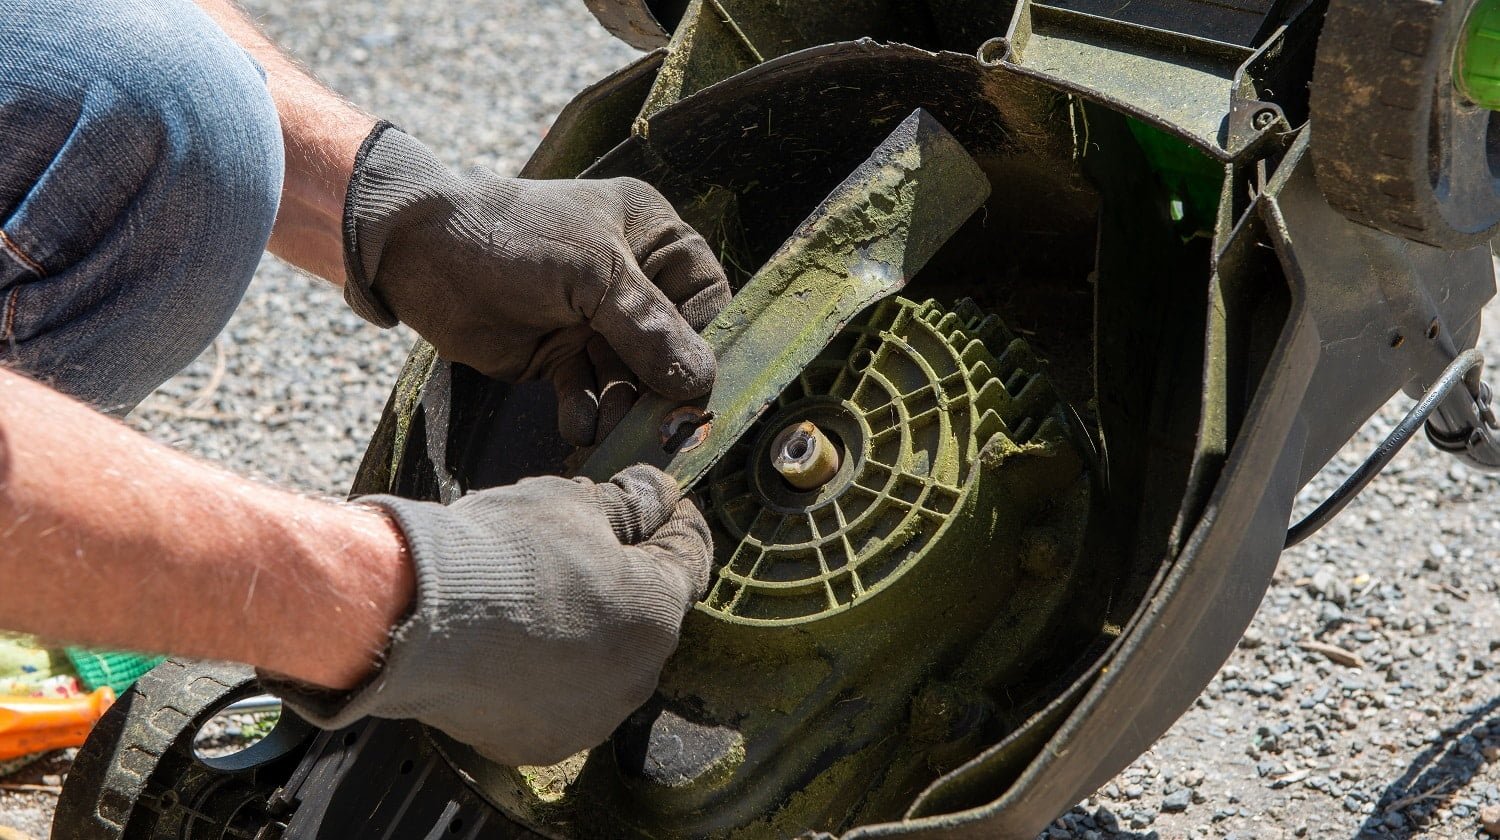
The walk-behind lawn mowers work very smoothly, and you only have to push it where you want the grass to be cut. It slices off the grass and leaves a neat looking lawn. Blades below this machine, which is powered with the help of a carburetor, are the main tools that cut through your lawn.
The last type is the ride-on lawnmower, and yes, it is fun to operate. One just has to sit on it and steer it in the right direction. This is essential for larger fields where walking would be very tiresome. In such cases, this machine cuts off grass efficiently and quickly.
Before starting this process, you need to assess the condition of the mower. If you are using it on a daily basis and it is maintained well, then we are assuming it is in good condition.
Have you left your gadget in the garage for long, and there is rust on its body, or the mower has seen a lot of rain and is filled with dirt? If that is the case, this process will not work. The mower would be needing professional servicing and has to be taken down to the repair shop to be deep cleansed.
We will now begin with the steps to take care of a machine that is in good working condition.
Firstly, to prevent any kind of mishap or injury, make sure the device is switched off. We will require you to switch it on in the middle, but it has to be shut down to begin with.
Your second work would be to analyze every part of the unit that is visible to you. This is a required step before proceeding further. For instance, if you see a wire which has been torn off, it may have been a rodent’s doing.
If you see any parts which are rusted, there is a chance that the machine was damp and did not dry up instantly. This led to rusting inside the device. Making a note of these points is important because it will help you decide if you want to go forward with partial clean up or if disassembly is required.
We would advise you here to take some pictures of how the carburetor looks presently. This will help you in the end when you are trying to put everything back in place.
We will begin with the air filter. Remember that this can be partially dirty or extremely dirty, depending on your usage. All the air that is pulled in passes through the filter, and thus there is a high chance that it would be very dirty. You could use a rag to clean this, or you may choose to do it with a vacuum cleaner.
See if the air filter is removable as it can be better to remove and clean both sides of it.
Focus on all the internal parts of the cleaner with a flashlight or headlamp. There can be an exposed wire, and you do not want to be touching it or having any other wire touch the end. Also, a slight pull may tear a wire. So be very careful while working with the parts.
Any exposed wire should not come in contact with another wire or lumps of grass. This could cause a fire as the grass is inflammable.
Also, since carburetors have dark paint, it may be difficult to see rust, discoloration, or grass stuck inside. A light source will guide you to find these.
This is actually an excellent habit to pursue if you want to become a DIY mechanic or an expert at fixing/cleaning parts. This helps you gain knowledge about the parts.
This is where the air compressor gun comes into use. The machine must have seen a lot of grass and dirt throughout its lifetime, and there will be specks of it in the inside of your device.
There are parts which you can only reach with a lot of difficulties, and we would suggest not to do so with your bare hands. It could turn out to be a dangerous endeavor. Use an air compressor gun to clean out the dirt and debris from inside.
A word of caution here. Do not use the highest setting to do this activity. It may end up dislodging a part of a wire. Use it on medium mode for best performance.
Now it's time to take out the aerosol cleaner. Do not use water or spray water on the parts. This may cause some portions to rust, and the machine would break down completely. Aerosol cans have a solution which tends to stick to parts and are made to be used explicitly with electrical devices.
Turn on the machine now as every component inside has been cleaned. The cleaner has to move inside the engine completely, and so it is essential to be turned on.
Spray aerosol liquid in the middle of the carburetor in 10 -15 pulses. It is time to let the machine work for another minute. This ensures that the liquid spreads throughout the device, and we can attain full coverage.
After a minute, turn it off and spray the liquid on to the throat of your machine properly. This ensures that you cover the lower plate, which may also have accumulated grime and moss. Make sure it is absolutely clean before proceeding.
Now that you have allowed the air compressor gun and aerosol liquid to work their magic on the device, it is time to use your rag for complete cleaning. First, dampen the rug and then use it to wipe off leftover grime.
The rug should be damp and not dripping, as that may lead to damaging parts. Keep rinsing the cloth once in a while, so dirt does not get transferred from one region to another. Continue doing this until every part is visibly clean.
After you have completed the job, inspect every part using a light source. View the pictures that you had initially taken of your machine to compare and see if the parts are in order.
To test if the product is working alright, start the engine and keep it running for a few minutes. It should start smoothly without much sound. If it is vibrating less or you hear no chugging, kudos! The job is done.
The engine can face blockages because of the constant dirt and grass it collects. Also, it may so happen that the machine accumulates a lot of dust and dirt if kept idle for an extended period.
Gasoline deposits, varnishes, and oil deposit may be other materials which can lead to the formation of blockages inside the machine. This directly affects the functioning, and the machine works slower or makes a lot of sounds while it operates.
If your machine is under warranty, first call up customer care and see if the device can be cleaned up for free. If that is the case, it is best to send it off for professional cleaning.
It is vital that you keep cleaning every part once in a while. This will keep the device running and in good condition, and you would not have to take it to the store for deep cleaning often.
You must know the exact problem that your device is facing before taking the gadget to a store for deep cleansing. Shops tend to make money out of it as they are not expecting someone to know a lot about the working of the device.
The aerosol cleaner has to be of the right variety. If you get a wrong type of cleaner, it may lead to malfunctioning. The bathroom’s disinfectant cleaner is not the right choice and cannot be used as an alternative. You will find a specific product dedicated to lawnmowers.
We will again want to reiterate the fact that deep cleansing is not replaceable. You will have to take the mower for deep cleansing once in a while. But partial cleaning at home can be done once a week or once in two weeks, depending on your usage. This will keep the mower working well and the interiors free from rust.
We are sure that you are now ready to clean your own lawn mower. For added help, you can also look up some YouTube tutorials regarding this topic. Let us know how it worked out for you in the comments section below.
Till next time!
Related Articles
How to Sharpen Reel Mower Blades?
The 5 Best Lawn Mowers for St Augustine Grass Right Now
6 Best Electric Start Self-Propelled Lawn Mowers of 2022
5 Best Gas Hedge Trimmers Reviewed
4 Best Walk Behind Brush Cutters | Buyer’s Guide
3 Best Yard Hydrant | Buyer’s Guide and Reviews
5 Best Stick Edger | Buyer’s Guide
13 Best Trimmer Lines | Multi-Sided, Round, Square, Twisted & Serrated