Expertises: Architecture, Design, Art, Home improvement, Painting
Updated on

Inspiring Ideas for Modern Home
In order to use an electric hand planer, you’ll need to set it up first. Following that, you can use the machine to smoothen wood surfaces. You have to pay attention to the start and stop of the tool, as well as the pressure, speed, and handling at the edges. After you are done, you have to clean and store it away safely.

An electric hand planer is a nifty power tool that is carried by almost every veteran woodworker.
After all, this device can help in shaping uneven wood surfaces to make them smooth and clean. However, if you want the best results from this device, you have to know how to use it properly.
That is what I have covered in this guide today. So, if you are an amateur woodworker who wants to know how this device works, then keep reading!
First, let’s discuss what an electric hand planer actually is and how this machine really works. Simply put, a hand planer is a woodworking tool that is used to smoothen the surface of the wood and get rid of any warps or imperfections.
This machine shaves the surface of the wood in increments, where it takes off small amounts of wood at each pass. That ultimately helps to shape the wood so that it appears clean and uniform.
The tool consists of at least two or three blades to shave the wood surface. With each pass on the wood, the planer blade can shave off a maximum of 1/8 inches of material.
Hand planers can be of different types based on the size or the use case. In terms of size, there are three main types of planers, which are block plane, jointing plane, and smoothing plane. There are some other types of specialty planers, such as router planes, chisel planes, and bullnose planes, to name a few. All of these planers have specific usage scenarios in woodworking.
On that note, using a conventional hand planer can be a fairly tedious task, as it requires a lot of time and effort to shape the wood. This is where electric hand planers come into the picture.
Also known as a power planer, the electric hand planer consists of an electrical motor that rotates the blades. This distinguishes it from a traditional hand planer, and as such, the tool can shave off large amounts of wood in a single pass. Apart from this aspect, an electric planer follows a similar working principle to a regular plane (tool).
Now that you have a basic idea of an electric hand planer let’s talk about how to use it correctly, beginning with the setup. For this purpose, you have to perform the following activities:
The first thing you need to do is adjust the fence. But before that, you have to select the proper working area. Make sure that the workspace is clean, organized, and uniform so that you can operate the planer without issues.
When that is taken care of, you have to place the adjustable fence on the surface and secure it in place. The fence is the primary working platform where you will shape the wood. So, it is crucial that you adjust it according to your specifications. The fence should be evenly placed, and it should not wobble or move around while you are working on it.
Next, you will need to align the blade so that it can shape the wood properly. For this purpose, you’ll have to place the front edge of the planer over the workpiece without the blades touching the surface. In other words, you’ll have to keep the blades just above the workpiece at the correct angle, as that will give you more control once the machine is turned on.
Here, you will need to adjust the depth of the front shoe, which will allow the blade to shave the lumber piece properly. You can use the depth adjustment knob provided on the machine to set the planer blade at the desired depth. Subsequently, you should adjust the depth of the chip ports if they are present on the sides of the planer.
Warning: Do not set the blade too deep, as that can scrape large chunks of wood from the surface. Likewise, you should avoid keeping the blade at a shallow depth, as that will not have the desired effect on the wood surface.
Now, you will need to adjust the speed settings of the planer using the speed adjustment knob. If you wish to plane hardwood or other rigid surfaces, the blade should be set at a higher speed. But if you wish to shape soft lumber pieces, you can use a low-speed setting.
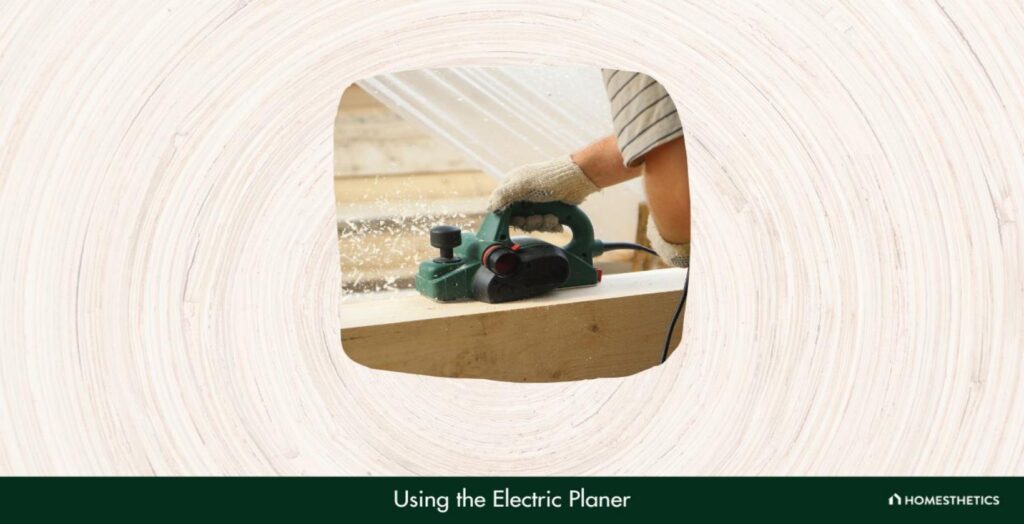
In order to make the electric planer work, you can follow the steps below.
Press the start button or pull the trigger on the planer to spin up the blades. Here, you should let the blades spin for a while to get them up to full speed. Then, you need to ease the cutter head into contact with the wood surface.
Conversely, to stop using the tool, simply let go of the trigger or press the stop button and allow the blades to spin down.
For the best results, you will need to apply steady and consistent pressure on the wood surface. In the initial phase, though, you will need to apply more pressure toward the front to avoid any blade tilting or gouging issues. Similarly, you should try to maintain a steady pace while shaping the wood. If you move the blade too quickly or slowly, the likelihood of errors will increase.
Based on my first-hand experience, I suggest moving along the direction of the grain. If you do that, you will need to apply only a little pressure to get the job done. Planing against the direction of the grain will require higher pressure and is often difficult to control. If you wish, you can use an electric planer jig to control the direction and flow of the tool.
Once you reach the end of the lumber piece, you will need to shift most of the pressure toward the rear handle. This will give you more control near the edges and corners and prevent the front shoe from dipping down and shaving off a large chunk of material.

Proper maintenance and storage are absolutely essential for keeping such power tools in optimal working condition. So, if you want your electric planer to last for a long time, you should follow the strategies below.
After you are done shaping the wood, you will need to clean the planer. You can wipe the exterior surface of the planer and the blades with a soft, clean cloth, or you can wash it with water. In the case of the latter, you have to make sure that the water does not get inside the machine.
The blade is possibly the most crucial component in this power tool, which is why you will need to take good care of it. Drawing from experience, I can say for a fact that a planer with blunt blades will do you more harm than good. So, if you notice the blades have lost their sharpness, you will need to resharpened them with a whetstone.
However, if the blades have become nicked or worn out due to usage, it is a better idea to replace them with new ones.
When you are not using the planer, you should keep it stored away in a safe place, which will prevent the machine from gathering dust. I recommend wrapping the tool with a plastic or fabric cover and storing it away from direct sunlight or extremely cold temperatures.
If you want to use industrial tools like power planers, you will need to observe certain safety precautions, as I have listed below.
An electric planer should be used when you need to shape furniture or lumber pieces and create a smooth surface. It is a fairly versatile tool that can handle different kinds of tasks, such as scraping a wooden countertop or cabinet, tapering wood trim, and so on. And with the proper accessories, you can also use it for finesse work like beveling door and window frames.
Using an electric planer on metal such as plane iron, steel, or other metallic surfaces can be tempting, considering that the blade of a planer is made from stainless steel. I would strongly suggest against doing that since this tool is not designed to be used on metals. Giving it a try showed me that the blades can become easily damaged or worn when used against such tough surfaces.
Yes, you can use a planer to scrape off paint from a wooden surface. Keep in mind that the paint material can dull the blade quickly. Besides, you will have to clean the paint from the blade after you are done, which can be an inconvenience for many users.
The difference between a planer and a jointer is that the former is used to make the wood surface smooth and uniform while the latter is used to make the sides of a wooden board or lumber piece flat so that it can be joined to another similar piece. A jointer is slightly more versatile but is not as effective as a planer when it comes to shaping wood.
That brings me to the end of this discussion about how to use electric hand planers. As you can see, using this tool is not that complicated at all.
First, you’ll need to set it up, and then, you can use the machine to make wooden surfaces smooth. Naturally, it is important to store and maintain the machine to ensure its longevity. And for your safety, you should follow all the precautions I have mentioned here.
Of course, the more you use it, the better you will be able to handle it. And eventually, you will be able to create professional-quality woodwork with it.