Expertises: Art, Painting, Drawing, Home improvement, Gardening
Updated on

Inspiring Ideas for Modern Home
Digital revolution has changed the way art is created and consumed with rapid strides.

It has made the process of creating art appear seamless, and it's a gift that keeps getting better with time. If you’re a beginner, you can select the free programs while a professional can choose from the premium categories. You should analyze your desired goals and the budget to make a wise decision.
Whenever you get any of the software, there is going to be a lot of functions and processes that you need to learn. Moreover, you need to research carefully about the different features available in these programs to help you improve your skills and workflow.
Even a professional in the traditional medium, will have to learn the different skills which are specific to the digital field. When you are transitioning from the offline world to the digital platform, it can get challenging, but it is a steep learning curve that you’ll require some time to master.
The options that are given to you for drawing, painting, or working with photos are numerous as they emulate the natural effects to a great extent. As you select a software which is suitable for your level of creativity, you’ll grow out to design faster and be more confident as an artist.
Let’s start to discuss the best available software for digital art!
It is one of the oldest graphics programs that are available; you can say that it is as old as Photoshop. This software has been designed to work with vector graphics programs; to create freehand shapes, you have several shapes and line tools along with an impressive set of pens. This is just like any other vector graphics software which allows you to incorporate various illustrations into the more significant designs like pamphlets and posters.
CorelDRAW is one of the best software programs that is available because of the new tool- LiveSketch that they had released in the 2017 version. LiveSketch shows you a completely new direction for creating vector graphics as it quickly transforms your sketches into vectors.
You can also refine and modify the vector lines by redrawing them, just like what is done while sketching on a traditional medium. LiveSketch can also learn your sketching style due to the latest developments in the field of machine learning and artificial intelligence.
The software has some great options for customization, but you might have to search through the menus, which are a drawback compared to other programs where it can be found easily.
Even for a beginner in digital art, Coral will be a good option as it provides some guides and tips which are built-in. You might not find any useful learning material in the form of books that can help you learn the process, but a few quick searches online can help you do the job. The Corel Learning Center also has a set of a tutorial which can help you improve your speed.
[easyazon_image align="center" height="1000" locale="US" src="https://images-na.ssl-images-amazon.com/images/I/71q9O%2BMZCzL.jpg" tag="homesthetics0a-20" width="1000" type="image" link_id="216449" ref="corel-corporation-cdgs2018efdp-coreldraw-graphics-suite-2018" identifier="B07D15R4S4"]
New version
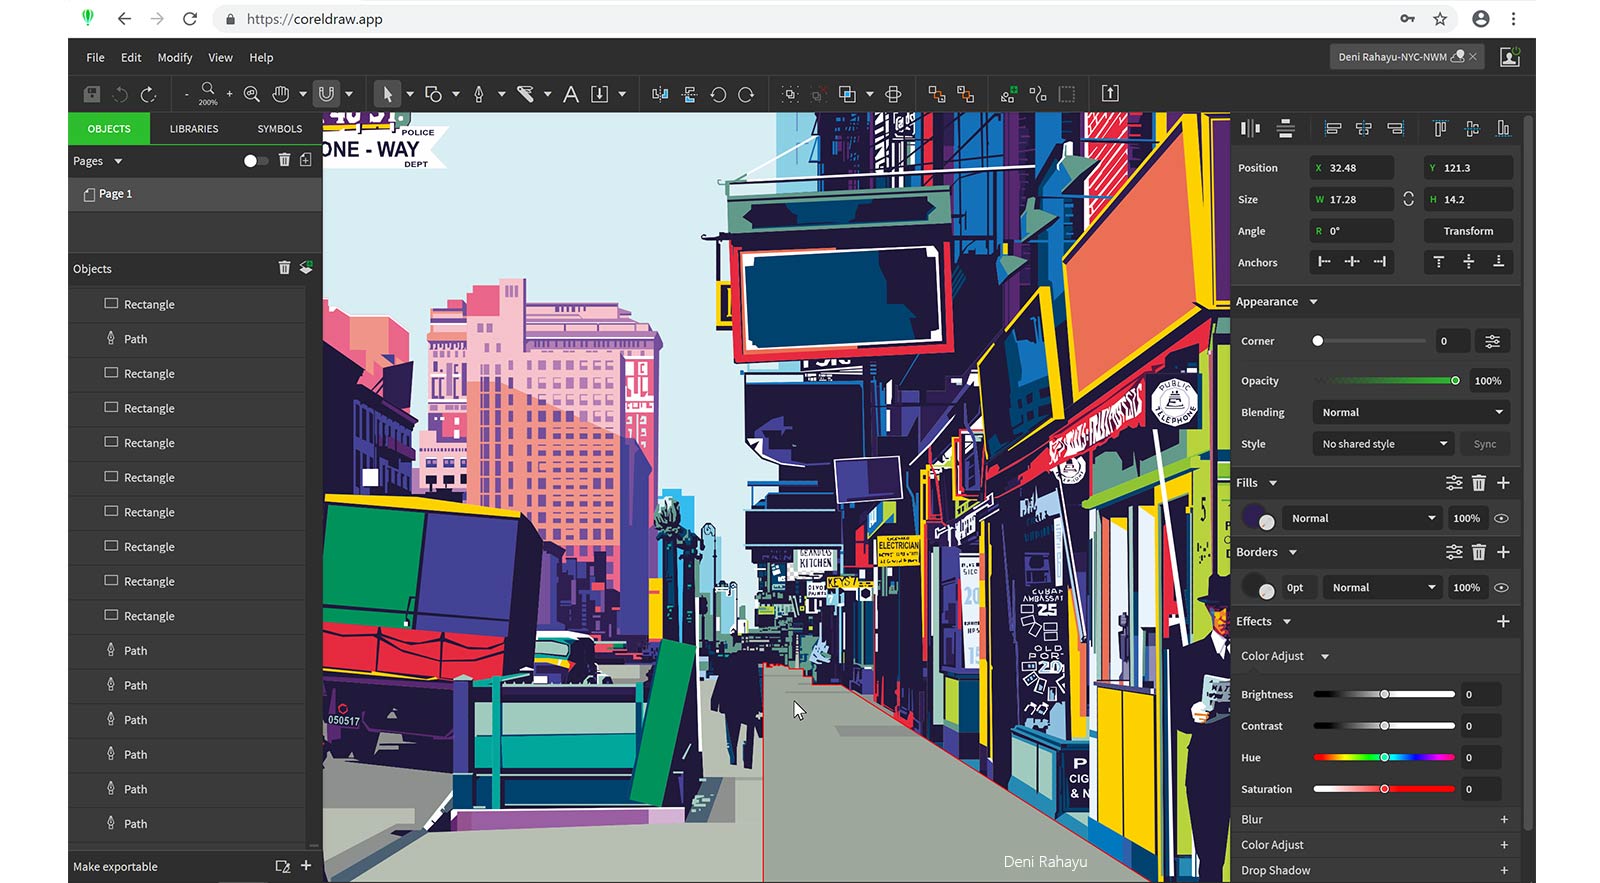
The CorelDRAW graphics suite runs only on Windows 7 or 8; it was previously put to rest for macOS in 2001. But in the 2022 release, Corel has announced an improved version of this graphic design program for macOS.
Corel has also released a slim down version- CorelDRAW.app, with this alternate version you can access the vector art application from any web browser. This version will help you create work and share your projects from anywhere.
The CorelDRAW.app is the major highlight of 2022, along with the launch of macOS, which has an interface that supports the different elements of MAC- touch bar and dark mode.
The other feature released by Corel is the stack of non-destructive effects. With this feature, you can use a series of effects on any of the objects, while you can also tweak these effects according to your choice.
Topping off the release is pixel workflow feature, which helps you to sharpen the blurred images for being used on the web. Illustrators who are managing several objects will find that their workflow has improved.
This change is due to the interface called Object Docker, which make the process of selecting assets more easy and quick. When this is paired with the text-search function, you can also search by criteria (e.g., line type and color fill) in the Objects menu.
It is a long-lived software which has undergone several developments since 1992, while the 2022 version is the latest one. In the earlier days, the computers were not very efficient due to which brushstroke lag was common during painting. But with speed improvements and new optimizations, Corel Painter is one of the best available options.
Painter is specially designed for artists who are fond of messy and loose brushwork while they try to emulate the same spark of traditional mediums on their digital canvas. Corel is an excellent software for artists who solely want to paint and draw on the digital forum.
Tools available
There is a massive number of 2.5D brushes which is available on Painter, which allow you to experiment happily for a long time. Whether you prefer an airbrush, a palette knife, watercolor, simple knife, or anything that you can think of in-between is offered by the new version.
![Corel Painter 2020 Digital Art Studio [PC/Mac Disc][Old...](https://m.media-amazon.com/images/I/51yL0KIQw1L.jpg) Corel Painter 2020 Digital Art Studio [PC/Mac Disc][Old...
Corel Painter 2020 Digital Art Studio [PC/Mac Disc][Old...
The Painter 2022 has more than 900 tools which have been preset, and they are open for customization. The brush libraries of Painter from the previous six versions have also been included by Corel which gives you more variety.
When you’re setting up a new piece, you can also configure the style and type of the surface depending on the appearance you want from a fine watercolor paper to a plain stretched canvas. Each of the surfaces available tends to react differently with your paint selection and brushes that you choose just like our traditional mediums.
There are several interface layout options, while the toolsets have been configured for different specific tasks from classical fine art to the simplified interface. You will also get many options for illustrations, even though Painter works solely in Pixels and they don’t deal with vector graphics.
[easyazon_image align="center" height="1000" locale="US" src="https://images-na.ssl-images-amazon.com/images/I/81ut5jl5ScL.jpg" tag="homesthetics0a-20" width="1000" type="image" link_id="216452" ref="corel-painter-2020-digital-art-studio-pc-mac-discold-version" identifier="B07SFZMBSG"]
New version
The 2022 version of Corel Painter has several features and tools which were added after taking in suggestions from different artists. Yes, you heard it right that Corel is the company which does listen to the requests made by its users. The delay in response time and the User Interface sensitivity has also been fixed after many complaints were lodged.
The most celebrated of the new features is the Pinned Color Wheel. The color wheel can be positioned anywhere on the screen, which allows you for an instant look at the color options without having to swatch. You can now work in detail without having the circular brush icon from disturbing your view.
The software does have several features, brush sets, and settings, which might be a little difficult for a beginner to understand. The use of Coral Painter is quite common between visual development artists, character designers, and concept artists, and it's worth learning if you want to explore digital art.
Just like the other software of Corel, there is a right amount of tutorials available on Painter to learn the basics which can help you to start your work quickly. You can also find several free tutorials on YouTube.
For many different digital artists, it might be challenging to find a pure drawing program. The use of Autodesk Sketchbook Pro can solve the problem; it’s a drawing application which has been designed for the technical illustrator or an expert artist.
Features
You can create your canvases to the extent of up to 64 MPX(Memory Protection Extensions). The vital aspect of any drawing program is the layers which can be used to create drawings. With the layers tool, you can understand how the different layers work together in stages to make a complex drawing.
It also has a simple and user-friendly interface. One of the exciting features in this program is ‘Color Puck,’ which allows you to combine different colors to create new ones.
The way this program handles the full-screen mode is unique, with three buttons that help to improve your workflow. These buttons, which is present on the left side of the screen, allows you to select your color, layer, and brushes without having to switch between different tools.
It also comes with the cool on-screen ruler feature, which can be manipulated for rotation by using two fingers, and if you want to move the ruler from top to bottom or sideways then use a single finger.
The visual ruler is quite helpful while drawing lines in every direction. There is also an ellipse ruler, in which the shape and size can be changed. This feature comes handy, especially while drawing buildings and cityscapes as you don’t have to rotate your screen while you're creating your piece.
You can also create pencil drawings by using the trace stabilizer, which will help you make clean lines without much effort. This feature provides excellent relief even if your hand trembles, as the vibrations will not be reflected in the form of irregular lines.
The negative aspects of this program are the lack of filters which are otherwise found in Illustrator or Photoshop. There are also a few tutorials available online that can help you learn the basics, but with trial and error you'll be able to understand the entire functioning of this program.
As per your need, this program can be used in the pro version, mobile version, or even a free version.
Adobe Photoshop has been one of the most popular programs for digital art, with plenty of different features provided by other competitors who are trying to steal its crown. After almost 30 years of continually developing their tools, they offer services that are unparalleled to the services of the other programs.
When this program was started, they only had an image editing feature for photographers. However, it gradually grew to become a king among the other digital tools that are available. The other digital software doesn’t even try to replace Photoshop, but they instead focus on improving the interface for different fields of art (ex: landscape painting, comics, etc.).
The features of this program are updated quite frequently, along with a smooth user interface, and it comes with several features which are few of the reasons for its popularity. You can use it to create anything you want from comic book pages to concept thumbnails, or even your photo bashed pieces.
If you’re looking to make your career in animation, feature films, video games, or any other form of digital production, then knowing Photoshop does go a long way.
Features
When you get this software, you’ll be provided with a variety of brushes, plugins, layer styles, painting tools, and filters. For a beginner to get lost among all the technical aspects of this software might not be something new, as many tend to get overwhelmed. Even though the learning curve does appear steep, but once you get the basics right, then you can let your imagination fly with the sky being the limit.
It has grown to be an industry standard among creative artists, due to which you can find a large number of tutorials online. Adobe keeps releasing several up-to-date tutorials, and if you can follow them carefully, then you can go from a beginner to the advanced level.
Several concept artists have customized Photoshop’s brushes to create pieces of their own.
You can do everything on Photoshop from editing your RAW photographs to airbrushing original artwork, and you can also create some beautiful photorealistic paintings. Adobe also gives you the freedom to customize your interface completely. You can also remove the tools that you don’t use to help you focus on your current project, and you can also choose to hide your entire interface.
There is preset workspace which you can use, or you can customize your interface. For creating complex scenes, you can set up different grids and rulers, while you also have the option to paint over the 3D objects. And it also gives you the alternative to rotating your canvas when you want as it mimics the rotation of paper while drawing.
PSD files, which is the native file format of Photoshop, is an industry-standard, and it goes well with all other adobe programs. Which means that you can import your PSD files into almost every other software, for instance, both Krita and GIMP accept this format.
There are quite a few artists who tend to combine other painting software with Photoshop. It depends on the type of workflow you are selecting then; accordingly, you can choose your software. It is like you can do your lineart and concept art on Clip Studio Paint, and then you can get it to Photoshop for giving the final touch-ups and for coloring purposes.
Photoshop is very stable, and it’s part of the creative cloud suite of Adobe, it provides you a hassle-free experience when you’re trying to share your access and data for all other assets (brushes, colors, images, and styles) across the different devices.
Price
If you sign up for the Creative Cloud membership, then you can get a non-conditional, free trial version for seven days on Photoshop. You can get this same offer for the other software of Adobe too.
When you go to purchase Photoshop software, you’ll be given four plans. The Adobe software suite is the most expensive at $74.99 per month.
The Photographers package also includes the Lightroom CC, and it comes with a monthly fee of $9.99. If you’re looking out for a monthly plan, then you can get Photoshop for $29.99 per month.
Clip Studio Paint has become the go-to-tool for comic creation and manga art. It has a Japanese origin, and it was created as specialist software for animation, illustration, and manga. It was initially named as Manga Studio, but the name was changed in 2013.
If you’re looking out for a traditional and natural feel which is wrapped up in a digital painting drawing app, then you should get this program. The advanced detection feature for pen pressure helps to make your pen-strokes appear natural.
The only notable difference between Photoshop and Clip Studio Paint is the brush tool. The brush tool in this program will help you to correct any of the minor mistakes which you make while drawing on your tablet. It helps to provide you with smooth linework.
[easyazon_image align="none" height="1053" identifier="B07DYSR1QH" locale="US" src="https://images-na.ssl-images-amazon.com/images/I/71Un6GfnrtL.jpg" tag="homesthetics0a-20" width="1920" type="image" link_id="216458"]
Features
Clip Studio is optimized to help its users to advance in the field of comic art, as it has several tools which speed up the process of creating comic strips. There is also a canvas layout tool, which will help you to set up the panels quick with a stack of predefined formats and perspective rulers.
The pen tool allows you to work in a flexible vector format, which indicates that your creations are capable of being scaled without any quality loss.
In the new versions, Clip Studio has come with an updated library consisting of posable models and 3D objects. It is going to be beneficial for the concept artists who take the help of different reference materials as it will help you to draw the poses quickly.
You have options to- select a 3D model, use the intuitive joint system to pose it, change the angle of the camera, make the character thin or fat, and select a gender. Once you complete drawing over the figure, you can use the shading of the same model’s figure for reference while lighting. Once you complete this, you can go ahead and delete the model.
It does not try to mimic the traditional mediums as it focuses on giving your work a crisp digital finish, even though you can use the brushes to create a blended texture.
[easyazon_image align="none" height="1053" identifier="B07DYSR1QH" locale="US" src="https://images-na.ssl-images-amazon.com/images/I/71NRqeqlwGL.jpg" tag="homesthetics0a-20" width="1920" type="image" link_id="216459"]
Separate versions available
You can get this program in two versions: PRO which is a standard one, and EX, which has advanced features and it’s more expensive.
The features for the EX and PRO version are almost the same except for a few of them which is generally required by concept artists or a digital painter. If you’re serious about manga and comic art, then you should give the EX version a try.
In the PRO version, you can use over 24 frames to quickly test the character movement without having to switch between different programs.
In this standard version, you’ll also get some basic animation features. When the focus is just on animation, then this is not the best option, but you can use it by combining with other programs.
The EX version will be sufficient when you’re trying to create different manga and comic books. If you’re looking for extra features, then this is the best version which is suitable for expert users. In this advanced version, you can save the manga and comic pages as an editable file in the form of a “book.” You can also save these pages in bulk for printing, which will save you a lot of effort and time.
When you get the EX version, the animation feature will also get updated, which gives you an option to create not just the standard 24 frames but an unlimited number of them. You also get different filters to create 3D effects.
Both these versions come with a 30-day trial, so you can check out which one is suitable for you. The PRO version comes with a price tag of $49, while the EX version will cost you $219.
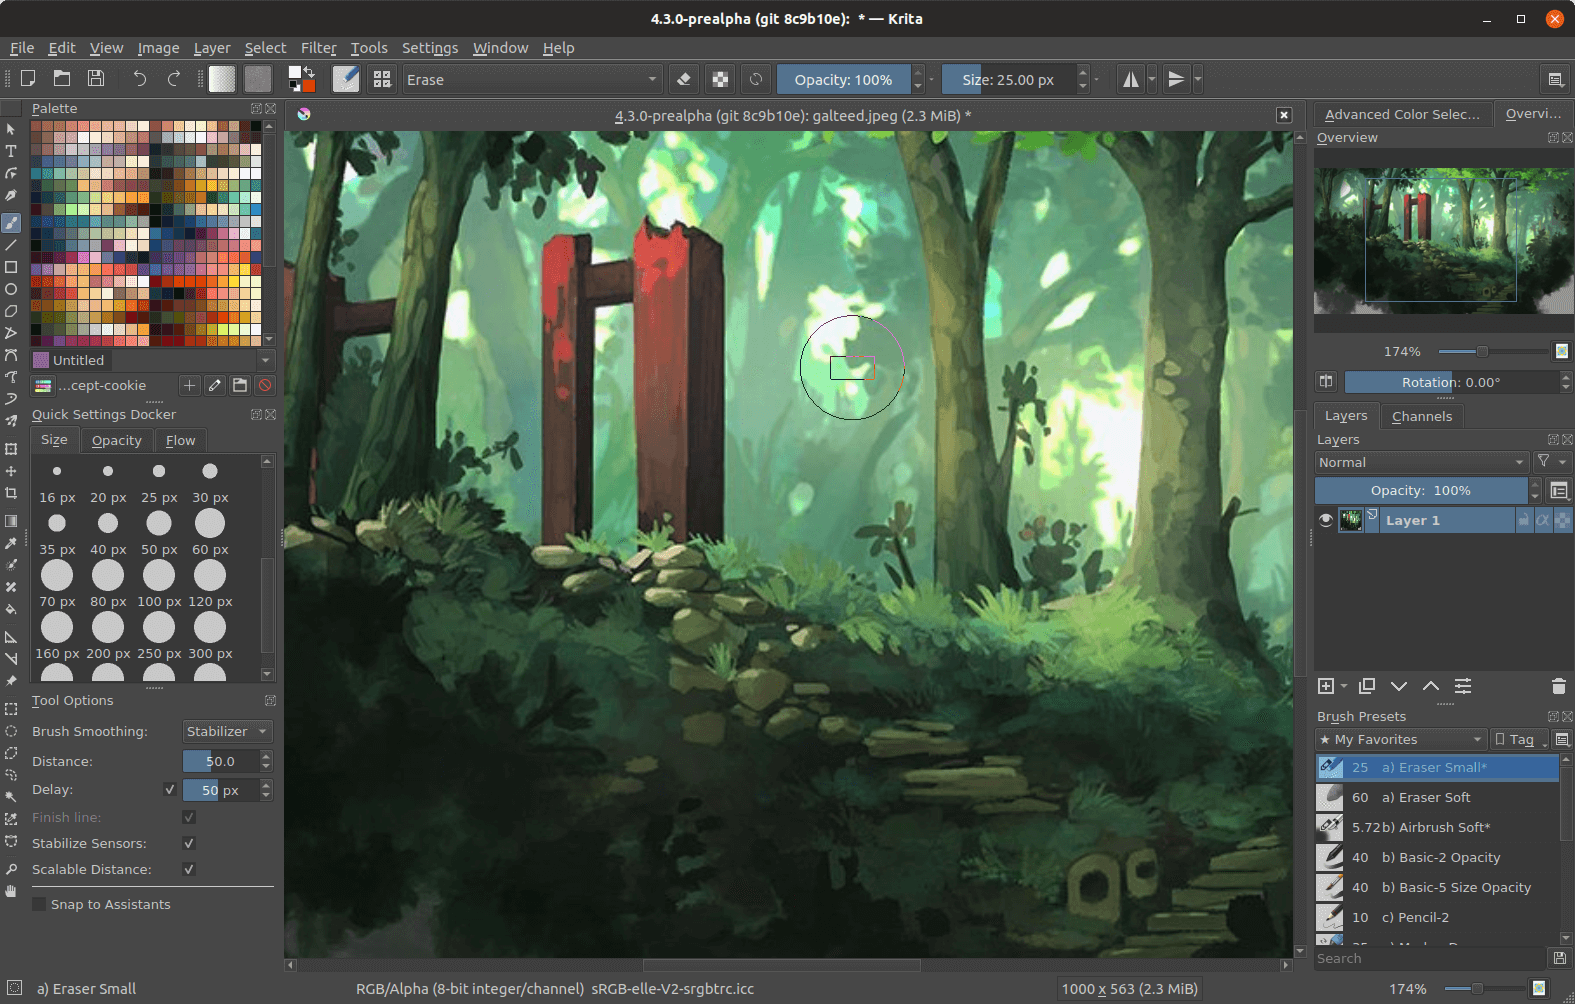
It is one of the free and open-source painting applications, which is underestimated to a great extent. Krita is a digital painting program which was designed for pretty much all types of digital artists ranging from concept artists, cartoonists, and illustrators.
Krita was initially developed for image editing, but then it kept improving, and since 2009, it started to focus on digital painting. This program will not make a beginner feel overwhelmed as it does not have fancy tools or a horde of features. The purpose of Krita is painting, and as you keep using this program, you’ll be able to perceive how modestly it prioritizes this feature.
You can go online and check out the several tutorials available to understand the functioning of the different toolsets and the user interface on Krita. There are no official tutorials which were released by Krita, but they have made few detailed documentation online.
Features
The pop-up palette can be used to select your brushes, colors, and erasers. The other tools that you require for your work can be found in the right and left panels. As discussed earlier, Krita does support your PSD files so you can easily switch between Krita and Photoshop.
There is a ton of freebies which you can find online, such as brush packs that will help you to emulate almost every effect produced by the traditional medium- graphite, watercolors, etc. Krita offers around nine custom brush engines, which includes a Particle engine, Shape engine, and a Color Smudge engine.
[easyazon_image align="center" height="1360" locale="US" src="https://images-na.ssl-images-amazon.com/images/I/71kvBG1vWxL.jpg" tag="homesthetics0a-20" width="907" type="image" link_id="216460" ref="digital-painting-with-krita-2-9-learn-all-of-the-tools-to-create-your-next-masterpiece" identifier="0996851704"]
There is also an option to use a brush stabilizer that will help to smoothen your lines flawlessly. The tool has a bonus as it helps you to import texture and brush packs, or you can also create and share your ones.
The fact that Krita is a free software helps to make it more special, as this can be the prime retort when we are not ready to burn down some cash to learn digital painting.
The best thing about using this Krita is that you can customize your interface intuitively, by setting up the panels and dockers in a way that it improves your workflow.
If you’re looking out for a program which is a complete powerhouse of digital painting, then you can get ArtRage. It has a high demand among the illustrators and digital painters.
Unlike the other programs ArtRage has leveled up its game, and they have removed the side panels which obscures the view of the user and the complicated user interface. This modification will help you to focus more on the canvas.
Features
The intuitive interface allows you to select your color and tools easily. At the bottom of the screen on your left, you’ll get a semi-circular brush picker, while on the bottom right of the screen you'll find the color picker. It ensures that you can focus on the painting without getting disturbed by the various menus popping up on your screen.
Once you have selected your brush and the colors, the user interface disappears automatically. But, this happens when you have changed the settings as you get the option to display or hide your panels and to create custom presets.
[easyazon_image align="center" height="1600" identifier="B01B0XUO6K" locale="US" src="https://images-na.ssl-images-amazon.com/images/I/C1zDZL3ASBS.png" tag="homesthetics0a-20" width="2560" type="image" link_id="216462"]
The brush presets option is pretty cool as your time is not wasted in adjusting them. You can get your favorite variants by settings the tools right as you change the paint thickness, brush shape, and other similar properties.
The tools in ArtRage don’t just look like they are emulating the traditional media, but they also act like them, such as:
The painting tools respond according to the texture of the canvas that you’re selecting.
One of the exciting features is that of ‘real color blending’; you can choose from the various modes of the palette knife or use interactive real media tools to blend your color and paint textures. Moreover, you can also edit your texts, and an option for an eraser is there too.
If you're a beginner in the field of digital painting, then ArtRage will be a good option. With a little effort and practice in this program, you can improve your skills to a significant extent.
Price
Try out the demo version to understand the essential functions of ArtRage, and you can use it for an unlimited amount of time. However, the demo does not let you save any of your work.
ArtRage also has an affordable price range, for a beginner you can go for ArtRage Lite, which will cost you $29.90. It has all the painting features that you will also find in the full version ($79.90, including the future updates). Getting this software will save you a ton of money as you can have it for life.
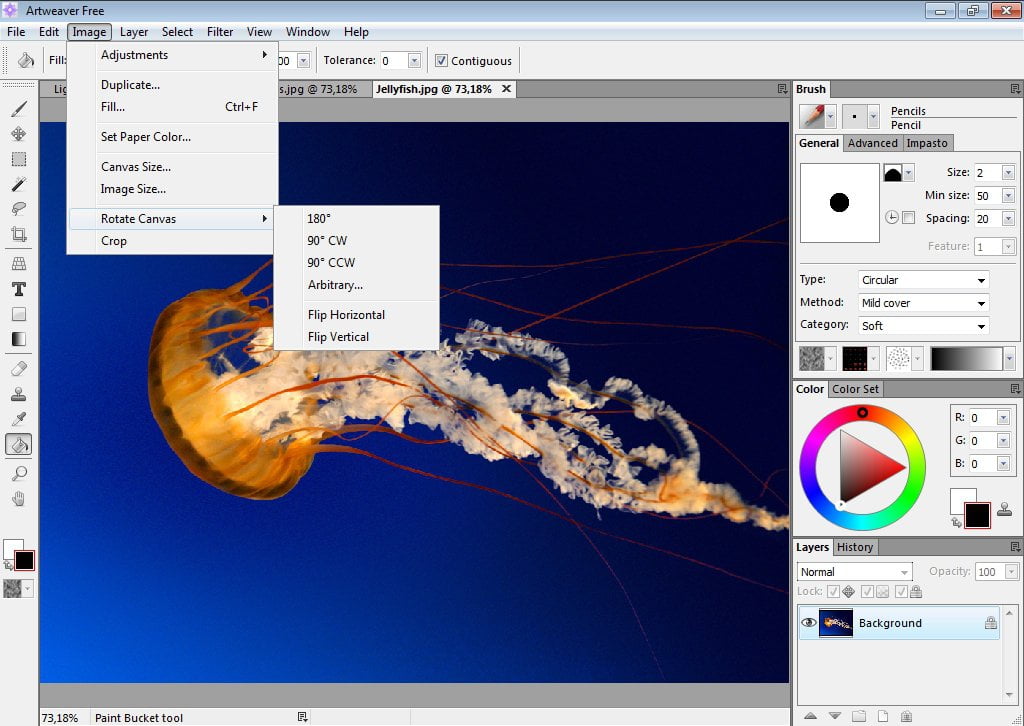
GIMP is another free and open-source program which was built as an alternative to Photoshop. It is a cheaper option when you’re looking for software for digital image editing.
It was designed in a way that it could completely replace Photoshop. You can use it for digital painting, but this software was optimized for photo editing, graphic design, text effects, and other features that you can think of in-between.
Even though GIMP has released several versions over the past years, but the user interface is still confusing and frustrating for a beginner as it’s kept unrefined. With most of the open-source programs, the software developers tend to focus less on the user interface and more on the functionality.
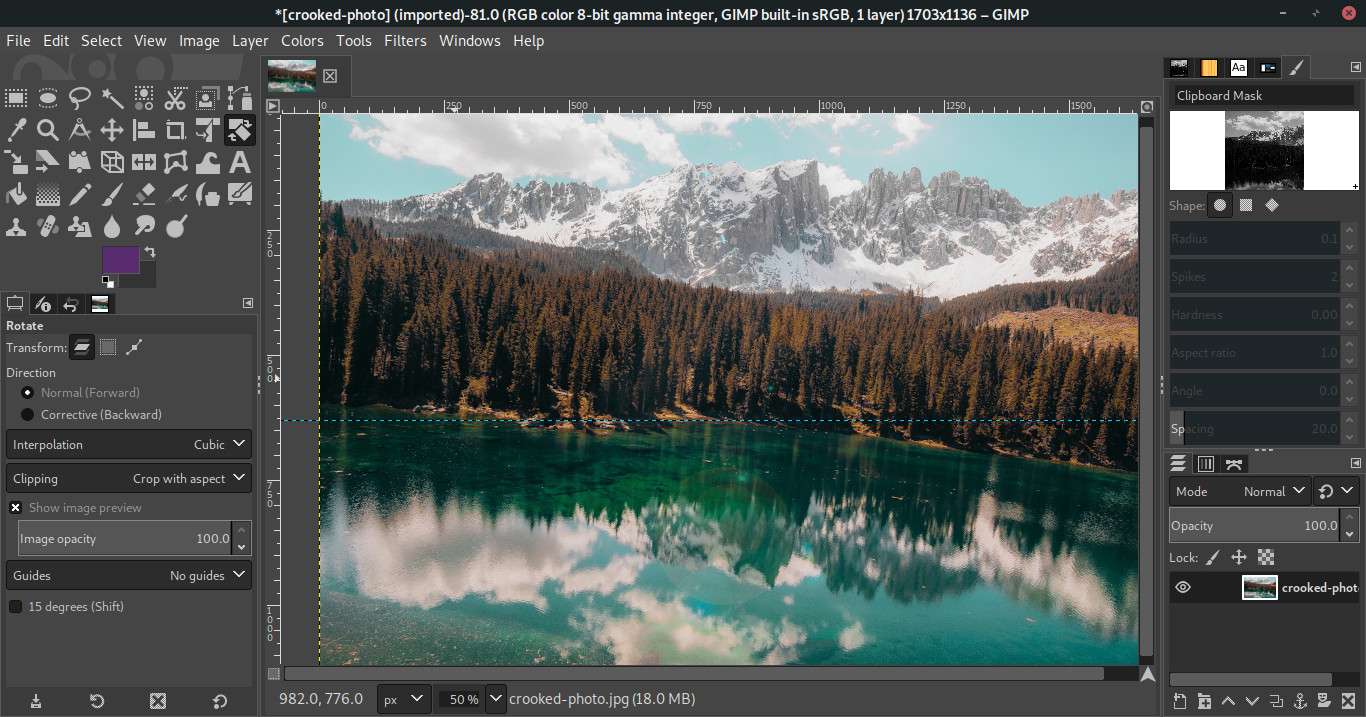
In the recent versions of GIMP, a ‘Single Window’ mode has been included which has made the UI more clear-sighted for the user.
Unlike other free programs if you’re looking at different tools for digital art, then you’ll find them in GIMP. The default functioning of GIMP is a good option when you want a freebie with the same functionality as Photoshop.
Many professionals do not opt for GIMP, but it does have a few advantages: with a little knowledge in software development you can create your plugins and extensions for the system, and it's quite useful for your pixel-based image work. However, even if you can’t develop plugins, it’s not going to be an issue as the default setup is pretty good enough for your artwork.
Several users have made tutorials that will help a beginner to learn everything that is required about GIMP. There is not enough support from a GIMP team to get a reply to all your issues, but there is enough content on the internet to help you find practical solutions.
It is a simple painting Japanese software which is used for crafting various digital artworks, and Paint Tool SAI is a popular choice among the manga and comic artists.
The program has a simple user interface along with user-friendly tools, which is why after its release in 2008, it had a high demand in the market. SAI has been updated only a few times, and it’s a small program with fewer features that runs only on Windows.
Features
The color tool in this program is quite impressive, as you can choose from a range of different colors. While selecting your colors, you’re also presented with different hues to help you get the right shade of color. You can also switch the saturation levels of the colors, which allows you to adjust the darkness or lightness to create colorful artworks.
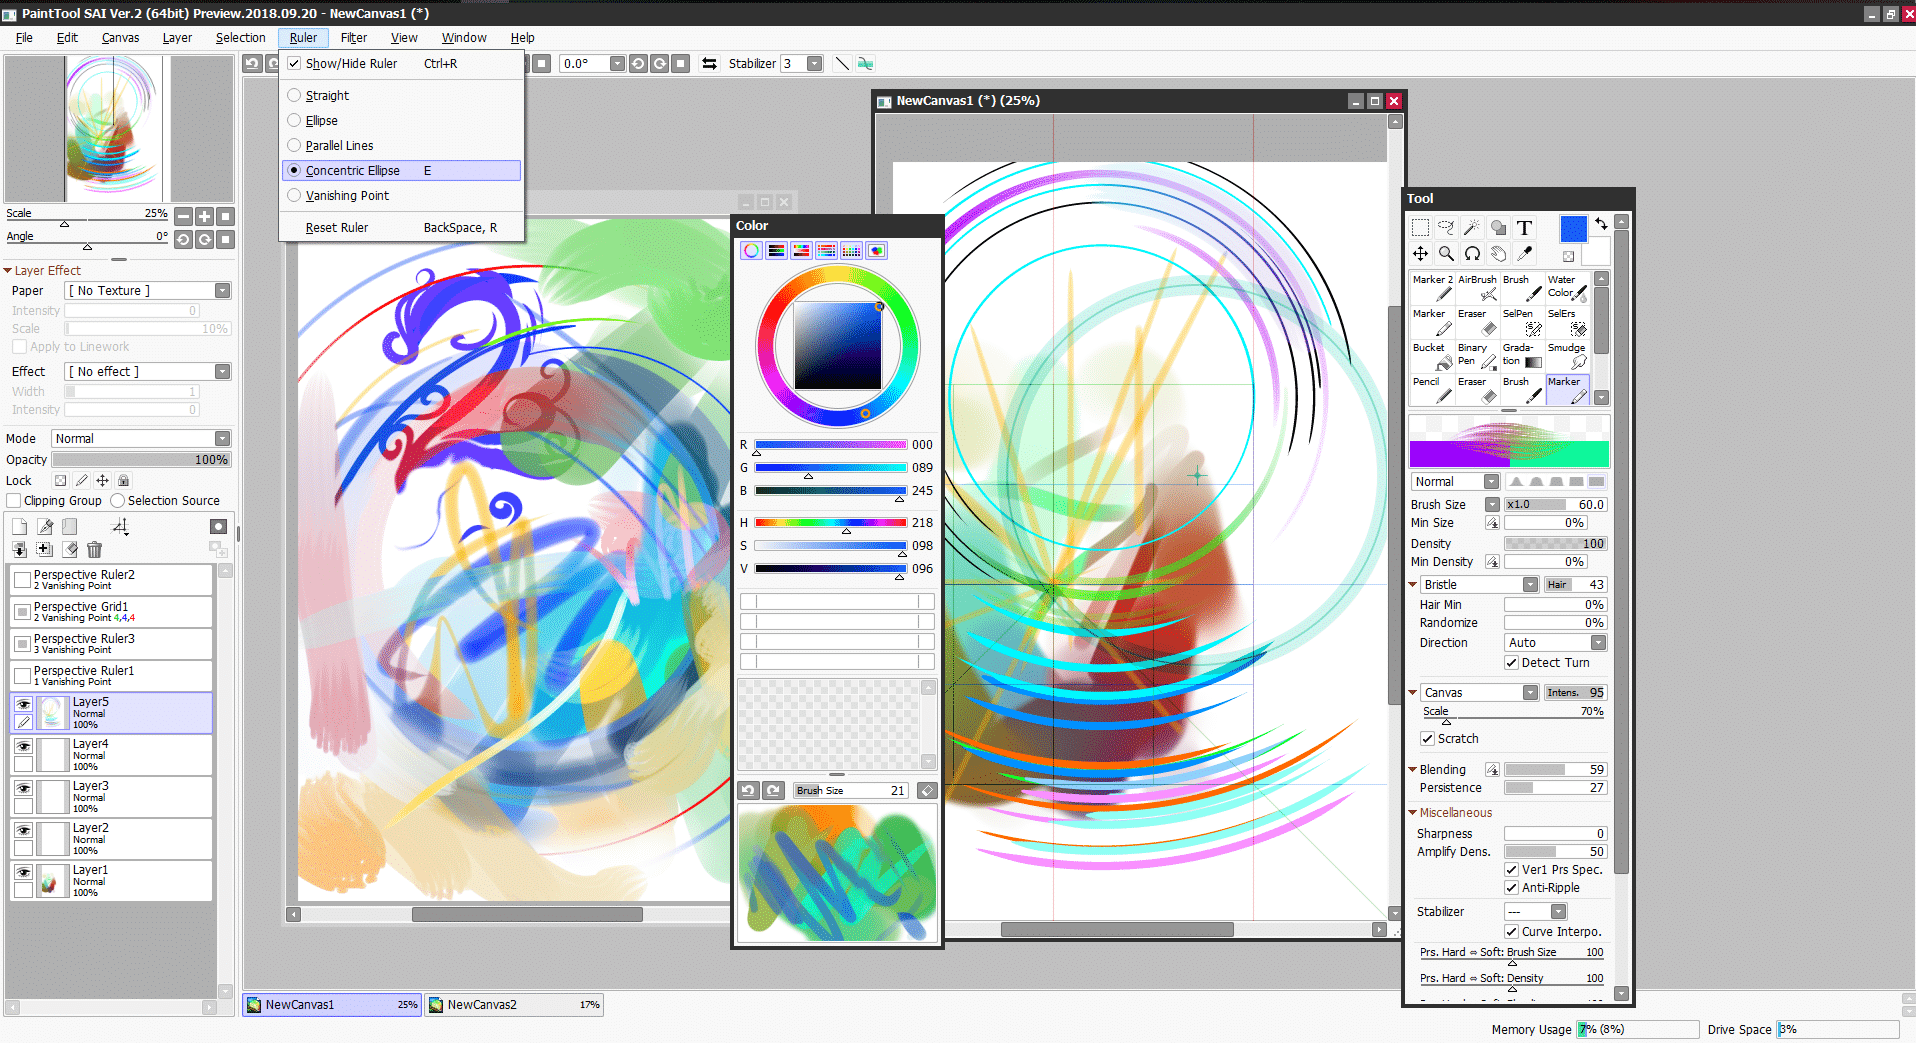
It also comes with a super cool feature in which you can shift from one tool to another, by converting your brushes into erases, and vice-versa.
It will be simple for you to understand the features in SAI if you have previously used Photoshop. Or else there are several tutorials to help you become a Pro with constant effort for a few weeks. The functions of this program are pretty detailed, which makes it an excellent program for sketching purposes.
SAI also has a different system of brushes, which allows you to import different textures to merge with your brush style and to create new brushes. There are a few drawbacks of this program- glitches while you preview .gifs using the explorer window, large file sizes can make the program slow down, and a limit of 256 layers for new projects.
Many people use SAI to get the watercolor effects as the blending mode is similar to our traditional watercolor medium. However, this program is also notably used for lineart purposes and to create anime with its highest demand in Japan.
Price
You’ll enjoy using SAI if you’re an anime lover and you like creating anime-style art or any other form of digital painting. SAI comes with a price tag of about $49, but you have to be a Windows user.
Rebelle by escape motions is a low-priced program which mimics the traditional media and painting techniques. Rebelle is known for its watercolor effects, which is influenced by the tooth of the paper, wetness, and thickness. Even if you learn the basics of watercolor painting on Rebelle, you’ll be able to implement the same thing in the real world while using the traditional media.
Features
The texture of the canvas in this program is excellent, and the toothiness of the paper affects the watercolor paint, which is evident when you’re using the dripping mode. Using this program will be mostly preferred by watercolor artists.
The feature of edge darkening and the ability to select the position of the grain, which is relative to the brush mark helps to make your artwork appear realistic.
The blow tool which is also known as the DropEngine, let’s you blow wet paint by creating dripping effects on the dry areas. However, the appearance of drips on paper is influenced by stencils, paper structure, water, and selections.
There is an Instadry tool for which you don’t have to paint in separate layers, and it prevents the paint from dripping due to the DropEngine feature.
[easyazon_image align="center" height="1000" identifier="B07CZ51JMC" locale="US" src="https://images-na.ssl-images-amazon.com/images/I/91QzPFjtfeL.jpg" tag="homesthetics0a-20" width="1000" type="image" link_id="216464"]
The blending feature is also amazing, as you can use your fingers to blend the colors when you’re using a touchpad.
Unlike other programs in Rebelle 3, you can also wet the canvas before you start drawing by just selecting the ‘blue mode.’ Whereas, in ArtRage, you don’t have the option to soak the page before you start painting, but you’re allowed to paint (or blend) with water.
A watercolor artist will clearly understand the feature and language used in this program — for instance, the concept of hot or cold paper. The filters and color tools are also very sophisticated, as you can mix different colors and also select the proportion of each color that you want to combine.
If you’re interested in perspective drawing, then you can make good use of the perspective rulers in Rebelle. The ruler works quite similar to our real-world ruler, as you can drag it to change its directions, and pin it onto the page.
One of the features which had the highest demand among the Rebelle users is the reference image panel, which works as a visual guide when you’re painting. The watercolor brushes in Rebelle 3 have continued to improve with a significant focus on realism in this version as it can accurately mimic various types of behavior on the different surfaces of paper.
Price
For using Rebelle 3 you’ll need a great graphics card, and on the flip side, you also require a gaming computer. The new version is available for Windows and macOS with a price tag of $89.99.
It is a full-fledged painting tool along with a broad set of preconfigured realistic brushes that will help you to either paint creatively or experiment with them.
You can quickly create some fantastic masterpieces and its suitable for both advanced and beginner users. But, children love the Artweaver free version as it’s pretty simple and they get a chance to experiment with the different brushes that are available.
Features
You can either use the brushes as they are or choose to customize them and save the configuration as a new variant.
The Artweaver free version allows you to create different realistic digital paintings by just using a stylus, mouse, or by taking input from your touchscreen PC. You can create paintings by just tapping on the screen and by using different brush effects.
With minimal effort, you can make complex images, by using calligraphy pens, Conte brushes, airbrushes, along with a broad range of pens and patterns and the other familiar brushes.
The software is layer-based, so it allows you to build up your piece in layers by giving you the ability to change any of the prior selections that you had made.
It has an uncomplicated user interface, which you can adjust according to your needs, and the customized arrangements can be saved to help you improve your workflow.
Artweaver also allows people to work together as a team on the same project over the internet or LAN. Your work also gets recorded as events, and you can choose to save and replay them later. This feature helps you to understand the entire process of creation from the empty canvas to the final image, while you can showcase the event to other users to demonstrate your painting style.
There are few features which might not be available in the Artweaver free version, so you should compare the differences before getting one. Artweaver plus will cost you around $49, which also comes with free updates.
It is a digital drawing software, with over 9000 brushes that have been included. Black Ink comes with brush customization options which can get a little tricky for beginners to understand, but it's an excellent program for experienced artists.
In this program, you can customize and create any brush that you can imagine while saving and sharing them with the user community. Black Ink does not try to emulate the physical drawing tools and instead focuses on its digital strengths by using a controller-based brush system.
You can use every brush by combining it with the other innovative functions of this program, such as image-based color or gradients, for a variety of different uses. You can make your computer become a new source of inspiration for your work with the unique and complete creative tools.
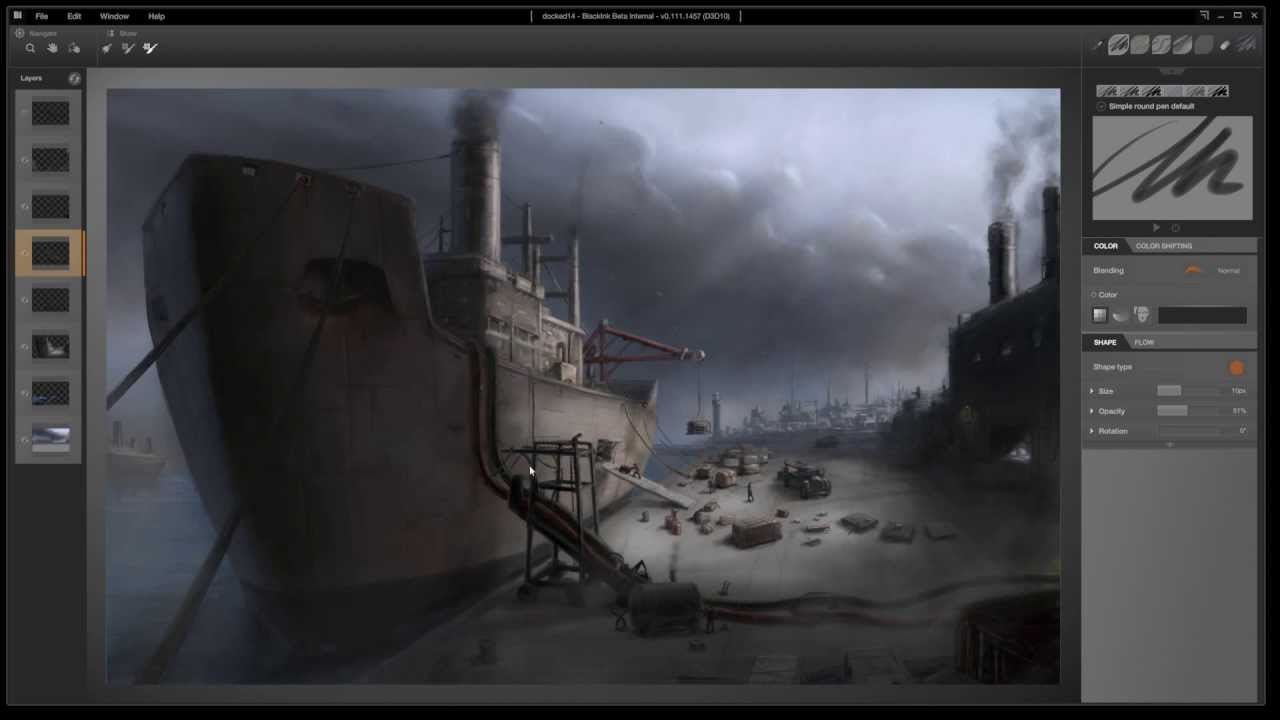
The GPU-based rendering engine helps you to work in an enormous canvas without having a fear of freezing or lagging of the software during the process of creating art.
The user interface of Black Ink is responsive and clean, which helps to give you fresh user experience. It gives you instant access to color history, brushes, and visual brush preview.
All the different combinations that this program allows you to make reflects the power that generative art tends to hold, which all comes for $59.99.
Explore the various options available for you, as it comes down to two factors- purpose and goal. Each software has certain positive and negative aspects related to it, but you have to weigh out the options cautiously. When you transition to the digital forefront and understand the ins, and out of this platform, you’ll be able to fulfill all your artistic dreams.
Till next time keep creating!
[easyazon_image align="center" height="1000" identifier="B07CZ51JMC" locale="US" src="https://images-na.ssl-images-amazon.com/images/I/81-ikH-r6hL.jpg" tag="homesthetics0a-20" width="1000" type="image" link_id="216465"]
111 Best, Fun and Cool Things to Draw
16 Best Pixel Art Programs and Software | All OS
20 Free FireAlpaca Brushes for Digital Painting & Drawing
14 Amazing Free Krita Brushes and Brush Packs for Digital Art
5 Best Hand Drawing Reference Photo Sources