One morning, you wake up to find that the skies have cleared up after the recent rains, and the sun is shining brightly.
It’s the perfect day for outdoor activities, so you decide to play baseball with the kids in the backyard. Things get off to a bright start with everyone enjoying themselves and trying to smash a home run until one ball lands on the exterior wall adjoining the front porch.
While going to fetch it, you notice that the color is peeling off the walls, and they even appear damp and flaky. With more rain forecast over the weekend, you wonder what to do.
This is a classic case of the plaster having worn out after several years, and the best thing would be to make reinforcements. Today’s guide discusses the different types of plasters and how you can use them.
Before discussing the types of plaster walls, wall plaster materials, and finishes, allow us to highlight some of the most popular types of plaster.
Types Of Plaster
1. Browning Plaster

When you are looking to get creative with the decor of your internal walls, we recommend choosing browning plaster because it acts as a suitable base for painting. It’s a type of undercoating plaster mostly used for decorative coating and is quite similar to bonding plaster, provided you use it on absorbent surfaces.
You’ll find that this plaster proves useful on construction sites for building walls, but a thin layer of plaster is added to prepare the surface beforehand. Usually, an 8 mm coat is enough to create a suitable layer on ceilings, while a slightly thicker coat of 11 mm is ideal for walls. Compared to other options, it takes browning plaster a day to dry, depending on the weather conditions.
2. Tough Coat Plaster

This is another type of undercoat plaster that is highly durable and used as a protective or decorative coating. This plaster wall can withstand external conditions that other types won’t be able to bear, including fire or cold temperatures. But you should know that it won’t perform well in freezing conditions, although it provides decent protection.
What stands out is the durable base of the material as it offers strong impact resistance, especially when used as a background on a masonry wall.
3. Bonding Plaster

Like the first option, bonding plaster works great as an undercoat to which you can add reinforcements to keep the exterior walls in good condition. Most impressive is the enhanced sticking ability of this material, owing to which it finds application on construction sites.
You can use it on all walls, such as concrete, engineering blocks, or smooth surfaces since it isn’t dependent on the absorption properties of the surface. Hence, it’s extremely effective as a wall plaster for which an 11 mm thick coat should suffice, while ceilings will require an 8 mm coating.
For the best results, you should apply the first coat to a newly patched wall before leveling the surface and marking it with a nail to apply the topcoat.
4. One Coat Plaster

One coat plasters are interesting because they are neither undercoats nor finished plasters, but a bit of both. They are two sides of the same coin and help people protect their interior walls, thanks to their all-around durability and easy application.
We found that it’s thicker than other materials, as it contains traditional gypsum, and you can create stronger layers compared to other coatings. Most professionals apply it by hand, but they use mechanical tools to even out wall surfaces in some cases.
Particularly pleasing is that there’s no need for a scratch coat or additional steps to protect the walls because it provides you with a smooth surface even in tight spaces.
5. Thistle Plaster

You’ll need this type of plaster at the end of the plastering process because it’s a finished coat, unlike bonding and browning. Consumers can use it for simple repair tasks or light-scale applications that require plaster finishes. We assure you that it’s easy to use, and this convenience makes it a versatile option.
More often than not, it’s best suited in a two-coat system and looks great on plasterboards, for which you can apply it by hand or use mechanical tools. But what makes it particularly popular is that you get a smooth surface to create various decorative finishes.
6. Dri-Coat Plaster
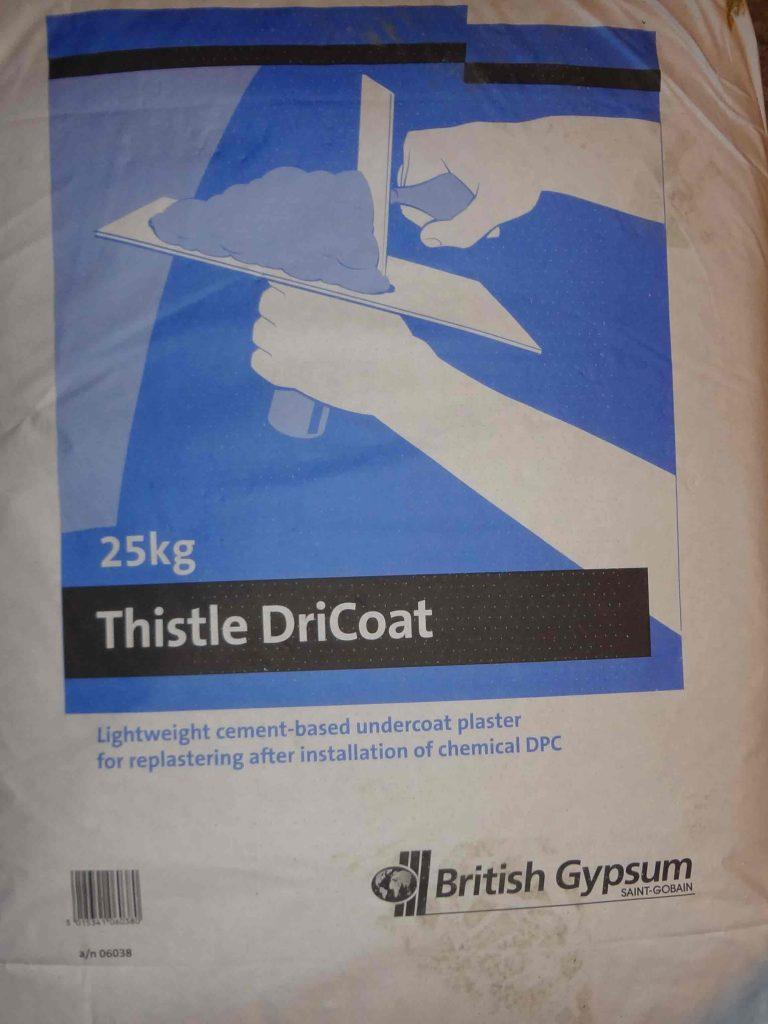
It’s a slightly different building material and is mostly used for replastering after installing a new damp-proof course. We found that it effectively prevents hygroscopic salts from affecting the surface texture and keeps them in the background. As a result, it acts as a suitable protective layer because hygroscopic salts absorb moisture which leads to damp walls.
Your walls will be in good condition throughout the changing seasons, provided they aren’t exposed to extreme conditions. Do keep in mind that Dri-coat falls flat in cold temperatures or even when there’s a fire.
7. Hardwall Plaster

Hard wall plaster is the way to go if you’re looking to renovate masonry walls since it provides a smooth and leveled surface with standard and medium-density bricks. It creates a strong base while the shorter work time proves convenient, especially when the walls are in fairly good condition.
You can’t use hardwall plaster if the walls are crumbling, as the plaster might crack, so it’s essential to carry out basic renovation before applying this coating.
8. Carlite Plaster

After you paint the wall background, use carlite plaster for a smooth coat finish on a range of surfaces, thanks to its versatility. It’s also possible to innovate with various decorative techniques only if you allow the plaster enough time to set.
On that note, this material takes 3 hours to set, which is far longer than thistle plaster which sets in 1.5 hours. But the main advantage of using the former is that it’s more durable and scratch-resistant to withstand even strong impact.
9. Gypsum Plaster

Manufacturers partially or completely dehydrate the gypsum mineral to create gypsum plaster, a white cement-like material. There are hardeners and retarders present in the formula, but the trick is to apply it in a plastic state with water so that the chemicals can harden.
To get a hardened finish, it’s necessary to dehydrate the gypsum at high temperatures while adding chemicals like borax, alum, and alkali sulfate. In most cases, you get a fine sand-like finish depending on the task.
10. Stucco Plastering
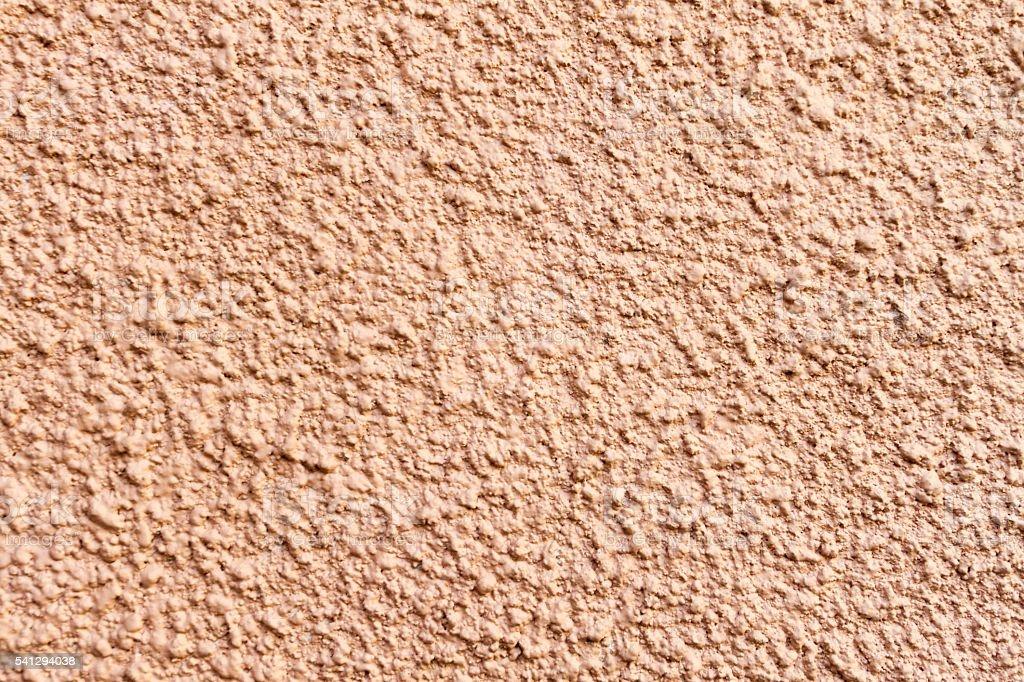
Plaster is made from gypsum-based materials and delivers a smooth texture, while stucco is rougher, so what is stucco plastering? It’s a type of exterior plaster made from Portland cement, sand, and a small amount of lime. It’s usually applied in a plastic state so that the resultant mixture forms a hard coating on exterior walls.
You’ll need to apply three coats for the best results - scratch, brown, and finish coat. The scratch and brown coat are applied by hand or sprayed with a machine, while you can use a trowel to create hand textures on the finished coat by sanding or spraying.
11. Lime Plaster

Lime plaster features a combination of lime, sand, and water by hydrating the lime through non-hydraulic techniques. The catch is that it often takes time to prepare the plaster with this method, as the carbonation is essential for it to set. That’s why manufacturers often add pozzolan additives to reinforce the mixture and reduce the curing time.
The advantage of using lime plaster is that it’s durable but still quite flexible and less hard than cement. It safeguards the softer materials underneath from shear stress. Using it instead of cement plaster leads to fewer chances of cracking or expansion because it’s less brittle.
12. Venetian Plaster
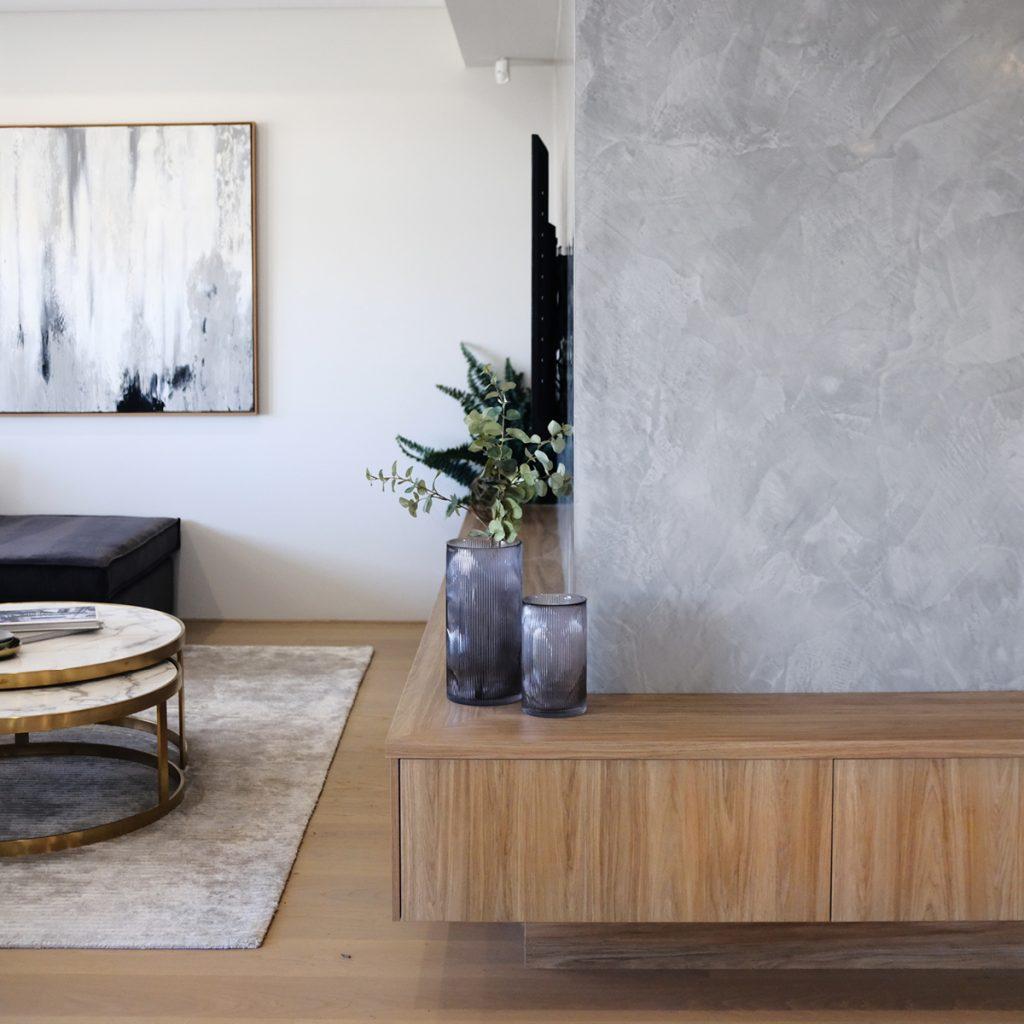
This plaster increases the value of your home by heightening the aesthetic appeal of the property. Unlike other plasters, it doesn’t contain aggregates and is used on surfaces where it’s challenging to install marble panels. Without using Venetian plaster, the cost of carving real marble columns, curved walls, and corbels would be quite high.
The only downside to this plaster is that it cracks if there’s subsidence or movement, especially in older homes where the plaster was applied a decade or so back. In some properties, continuous high winds have also resulted in the plaster wearing out after several years.
13. Cement Plaster
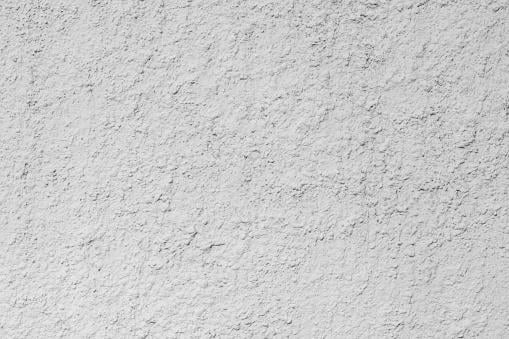
One of the best ways to keep the interior and exterior walls in good condition is by mixing cement with water and fine-grain materials, like sand. You’ll have to apply the resultant mixture to the prepared surface, after layering the first coat with a mason’s trowel or screeds. After that, you’ll need a wooden float to level the surface and form straight edges.
For the final step, it’s crucial to polish the walls with a trowel to get a smooth texture. But it’s not as easy as it sounds because curing is possible only 24 hours after plastering. Also, it would help if you kept the walls moist for a week so that each coat stays damp for at least 5 days.
14. Mud Plaster
Manufacturers use mud plaster while installing drywalls to stick paper joint tapes, use topping mesh, and paper joint tapes with metal and plastic corner beads and filling joints. You can also use it for repairing holes and cracks on the walls since it’s easy to make - simply mix sand and clay in a suitable amount.
Leave the mixture to season for 5-7 days; you may also add hemp and chopped straw to increase its strength. But make sure that the mixture becomes a homogenous mass before plastering.
15. Granite Silicone Plaster
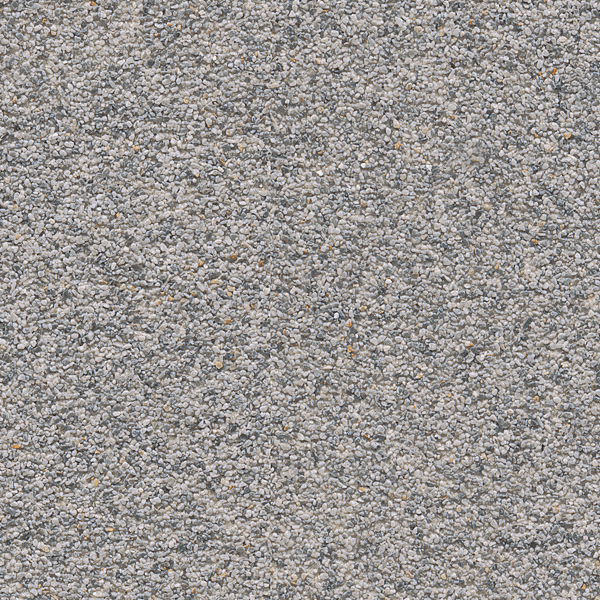
The main advantage of granite silicone plaster is its high elasticity due to the granite and silicone formula. We found that it won’t crack even under weathering, and you can quickly set the plaster to keep the walls in good shape. Another point in favor is that you can apply multicolored and monolithic finishes by using acrylic resin dispersion.
What’s more impressive is that such plaster is durable, impact-resistant, and highly breathable, which helps retain the wall color for a long time.
16. Roughcast Plaster
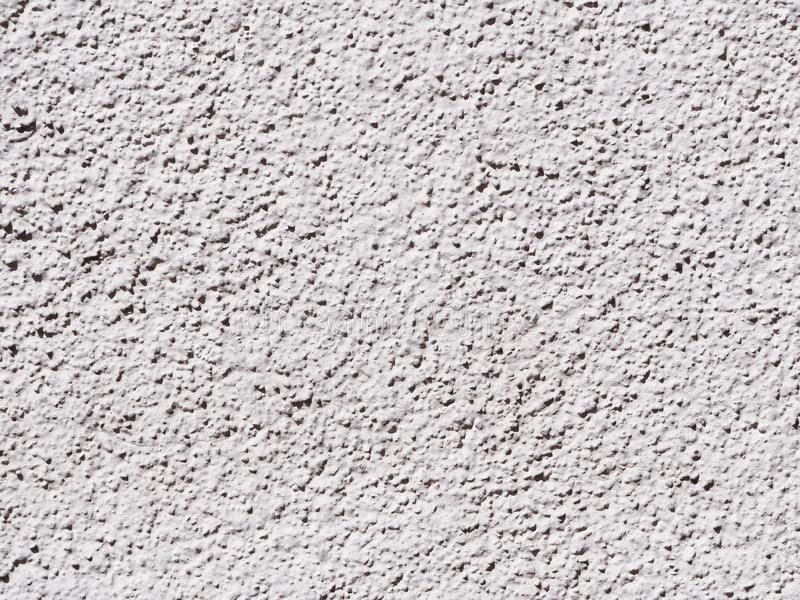
Roughcast plaster, also known as pebbledash, is a coarse surface material mostly used on outside surfaces due to its high durability. The mixture consists of lime, cement, small gravel, sand, and pebbles that lend it a unique appearance. You’ll find that the resultant mixture is quite slurry which the workers throw at the walls with a scoop or trowel.
Then, it’s time to level the surface and ensure there aren’t any empty spots, lumps, runny portions, or ridges. You can also opt for a roughcast finish, whereby a coarse coating containing gravel is pre-mixed and thrown at the walls.
17. Barium Plaster
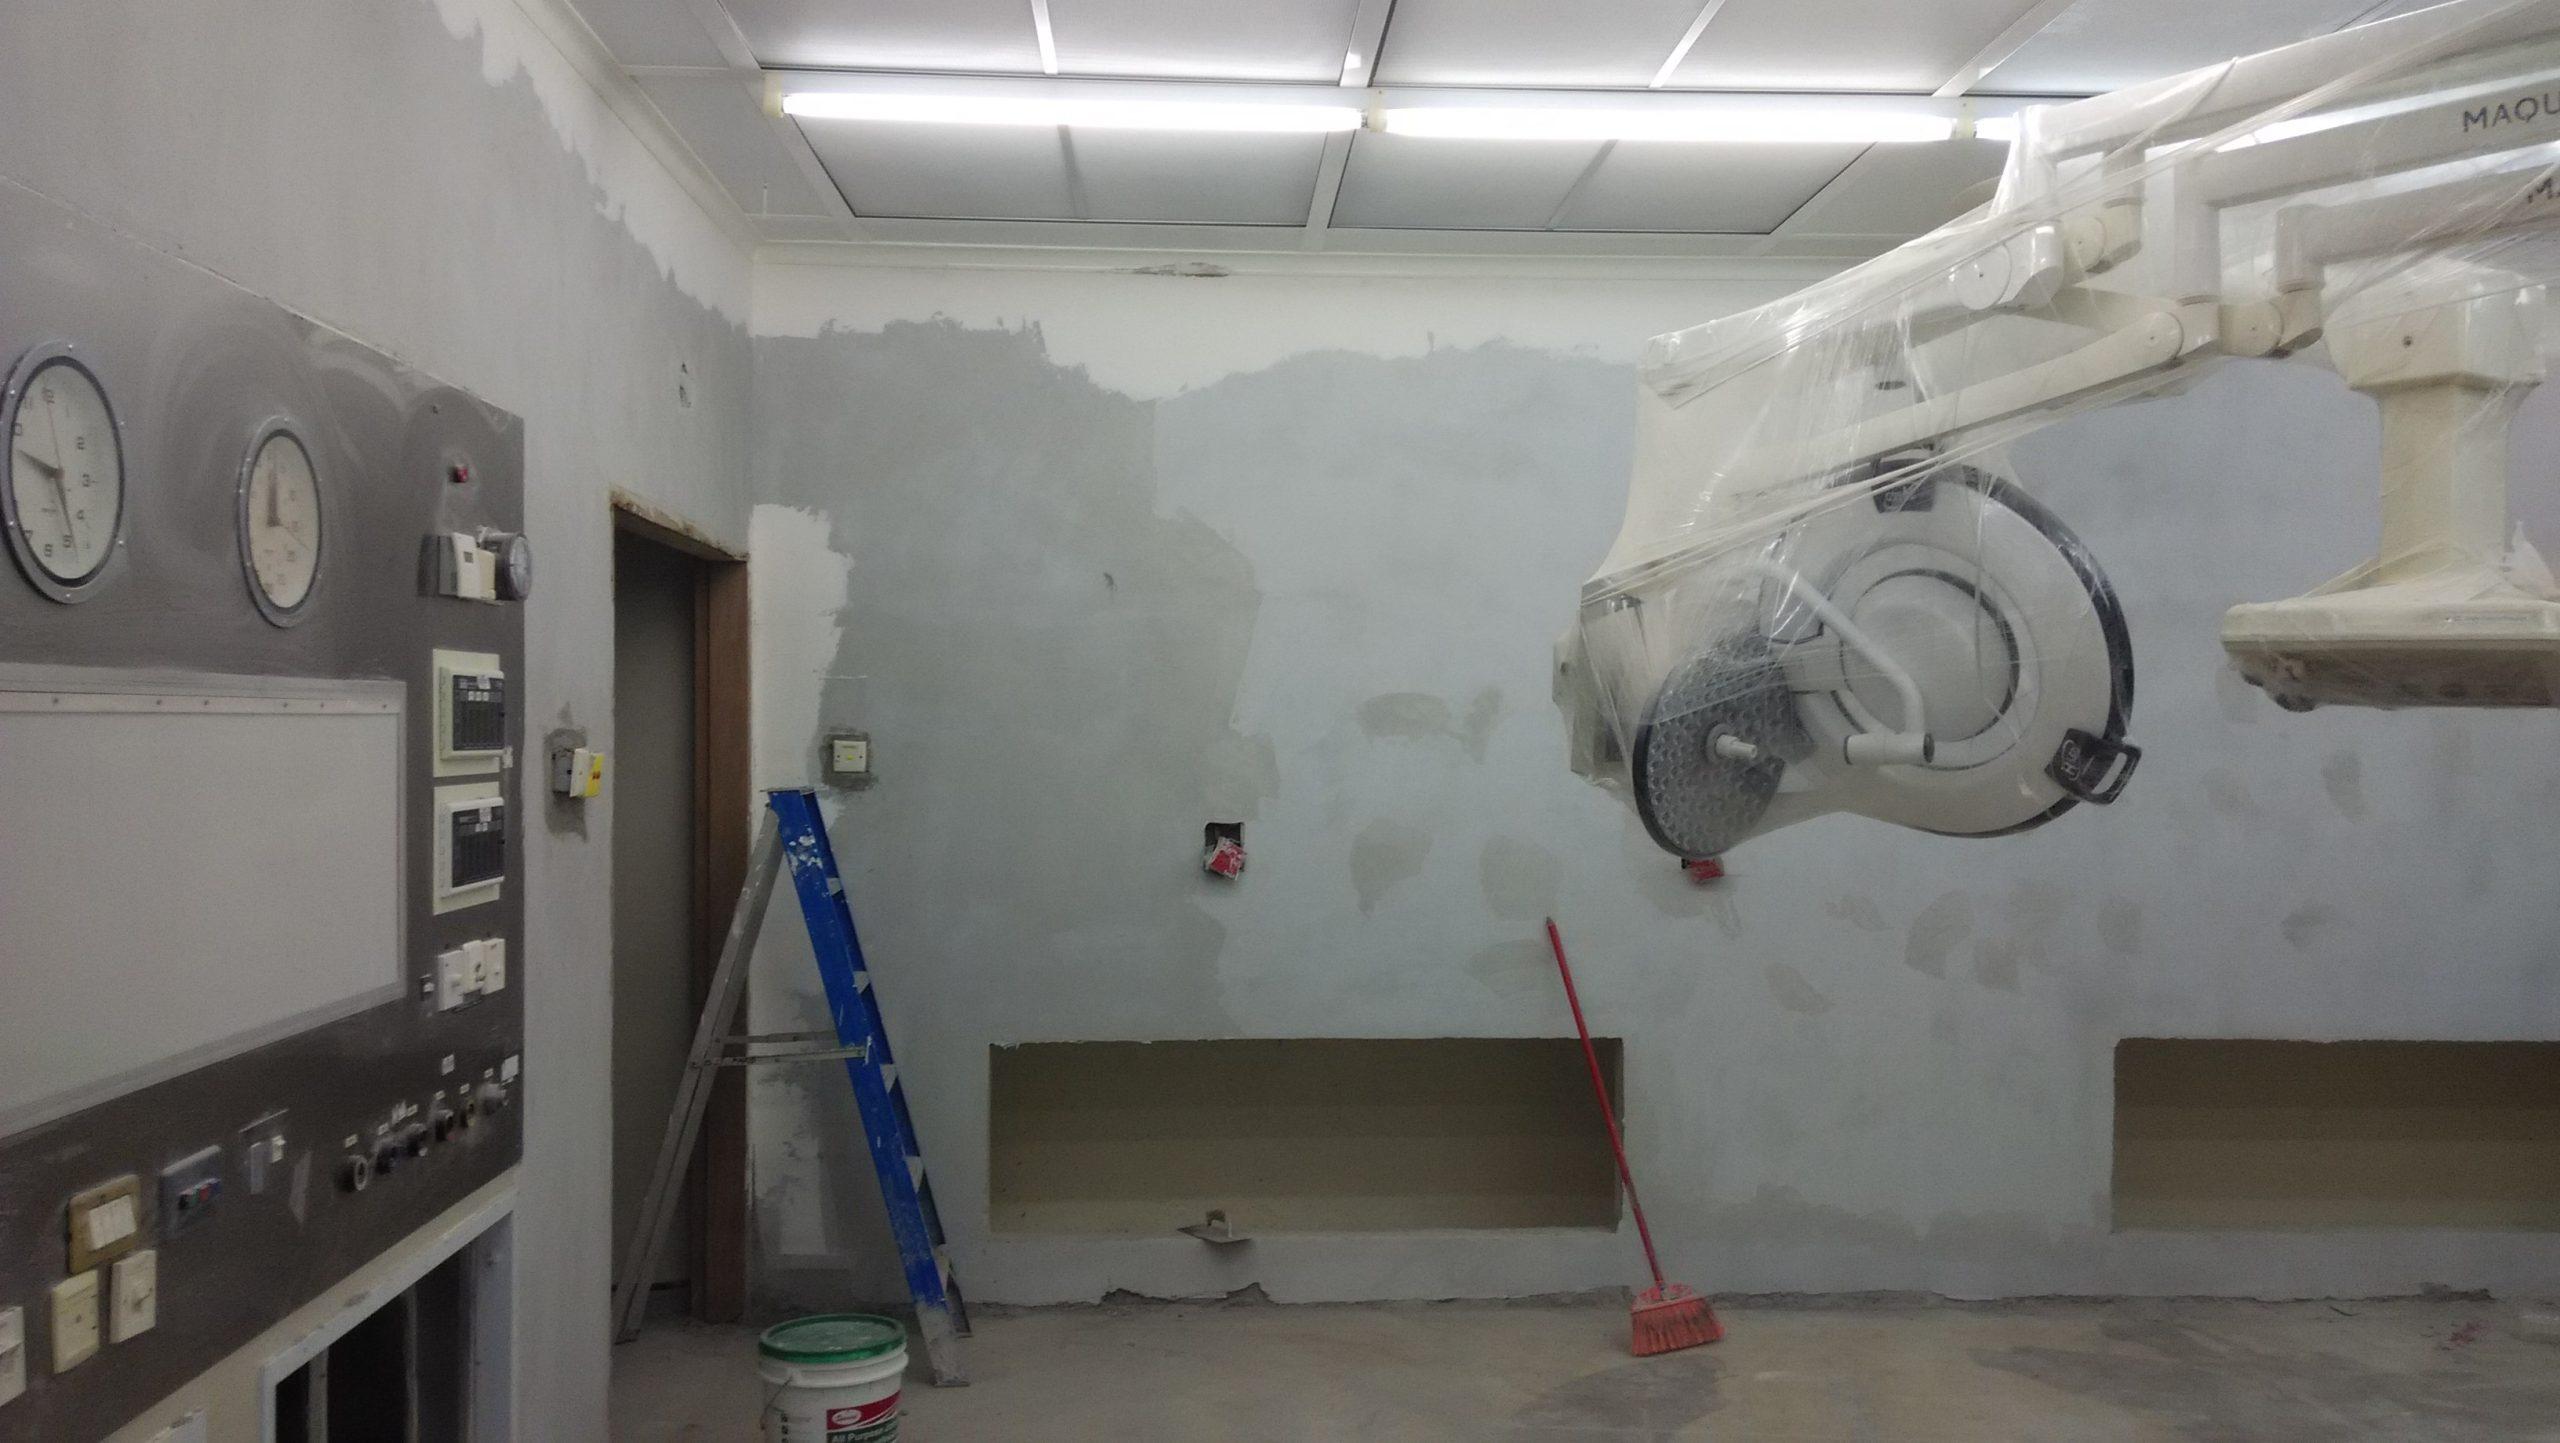
Compared to the other plastering techniques, barium plaster finds application within x-ray rooms to protect the people inside. The primary component is barium salt mixed with sand, cement, lime, and other materials to create a suitable mixture. Depending on the radiation levels of the room, it is possible to recalculate the required percentage of each component in the mixture.
When you get the ratio of each component right, it allows the radiation energy to pass through the walls. For that, you should let the plaster dry for seven days.
18. Acoustic Plaster
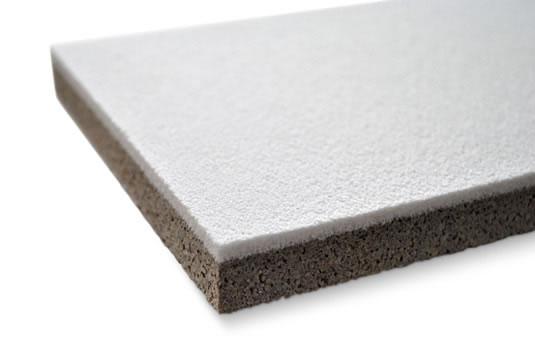
Do you live in an area with high traffic and are frustrated by the constant honking and shouting? It will help if you apply acoustic plaster to the walls as it contains aggregates or fibers with high noise absorption properties. The base layer of the plaster is made of absorptive substrate panels, such as inorganic, non-combustible blow-glass granulate or mineral wood.
Some consumers prefer pre-made acoustic panels, but we feel that using plaster delivers a smooth and seamless appearance, owing to which the joints aren’t visible.
19. Veneer Plaster
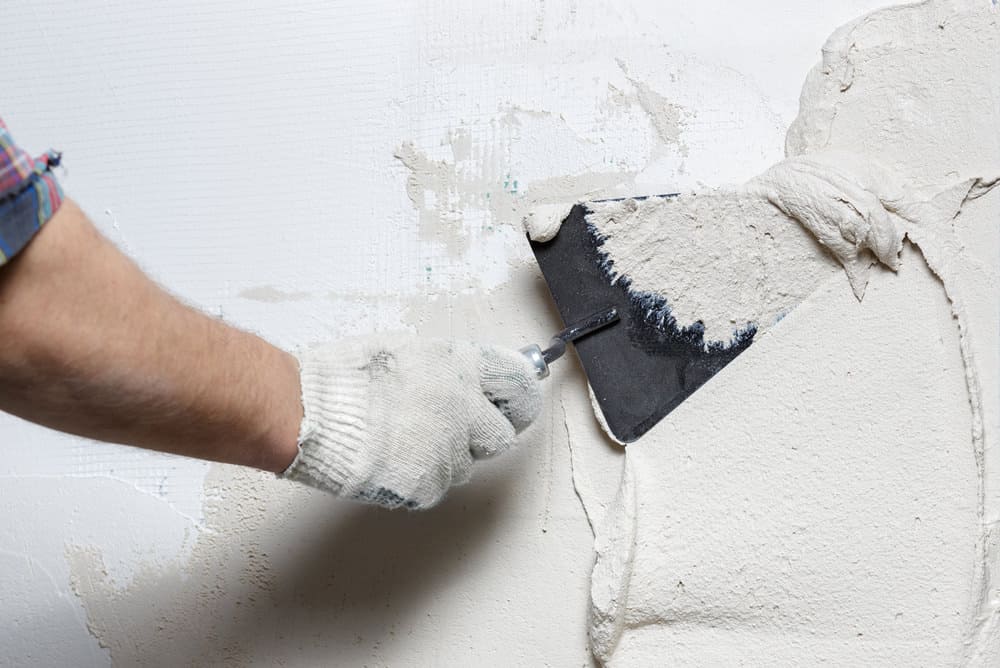
Veneer plaster is great for decorating the interior walls and is most popular in old-age homes where the walls already have a coating of lath-and-plaster. The best part is that it’s cheaper and easier to use as there’s no need to rip the existing surface and install drywall.
You may even use it as a finished surface because although it may not be attractive, it does lend a certain uniqueness to the interior decor. Moreover, the smoother and harder surface is resilient to dents and scratches when you use a dual-coating technique.
20. Ceiling Plaster
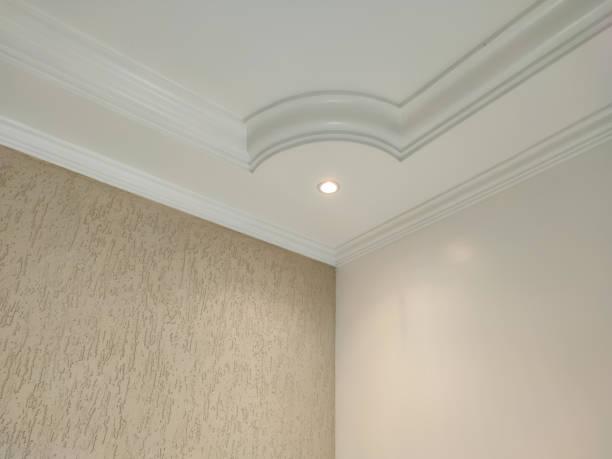
There are no special plasters for ceilings, so gypsum plaster proves the most convenient option. Consumers can use different types of aggregates depending on the finish they want. For a traditional finish with rustic overtones, sand should be the base aggregate, while modern designs contain pumice, vermiculite, or perlite.
The main reason for plastering the ceilings is to hide the tubes and wires that accompany appliances like lighting fixtures. You can even apply it for aesthetic purposes by hiring a professional company, but it also protects against termite attacks and improves sound absorption.
21. Asbestos Marble Plaster
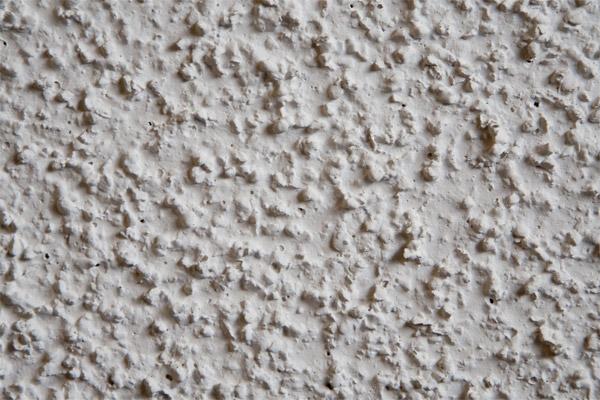
If you don’t have the budget to install marble carvings, we recommend using asbestos marble plaster, which looks similar to real marble. All you need do is to add cement, finely crushed marble, and asbestos before mixing them.
Most importantly, using asbestos helps insulate the room and improves the protective properties of the surface against disasters like a fire outbreak. We should also mention the strength and waterproofing abilities of the material, which is why it’s used in rooms that are prone to water damage.
22. Wet Plaster
This specific plastering technique involves applying layers of wear-resistant and strong materials to deliver a durable finish. Although it takes longer to apply since workers will need special tools to create a suitable coating, the finished wall is air-tight, sound-resistant, and has a beautiful texture.
We should also mention that wet plaster has a wider reach and covers the wall entirely for better insulation. This ensures that you don’t have to spend too much on heating appliances which makes it cost-effective.
Types Of Plaster Finish
Now that we have discussed the major types of plaster let’s look at the common types of plaster finishing to improve wall construction.
1. Scrapped Plaster Finish
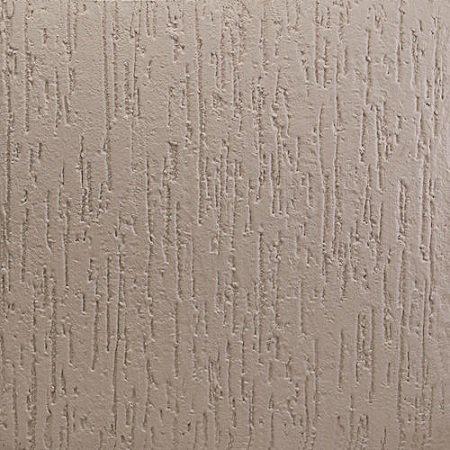
To get a scrapped plaster finish, it’s essential to have a blend of rough and smooth surfaces. After leveling the surface and allowing it to harden, you’ll have to scrape the final layer with a steel saw blade or other durable tools with a straight edge. It’s similar to removing the lumps and gaps from the wall surface to deliver the finishing coat.
In most instances, the penultimate plaster layer is between 6 and 12 mm thick, out of which scraping removes 3 mm from the surface. You should ensure that the final coat has set properly before scraping.
Some manufacturers use grading aggregates in the final coat, and scraping provides a suitable texture by exposing these aggregates. Moreover, this finish is stronger and less likely to crack than other types of plaster.
2. Stucco Plaster Finish
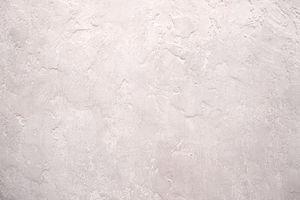
Thanks to the elegant finish it delivers, you can use stucco plaster for both interior and exterior walls. The entire process consists of three coats, and the plaster is 25 mm thick, with the topmost coat known as the scratch coat.
In the middle, you’ll find the finer coat, or brown coat, while the bottom-most layer is referred to as the white coat, also known as the finishing coat.
3. Textured Plaster Finish
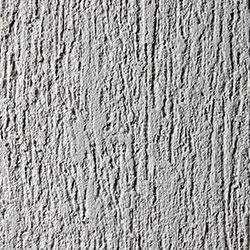
An effective way to enhance the interior decor of your home is with a textured plaster finish. It’s most noticeable on boundary walls, or you can use it to create a feature wall on the property through stucco plastering. You can apply a rough finish or smooth finish over coarse surfaces to make repetitive patterns.
To create a suitable mixture, it’s crucial to mix cement, water, lime, and sand with synthetic acrylics, fibers, and coloring pigments. Also, remember that you’ll need special tools to create ornamental patterns while the final coat is still fresh. It will have the same features of a rough finish and prevents plaster cracking.
4. Exposed Aggregate Finish
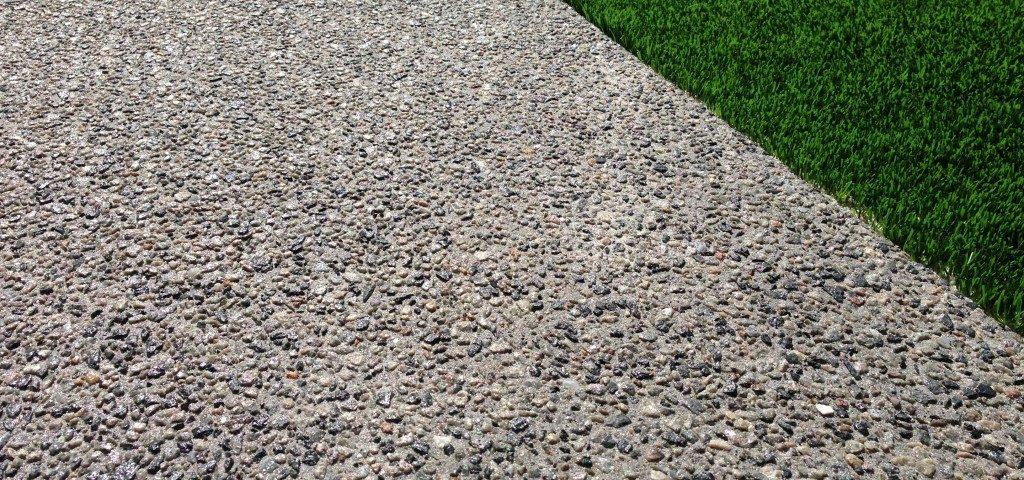
You can find this type of plaster finish on the walls of office buildings, whereby colored and white marble chips of 6-12 mm thickness are used in unison. This is done by crushing marble stones to make the final coat 20 mm thick. The important step is washing the pebbles of impurities and mixing them with marble chips and a bag of cement.
Once the mixture is ready, it’s thrown at the walls while it’s still wet, known as the plastic state, which acts as the undercoat. To get an even coating, you’ll need to employ a strong whipping motion and direct the plaster at 90-degree angles to the wall.
If there’s loose mortar on the surface, wash it away with a water jet or brush the surface clean.
5. Sand Finish Plaster
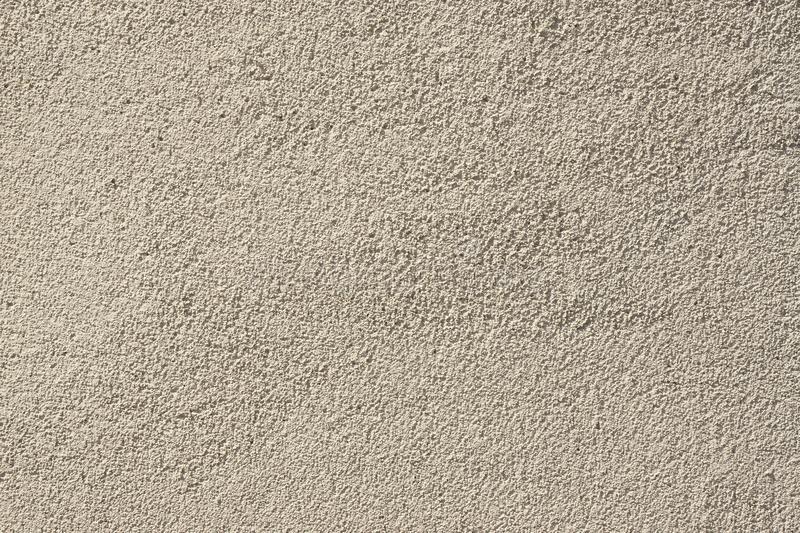
You’ll need two coats of mortar mix to get the desired sand finish on the walls. For the first layer, the ratio of cement to sand is 1:4 and not more than 12 mm thick. Also, after applying the first coat, you should let it rest for 7 days before applying an 8 mm thick second layer.
This layer will contain sand and cement in a 1:1 ratio, and you can use a sponge to create designs on the wet plaster.
6. Depeter Finish
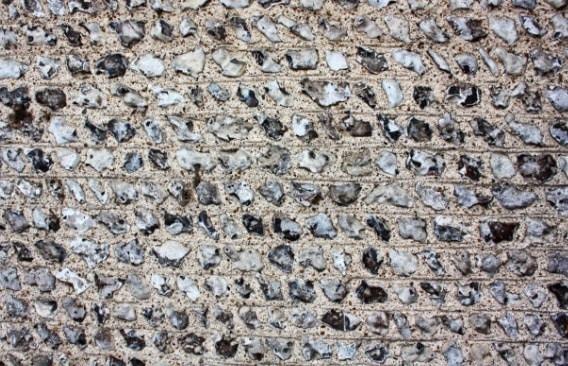
It’s the final coat of the plaster finishing process and has an overall thickness of 12-15 mm to produce a top-notch design. The first step is applying the mortar, after which you’ll have to compress the gravel plinth to the required degree manually. This proves most advantageous because gravel plinth is available in various shapes and colors to lend the walls a striking appearance.
7. Waterproof Finish
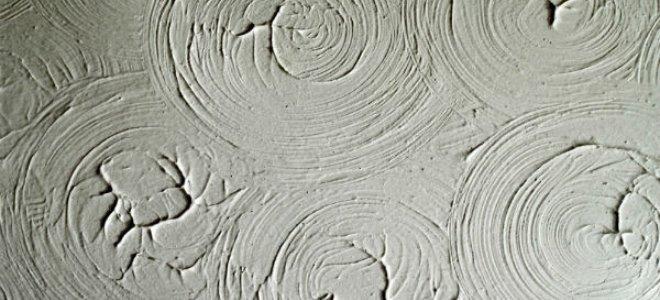
There is waterproof cement available on the market that delivers a waterproof plaster coating with a rating of IS:2645. It’s mostly used for construction work to protect the walls from damage due to the changing weather conditions. Depending on your requirements, you need to mix the compound with dry cement, usually 3% proportion by weight.
Pay close attention while mixing and ensure that the waterproof compound blends with the cement and water instead of separating.
8. Rough Finish
To prepare a plastered surface with a rough finish, you need to use a cement-sand aggregate mixture of 1:1:3. While applying the finishing layer, ensure that the coarse aggregate ratio is between 3 and 12 mm.
When the mixture reaches the desired consistency, splash the mortar mix on the wall and use a wooden float to get a rough texture. Once it hardens, the walls should be much more durable, waterproof, and crack-resistant.
9. Keene’s Cement Plaster
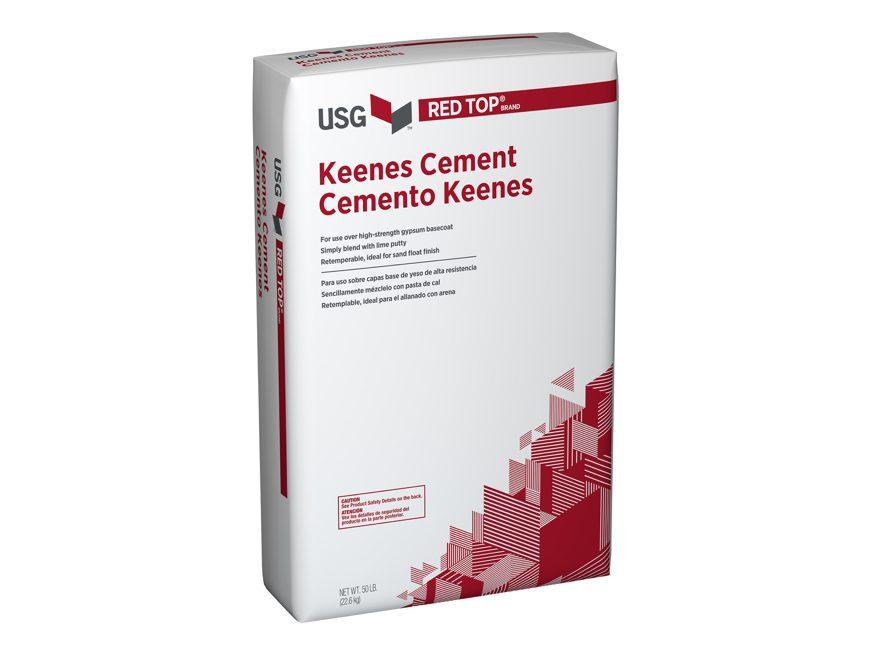
Keene’s cement plaster, known as Parian plaster or Martin’s cement, is a calcined form of regular plaster containing an alum admixture and calcium sulfate. It delivers a hard finish to the final coat, which you can then polish for aesthetic appeal. You’ll mostly find this type of plaster on hospital walls, railroads, and stores where the footfall is high and the longevity of the buildings is a priority.
Types of Plaster Final Words
That’s everything we had to tell you about the different types of plaster and how they are useful.
One of the best things about using plaster is that it’s eco-friendly since the formula consists of environment-friendly components. There are no harmful chemicals, and it’s VOC-free which makes it suitable for use in public spaces.
The durability of the material also ensures you get your money’s worth and won’t have to worry about renovating the walls at least for a few years.
It’s over to you now to choose a plaster suitable for your needs, so refer to our guide to clear all doubts and make an informed decision. You can create decorative patterns and use striking colors to make your property stand out with the right mixture.
On that note, it’s a wrap, and we’ll see you soon with another interesting guide!
Related Articles
9 Best Paint Primer For Drywall Tested
6 Best One Coat Paint and Primer
Mobile Home Skirting | Guide + Types of Skirting
11 Types of Retaining Wall Materials to Consider
35+ Different Types of Houses for Your Future Home
