
But by the end of the process, the time invested is always worth it.
Well, almost always.
There are times when the painting does not turn out as desired and that can lead to disappointments. Of course, a big part of it depends on the artist’s skills and expertise but there are other contributing factors which help them deliver wonderful results.
In order to accomplish incredible body-painting art similar to those of professionals, there are a few things you need to carefully take into consideration. Most importantly, there are methods, which we will discuss in a moment, that are the key essentials to great artwork.
And in today’s article, we are going to show you some of these factors which will help you become a better body-painter.
Learn How to Body Paint
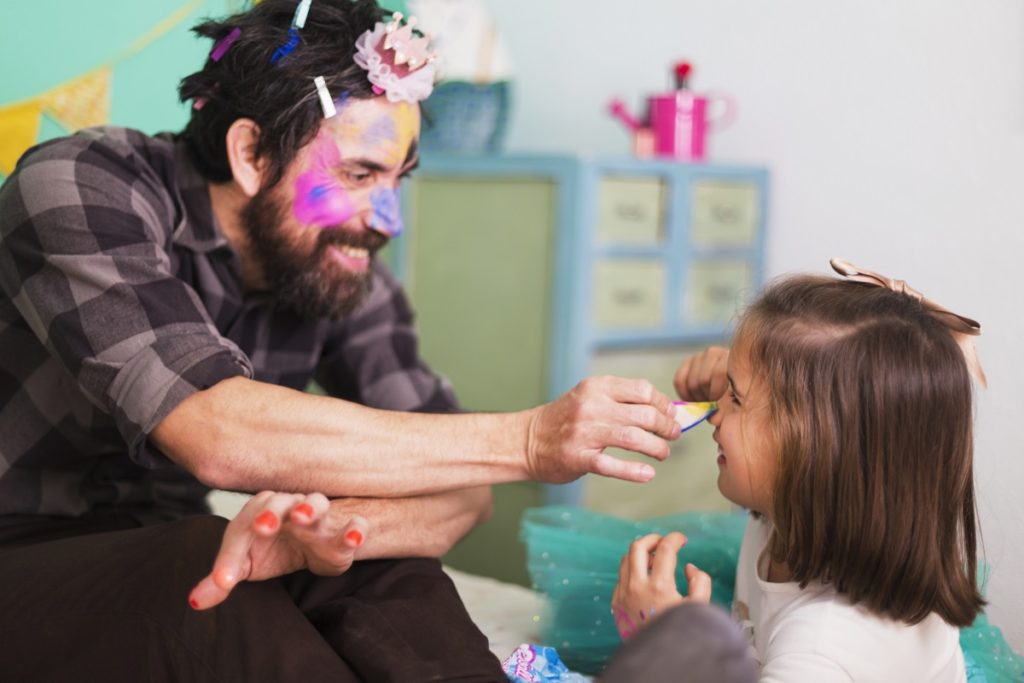
Paint Materials for Body Painting
Some years ago, body-painting consumed a lot of time and energy due to the lack of proper materials. Luckily, we are in an era where body-painting is made easy because of the development of advanced tools and options.
Following are a few materials that help speed up the painting process and make the art more vibrant.
-
[easyazon_link keywords="Airbrush Makeup" locale="US" tag="homesthetics0a-20" type="link" link_id="273931"]Airbrush Makeup[/easyazon_link]
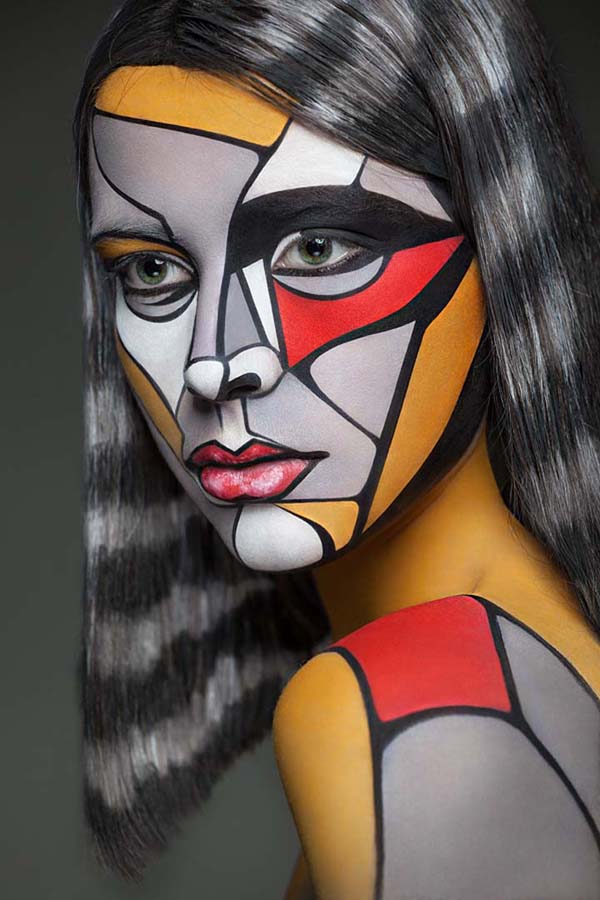
Airbrush makeup is one method that’s expensive, yet succeeds in speed, quality, and safety.
If you’re looking for paints that last longer and won’t crack easily, you can rely on this option.
Artists working with an airbrush find the process to be faster than working with traditional palettes. The difference lies in the type of paint and the process itself.
While traditional cake paints come in a pan, airbrush makeup comes with a compressor which uses air to spray the paint, hence, making the process faster. If you want to take on this profession, you would want to choose this because it will take lesser time to finish a single project.
The only disadvantage is that these are comparably more expensive than regular paints. Also, they require long training and a lot of skills before producing precise body paintings.
Before buying, make sure to look for brands which is specialized in producing makeup airbrushes because that’s how you’re guaranteed to get the best.
-
[easyazon_link keywords="Airbrush Grade Prosthetic Cosmetic" locale="US" tag="homesthetics0a-20" type="link" link_id="273932"]AGPC Makeup[/easyazon_link]
The Airbrush Grade Prosthetic Cosmetic, known as AGPC, is one of the best paint options for body-painting. It falls within the airbrush makeup category, yet it has amazing features worth mentioning.
If safety is the first priority to you, then you would consider going for this as it does not cause irritation or allergies. Not only that but it also stays on the skin for a long period of time until you wash it with water and soap, where it will come off easily.
The makeup will last for two days maximum without breakage, making it suitable for big occasions.
For the removing process, all you need to do is apply powder (preferably talc) and then wipe it off with a damp cloth or sponge.
Since this is a professional grade airbrush, the price is very expensive. We do not suggest this option if you are a beginner. But if you have had enough experience in the field of body-painting, you might want to use this for your best projects.
Ordering in bulk will save you some money, although it is still costlier than most body paints. Within these containers, you’ll get a range of high-quality colors.

-
[easyazon_link keywords="Textile Acrylics" locale="US" tag="homesthetics0a-20" type="link" link_id="273933"]Textile Acrylics[/easyazon_link]
Next up is the textile acrylics.
One of the things we love about textile acrylics is that they are non-toxic and are free from chemical additives, ensuring safety to use on skin for a very long period.
These paints are designed to be used on fabric with the help of an airbrush. Besides being non-toxic, another reason we chose these for body-painting is because of the flexibility.
Since these paints are meant for fabrics, they hold very high flexibility, which means they stick on to the skin without peeling off easily, even when having to move a lot.
The second best thing about these paints is that they are very affordable and are very easy to use or remove.
They also maintain a high level of versatility. The first one you already know is that they can be used for body-painting as well as for airbrushing on fabric. Secondly, they are also suitable for using with paintbrushes.
When using this paint, be sure to work in thin coats until you’ve got a full coverage because using thick layers in one go can cause the paint to crack.

-
[easyazon_link keywords="Markers for body painting" locale="US" tag="homesthetics0a-20" type="link" link_id="273934"]Markers[/easyazon_link]
Another alternative to traditional paints is a marker which is safe for kids.
Safe and non-toxic markers are specifically meant for kids, who always end up with paints on themselves. Therefore, they are perfect for body-painting because the color stays on the skin until it is washed away.
However, using a marker to paint the whole body will take almost the same amount of time as using paint cakes, or even longer. That is why we would recommend using wide-tipped markers for the purpose of body-painting. The tips can range from 8-12mm wide.
The one thing that makes these markers superior to other paints is that the color won’t peel off and contains high flexibility. However, it can fade once it gets in touch with water, sweat or any moisture.
-
[easyazon_link keywords="Liquid Latex" locale="US" tag="homesthetics0a-20" type="link" link_id="273935"]Liquid Latex[/easyazon_link]
Last on the list is the liquid latex which is very popular as a medium for creating special effects in the world of makeup. It used to come in classic skin color.
Today, there are multiple other colors available for artists to choose from.
The original idea is to create a quick clothing option but somehow, it has found its way to body-painting, where its utility is much more applicable. Working with liquid latex creates a lesser mess if compared to other body paints. Moreover, it sets quickly, given that it lasts very long.
However, liquid latex by itself does not complete body-painting. Instead, it acts as a base for colors to rest upon. With this base, multiple textures can be achieved - and that’s what makes this additive essential for professional body-paintings.
And the best thing about this medium is that you can use any paint on it once it’s primed with skin-colored foundation.
Crucial Steps to Take for Face & Body Painting
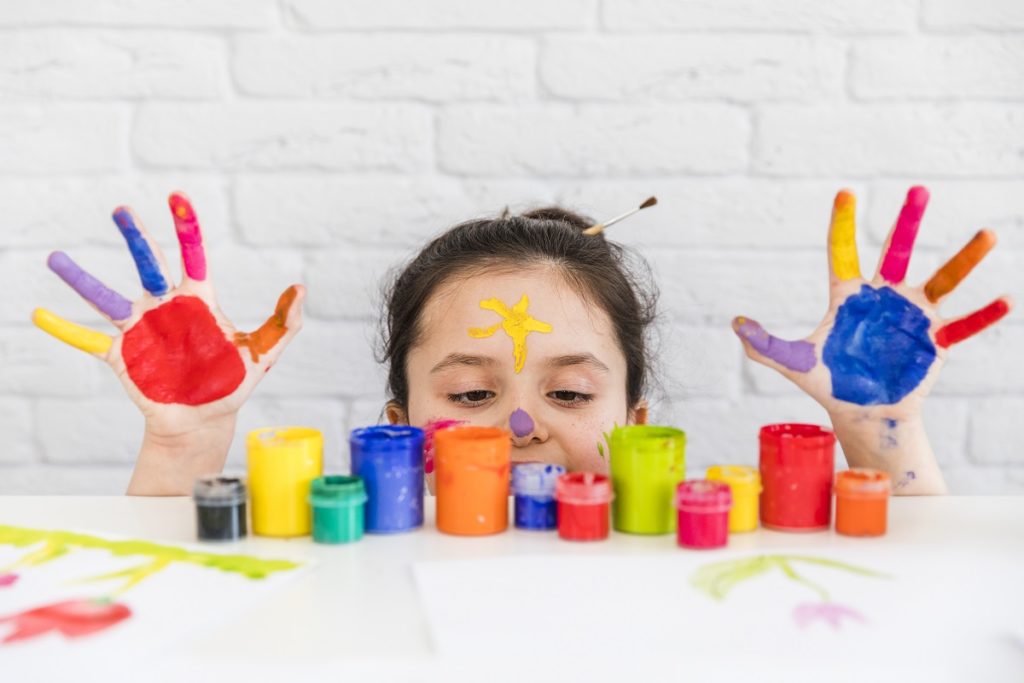
Now that we’ve seen some of the best paint options for body-painting, it’s time to take a look at these three important steps for successfully accomplishing a beautiful work of art.
-
Preparing the skin
This is the first step to take when using any kind of paints. While some may think that this step is not truly necessary, it does, however, offer a lot of benefits.
Why prepare the skin?
The first thing you should know is that our bodies secrete oils. The presence of these oils makes it hard for the paint to stick on the skin as they repel it.
Not only do they resist water-based paints but oils are responsible for accumulating dust on the skin and increasing the chance of bacterial infections, especially when you have to put on the paints for a long period of time.
Therefore, to prevent these potential problems, we suggest taking a bath./shower before the painting process to clear up all the existing dirty oils from the skin.
You will also see that the paintings come out more beautifully on clean skin.
The importance of [easyazon_link keywords="body painting setting spray" locale="US" tag="homesthetics0a-20" type="link" link_id="273936"]setting spray[/easyazon_link]
Once you become acquainted with the art, you’ll slowly realize the significance of different body-painting tools.
Take the setting spray for example.
The purpose of this item is to hold the paints in place by providing a stable base for them to sit on.
Moreover, the spray protects your skin from having direct contact with paints that can cause skin irritation and other allergic reactions.
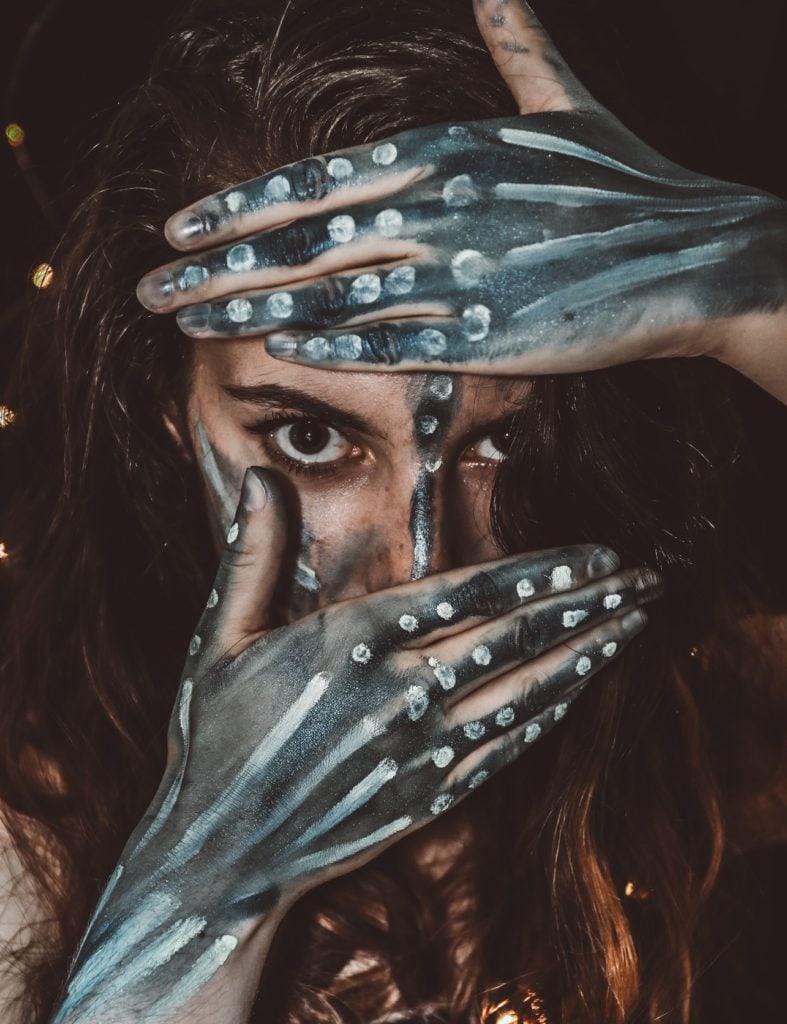
Let us now take a look at the step where the painting process actually begins.
Planning the painting
It is important that you first plan out how the painting will look like on your body.
While the design looks good on paper, it might not actually be the same when it actually touches the skin.
Planning beforehand allows the rest of the painting process to flow with a lesser chance of errors.
A simple way to properly plan your painting is by drawing outlines with water-based paints on the body first. Even if you make mistakes then, it’ll be easier to wash it off.
[easyazon_link keywords="Brushes for Body Painting" locale="US" tag="homesthetics0a-20" type="link" link_id="273937"]Brushes for Body Painting[/easyazon_link]
Brushes are important no matter which types of paints you’re using. There will always be minor details which need the touch of a brush.
Keep in mind that certain brushes work better for certain purposes. For instance, synthetic brushes are a great option for water-based paints as they are more flexible when they’re wet.
On the other hand, natural brushes tend to lose their grip on water if they are used extensively.
[easyazon_link keywords="professional Sponges for make up" locale="US" tag="homesthetics0a-20" type="link" link_id="273938"]Great-Quality Sponges[/easyazon_link]
The purpose of a sponge is to blend the paint and spreading it evenly across the surface.
But not just any sponge will do. Some sponges with inferior quality with loose pores can release a lot of water that can mess up the paints. We would recommend going for the best quality with tighter pores.
You can accomplish a lot more with a good sponge. For instance, it will speed up the painting process and give you better blending results.
The size of the sponge will be according to your preferences. However, we would suggest going for a medium-sized one that’s about 3 or 4 inches for proper dabbing.
When working on smaller areas, have a set of tiny sponges ready with you.
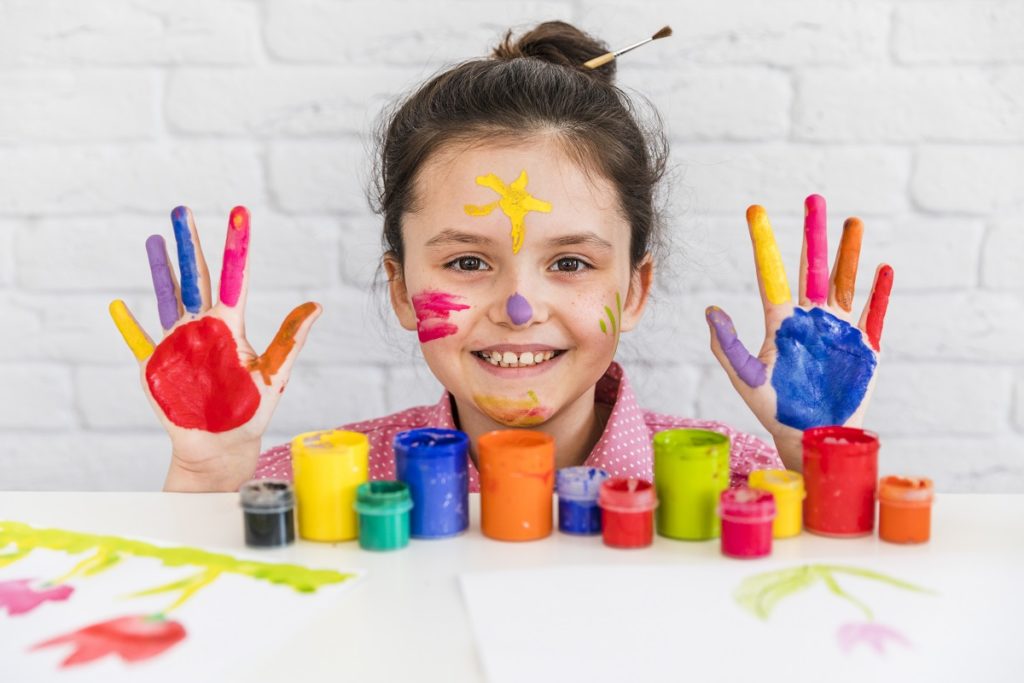
[easyazon_link keywords="makeup setting spray" locale="US" tag="homesthetics0a-20" type="link" link_id="273939"]Set the paint with a setting spray[/easyazon_link]
We have talked about the importance of setting spray as a base and a barrier to the preparation stage. Now, we will see why it’s needed for the finishing part.
As the name suggests, setting spray is used to set the paints so that they stay longer on the skin.
When the painting is done, spray a little amount of it throughout the body and give it some time to set before touching the paint.
What it also does is prevent the colors from washing off when sweating, giving the overall painting an even and beautiful finishing.
If you are preparing for an all-day occasion, we highly suggest using a setting spray as it will make the paints stay in place for long hours.
Test the paints
This is where “prevention is better than cure” applies well.
It is always safe to first test the paint in a small area of your body and wait for a few minutes to see whether your skin shows any kind of reaction or not because there are skin types which are very sensitive to paints.
If it’s your first time getting body painted or if you’re just trying out new paints, then you should consider taking this precaution.
Do not risk going for paints that cause even the slightest itch on your skin because that will only create bigger problems, and you would have to see a dermatologist afterward.
The same thing applies when using latex as well.
-
Removing paints
Different paints require different methods of removing. We will show you how some paints can be removed efficiently when it’s done.
For water-based paints
Removing water-based paints is pretty simple but there are things you need to look out for.
Washing with water alone can increase the chance of infections later, especially if you used cheaper paints. So we suggest using soap too to make sure your skin remains clean and healthy. Also, avoid using wipes for removing paints.
For oil-based paints
Cleaning oil-based paints require you to put in some effort because using only soap and water will take a long time.
Instead, there are solutions to help speed up the cleaning process. Some samples are body cleansers and baby oil. Using these with your scrub will help clean up all the oil on your body. Finish up with a warm bath afterward.
Makeup removers also make a great solution for washing tough oil paints off your body.
The last important step which you need to take is to moisturize the skin after cleaning so that rashes won’t develop.
If you are the one who’s getting body paint, make sure to ask the painter about how the cleaning process should be. It is always safe to ask them because some oil paints are different from the other.
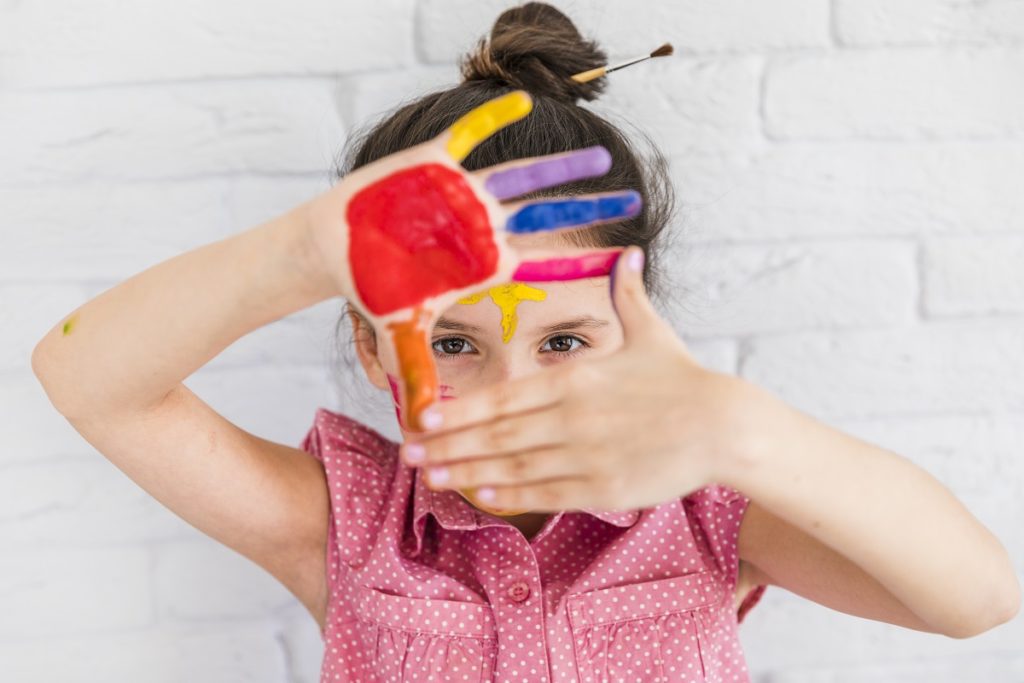
How to Get Your Body Painted
If you have never experienced body-painting before and want to try it for the first time, check out some of these things which you may want to know beforehand.
- Look for an expert
Getting your whole body painted sounds like fun. But the not-so-fun part about it is if the body starts to show signs of allergy or irritation.
In order to prevent such cases from happening, look for painters who are experts in this field. You can also ask for recommendations from people who have tried body-painting before.
It is important that you feel relaxed during the process. Make sure to find one whom you feel comfortable with, especially those of the same gender in case you feel nervous about exposing your body to someone.
- Shaving
This is is a very vital part of skin preparation. Some paints do not stick well when there’s a lot of hair on the surface.
However, the big problem lies in the paint-removal part. If there is hair, the paints won’t come off easily. It can even get painful when removing it with force because paints, especially latex and airbrush acrylics, get very sticky on hair.
So the first thing you need to do is make sure whether shaving or waxing is better. Consult with the painter beforehand.
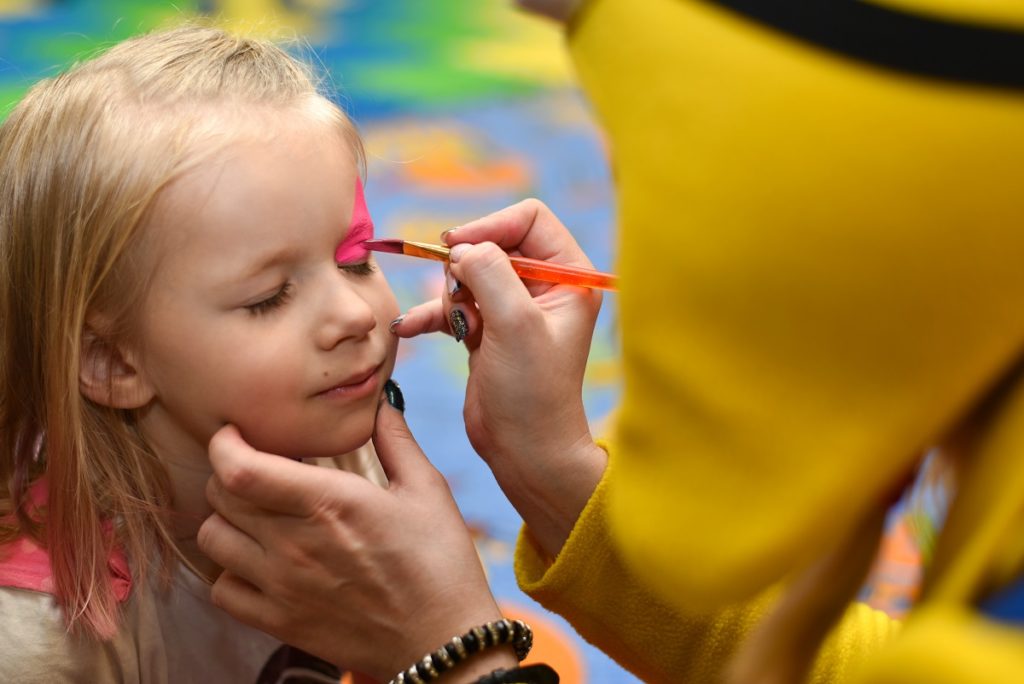
- Select the design
Make an appointment with the painter to select a design.
Do this as soon as you have decided to get a body painting so you won’t rush the process later on and be satisfied with the long-hours work.
After selecting the design, we would recommend sketching it roughly before proceeding to the actual painting.
- Fill up your tummy first
As we have mentioned, painting a whole body can take long hours. So, it is always better to first fill your stomach with food that will satisfy your hunger for a long period of time. Besides food, also make sure to hit the bathroom before the process begins.
Doing this will allow the work to freely flow without any interruption in between.
- Have a room ready
You probably will not want to work in an area where there’s a lot of activities going on. First of all, there is a tendency that your work will get interrupted, and secondly, you might not feel comfortable exposing your body when there are too many people around.
In order to avoid these situations, getting a separate room will be a very good idea.
Clothing
Remember to only wear loose-fitting clothes when the painting session is done. This will prevent the colors from smudging of fading away.

How to enhance your body-painting skills
Body-painting is an activity which anyone can do for fun at any time. But for those who are willing to master this art, it requires practice and consistency.
Give yourself some time to practice on a regular basis because through practice, skills are also acquired. As you improve, so will your skills and knowledge. However, what truly matters is your passion towards the art.
And that’s it for today’s post! Thank you for your time!
Related Articles
9 Best White Face Paint For Cosplay, Clowns & Halloween
6 Best Body Paint | Top Brands Compared
5 Epic Face Painting Supplies That Will Improve Your Designs
11 Best Face Paints Reviewed | Top Brands Compared
5 Best Airbrush for Body Painting
16 Brilliant Face Painting Techniques to Feed Your Imagination
13 Best Spray Paints For Metal
7 Best Airbrush for Miniatures & Models
11 Best Epoxy Resin For Crafts
5 Best Epoxy Resin for Tumblers
