Expertises: Art, Painting, Drawing, Home improvement, Gardening
Updated on

Inspiring Ideas for Modern Home
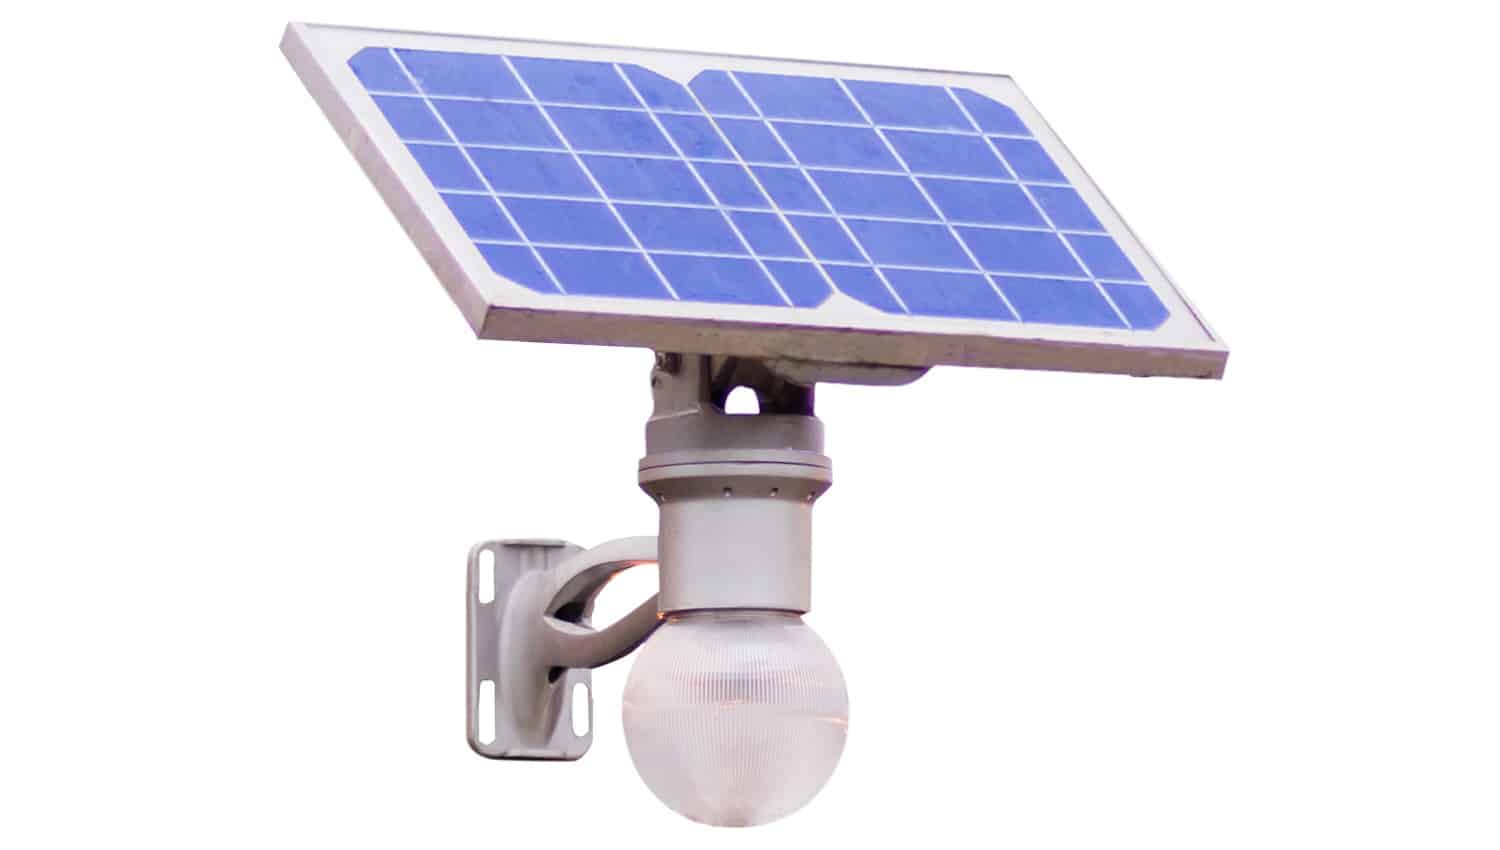
Solar lights are the perfect alternatives to electrical lights, candles, or even kerosene lamps.

They’re affordable, energy-efficient, and environment-friendly, but like any other appliance or gadget, they do come with a few drawbacks. Well, nothing too significant, to be honest, yet worth mentioning.
Unfortunately, there are times when solar lights fail us. They stop working altogether when needed the most, i.e., during the night. Why does this happen? There are many reasons that may affect the basic working mechanism of the solar panel and light. And in order to fix the issue, it’s crucial to find the root cause.
Are you in a similar situation? Don’t panic; you don’t need to invest in a new one, at least not right away.
Today, we’re here with this informative guide on why solar lights stop working; along with this, we’ve provided a few quick solutions that will help you get them to work within no time. But before that, we’ll highlight the working principle of a solar light.
So, without further ado, let’s get going!
Before jumping to the problems and fixes of non-functional solar lights, it makes sense to understand their basic working principle. That being said, solar lights usually work differently and more uniquely compared to other light sources.
They use the photovoltaic effect to work. The photovoltaic, aka solar cell, is an essential part of the light, which helps change sunlight into direct electric current.
Ideally, the solar cell comes in the form of a dark panel and is installed above the solar light. It’s made of multiple layers of crystalline silicon and chemicals that generate layers of positively-charged particles and electrically-charged electrons.
When the panel absorbs the sunlight, the negatively-charged electrons move to the positively-charged particles. Later, the electrons move through the wires to the rechargeable batteries and electricity is stored in them till the light is ready for use.
After dusk, when the sun goes down, the solar cell converts the stored electric energy into light. Consequently, the solar cell turns on as soon as the photoreceptor detects darkness. And again, when the sun rises, the receptor stops working, allowing the panel to resume converting the sunlight into electricity.
Solar lights are energy-efficient and cost-effective, but they often tend to cause trouble and eventually stop working. This can happen due to several reasons, so if you’re struggling with getting them to work, here are a few tips to consider.
First things first, ensure that the solar lights are turned on, provided they come with a switch. You’d be surprised to know how often people tend to forget to turn on the on/off switch.
Ideally, solar lights come with Li-ion or NiMH rechargeable batteries inside them that charge by the day and discharge by night while the lights are on. So, it’s quite natural for batteries to lose their charging capability with time.
A common sign to tell if the batteries require replacement is the reduced runtime of the lights in the evening, even after a bright sunny day. That said, a good battery should last for up to 2 years or more before needing replacement.
Solar lights remain off during the day as they’re busy converting the sunlight into energy to be stored in their rechargeable batteries. And at night, the energy is then used to power the lights.
But if your light doesn’t come on well after dusk, there might be some other light source hitting the panel, tricking it into thinking it’s still daylight. Try covering the panel to trick the light into thinking it’s night; if it comes on, you know the problem.
It’s best to avoid shadows falling on the solar panel, especially during midday when the sun is at its strongest. So, make sure you take a look at the panel every 3 to 4 months around midday to see how shaded your panel is.
Did you know a solar panel is like a satellite dish? It has to be positioned facing the right direction to work effectively. As the sun rises in the east and sets in the west, a south-facing panel is bound to harvest sunlight to its full potential from dawn to dusk.
That said, even though solar lights still work when they’re not facing south, they won’t be working to their full potential.
The angle of the solar panel can affect the light’s runtime, especially during winter, when the sun is very low in the sky. But if your solar light’s panel that’s easily adjustable, you’re in luck. Getting it up to a 45-degree angle when winter is at its peak will help in harvesting sunlight to its optimum potential.
Solar lights may suffer from issues due to design flaws and water ingress. That’s why we strongly recommend keeping an eye on their IP ratings to know more about the safety features.
Well-designed and manufactured lights allow water to drain away without causing harm to any of their sensitive electrical wiring or parts. However, if water or moisture is the reason for your light to stop working, there are a few tricks you can try.
Firstly, remove any cover that might be holding the moisture in place. Once that’s done, store the light in a cupboard for a few days to dry it out. You can then reassemble the light while double-checking to make sure the batteries are seated well. Give it a day or two before turning on the light at night.
Also, don’t forget to check with the manufacturer to ensure whether the warranty of the solar light covers issues related to water ingress. If yes, email them a picture and expect a replacement within no time.
The wiring of the solar panel can snap due to a number of reasons; squirrels and other wildlife chewing on it is one. Usually, the damage can be repaired with patience and some electric tape. But if this isn’t possible, check with the manufacturer to see whether they have spare parts to save the product, instead of having it entirely disposed of.
It’s also important to note that wires are always subjected to tension so try to leave sufficient slack between branches during installation. Even strong winds put undue pressure on the cables causing damage that’s hard to fix.
Advanced solar lights feature adjustable dials to fine-tune motion detection sensitivity, preventing the movements of cats, birds, and other wildlife from triggering the light unnecessarily. Usually, the dial should be set after taking three factors into consideration:
i) The height at which you install the solar
ii) Motion across the PIR’s field
iii) Distance of the light from the motion you wish to detect
So, if your light isn’t activating when needed, a bit of trial and error to provide the required motion will help in getting it to work.
Apart from the PIR dial, advanced solar lights include lux sensor dials to determine how dark it has to be before the light activates. This feature comes in handy if there are other sources of light tricking the solar lights into thinking it’s still daylight - a common reason why they stop working.
However, at times, they might be installed in relatively shaded areas while their remote panels are installed in a bright and sunny spot. In such cases, setting the light to activate in darker ambient lighting can prevent it from working when not required.
Believe it or not, we often forget to plug in the light to the dedicated power source, which is a common reason why it doesn’t work. If your remote solar panel is separate from the lamp, make sure you check whether the cable is firmly plugged in with tightened waterproof connectors.
Ideally, solar lights come with batteries stored inside their panels, but at times, the batteries might be stored in the light head itself. So, if the panel fails to charge them or the charge is unable to reach the lamp, you’ll end up getting disappointed.
Plugging a mains charger into your solar light or removing the batteries to charge them separately can be a great idea. Just make sure the charger is compatible.
Now, solar panels output specific voltage compatible with the battery voltage and circuit componentry. If you use the wrong mains charger, it may fry the circuit or even overcharge the battery. Ultimately, you’ll end up spending money on buying a new one.
You can expect your solar light to perform for a night or two, provided the batteries are easily removable, clearly labeled, and the charger is compatible. But it’s also important to find a solar-friendly location to charge the lights. And in case of any doubt, you can always follow the instructions or seek assistance from the company or manufacturer you purchased them from.
Consider firing up a soldering iron to tackle wiring issues so that you don’t have to get rid of your light just because of loose wires. But make sure you contact the solar light company before beginning the soldering process. You wouldn’t want to invalidate the warranty now, right? Of course, it’s fine if you’ve already had a chat with the company.
The performance of your solar panel might dip over time because of dust and dirt buildup on its surface. This is a common problem for those living near busy roads, and their panel is installed in a dusty spot.
A dirty panel can also impact the amount of charge received by the solar light batteries. To make sure it works to its full potential, give the panel a quick wipe using a damp cloth every now and then.
We suggest cleaning your panel at least twice four times a week to increase its efficiency. It’s also essential to keep your solar light in a safe place when not in use so that it lasts for an extended period.
We can easily feel the sun’s warmth even while sitting behind glass windows and doors, but it’s not the same for solar panels. Double and triple-glazed windows are commonly used these days. And if you notice, they render the sun’s rays hitting the panel useless.
That’s why it’s best to place the panel outdoors when charging in a spot, which receives the maximum amount of sunlight. Also, ensure that the number of obstructions between the solar panel and the sun is minimal for it to charge more efficiently.
Don’t forget to check whether the batteries are properly seated or not. If they’re loose or not touching the terminal contacts, the panel won’t be getting charged by the day, preventing the solar lights from working at night.
So, in case you detect loose batteries, give them a day or two to charge before they allow the lamp to work. Be patient as the battery may have been flat, to begin with. It would help if you did this regularly with your solar lights for them to keep operating at night.
Solar lights come with one or more buttons to help you operate the system without any kind of hassle. Newly bought lights may feature a pull button that needs to be removed before turning on the switch.
However, first-time users often forget to take the pull button off, preventing the solar light from working to its full potential. So, if your new light suddenly stops working, make sure you check whether or not the button is removed.

With this, we come to the end of our informative guide on solar lights. And we’re hopeful that this article has managed to provide you with the relevant information on what can cause solar lights to stop working.
But if you take the right measures and maintain them on a regular basis, the chances of this happening are minimal, if not zero. Replacing its batteries, checking the wiring, and positioning the panel in the right direction are just a few of the many things you can do to make the lights work.
We have explained everything in detail, so you need not worry. Just follow the steps, and you’ll be good to go.
On that note, we bid you goodbye. Take care!
Related Articles
13 Best Fertilizers for Blueberries
13 Best Organic Lawn Fertilizer
13 Best Fertilizers for Hibiscus
11 Best Fertilizers for Lilacs
9 Best Fertilizers for Hydrangeas
9 Best Fertilizers for Petunias Right Now
11 Best Fertilizers for Citrus Trees Right Now
How to Grow Cilantro Indoors Easily
11 Best Lawn Fertilizer Options