Expertises: Paint, Home improvement, Wood, Car, Painting
Updated on

Inspiring Ideas for Modern Home
Does your backyard need some protection? Installing a horizontal wood fence might be a good idea in that case.

Whether you want a little privacy from sneaky neighbors or just want to set some chill vibes on your lawn, horizontal fencing is a great choice. But the question is, how to go about it?
If you want to save on a few bucks, we have an informative step-by-step guide to walk you through the entire process of constructing a horizontal wood fence yourself. Not only will it be easy on your wallet, but you’ll also experience a unique sense of achieving something on seeing the final product.
Let’s get right into the details then!
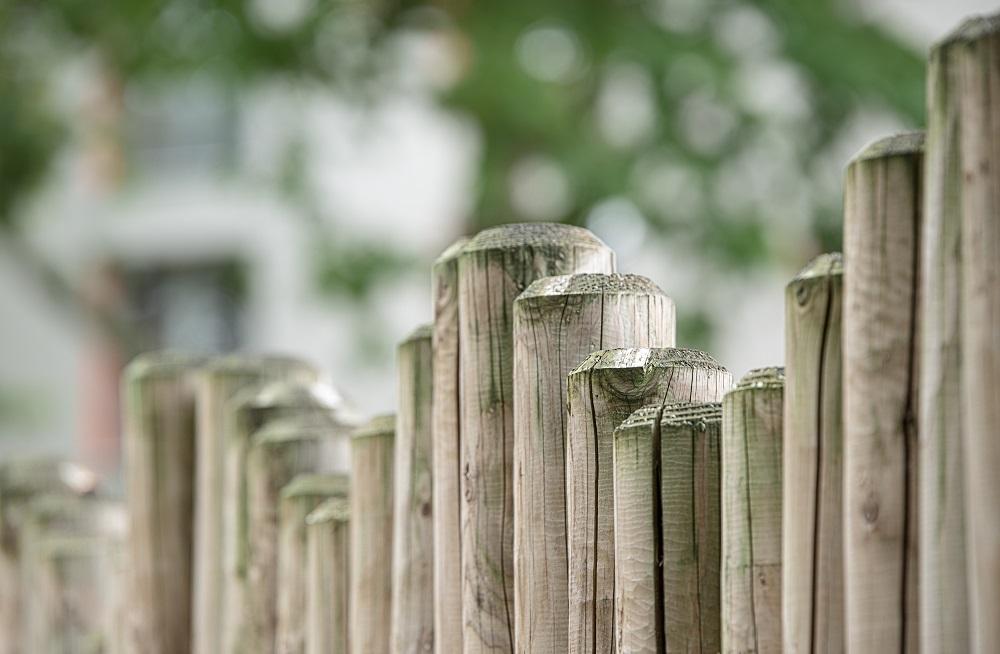
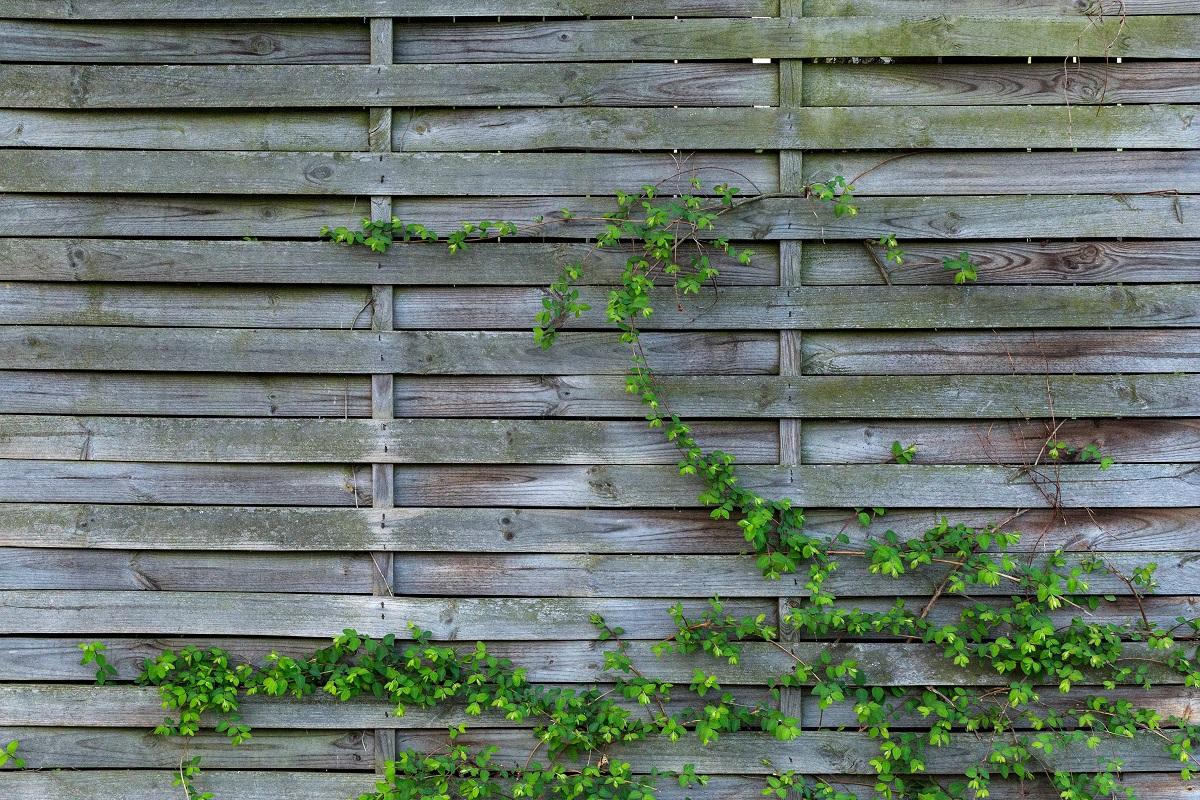
A horizontal fence is a wooden boundary made using wooden boards that run along the length of an area instead of the regular vertical up and down manner. It typically comprises 4x4 posts that are strongly anchored to the ground using a concrete paste.
Moreover, these fences provide privacy from passersby and make your outdoor spaces a little more secure.
Materials Needed For Horizontal Fencing
Much to everybody’s surprise, the materials required to build a fence are pretty basic and very conveniently available in local hardware stores. The methodology that we’ll be following can be finessed using the following equipment:
Try to use only pressure-treated wood if you want the best results. It is durable and doesn’t react much to adverse weather.

Building a horizontal wood fence is no rocket science. Once you get your hands clean on the saw and carpentering strategy straight, the whole process will become pretty straightforward. You will definitely agree by the end of our extensive step-by-step guide. So read on!
The first step is to get all the materials in line and plan stuff out. Typically horizontal fences are composed of uniformly spaced boards fixed into place with the help of nails. This design is a classic and works out well, but we’d ask you not to hesitate from being innovative. You can use fence boards of varying widths in different patterns; just make sure that it is practical.
In our guide, we’ll be using 4x4s in a basic pattern for building our fence. In case you’re a beginner, it’s best to stick to the basics, but if you are confident enough, then feel free to experiment.
Marking the ground can be tricky as it could invite disputes with the neighbors if not done within your property area. Typically backyard soil has been long grown over, hiding the property demarcating line, so you can use metal detectors to get clarity on the area owned by you. Do have a quick chat with your neighbors regarding the matter.
Once you are completely sure about your property boundaries, insert two stakes in the soil on opposite sides of your desired fencing line. Running a string along the stakes to get a straight line is a good idea.
Since the midpoint of every 4x4 is at the length of six meters, you’ll need to measure the same and mark the ground using landscape paint. These paints are easily available at hardware stores.
Now, this is the most time-taking and exhausting step because you’ll have to wait for the concrete base to dry completely. Each hole should preferably be 20 inches deep and filled with water up to two-thirds of its depth while erecting the fence post in it.
After that, fill the hole with about 40 pounds of dry concrete along with a little more water, thereby creating a thick paste-like consistency. It’s important to keep stirring the solution with a shovel while pouring the concrete to avoid the formation of lumps. After all, lumps are nasty and do not go away entirely once formed, so pay attention while stirring.
Once the posts are rightly placed, you’ll need to check if they are all at the same level. If yes, then well and good, but if not, make adjustments accordingly to ensure that they are at the same height.
The next step is leveling the fence boards so that you have an even horizontal fencing line in your yard. The best way to make it functional is to work towards the top after starting at the bottom. Place the bottom-most board slightly above the ground and align it with the fence post. Keep in mind that straight fencing can be achieved only if your base is leveled properly.
Then, nail the bottom board in place while ensuring that all the boards are centrally in line with the 4x4 posts. Use a wooden spacer to maintain the same gap between consecutive boards. However, if the boards you are using aren’t completely dry, there will automatically be a little gap.
Rails are meant to give support to the fence sections, and that’s why they are positioned between the posts. If your rail is hidden at the back of the topmost board, you can fix it right beneath the first board.
After measuring the distance between your 4x4 posts, you can cut the rails accordingly. They should be equal to the fence boards in length. The only thing is that it is slightly difficult to cut them as they are cuboidal in shape and are thicker as compared to flat boards. Therefore, be very careful while chopping them.
This bit is pretty important because it will affect how the rest of the wooden boards will be spaced out. If this is somehow messed up, the overall look of your horizontal fence will suffer. But no worries; we’ll tell you how to go about it.
Pick up the rail and connect it with the posts using fence clips, nails, or screws. In case you’re planning to use nails, you can drive them in with the help of a fastener that attaches the rail to the post perpendicularly.
However, the easy way out is by using the fence clips. These clips are basically brackets made out of metal and are primarily mounted on the post to keep the rail in a stable position. It makes the whole rail fastening procedure much simpler.
When the rails are in place, you can go ahead and follow the same methodology to drive in the fence boards. You know the drill now.
Furthermore, you can either alternate the boards with rails or create your own unique pattern. The main function of rails is to support the vertical pickets and ensure maximum privacy. Again, you can be creative here if you have some experience.
Criss-cross rails, open rails, parallel rails, etc., are a few common choices. But if you want a little cottage core or a 70s touch in your backyard, we suggest trying the white picket fence pattern.
Moving on, when all your boards are nicely screwed or nailed, you can chop off the extra protruding sections of the posts. But if you’re aiming to have a decorative look with post caps, you should leave a little extra length while lopping it off. A little sanding down of the sharp and freshly chopped edges will do good for everybody.
If you feel like your fence boards are dangling down and are in need of some extra support, you can add vertical beams to keep them in place. Measure them in a way that they perfectly fit between the top and bottom rail. This will give a smooth and elegant finish to your fence.
You may think that post caps are merely decorative accessories, but we’re afraid that’s not the case. These caps are installed to cover the sharp edges of the support beams in case you decide to keep them higher than the top rail.
Nonetheless, post caps add a finishing touch to the structure, making it presentable. They also serve as gripping points in case you feel like resting your arms. No matter what design you aim for, you’ll find a post cap in every style. Some popular options are wood, glass, copper, metals, and even solar-powered light bulbs. You can choose whatever defines your aesthetic the best.
Once you have the structure up and about, the last step is to add the finishing touches and make it match the vibe of your yard or house. Either you can let it age by itself and get that old-school cottage-like feel or give it some color.
For coloring, you have two options - staining and painting. We recommend using a paint sprayer for best results. That’ll help you get the job done swiftly within a couple of hours. An Interesting fact worth noting - among all designs, the white picket fence style is the most loved in US homes.

The best part about horizontal wood fences is that they are super easy to construct. It is one of those few wooden structures that can be aced by even beginners. You can build it in no time with a little bit of hand saw skills and accurate measurements.
What’s more, no bulky and complicated equipment is required to get this fence going. Give it a few hours and a little bit of sweat, and you’ll be able to enjoy full privacy in your outdoor space.
Who doesn’t love variety? Apart from a few indecisive people, everyone loves having enough options to select from. That’s where the horizontal wood fence shines as it provides a wide scope to experiment with styles and designs.
We all know that wood is a versatile material that can be molded and assembled in lots of different ways. There are multiple types of wooden fences which you can install on your deck.
If you want complete seclusion, setting up a fully covered fence is a good option, but if you wish to have some ventilation space, then spaced fence boards are the way to go. In any case, the options are truly endless.
This one might confuse you because how can a fence that requires chopping of trees be environmentally-friendly. Your question is absolutely valid, and we have a logical answer to clear the air.
The deal is, unlike vinyl or any other material, wood is much more durable and strong in the long run. Nowadays, options are available to minimize the weather-induced swelling in wood boards so that they last for long.
Additionally, this type of fencing is quite easy to dispose of and recycle. Stabilizing agents are available to keep it safe from termites and rot. Moreover, it is economically sound and hands down one of the best options available out there.
Horizontal fences are a sure and sorted way of enlivening your outdoor space. A backyard that was once open and exposed can transform into a protected chilling spot with the help of some pressure-treated wood boards and menial tools.
Hiring professional carpenters for setting up your fences can burn a hole in your pocket. And spending so much money on something this basic can be a little disappointing for a few. But having read our guide, hopefully, you might be feeling a little confident in going ahead and taking on the task yourself.
That said, we’ll sign off for the day. Until next time! Happy woodworking.
Related Articles
Best Fence For Noise Reduction
8 Best Fence For Dogs to Consider
End Nailing vs Joist Hangers | Differences, Types & Uses
Types Of Fences [Fence Designs, Styles, Patterns, Tops]
13 Best Solar Electric Fence Chargers
9 Best Pump Sprayers For Staining Fence
10 Best Electric Fence for Chickens
7 Best Electric Fence Chargers
37 Awesome and Cheap DIY Pallet Fence Ideas to Realize Swiftly
Get Creative With These 23 Fence Decorating Ideas and Transform Your Backyard
26 Insanely Cool Garden Fences Ideas to Materialize This Summer