Expertises: Painting, Art, Drawing, Pastel
Updated on

Inspiring Ideas for Modern Home
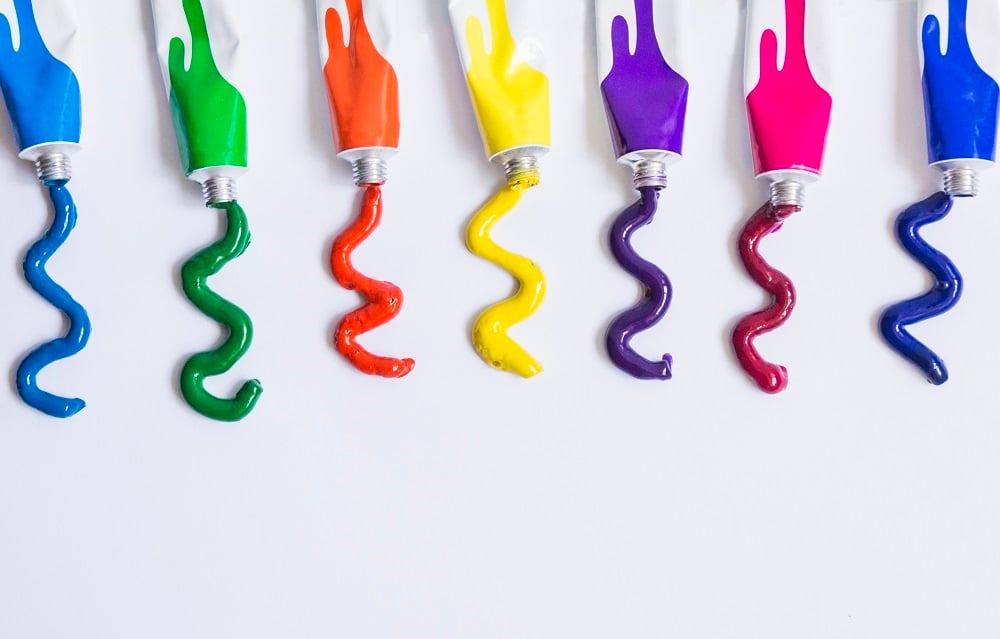
Getting acrylic paints from the store regularly when you’re a hobbyist, a student or a professional may be an arduous task.

They are expensive to buy, and the ones in the store might not have particular colors a professional might require. Hence, there’s a strong need to create your own paint. Also, it’s a lot of fun if you don’t mess up the steps!
You can also reduce the toxicity of the paint you create yourself. This means any harsh reactions you may be having due to your current paint will simply disappear!
Today, we’ll be walking you through the process of making your own paint for inside activities. Then, we’ll introduce some of the common materials used for the process of paint-making. Then, we’ll explain the importance of certain other materials you could add to your paint to improve it even further.
So without further ado, let’s begin with today’s discussion.
The first thing you need to know is the list of supplies that are needed to mix up your own acrylic paint. The list is not exhaustive, but these items are enough to get you started:
Now that this list is out there, it’s time to go get these supplies. The rest of the discussion assumes you now have the above materials ready to go.
This step begins your process of creating the perfect color for your art. You should ideally have a half-to-half mixture of the pigment of your choice, as well as the base you are using. Alcohol is generally preferred, but you may use water as well. This is because pigments disburse in a better way in alcohol, due to the lower density of alcohol with respect to water.
The grinding process takes place by taking the now-disbursed half to half mixture of base and pigment and using the spatula or the muller to mix these components thoroughly. The objective here is to remove any traces of lumpiness or inconsistency which are present in the mixture. During the mixing process, you may desire adding more pigment to thicken the mixture.
You may also require the base if you feel you’ve taken too much pigment in solid form. You may stop once you’ve gotten a thick-ish consistent mixture.
At this juncture, we would like to point out that you can choose to skip the above steps with pre-dispersed mixtures of pigments and bases available on the market.
The problem is that this is basically the same as buying paints from the store, because the real change between store bought paint and your own paint is derived from all the steps you’ll be performing. This is why we’ll advise you to not skip the above two steps unless you’re running out of time or cannot get your hands on raw alcohol and pigments.

This step is done when you’ve gotten a consistency which you can work with. This particular step is the one where you can introduce a medium of your choice, in terms of your desired finish - chrome/matte/metallic or any other finish you may desire. Hence, you must first choose your finish of choice, and then go in for mixing the medium with the aqua-dispersion from above.
You are now required to store all the paint(s) you’ve just created from the pigments direct. You may choose tubes, small bottles or glass containers for this purpose. Always use sealed caps or coverings because these paints are known to dry up faster than other kinds of paint.
That wraps up the process of creating Acrylic Paint right in your studio! We now move on to a number of tips and reminders which will serve you well while creating your own paint. Making sure to keep these in mind can go a long way in increasing the longevity and hence reducing input costs for your craft.
Ventilation is extremely necessary while working with paints, binders and other chemicals. You may expose yourself to often foul-smelling materials, and it’s best to get rid of that smell as soon as possible. Also advisable is to keep animals, and other people out of the place you’re making your paints in. It’s a wonderful end result, but the process isn’t the most flattering.
In line with the point above, dealing with chemicals can have adverse consequences on your health if you’re not careful. Hence, always use a breathing mask while dealing with chemicals.
The pigments also have fine dust, which can have potentially catastrophic consequences for your health if taken for granted. Therefore it’s best to stay protected.
You may not be aware of any allergies you may be having against the chemicals you might be experimenting or working with. Hence, be extra careful with the chemicals you’re dealing with.
Now that you’re done with making acrylic paint and aware of the things you need to take care of, it’s time to make your paint even better. We achieve this by adding either a glazer or a retarder which have different benefits with respect to the paint you’ve just created.
Glazers are great for giving the artist more time, and getting a more luxurious finish in fine art painting. It dries slowly, allowing the artist extended periods of working time. The acrylic medium improves brushability and is useful for wet-in-wet blending. You don’t need to mess around with too much quantity of paint - small droplets are enough.
Glazers have the double benefit of giving a glazed and shiny finish to your artwork, as well as giving you more time to you while you’re painting. Acrylic paint is notorious for getting dry all the time, but the addition of a glazer certainly goes a long way.
Retarders, on the other hand, are not at all concerned with the finish of the acrylic paint. What they are concerned about, however, is the delaying of the drying process that the paint goes through. In essence, retarders have the capability of letting the paint dry at a much slower rate than you’d normally get.
The decision between going for glazers and retarders depends entirely on the finish you are trying to give to the artwork. If a glazed or a photo-realistic effect is what you’re gunning for, glazers should be the de facto choice. However, for other effects, you’re likely to get a better finish with the retarders.
This wraps up today’s discussion on how to create the best acrylic paints right at the comfort of your studio. The raw materials, the process, and certain tips to take care of were discussed. Further, a comparison between glazers and retarders was also made, with the strong and weak points of each being highlighted. We hope you enjoyed our discussion - happy painting!
5 of The Best Paint for Canvas Today
Painting Surfaces For Acrylics | Acrylic Prepping 101
Painting on Paper with Acrylics & 5 Paper-Like Surfaces to Consider
Best Canvas for Acrylic Painting | Student & Artist Grade
Acrylic Pour Painting [All You Need To Know]
20 Oil And Acrylic Painting Ideas For Enthusiastic Beginners
Learn The Basic Acrylic Painting Techniques for Beginners
22+ Delicate Beautiful Acrylic Painting Ideas To Try
Learn How to Use Acrylic Paint as Fabric Paint Right Now
Learn How to Thicken Acrylic Paint Correctly Right Now
Learn How to Clean Acrylic Paint Brushes Brilliantly
Learn How To Get Dried Acrylic Paint Out Of Brushes Successfully
Acrylic Painting Materials That You Really Need In The Studio
Learn How To Make An Acrylic Painting Waterproof Right Now
Acrylic Paint Thinner 101 | How to Thin Your Acrylic Paints Correctly
Best Cheap Acrylic Paints – Strength and Weakness of Brands Compared
8 Best Palettes For Acrylic Paint & How to Choose What You Need
Best Canvas for Acrylic Painting | Student & Artist Grade
13 Best Acrylic Paints for Beginners & Professionals Reviewed
10 Best Paper for Acrylic Paint