When a budding painter squeezes out a dab of acrylic paint from the tube for the very first time, more often than not, he/she is quite taken aback by the sheer thickness of the paint.
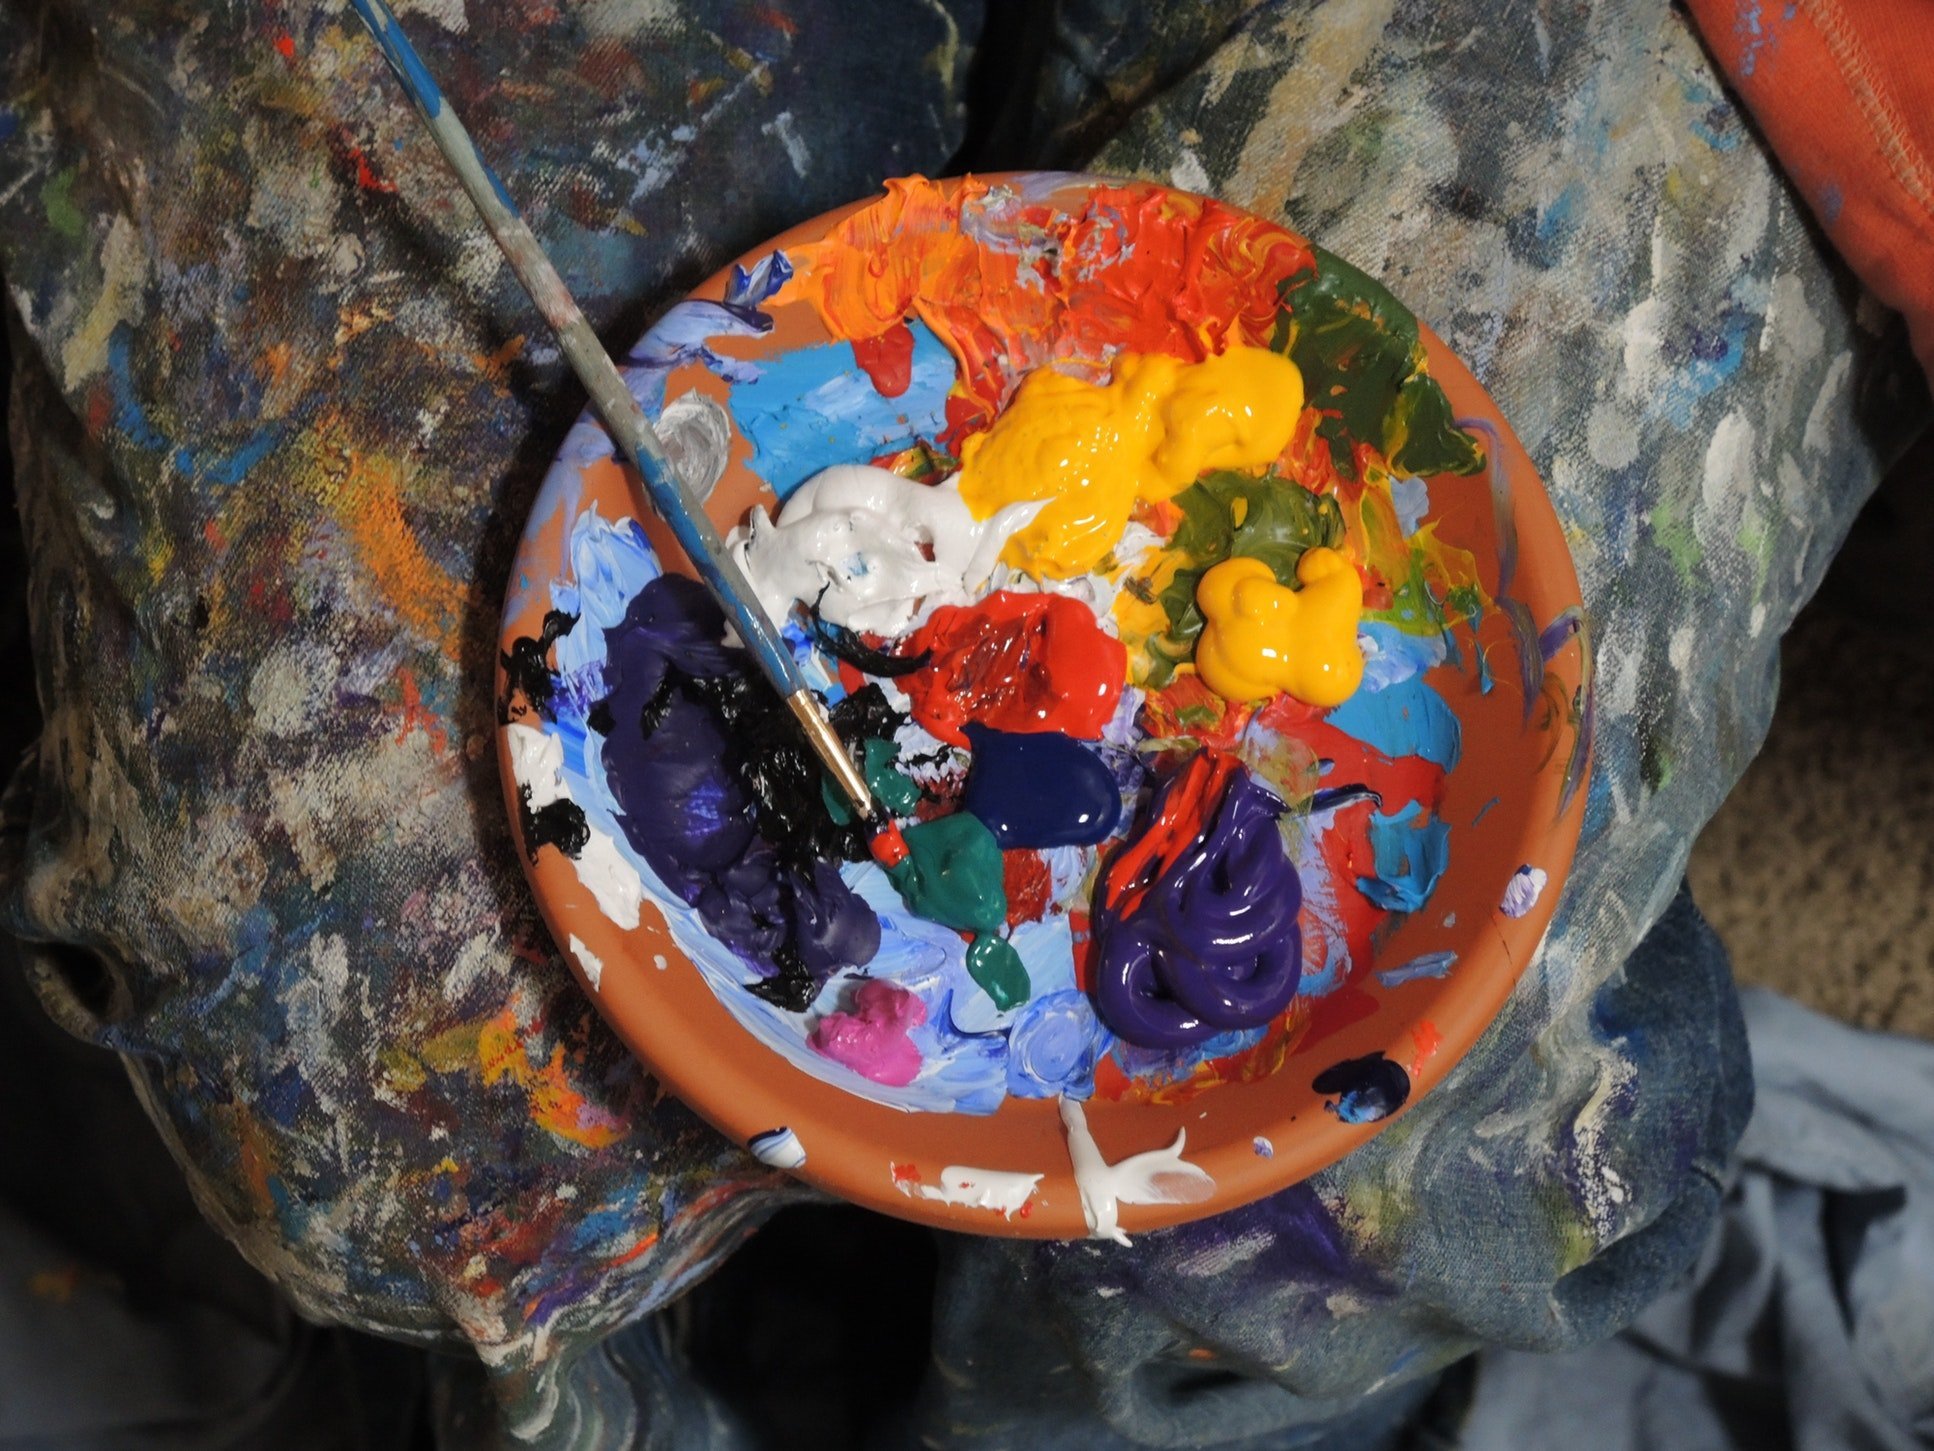
This is what puts off a lot of acrylic beginner painters from trying out this paint medium in the first place.
Even if you’re itching to represent a piece and looking to use the color depth of acrylic to put your ideas to canvas, things might not go as you may have imagined it.
Before using acrylic, it needs to be thinned and prepared, and this, by all means, is the hardest part of the process. A lot of things can go wrong at the same time, and without the proper knowledge and know how it will be very difficult to get the shade and viscosity that you desire.
However, to help you out with all your acrylic thinning needs we have brought a guide that not only covers the basics behind the process but some of the more advanced steps as well.
There are a lot of ways to thin acrylic paints, but we shall be going over the more common ones: like water, and additional mediums.
So sit back, and read along.
Acrylic Paint Thinner 101 | How to Thin Your Acrylic Paints

What Exactly are Acrylic Paints and Why Do They Need Thinning?
Before we get into the entire acrylic thinning process, let us first go over some of the basics of acrylic paint; primarily their construction and their very form and nature.
Any artist worth his/her salt will be able to tell you the importance of certain solvents such as odorless mineral spirits and turpentine. However, the more adept and professional painters know the characteristics and the composition of the products they use inside and out.
And acrylic, though might seem daunting at first, once you get to know its very nature and characteristics; the entire process of dealing with it becomes significantly easier.
So what exactly is the nature and characteristics of acrylic paint?
If gone by a simpler definition, it can be said that acrylic by its very nature is a water-soluble paint medium. When added to water it will slowly start to dissolve and become thinner in as a result.
Herein lies the contrast between acrylic and the more oil-based paints. Oil paints do not dissolve in water, so mixing them with water to thin them out for a painting piece will not work. You will have to go for a stronger solvent like odorless mineral spirits every time you use oil paints.
Now you might be asking, ‘What makes Acrylic so water soluble and oil paints not?’
Well, it all comes down to the binding agent present in the paint. Acrylic paints exclusively rely on ‘acrylic polymer emulsion’ which is a binding agent that is highly soluble in water, and thus grants the paint that very property.
Additionally, this polymer also comes with a coloring pigment [which grants the paint its color] which again is a great water-soluble agent.
Hence, it’s not surprising that acrylic breaks down so quickly and thins out when water or any other medium is added it. Thinning the thick and extremely viscous acrylic paint even out its consistency and makes it quite akin to that of watercolor or even gouache paint.
Water - The Primary Acrylic Thinner
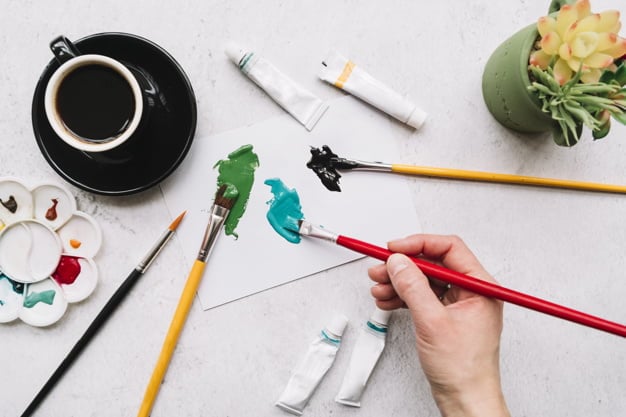
Water is perhaps one of the most effective and pocket-friendly thinning mediums that you will ever come across. Needless to say, it’s practically free and a much cheaper alternative to the more expensive mediums that you will find in the online market and retail stores.
But, before you jump the gun here and immediately start adding water to your paint, it’s important to keep in mind that when it comes to acrylic, you can’t just blindly add water to it.
This is one mistake that a lot of amateur artists make, and this is also where the importance of a complete knowledge of acrylic’s composition comes in.
When it comes to adding water to acrylic, you will need to be extremely cautious. And in our experience, it’s best to not mix more than 1:2 (50%) ratio, or it won’t turn out like the way that you want it to.
Adding too much water and over-saturating the paint can cause the paint to peel and flake from the canvass after it dries. The chances of chipping are even greater especially if the surface that you’re adding it to is a primed one.
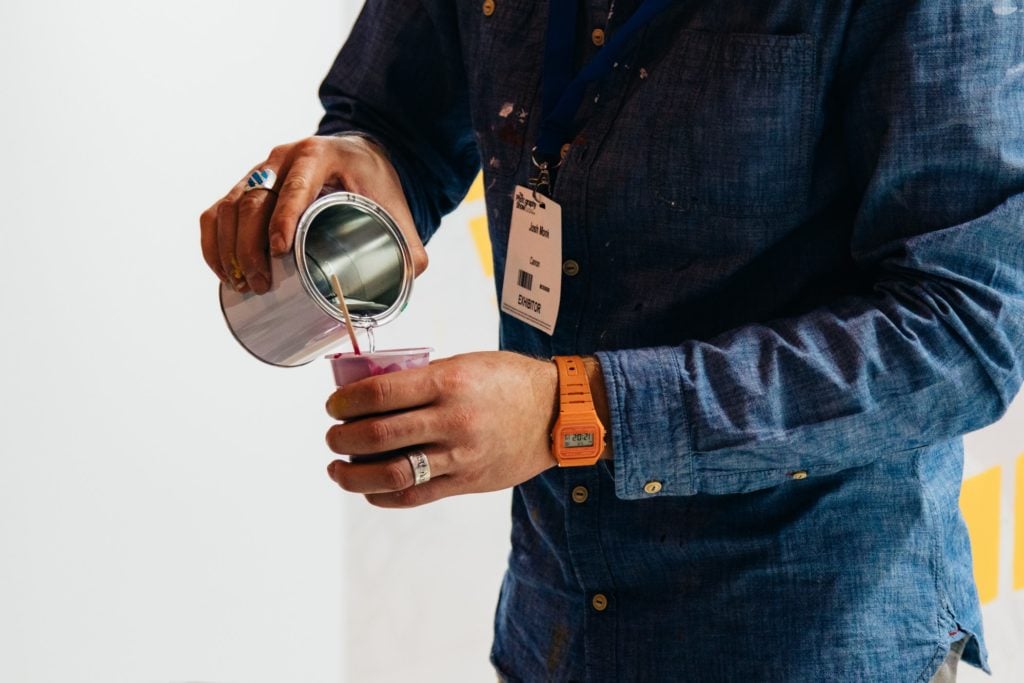
But to get the ratios completely right, one trick that we can suggest you try, is to moderate the thinning process. You can do this by either mixing the acrylic with water on separate palettes or in a small cup.
This will prevent a lot of the water seepage, and help you get the viscosity that you’re looking for.
Finally, you might feel that a palette knife can be the best tool for mixing the two. Well, this might have been true for other paint mediums, but not acrylic.
Palette knives have a tendency to make the acrylic mixture too thin. So, you’re better off using a cheap spare brush for the mixing process, which you can easily rinse off later on.
Other Acrylic Thinning Mediums
Often advertised as ‘flow improver’ these mediums are specifically made to thin acrylic paint. However, they are quite expensive, and we will be recommending them more for professional use than domestic and practice artworks.
These mediums have the unique ability of getting your acrylic paint to the level of a stain which is even thinner than a wash. This opens up a whole new field of options and techniques that you can use and explore with your acrylic paint.
Additionally, they are much easier to apply than water, you don’t have to constantly keep in mind the ratios, and best of all there is no need to worry about flaking and peeling as well.
The flow improvers come equipped with acrylic polymer emulsions, which as we have mentioned before is the same binding agent present in acrylic paint itself.
This is what will allow you to add as much flow improver to the polymer as you want, till you get your desired consistency. You will not have to worry about the paint peeling nor keep a firm lookout for any sort of a mixing ratio.
If you are about to embark on painting a piece which you want to preserve for a very long time, then it’s best to go for those mediums which has the same binding ingredients as acrylic themselves.
However, one point of note. It would be rather unwise if you wish to use such flow improvers for oil-based paints. The results will never turn out to how you expect them to be.
Still not getting the particular shade or result that you want?
When it comes to feverishly stroking out an inspired piece on a canvass, a lot of artists make the mistake of getting too wrapped up with the painting and not paying close attention to the process of work at hand.
What this does is, it will not ultimately provide you with the result that you’re looking for.
Well, that might be ok for casual work, but on professional jobs where time is a factor, one doesn’t have much leisure for mistakes.
It’s always wise to take a step back and access your working process a bit before going into the art piece any further. This will, in the long run, prevent you from recklessly mixing countless mediums to thin the acrylic, which would have otherwise done more harm than good.
So, if you’re not getting the right shade, we suggest that you employ mixing different colors together than just pouring in thinning mediums. Under such situations, it’s always better to give into your artistic instincts and find creative solutions for the problem at hand.
Also, here are some tricks you can use to get your acrylic viscosity and shade just right:
-
Using a Primed Layer to Help with Results
If perhaps you make your own canvas or just want to try out your thinned acrylic on certain non-traditional surfaces like wood or even metal, then we would advise that you prime the canvas surface before using it.
And when it comes to primers, the most effective one we can think of is gesso. It’s quite a staple in any artist’s studio and can be found in any art supply store [try not to get gesso from a hardware store; the ones there are stronger and used primarily for outdoor purposes].
Gesso attaches itself very easily to most of the non-traditional canvas surfaces and provides a fantastic base for any acrylic based work. And a primer like gesso comes extremely handy if you’re thinning your acrylic to a wash or even a stain.

This will help you get the shade just right, and naturally, bring out the color depth that acrylic paint can provide over watercolors and oil paints.
A non-primed, non-traditional surface often tends to suck up all the paint and will not be able to give you the result that you want. Additionally, a primer will allow your paint to last long as well, for it will prevent flaking and the paint will not peel off anytime soon.
-
Selecting the Ideal Type of Brush for Thinning Your Acrylic Paint
This will depend more on where you’re in the process of making your current painting more than anything else.
Though this point might seem elementary to many, however, we thought it’s better to point out the importance of this step for those who are still quite new to the method of acrylic painting.
So, if you prefer using the more standard #6 brush to lay down the initial steps of your painting, then we would recommend that you rethink your approach.
For the very first wash for any acrylic art piece, it’s wiser to opt for a much wider brush, at least a couple of inches wider than a standard #6.
You can get a relatively cheaper brush model for this part, preferably from a hardware store, as all you will be doing with it is applying a wash. However, if you’re planning to go for a multi-layered painted surface, then it’s better to go for a more expensive option from an art store.
One alternative that you can consider is a foam brush. Its working function is much opposed to that of a bristle brush; however, it’s significantly cheaper and will be able to apply a much more even coat of thinned out acrylic paint onto any surface, may it be traditional or even a non-traditional one.
This will save you a lot of time in the long run, and you will not have to constantly try to brush out the imperfections from the surface with the aid of a smaller detail brush. It will provide much better results in terms of color contrast for your painting as well.
-
The Fat Over Lean Method for Painting Longevity
So what exactly is the fat over lean method?
The thorough process of painting in layers is called the fat over lean method. It’s a trick used by a lot of adept painters where they apply a fat over lean, which means that every layer that you put down on the surface should be thicker than the previous layer.
The fat over lean method is one of the ‘cornerstones to proper painting techniques.’
This type of layered painting is a lot like making a cake, where you will have to dress and structure the layers in such a way that you’re able to bring the best out of your colors.
However, you might be thinking now, that if it’s more of a painting thing that deals with color layering, then what does it have to do with acrylic thinning?
Where herein lies a little secret. If you constantly put in thin paint on the surface of the painting, i.e., go for lean over fat and not fat over lean, then you significantly increase the chances of your artwork flaking and cracking.
No matter how well you’re able to apply your flow additives your painting will not be as durable as you like if you go for the lean over fat option.
Considering the fluctuations in its natural state that the paint goes through throughout its drying process, along with the various environmental conditions; for the lean over fat method, any drastic contraction in the state of the acrylic paint will lead to immediate cracking.
And we know how tempting it can get to add a little light wash to bring out the contrast of a beautiful landscape painting and give it an ochre like tint. But giving into that desire can ultimately lead to your piece to flake especially when using acrylic paint.
Is that all to thinning acrylic paint?
Although we might like to say that we have covered everything, all methods of acrylic thinning for you today, but that’s simply not the case. We have mentioned the two most popular methods along with some of the problems that you may have when thinning.
There are a lot of different methods of acrylic thinning emerging in recent trend, so feel free to give them a try whenever you feel like.
Hope you enjoyed our paint thinning guide today.
Till next time!
Read More on Acrylic Painting
5 of The Best Paint for Canvas Today
Painting Surfaces For Acrylics | Acrylic Prepping 101
Painting on Paper with Acrylics & 5 Paper-Like Surfaces to Consider
Acrylic Pour Painting [All You Need To Know]
20 Oil And Acrylic Painting Ideas For Enthusiastic Beginners
Learn The Basic Acrylic Painting Techniques for Beginners
22+ Delicate Beautiful Acrylic Painting Ideas To Try
Learn How to Use Acrylic Paint as Fabric Paint Right Now
Learn How to Thicken Acrylic Paint Correctly Right Now
Learn How to Clean Acrylic Paint Brushes Brilliantly
Learn How to Make Acrylic Paint in Your Studio
Learn How To Get Dried Acrylic Paint Out Of Brushes Successfully
Acrylic Painting Materials That You Really Need In The Studio
Learn How To Make An Acrylic Painting Waterproof Right Now
Best Cheap Acrylic Paints – Strength and Weakness of Brands Compared
8 Best Palettes For Acrylic Paint & How to Choose What You Need
Best Canvas for Acrylic Painting | Student & Artist Grade
13 Best Acrylic Paints for Beginners & Professionals Reviewed
10 Best Paper for Acrylic Paint
