Expertises: Art, Painting, Drawing, Home improvement, Gardening
Updated on
Inspiring Ideas for Modern Home
Thought that rusty bow saw from your grandpa’s garage will give up on you? Well, you are in for a surprise!

Buying the required tools for any project is just half the job done. Depending on the type of tools, we must clean and sharpen them regularly. Proper maintenance ensures durability and peak performance in the long run. After all, such tools are quite expensive, and who would want to shell out all that money only to discard them after a few uses?
Regular sharpening of cutting tools not only increases their lifespan but also makes your job easier. Believe it or not, a sharpened saw works three times faster than an unsharpened one. Thus, you will need less force and time to cut through that log of wood. However, sharpening a bow saw is no child’s play, so we are here to help you with that.
Bring out your tool kits, and let’s get to work!
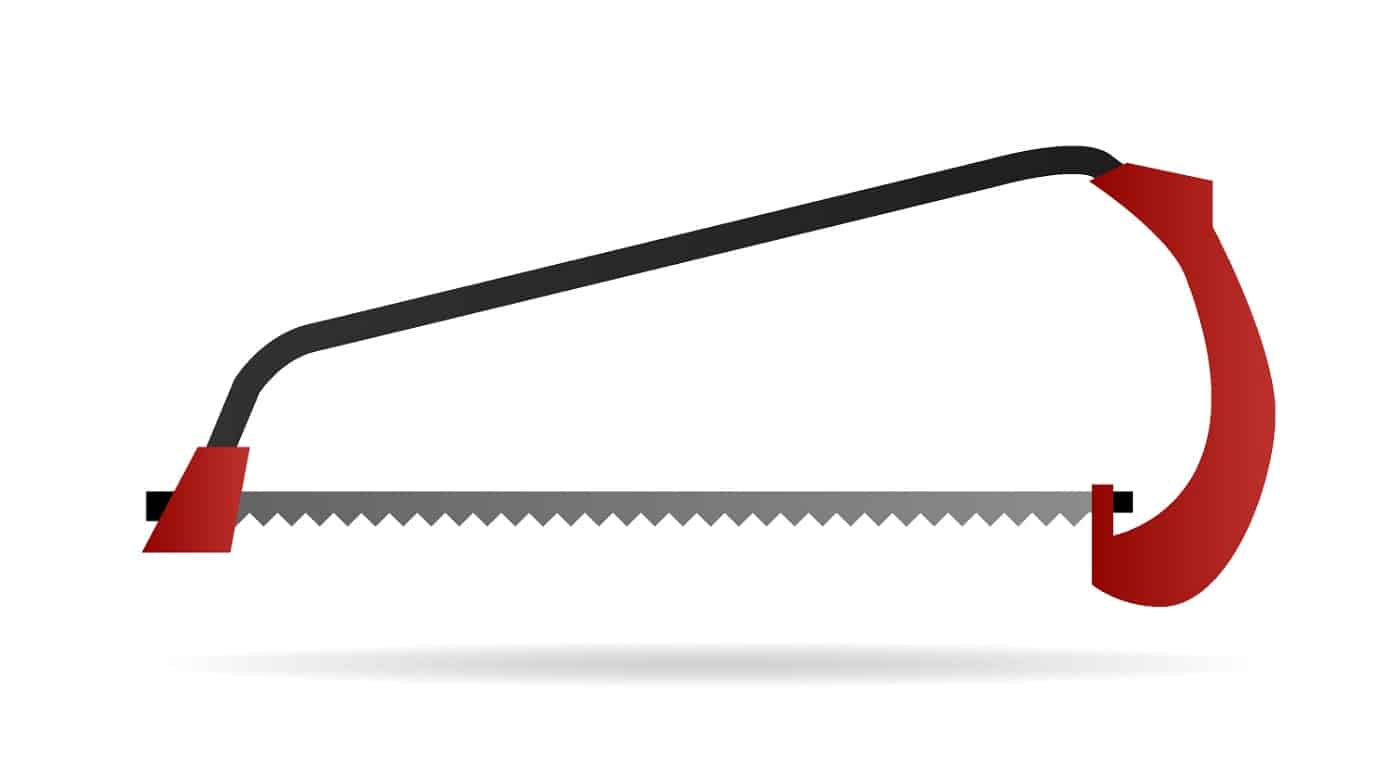
The edge of the blade consists of a combination of teeth. The cutting teeth are triangular, and the raker teeth are shaped like fishtails — both of these need to be sharpened differently. Before beginning the process, we recommend that you wear work gloves and take all safety measures to prevent injuries.
In addition, check that the bow saw does not bear specialized hardened teeth. If it does, a regular saw file will not work on it; you will need a diamond file instead.
If the bow saw has been sharpened before, chances are its teeth may be uneven. The shorter teeth are no longer able to reach the object you want to cut, requiring more effort from the user. Therefore, it is essential to file/ trim the blade so that its teeth retain the same shape and height.
Set up the saw in a vise with the edge of the blade pointed upwards. Now, take a flat file and run it back and forth across the blade until all the teeth reach the same height. At this step, you need not worry about the rakers that are shorter than cutting teeth.
Use a slim taper file or any three-sided file to sharpen the cutting teeth. Try to maintain an angle of 75 degrees and do not exert unnecessary pressure. Each tooth should get no more than 3-4 strokes of the file. This step is crucial, so we recommend that you do not rush and work on one tooth at a time.
If the bow saw has been frequently sharpened before, it may not show much results, and you could require a new one. In other circumstances, this time-consuming process will produce a visibly significant difference.
Unlike the cutting teeth, the fishtail rakers should be sharpened into chisel tips. Ensure that you maintain a 90-degree angle while sharpening the raker teeth. As mentioned before, we do not recommend putting too much force on the file, and the bow saw should remain put throughout the process.
Now that we are almost done, it is time to set the cutting teeth. Note that this step does not include the raker teeth. We recommend using adjacent cutters to alternate and set each tooth. Point the edge outwards while doing so. This step is essential for widening the kerf and achieving better friction.
Test your bow saw on a piece of wood or anything that catches your fancy. It is highly likely that your saw cuts more smoothly and quickly than it used to. If that is not the case, you may need to sharpen the blades further.
And that is how you resurrect your ancient bow saw! But hold up… You would not want to repeat this tedious task time and again now. Right?
Of course, sharpening is part of the maintenance and needs to be done periodically to increase the longevity of your cutting tools. But in our fast-paced world, where everyone is in a rush, who has the time to sharpen a saw after every few months?
Hence, before we sign off, here are a few maintenance hacks that will keep your saw in top-notch condition. Note that these steps will be beneficial for bucksaws, pruning saws, and other sharp tools as well.

Since these cutting tools are made of metal, keeping them away from humidity and heat helps a great deal in maintaining their sharpness. Thus, whether you hang them in a garage or keep them in a toolbox, saws must be stored in a cool, dry, and dark place.
Remember to lubricate the blades after each use to prevent rust and maintain the sharpness of your bow saw. There are tons of options to choose from, with the most popular ones being gun oil and paste wax.
Furthermore, always read the instructions of the lubricating agent before using it since all of them have different procedures. While gun oil can be wiped off immediately, paste wax needs to sit on the blade for a while. Not following the correct lubricating procedure can cause more harm than good.
While the blade of the saw does the most work, the handle needs some attention too. Especially, wooden handles must be oiled regularly, if not after every use.
Note that this step is different from lubricating the blade. While the blade needs to be wiped off immediately or after a while, depending on the lubricant, it is not the same with the handle. Let the oil stay on the handle as it acts as a protective layer against dust and moisture.
Additionally, if you notice some rust on the handle where it touches the blade, pull it apart and clean the area. You can opt for sandpaper or steel wool to scrape off the rust and stains if any. Finish it off with oiling.
In case the blade of your bow saw starts rusting, a razor blade can come in handy. Take off the handle and lay the blade on a flat surface. Keep the razor at a low angle and run it over the saw blade. Be extra cautious since you will be working with two sharp objects, so it is best not to speed up.
There may be some stubborn stains on the blade but nothing that a steel wool or sandpaper cannot handle. Simply rub it over the stains, and they will be gone in no time.
Other than proper maintenance, using it the correct way also helps in getting the most out of your handy bow saw. Hence, here are some useful tips and tricks on using your bow saw correctly and safely.
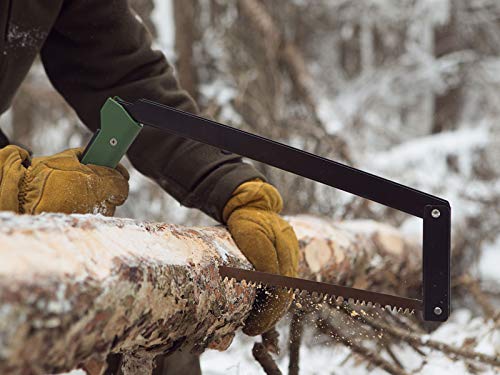
Bow saws are ideally meant for cutting small and medium-sized logs of wood and branches. While bigger bow saws, often operated by two or more people, can tackle large pieces of wood, a regular bow saw is not meant for that. Limit your bow saw uses to camping, sculpting, minor carpentry, etc.
Always start a project with a clean, and sharp bow saw. As mentioned earlier, use a lubricant and oil to clean it. This maintains the perfect amount of friction between the blade and the object in every use.
Start by making an undercut below the branch before cutting it. Cut it gently by drawing the bow saw back and forth. Be careful about your hand that is stabilizing the branch or any other object. We recommend keeping your hand about 10 inches away from the blade.
If possible, always wear protective boots, gloves, hats, and goggles while working with a bow saw. After all, it is better to be safe than sorry.
While carrying a bow saw, hold the handle with the edge facing away from your body. If you happen to be near children, be extra vigilant while handling the sharp tool. Try maintaining a safe distance of at least 10-feet from them.
It is best to have someone around while you work with a bow saw to avoid hazardous mishaps.
There you have it! A clear step-by-step tutorial of sharpening a bow saw with maintenance tips. Although sharpening is a long-forgotten skill, there is no harm in honing it, especially if you enjoy woodwork. Not to forget the boost of confidence and self-satisfaction that comes with doing something all by yourself!
So, fetch that abandoned bow saw which is collecting dust in some corner of your storage. It is time to give it a makeover with your newly learned skill!
Get grinding!
Related Articles
Different Types of Saws & How to Use Them
13 Best Screwdriver Sets on the Market Today
Simply the Best Stained Glass Ring Saws
49 FREE DIY Router Table Plans For an Epic Home Workshop
13 Best Tile Saws | Buyer’s Guide
11 Best Sliding Compound Miter Saws
9 Best Hybrid Table Saws Under $1000
11 Best Budget Bandsaw Reviews
11 Best Dry Cut Metal Chop Saw
11 Best Bow Saw | Reviews + Buyer’s Guide
11 Best Table Saw [Reviewed & Buyer’s Guide]
7 Best Cabinet Table Saws [Reviewed & Buyer’s Guide]
9 Best Band Saw [Reviews & Buyer’s Guide]
7 Best 12-inch Miter Saw Reviews [Buyer’s Guide]
11 Best Table Saw Fences [Reviewed & Buyer’s Guide]
DeWalt DW735X Planer Review [Should You?]
Bosch 4100-10 Jobsite Table Saw [Reviewed]
Hack Saw Vs Bow Saw [All You Need to Know] [Explained]
6 Sabre Saw Vs. Jigsaw [All You Need to Know]