
A few easy canvas painting ideas can help you with your creative journey since they keep those ideas going.
We've gathered 70 simple and easy canvas painting ideas for beginners to get inspired by, allowing you to start painting as soon as possible.
70 Simple Canvas Painting Ideas to Try
You can paint many things, whether you're a beginner or an expert. A common issue for artists of different levels is how difficult it is to find the right subject to paint.
Having a list with a variety of ideas can be the solution to help you find what to paint.
These are some easy canvas painting ideas for beginners and even more advanced painters to try.
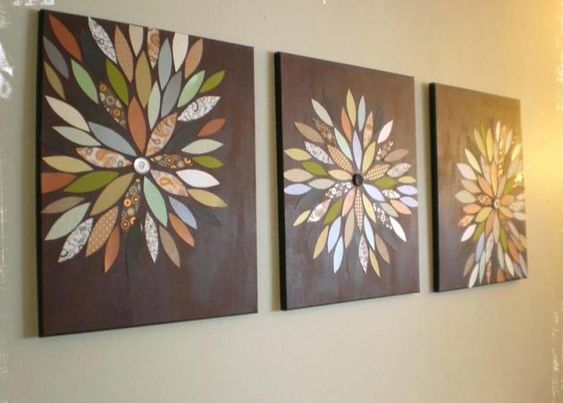
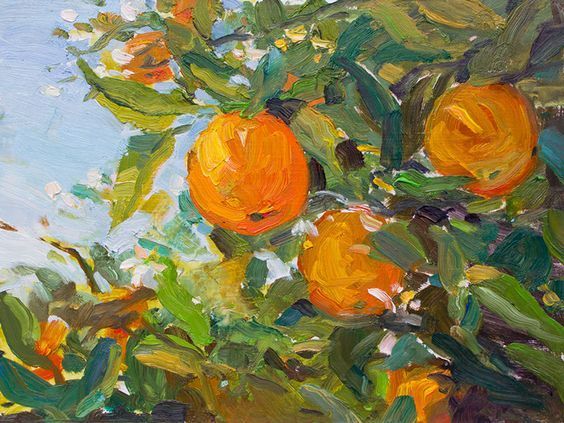
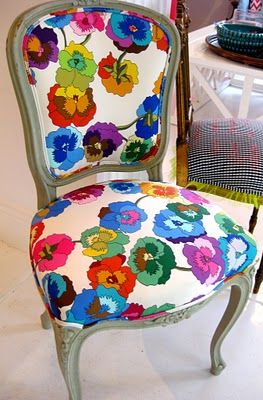
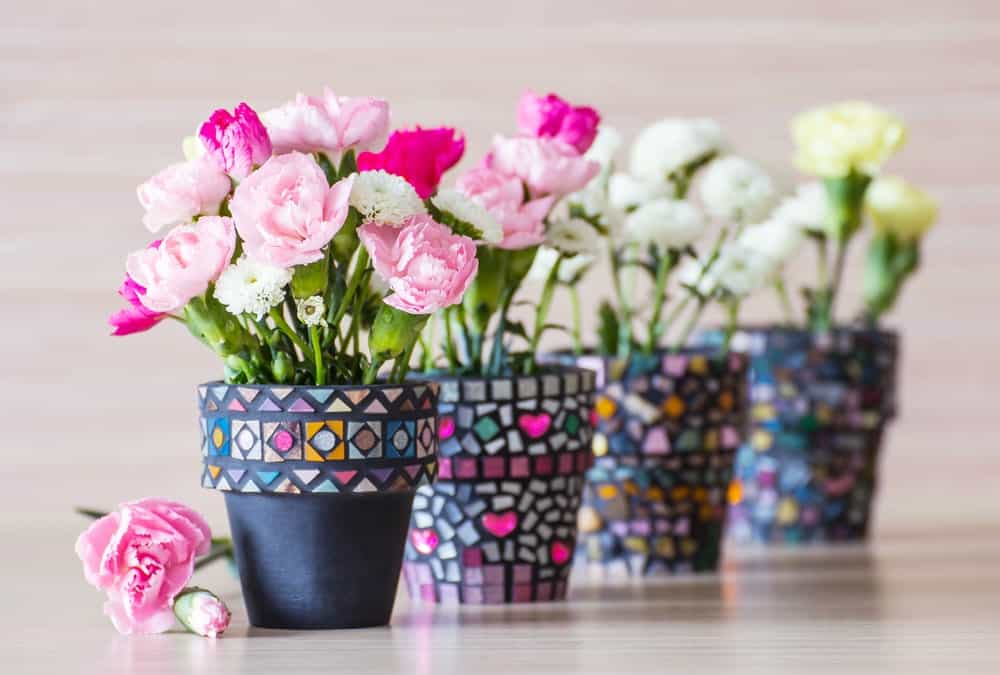
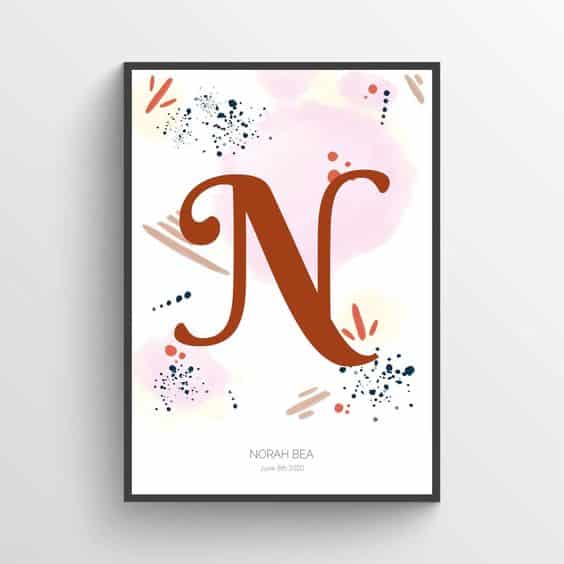
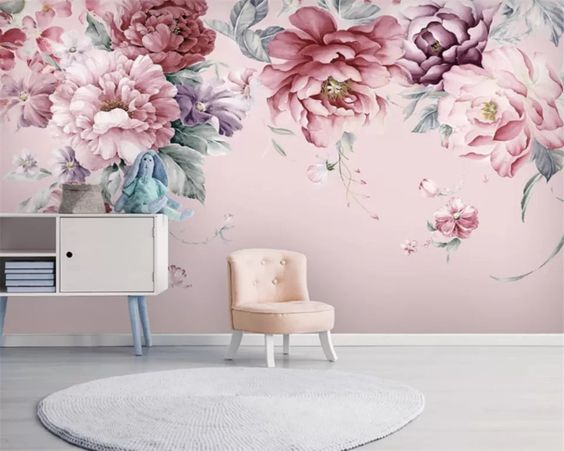
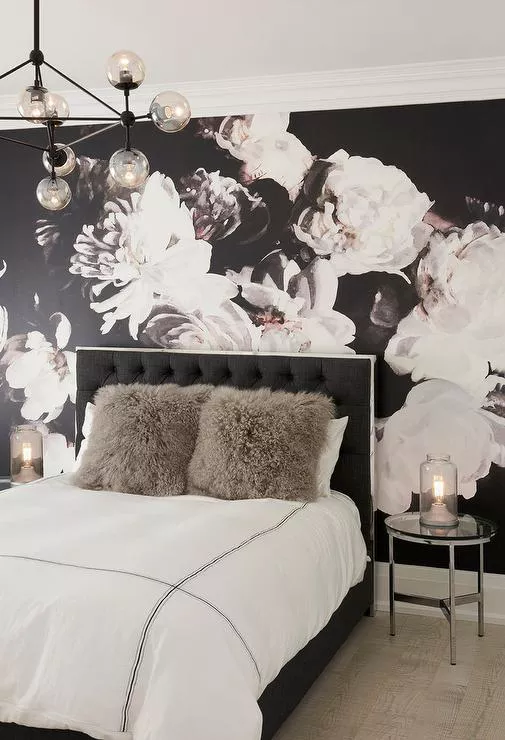
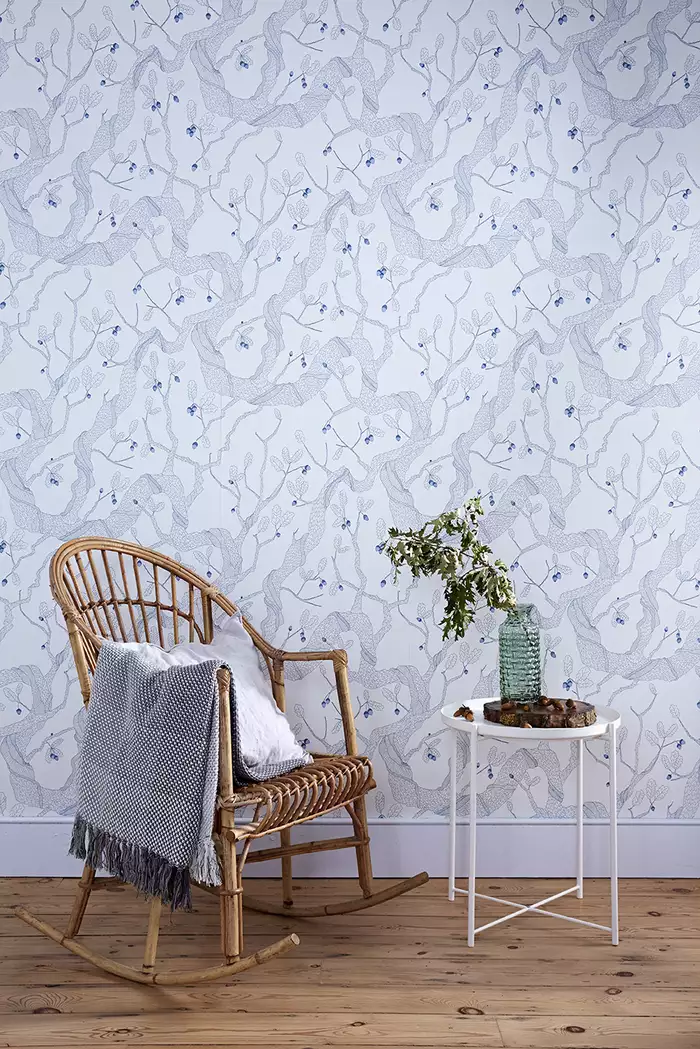
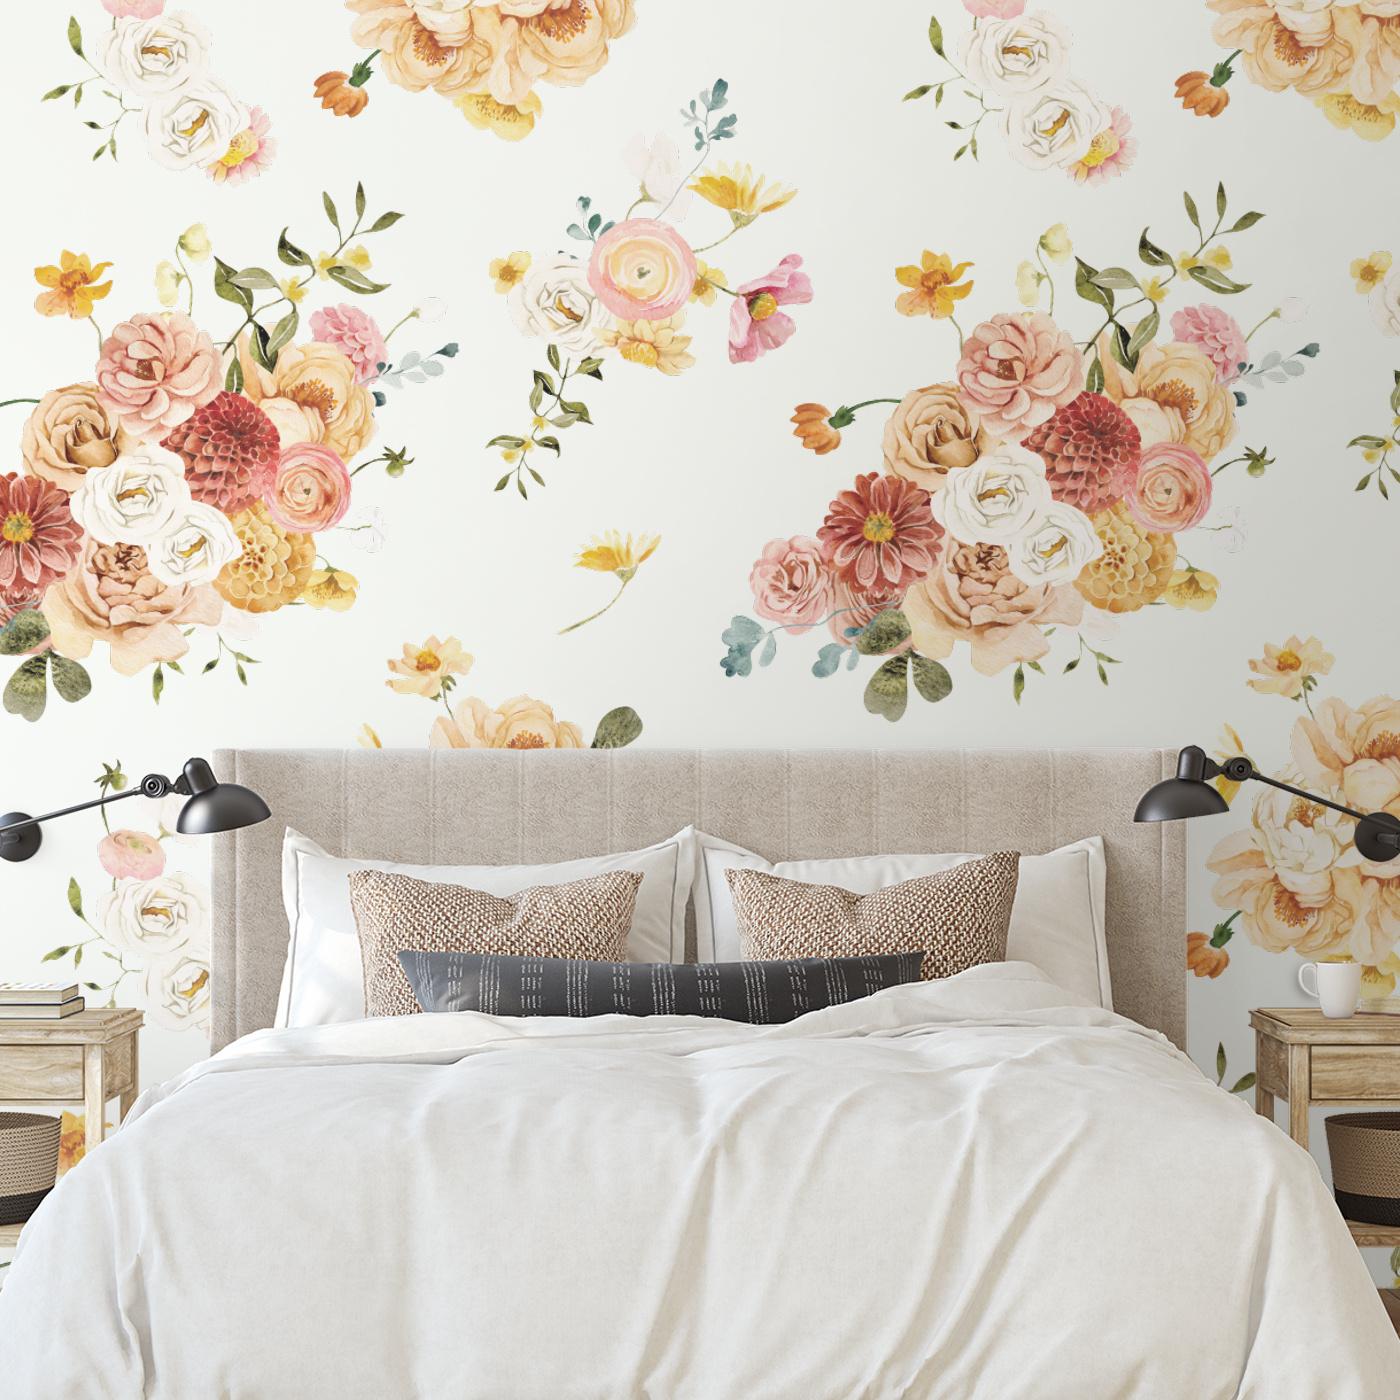
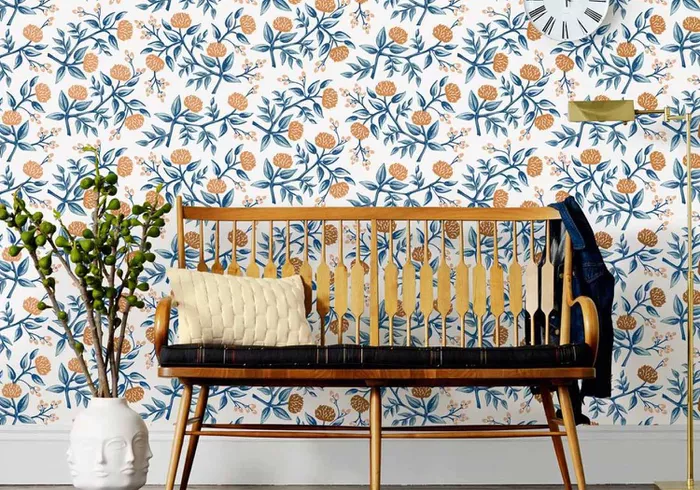
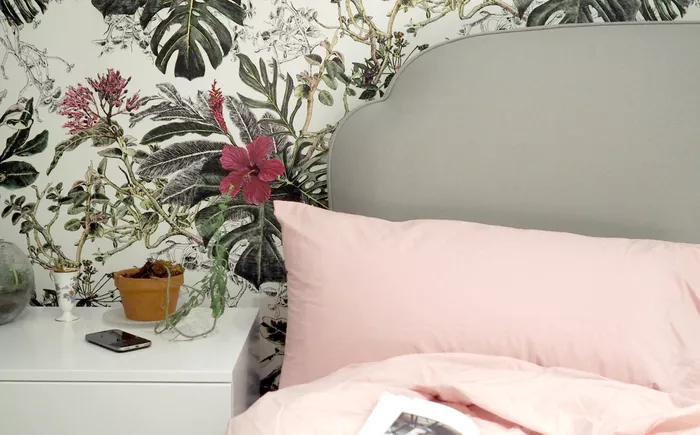
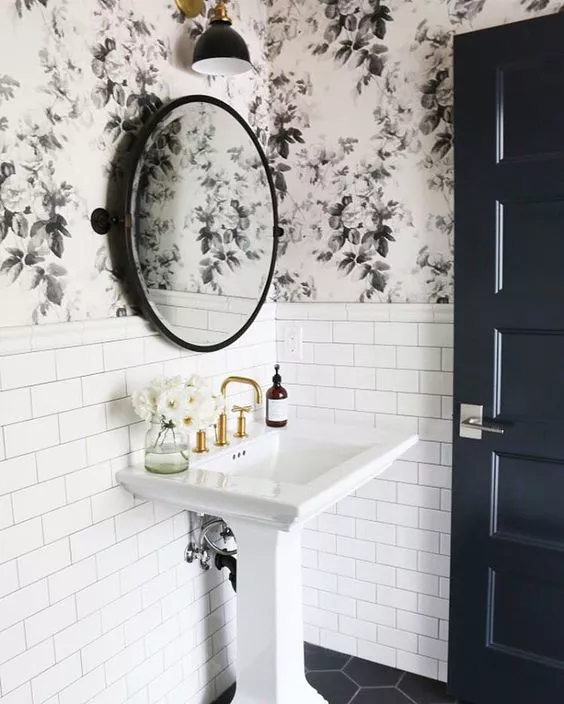
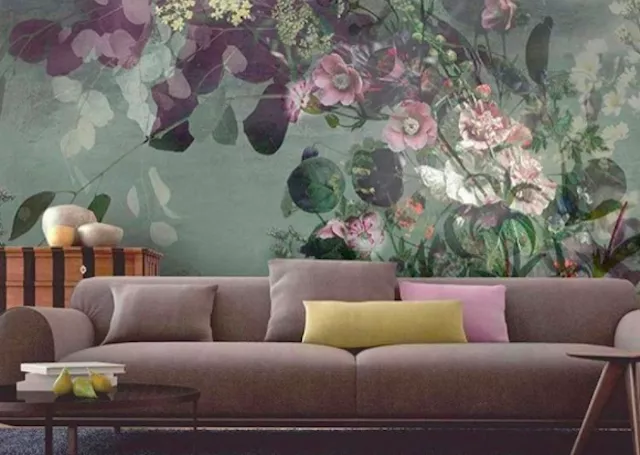
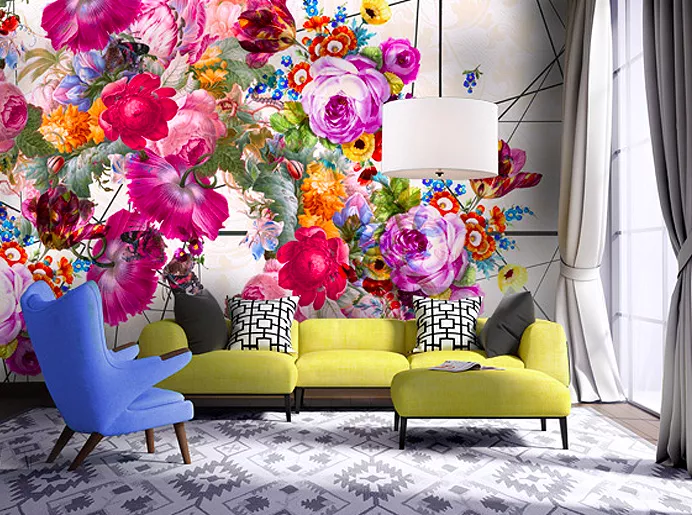
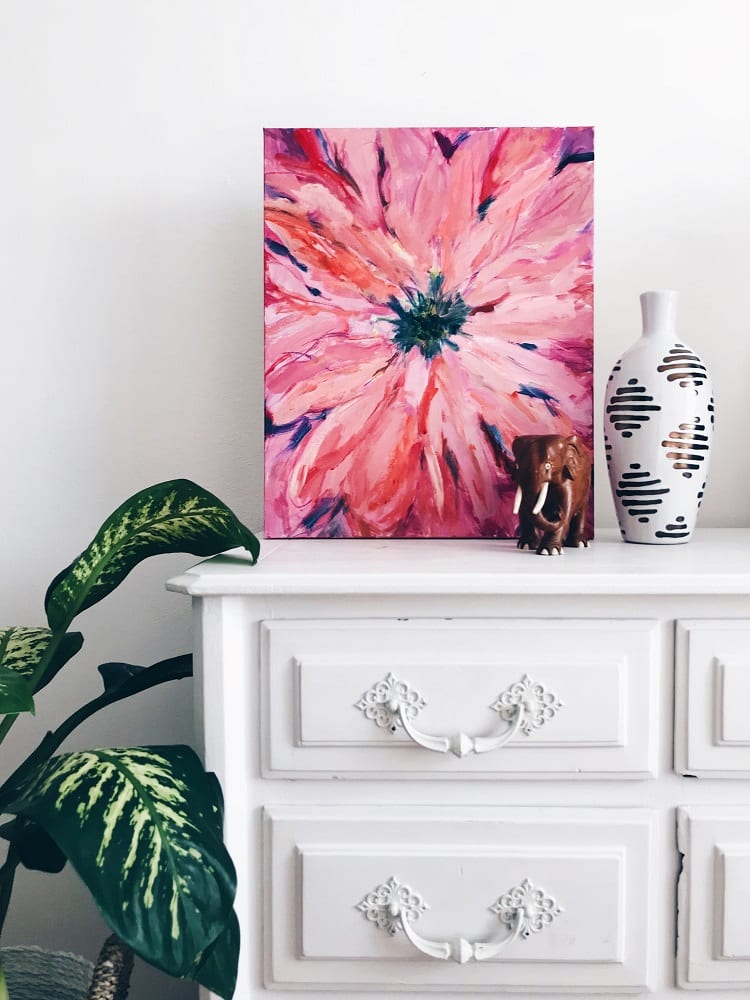
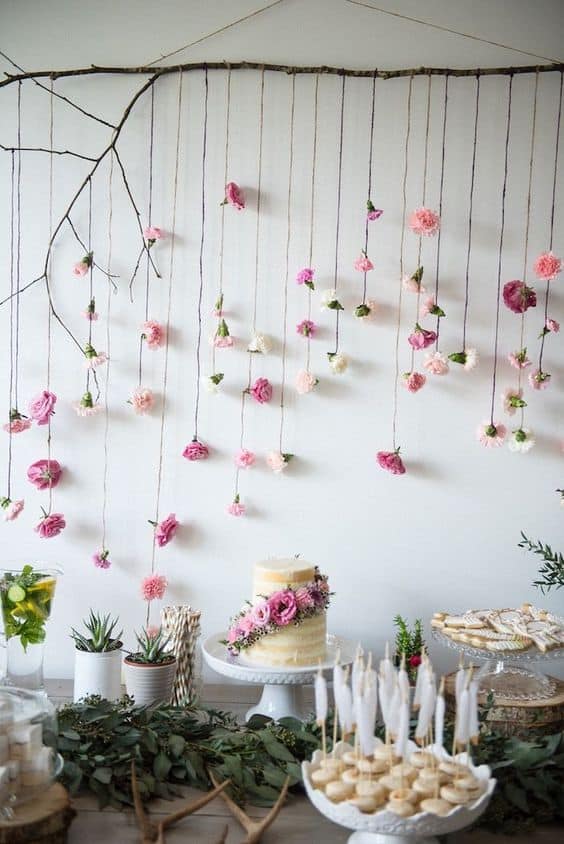
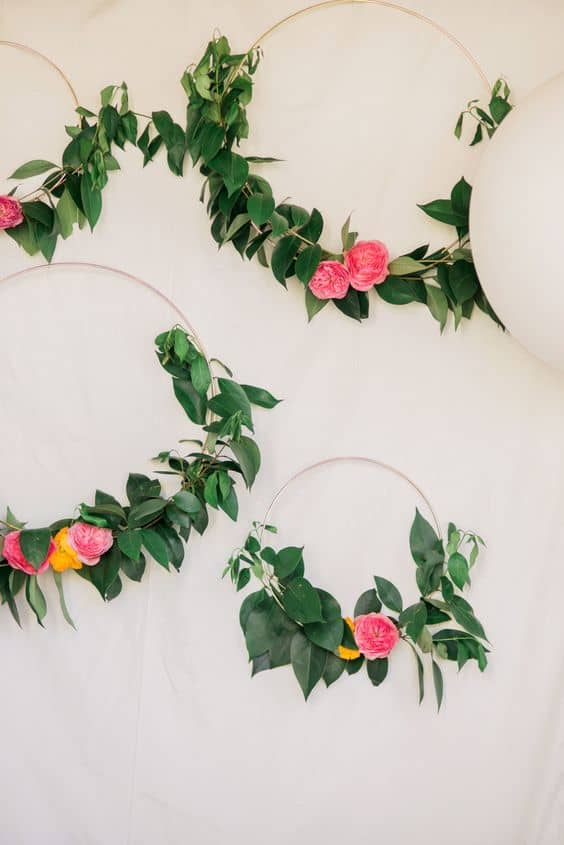
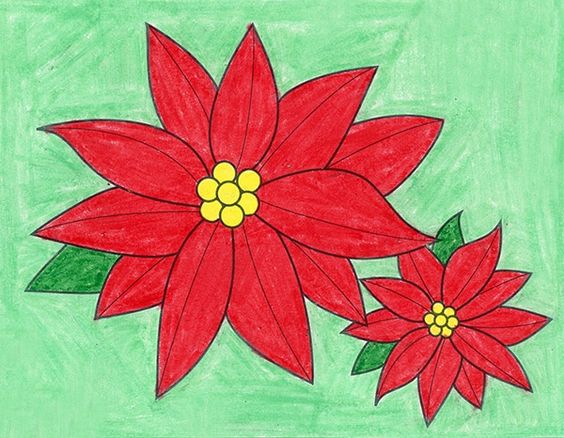
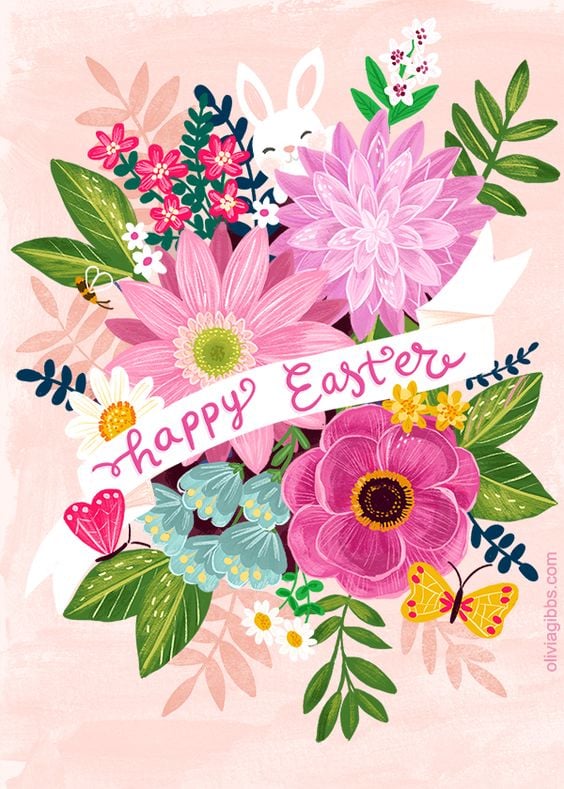
1. Floral Painting
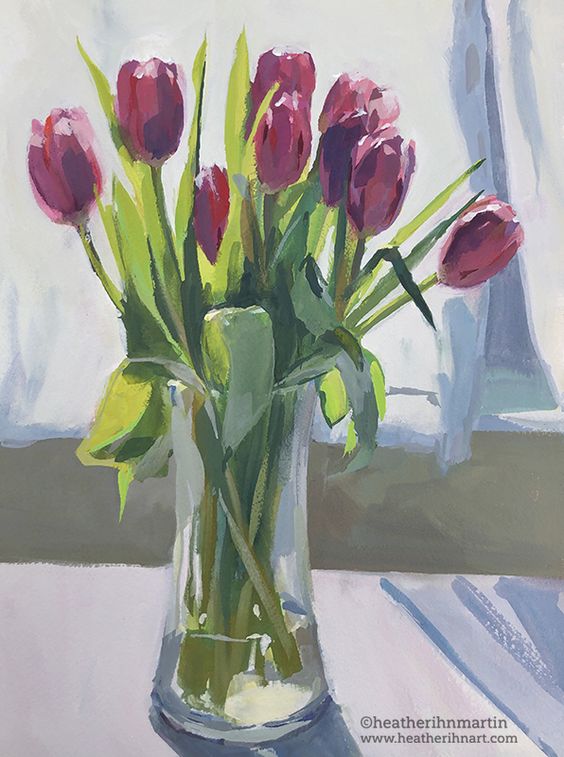
Source: Heather Martin
Flowers are some of the first things we learn to draw as kids. Since we're so used to seeing these things, it can be easy to plan out how you will paint them on a canvas.
Try painting different kinds of flowers to get used to different textures, styles, and colors.
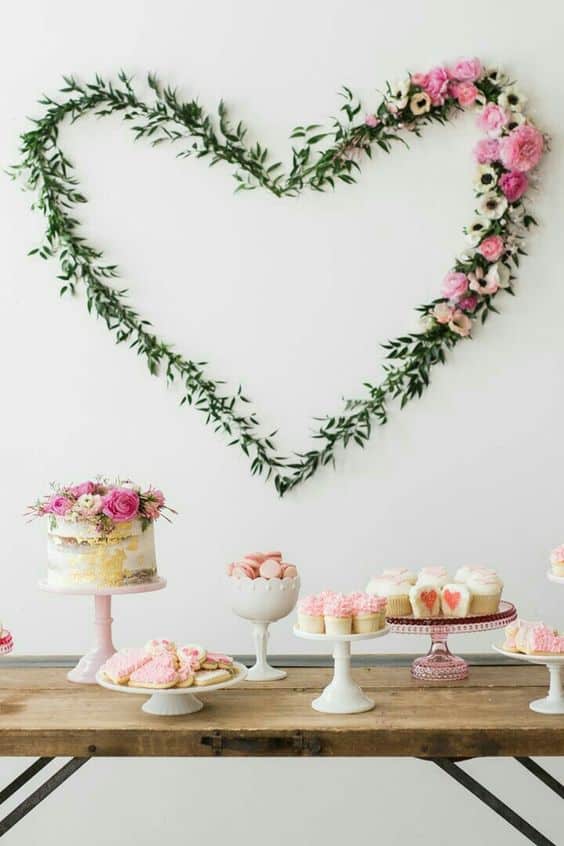
2. Easy Heart Painting
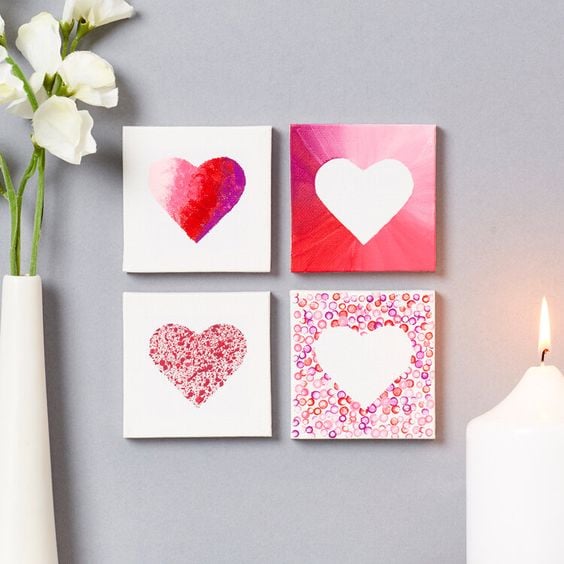
Source: Everything Art & Craft
Another simple shape to work with is the heart. It's a figure we usually end up doodling on paper.
You can paint the heart shape in different colors and styles, depending on how you want them. Be creative with how you paint your hearts.
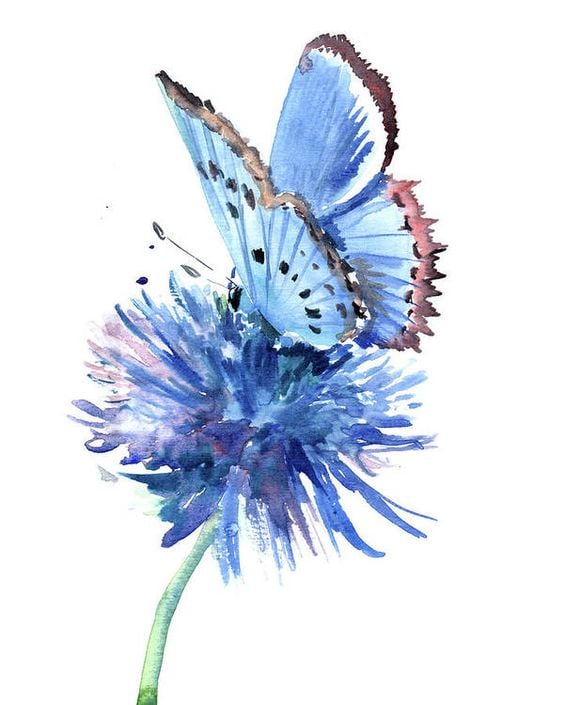
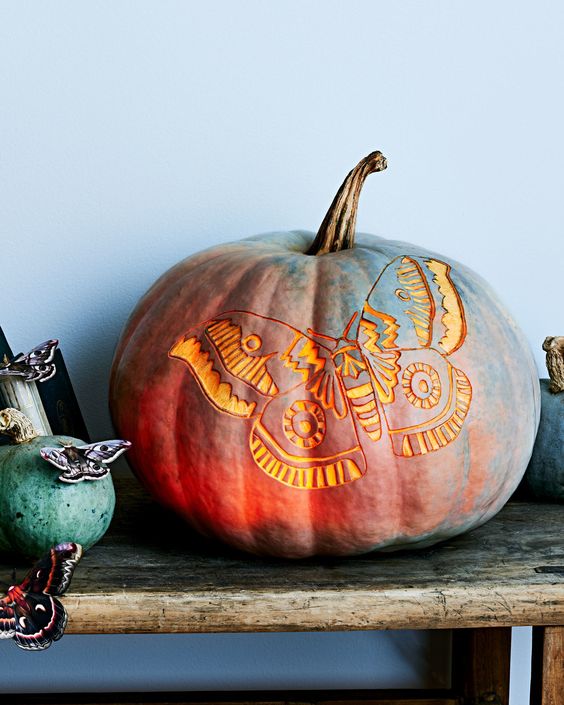
3. Butterfly
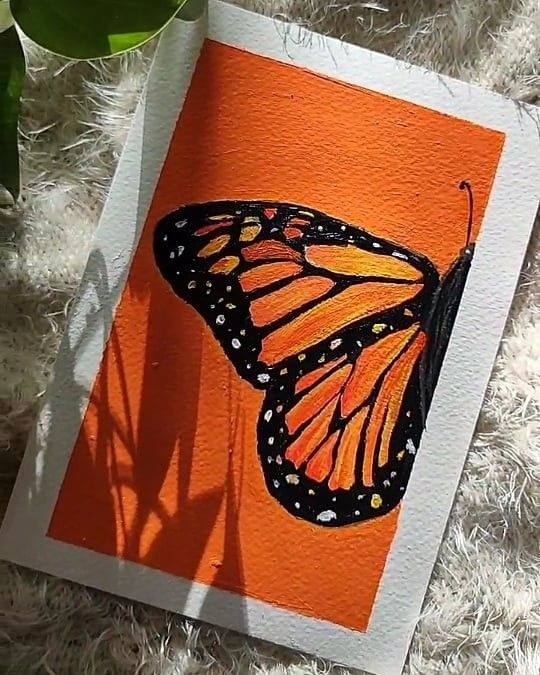
Source: Pinterest
Butterflies are exciting subjects for painting because of the details on their wings. They tend to be symmetrical, making it easier to work on if you paint a butterfly with two wings.
Try looking at different patterns and colors to help paint these beautiful creatures of nature.
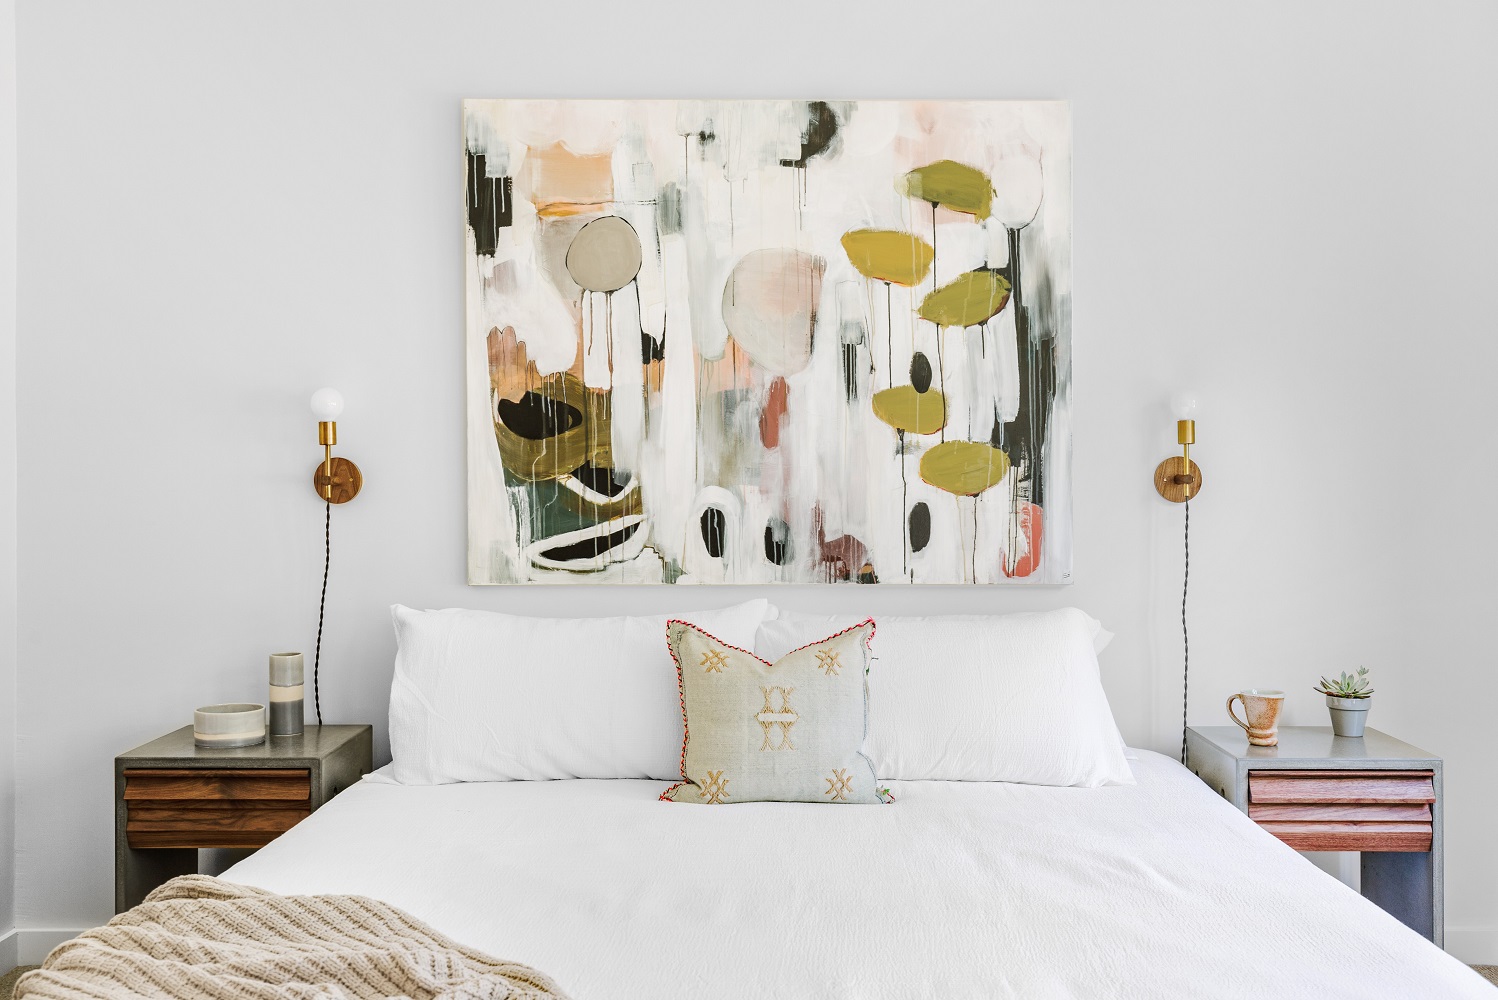
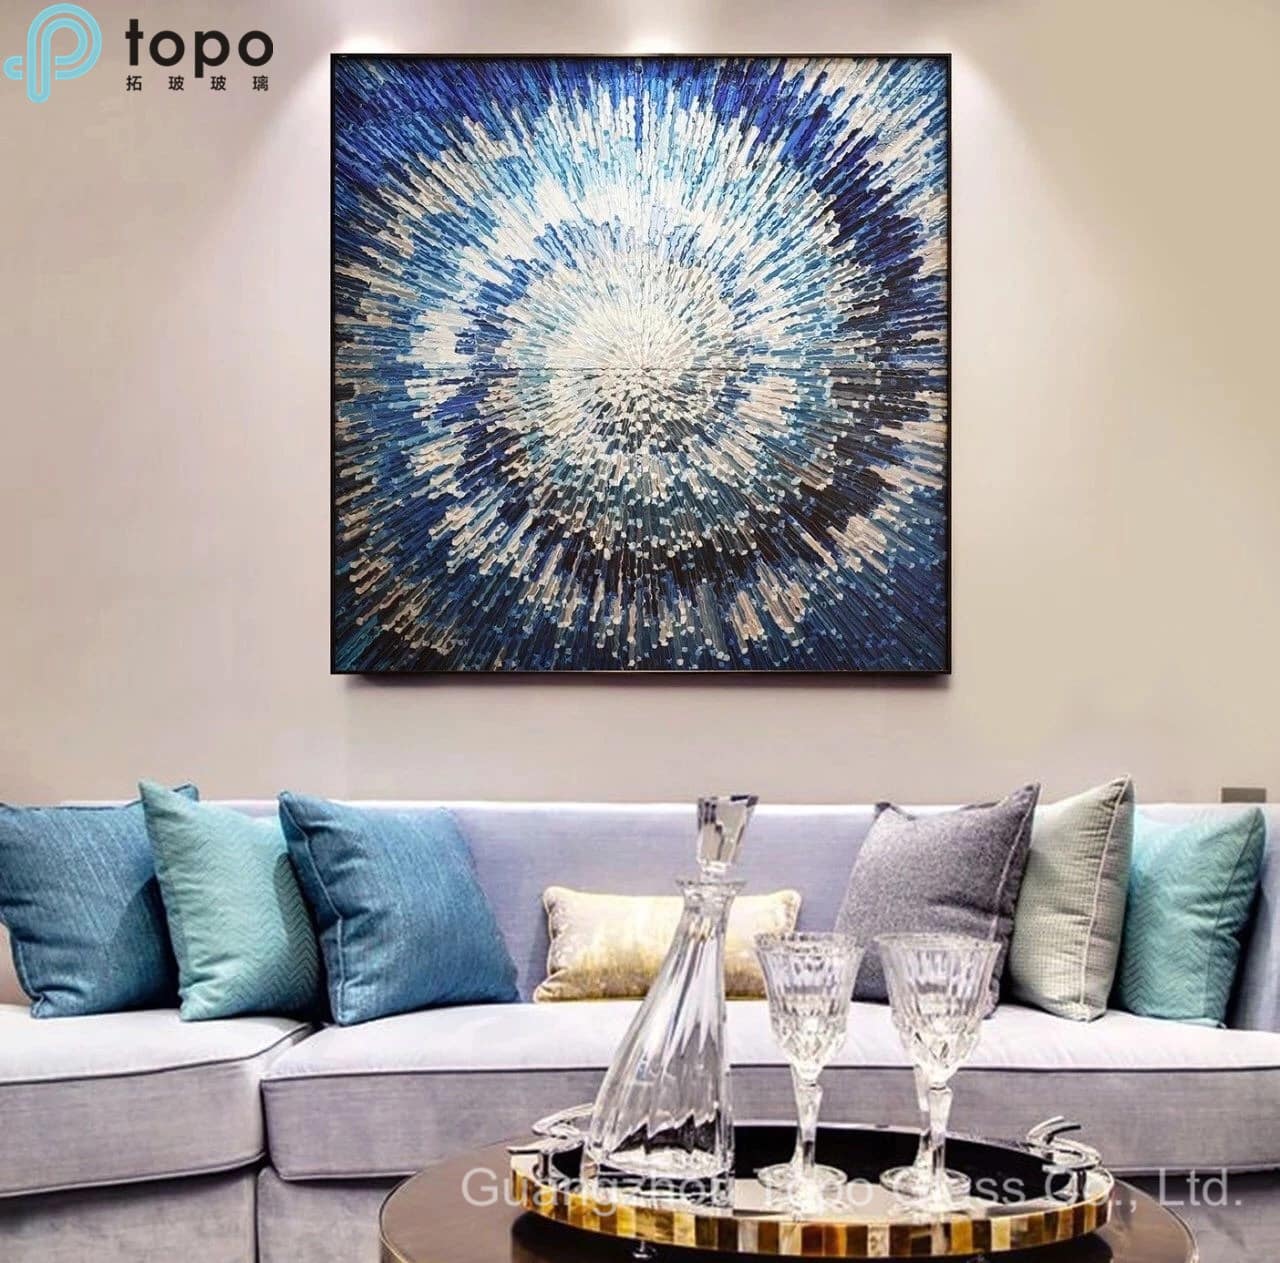
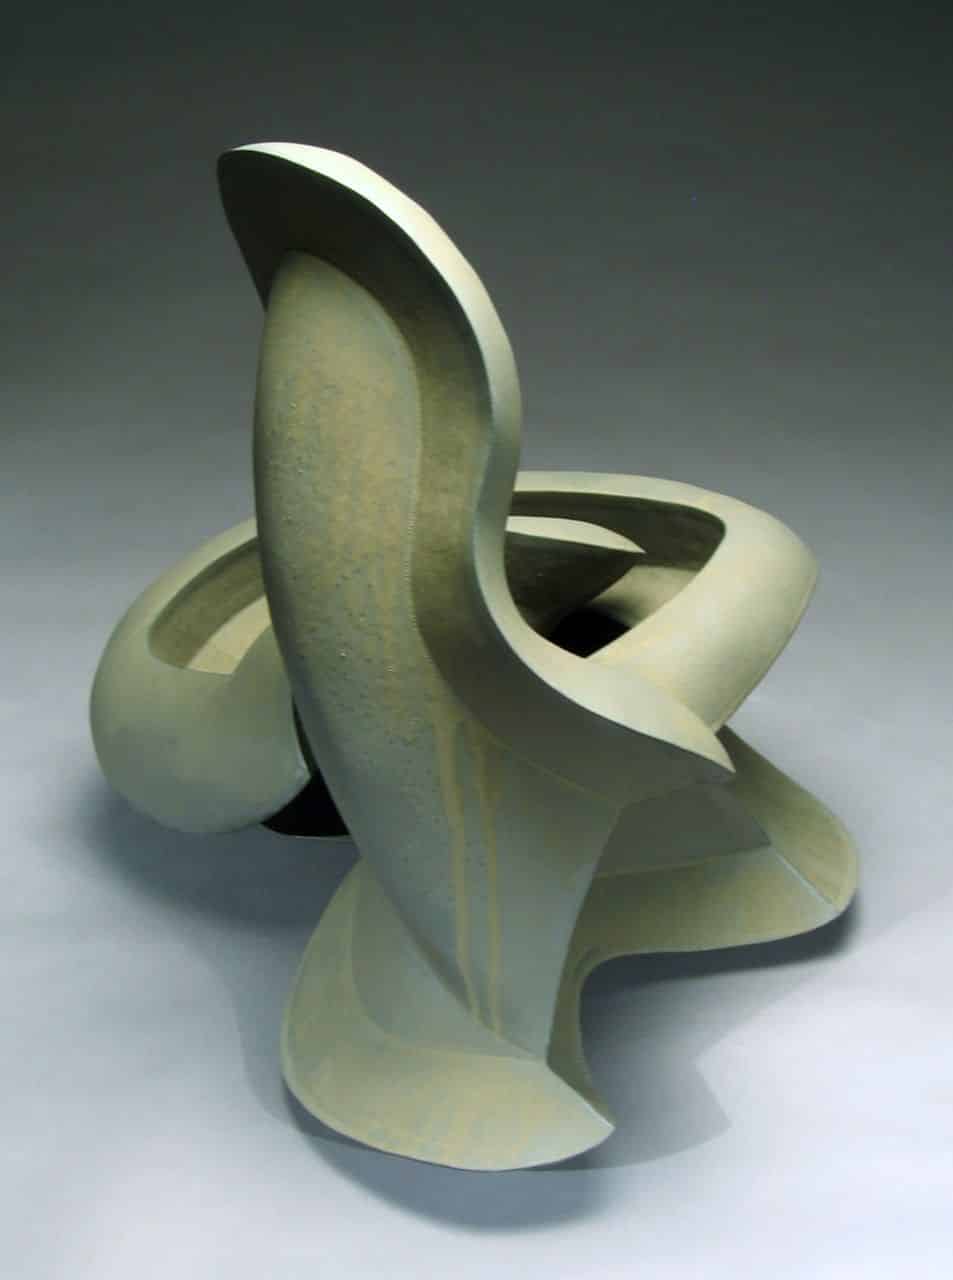
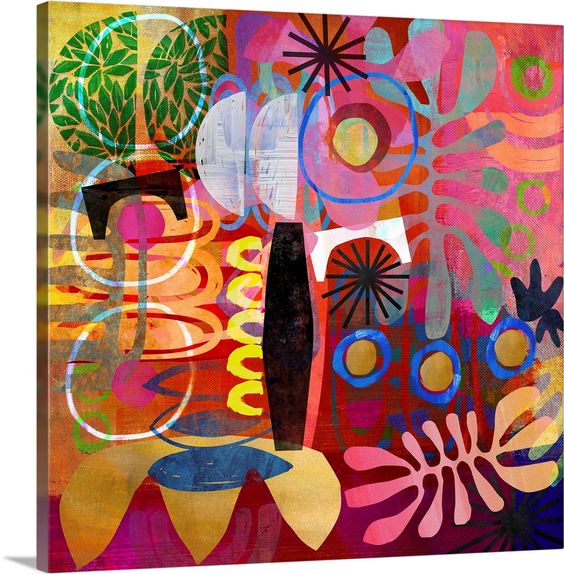
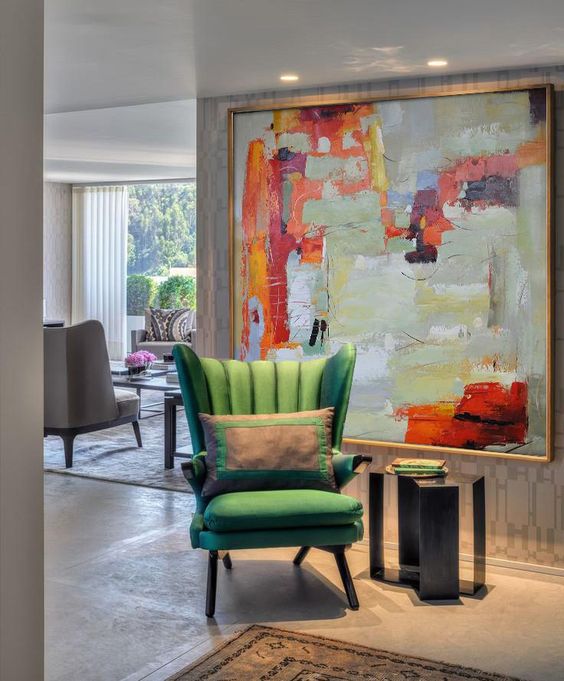
4. Abstract Painting
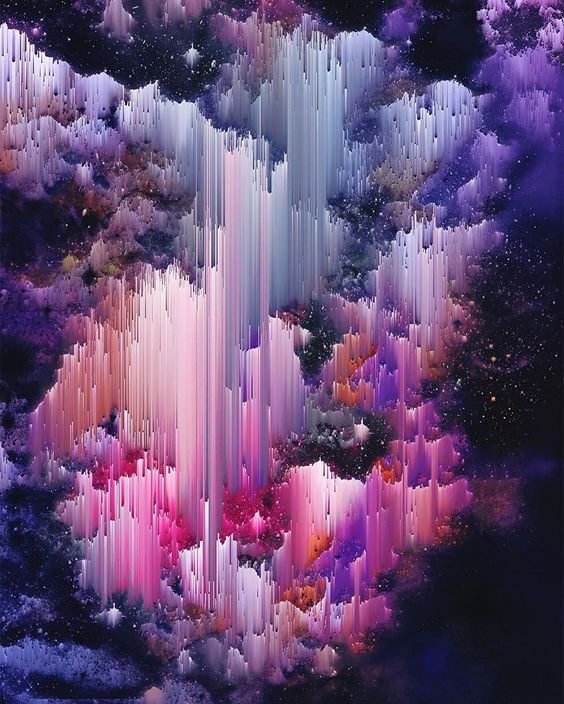
Source: Jessica Andersdotter
Abstract painting has become more popular, mainly because of its uniqueness. You can experiment with different colors and designs without being direct about what you've painted.
These are some of the easy acrylic painting ideas on this list and are a fun addition to your home and interior design.
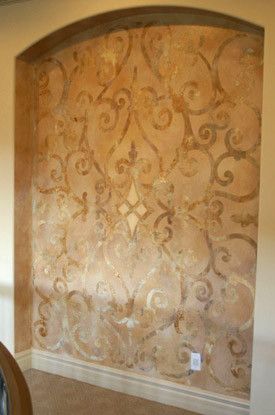
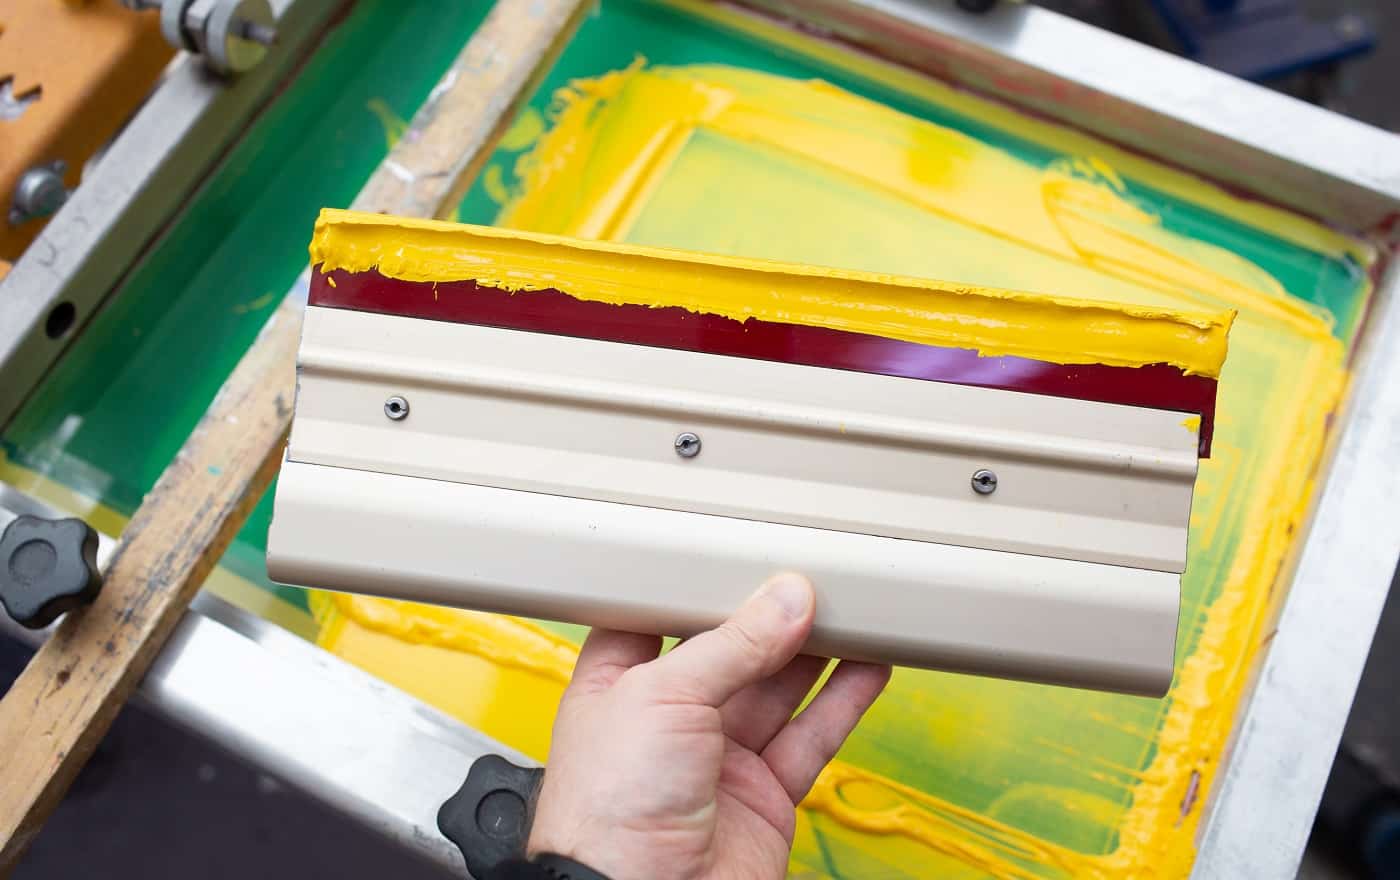
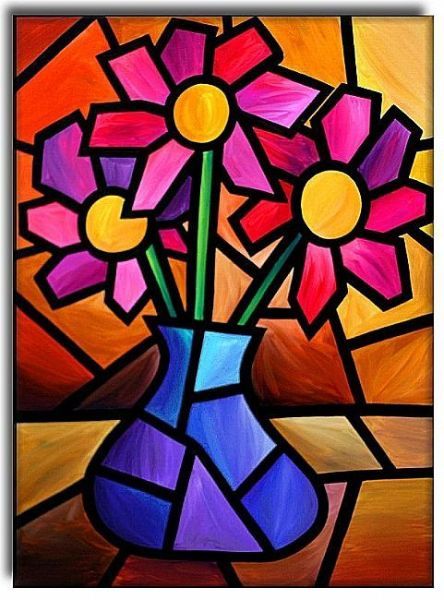
5. Stencil Art Piece
Source: Pinterest
Stencil art is another fun painting idea any beginner can try. You can use a stencil as your guide or paint as if you've traced a stencil.
You can also include geometric patterns and shapes to make them more unique.
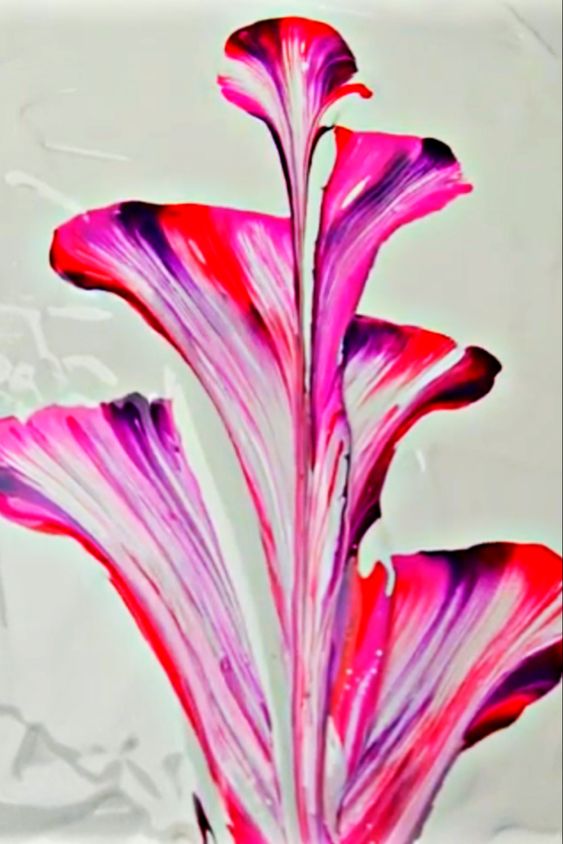
6. Acrylic Paint Pouring

Source: Julie Cutts
Acrylic paint pouring is another easy way to do abstract art, especially for beginners. You can pour different paint mixes on a blank canvas and see what you can create.
These new techniques don't usually need a step-by-step tutorial since they rely on your unique combination of colors.
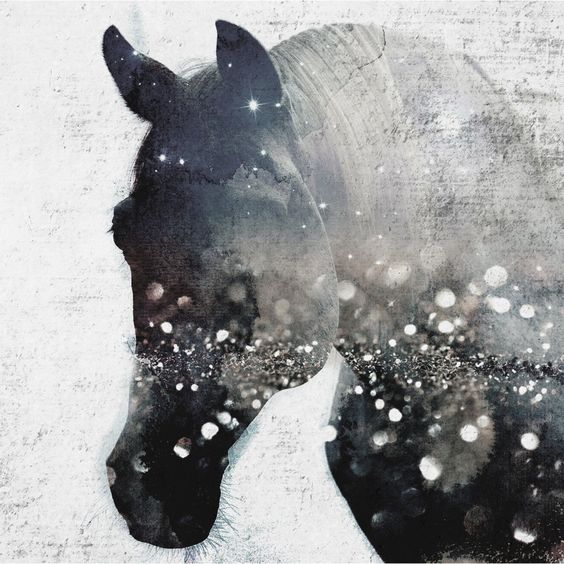
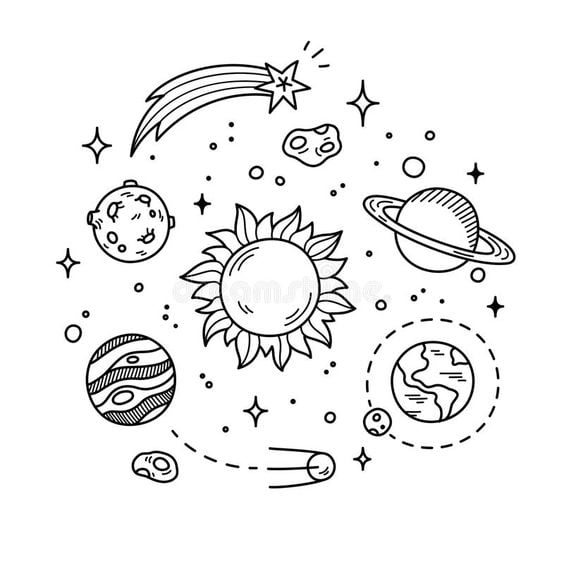
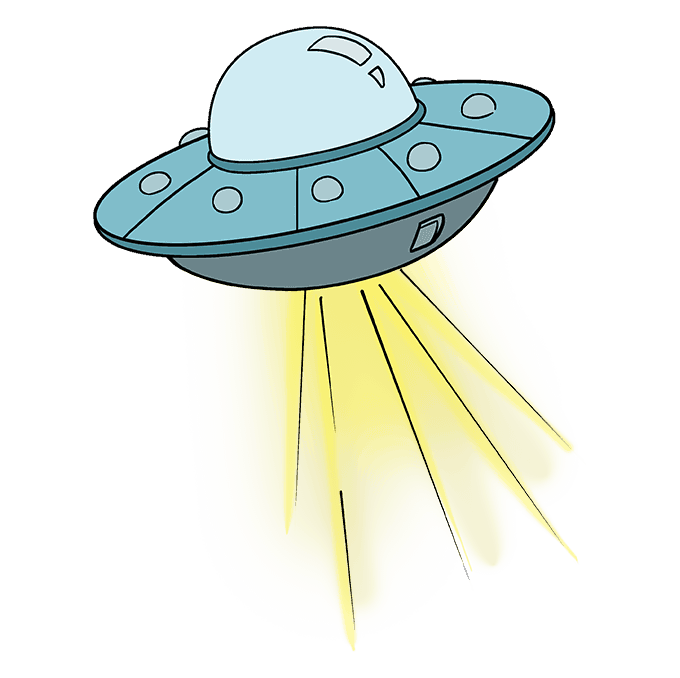
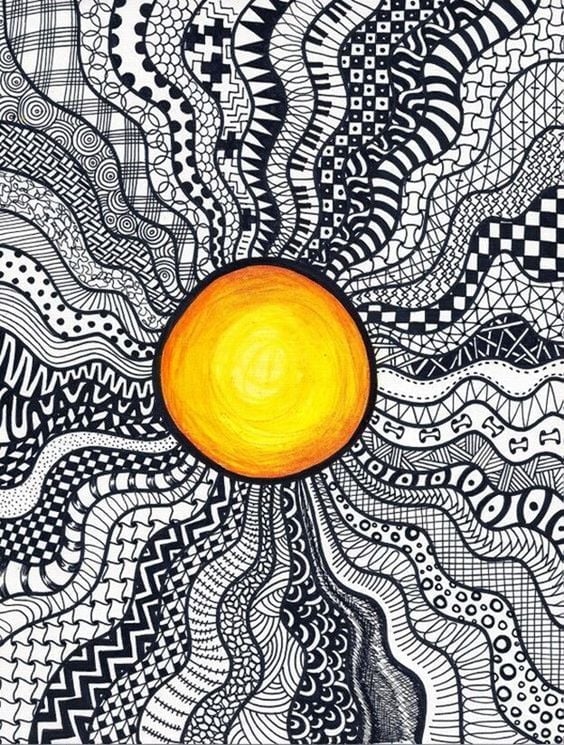
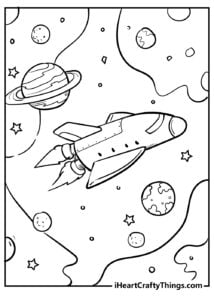
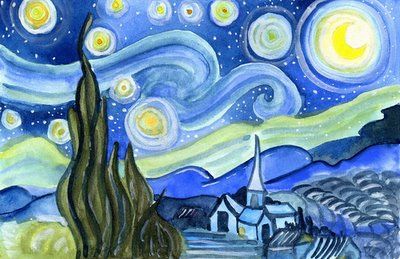
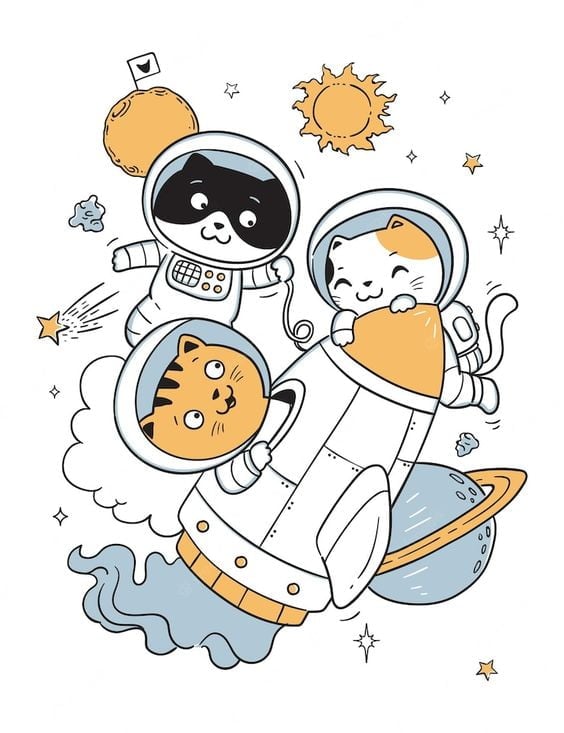
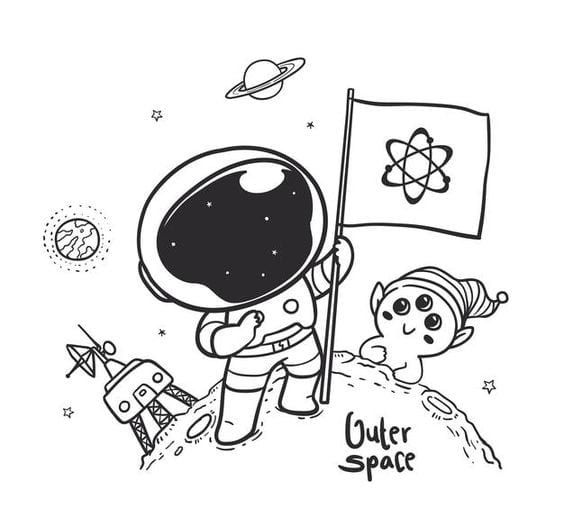
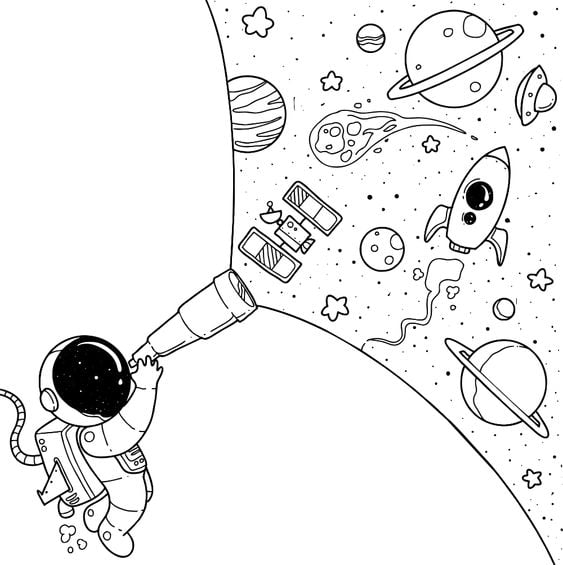
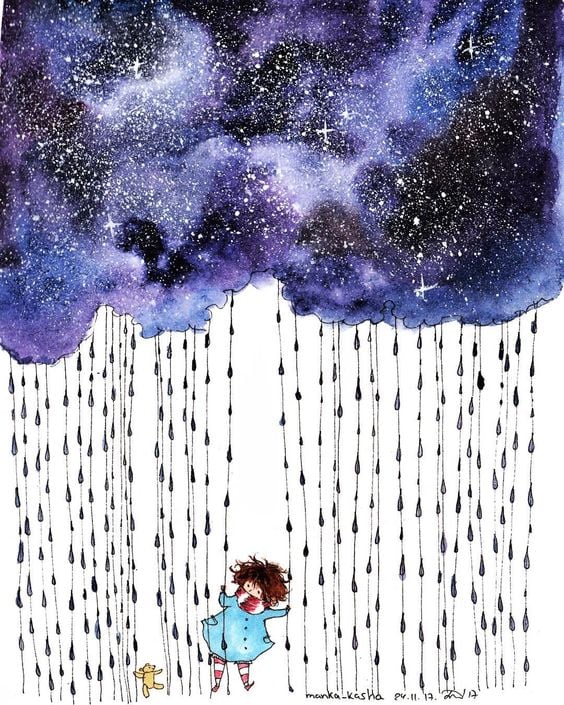
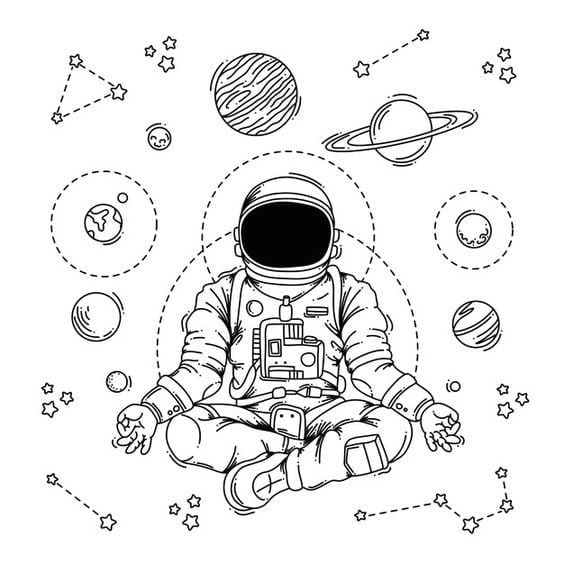
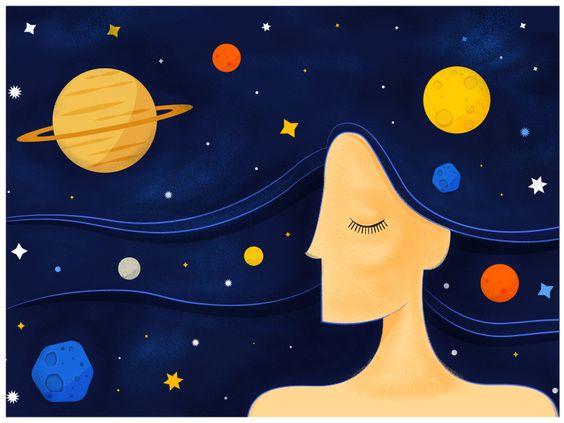
7. Galaxy/Night Sky
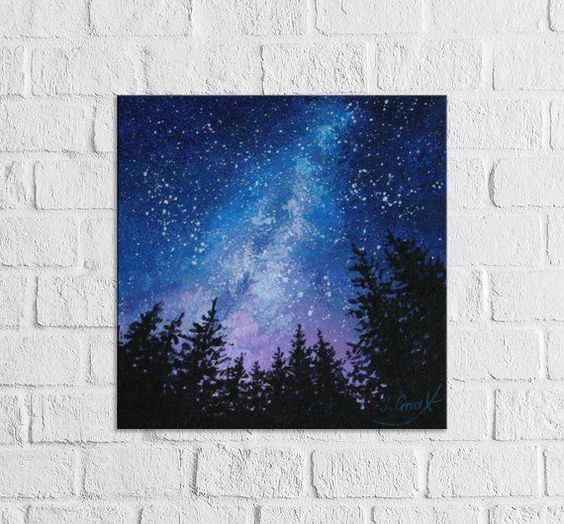
Source: Pinterest
Painting the galaxy and stars is another common easy canvas painting idea for beginners. It plays with cool colors and shadows, allowing you to depict anything from outside the earth.
You can be creative with how you paint the stars and the universe, from using Q-tips to an enormous paintbrush. The (night) sky's the limit.
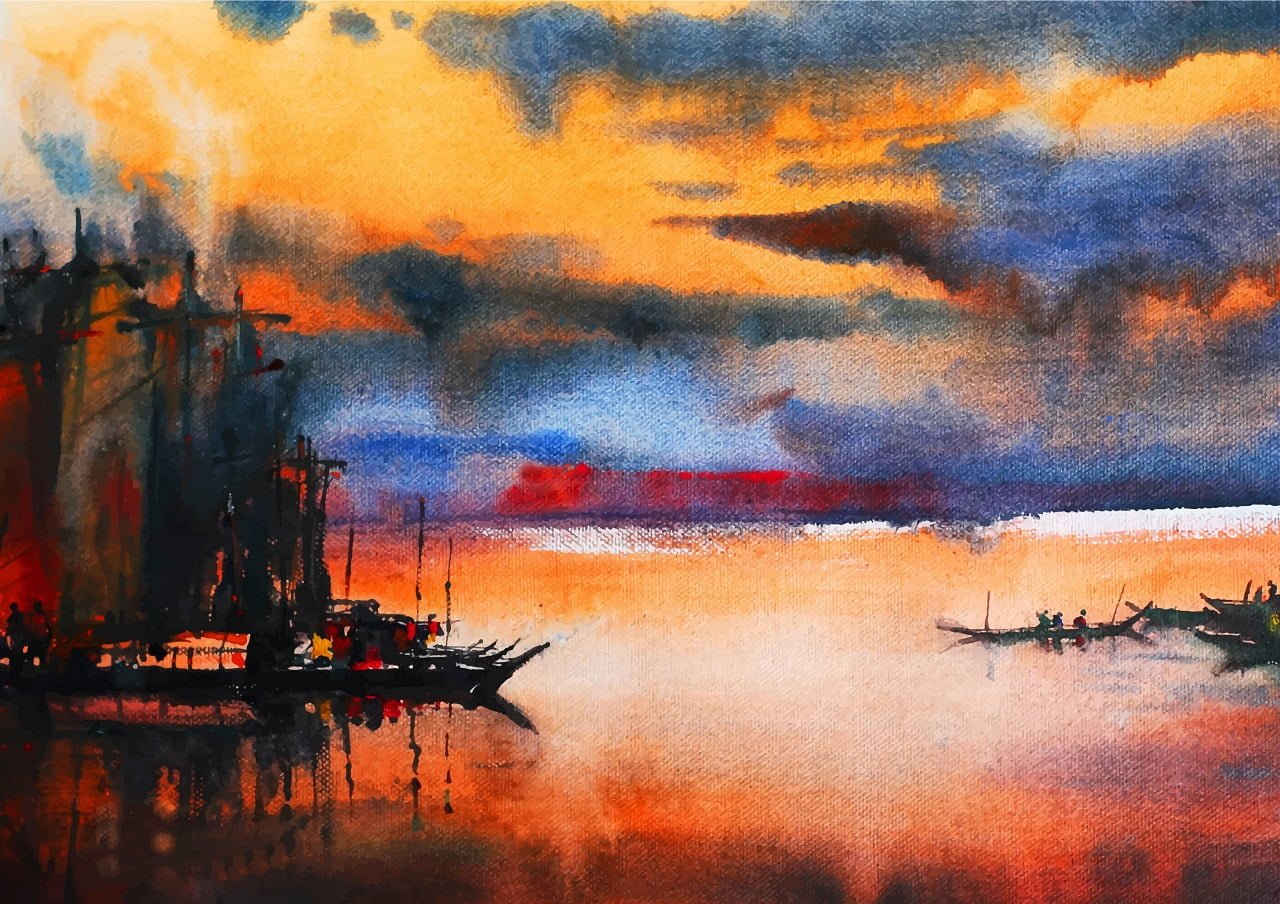
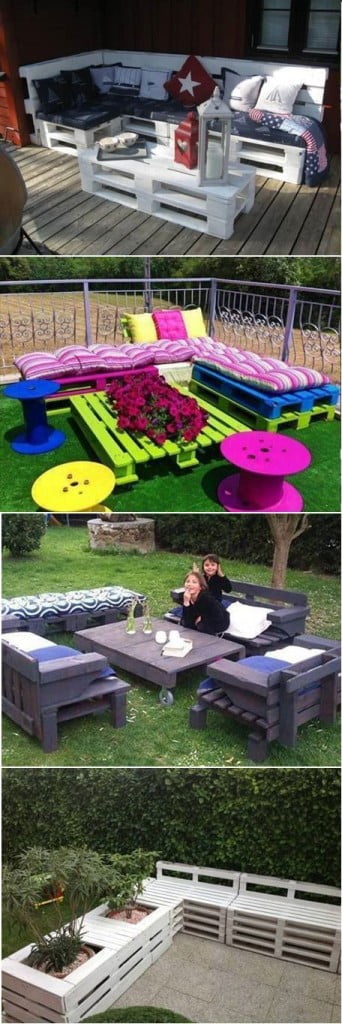
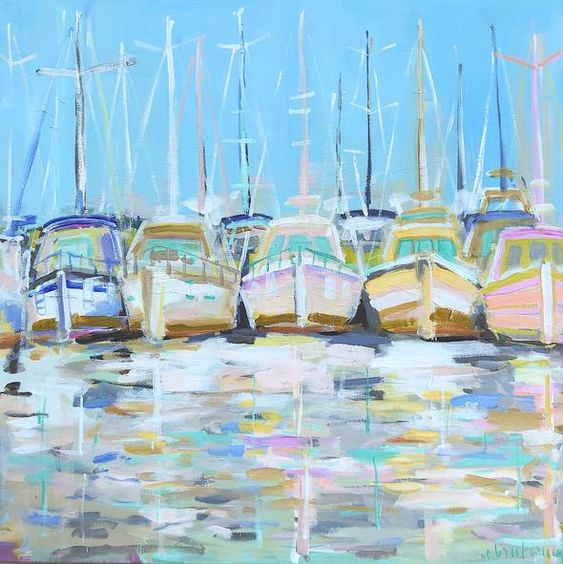
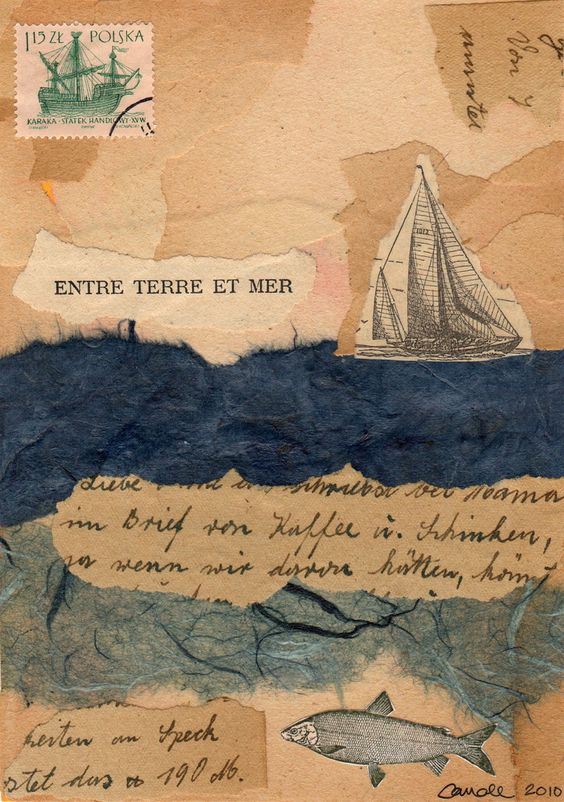
8. Sail Boats

Source: Painting for Home
Sailboats are serene, excellent subjects for paintings, especially when painted with a good, clear background. Its details are easy to work with, making it great for beginners.
You can learn how to blend colors to get a great sunset effect.
9. Autumn Tree with Cotton Balls
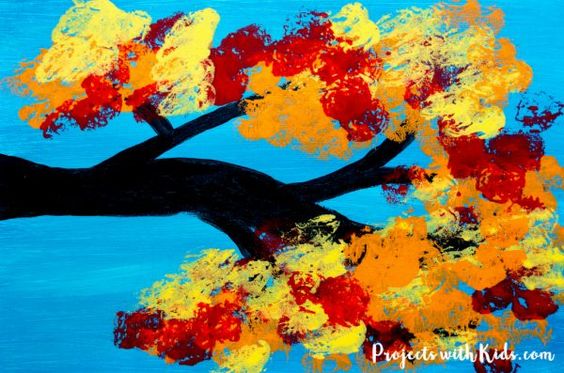
Source: Project with Kids
Who needs a paintbrush when you can get creative with the things you have at home? You can use cotton balls to create a fun and unique texture for the leaves of autumn trees.
This project is so easy that even a kid can make it.
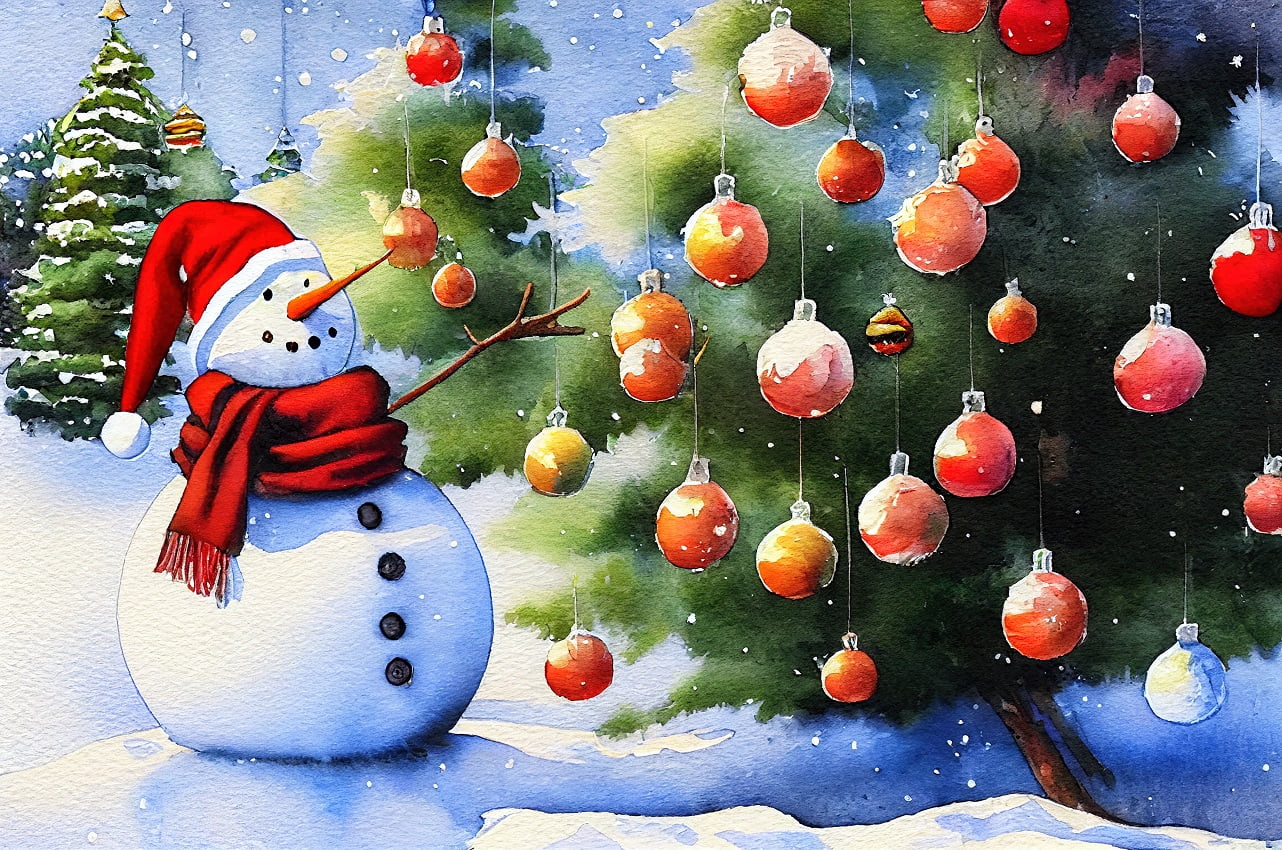
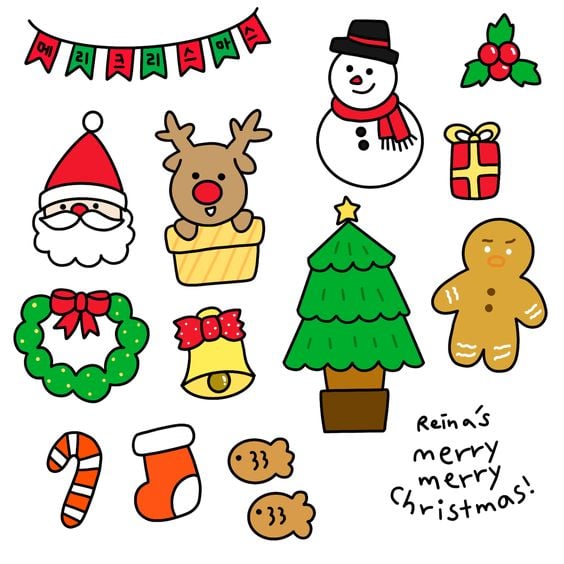
10. Cute Snowman Painting

Source: Casey K
A cute snowman can be a great way to practice your painting skills while creating something for the holiday season.
Its features are easy to work with, and you can create many variations, making it one of Christmas's best canvas painting ideas.
11. Lavender Acrylic with Cotton Swabs

Source: Angela Anderson
You can also try painting lavender using acrylic paints and Q-tips.
Simply use the cotton swabs to create the small details for the flowers. Don't be afraid to play with the different shades of purple.
12. Flag
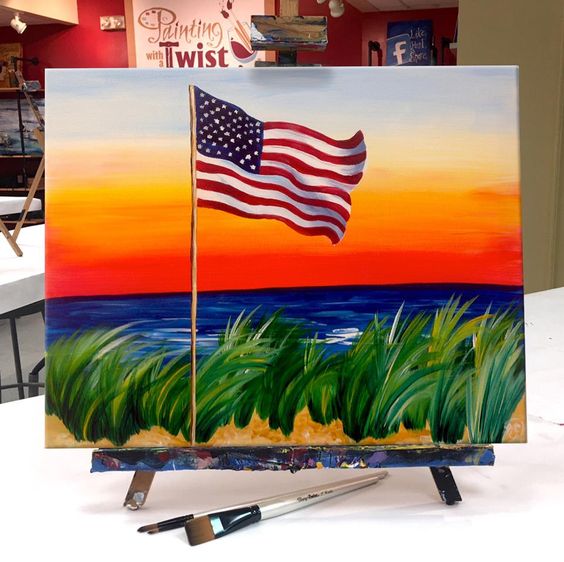
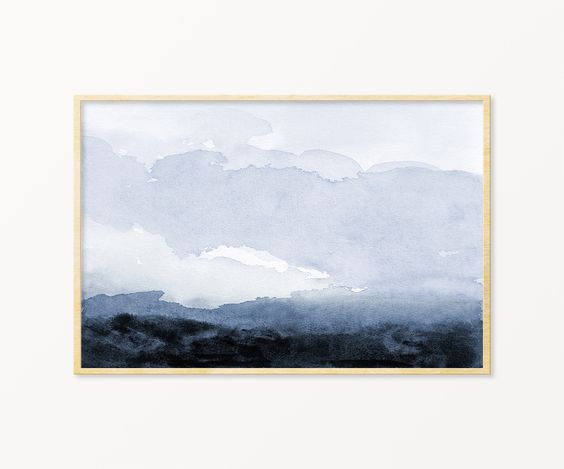
Source: Painting with a Twist
You can try painting different kinds of flags with diverse backgrounds. It can help you work with lines and shapes.
Not only will you be able to familiarize yourself with other countries, but you'll also be improving your painting technique.
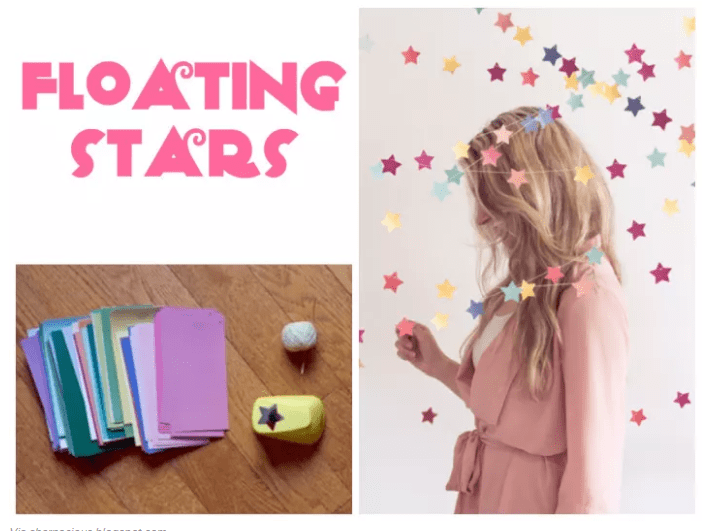
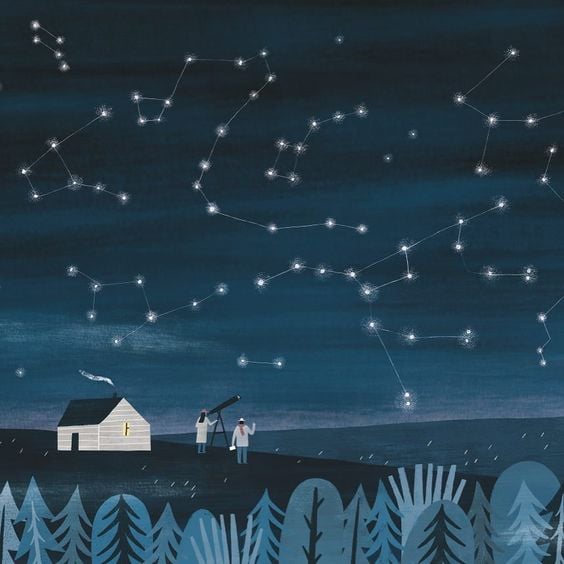
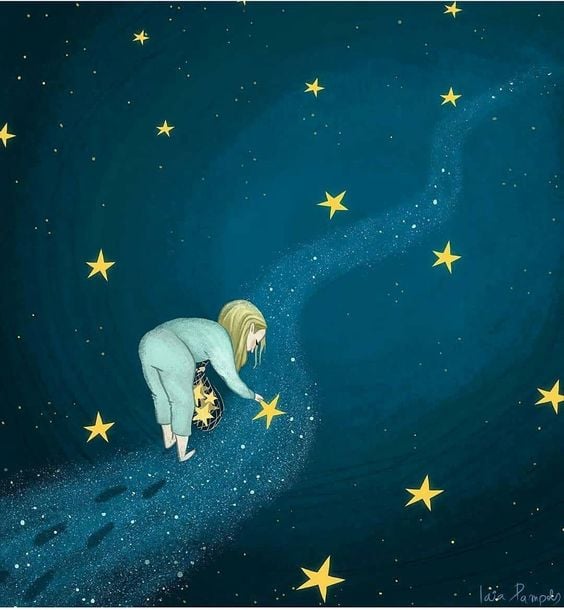
13. Shooting Stars
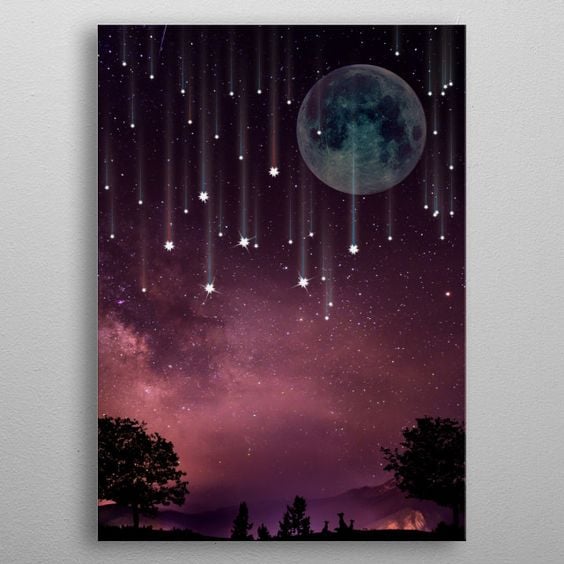
Source: TopCat Design
Add shooting stars to your night sky painting. You can play with the different lights involved with this natural phenomenon.
You can also experiment with angles where the star could fall.
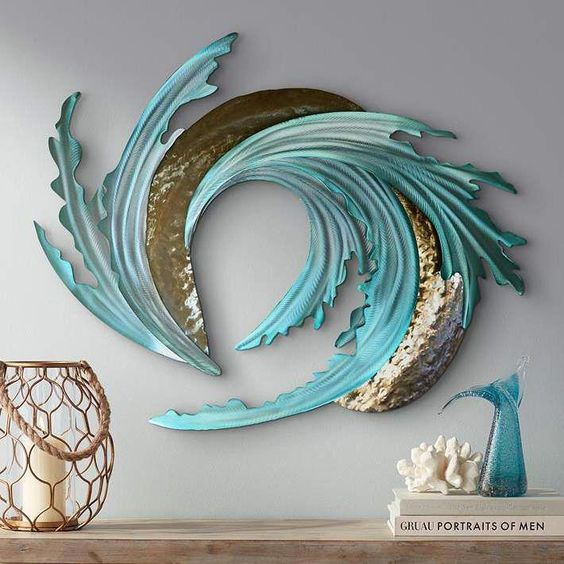
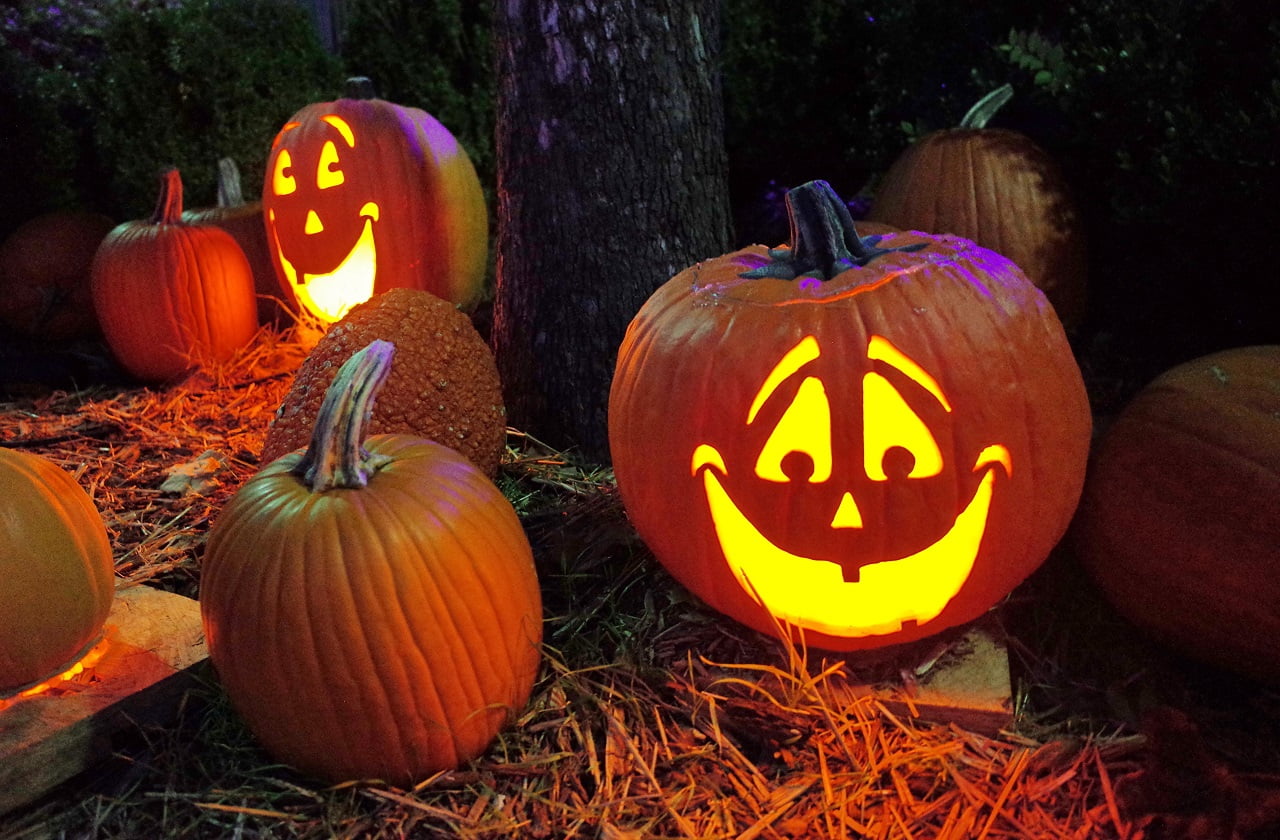
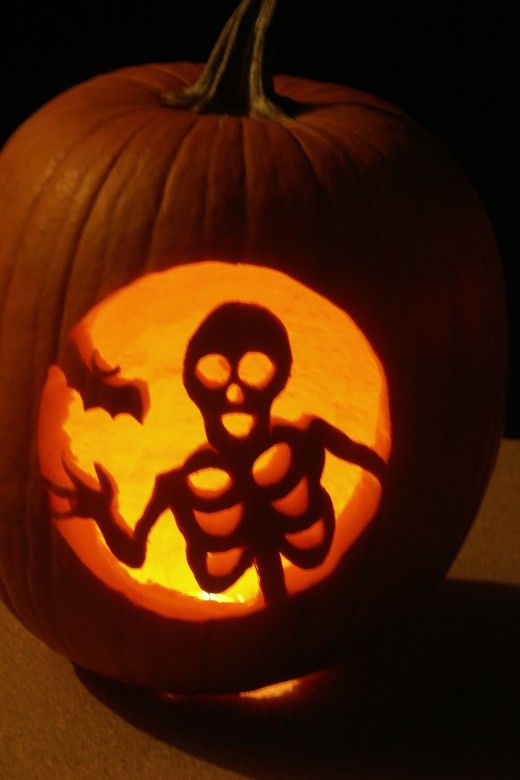
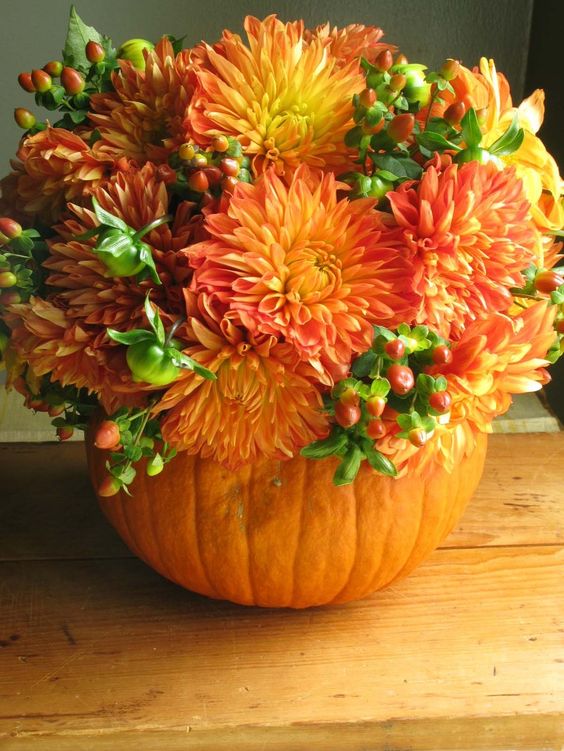
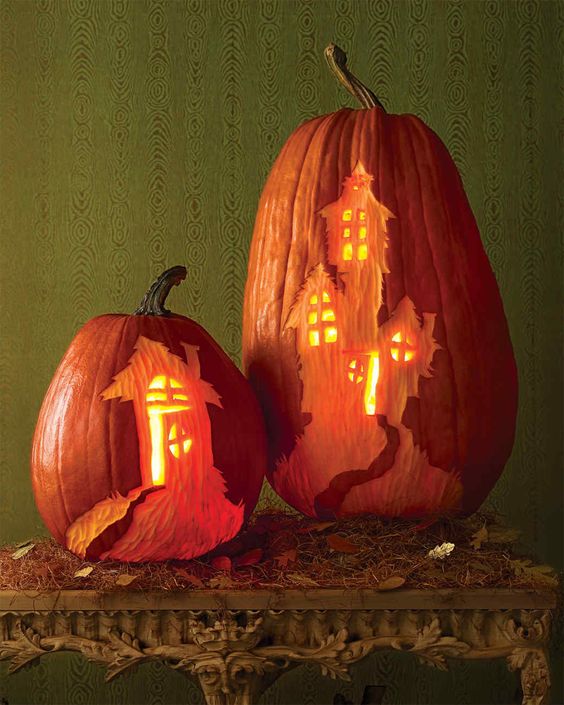
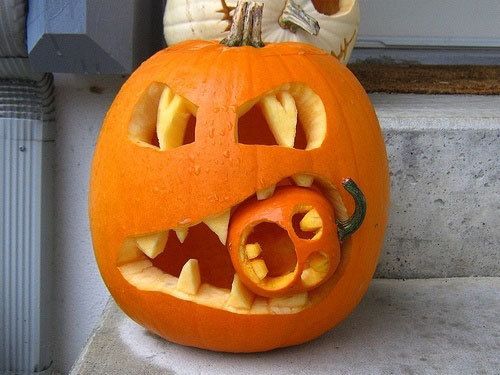
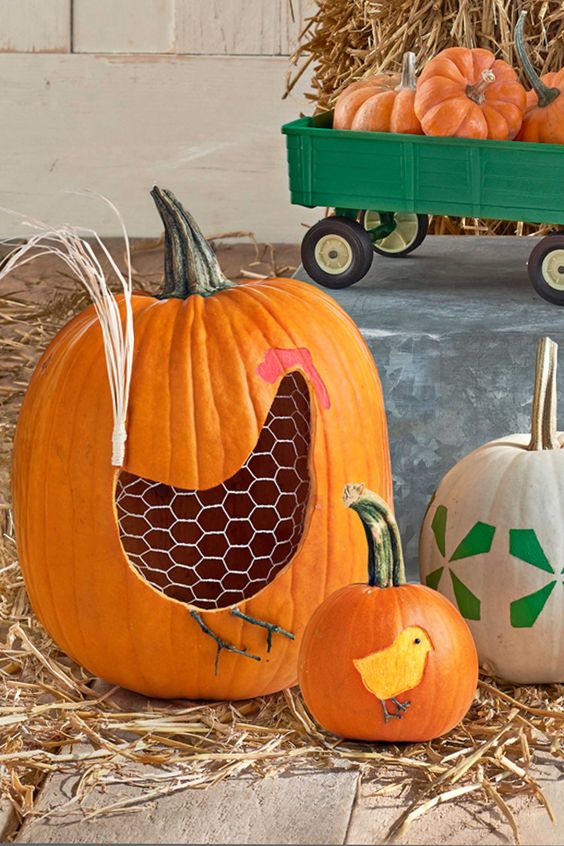
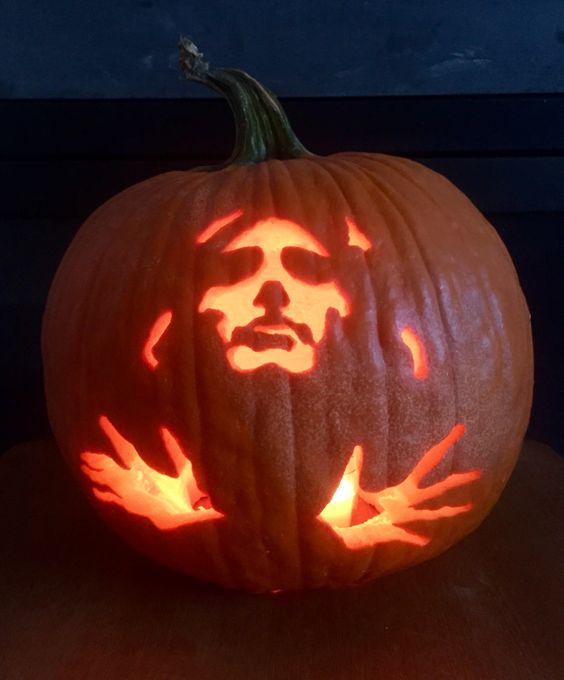
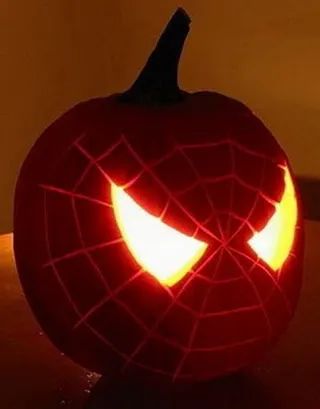
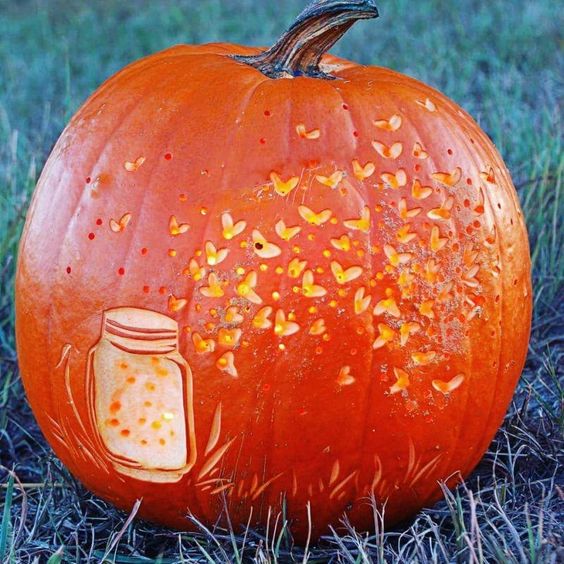
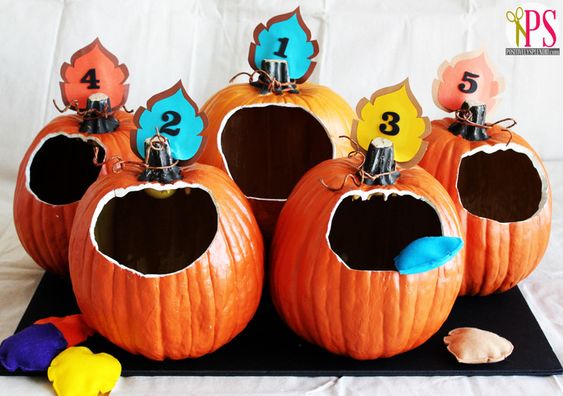
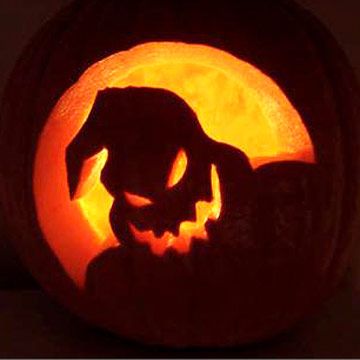
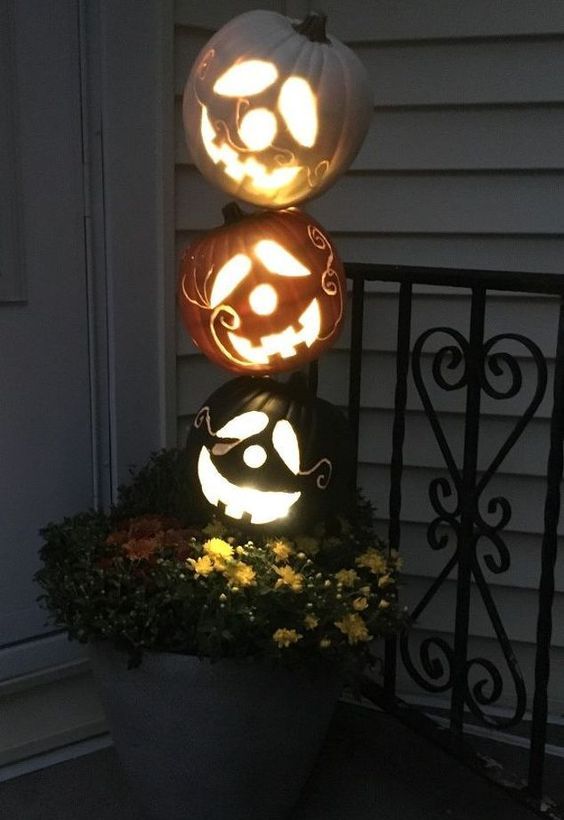
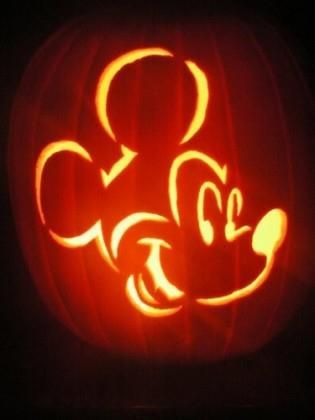
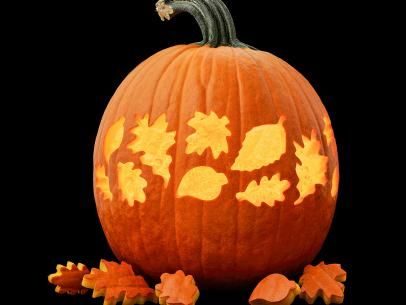
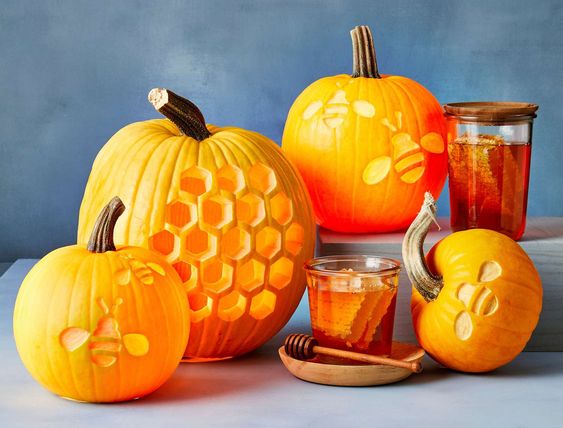
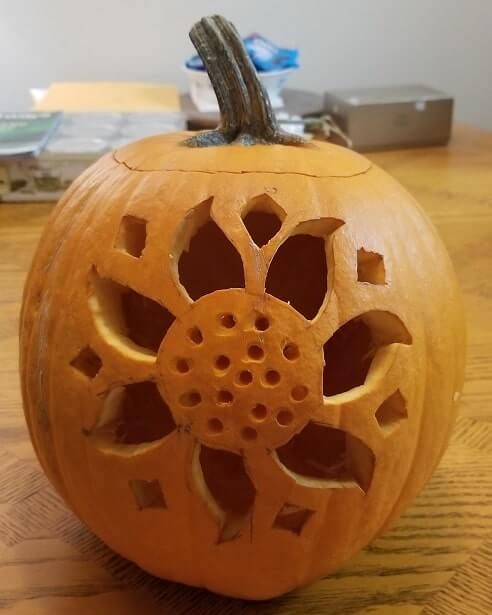
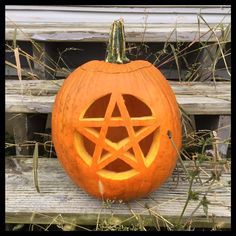
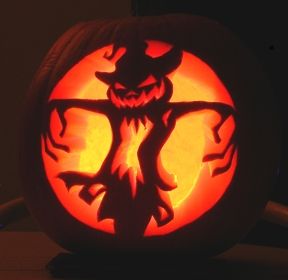
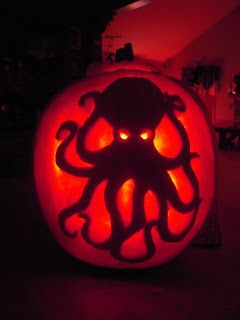
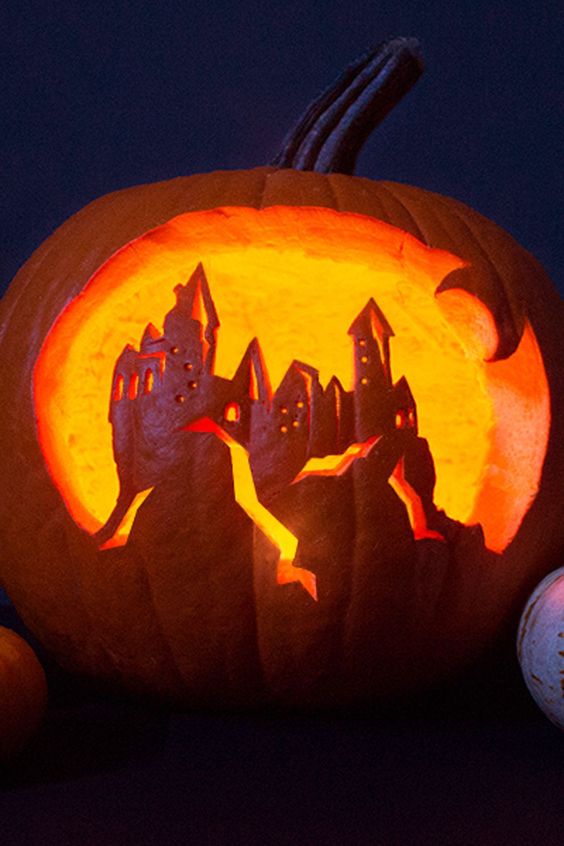
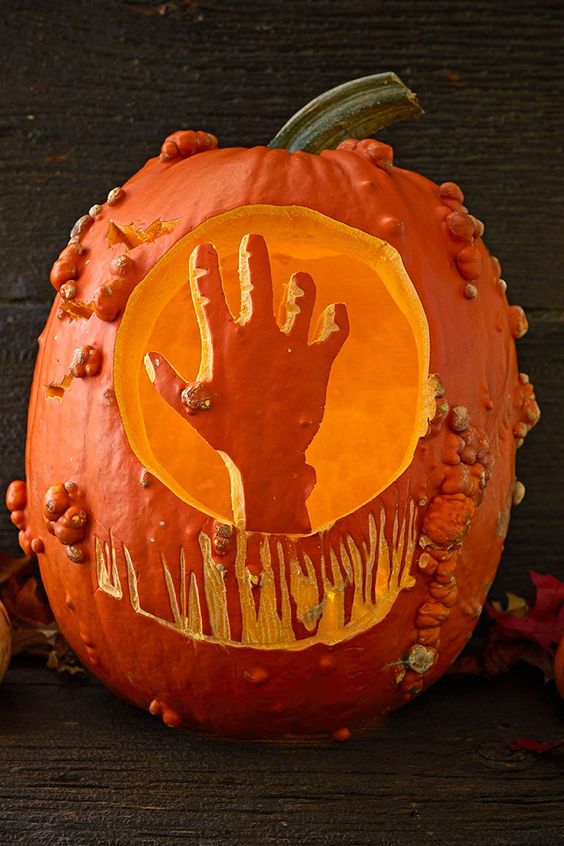
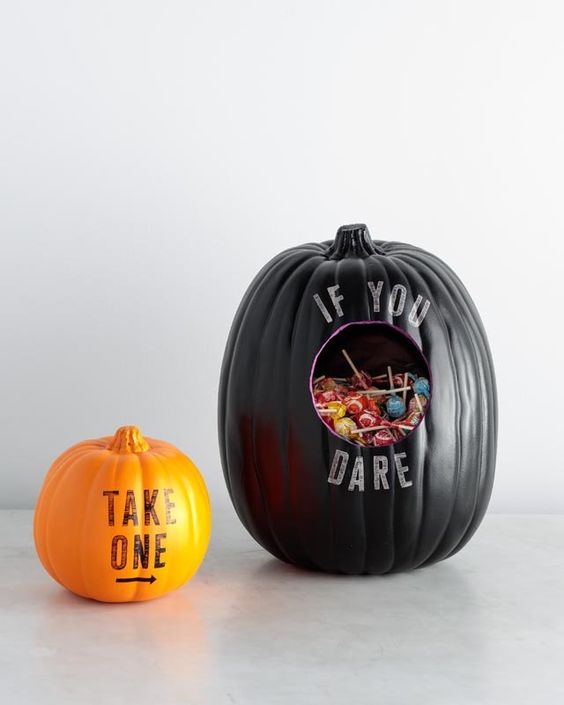
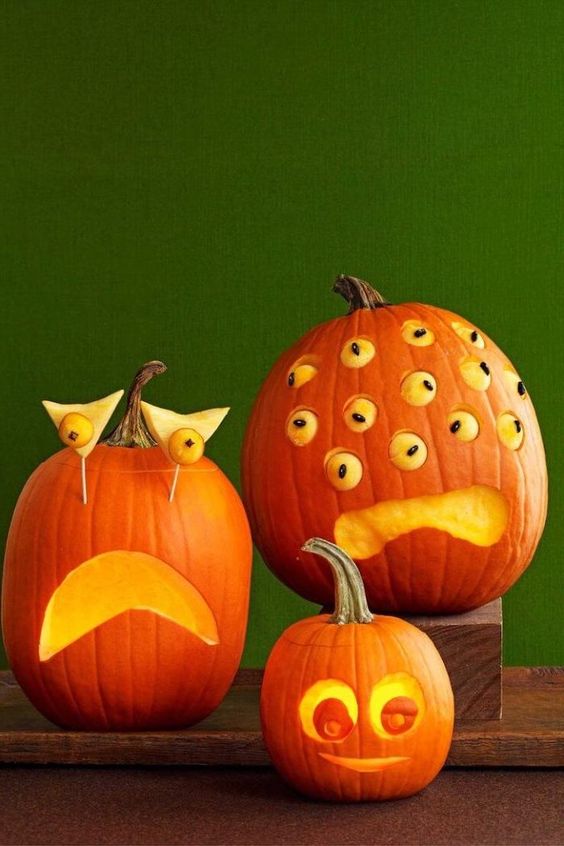
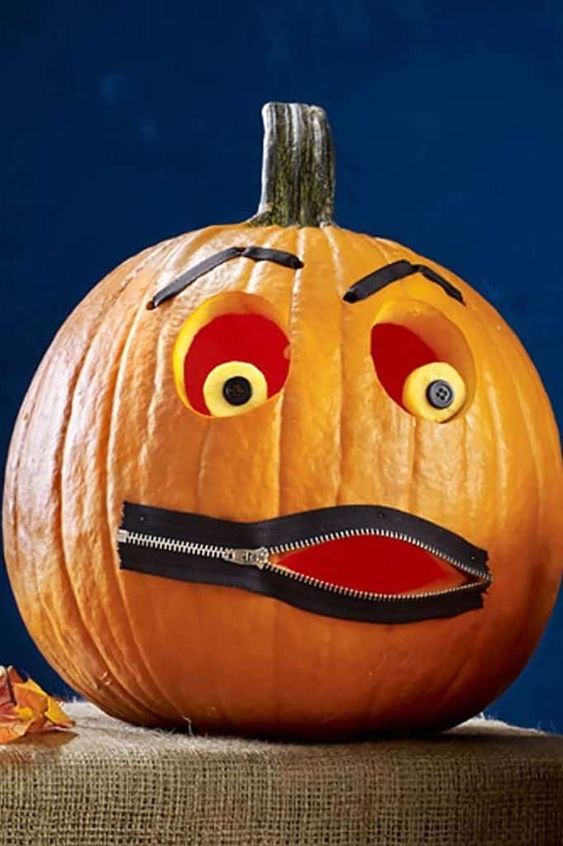
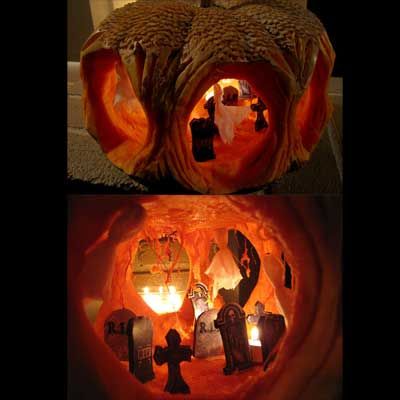
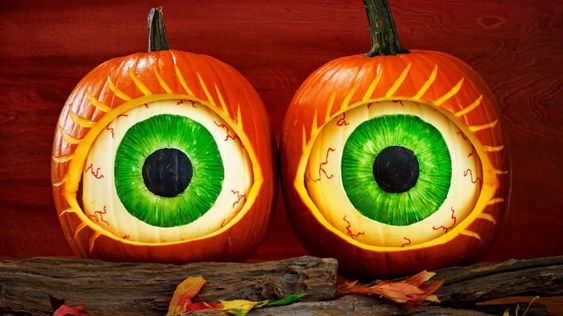
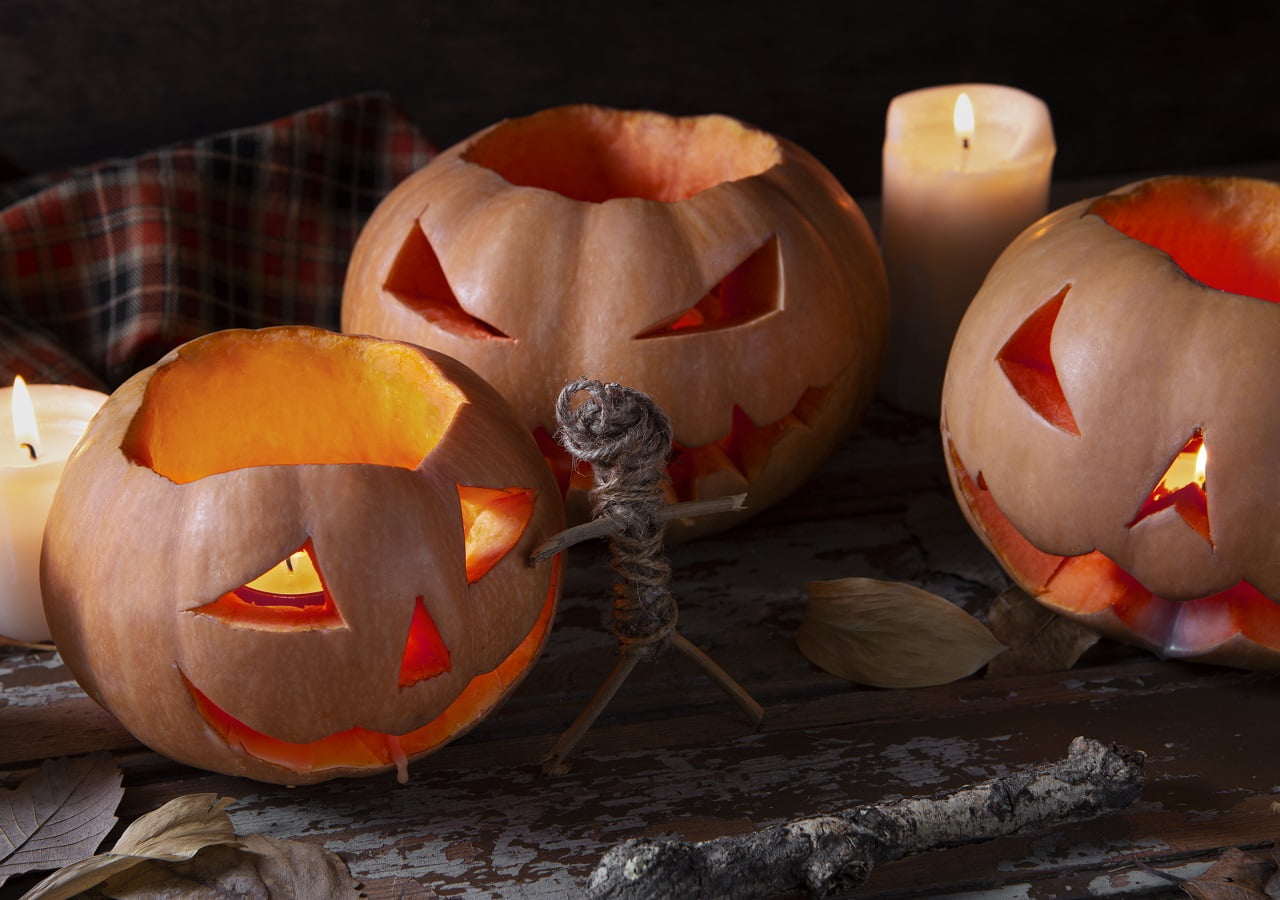
14. Pumpkin
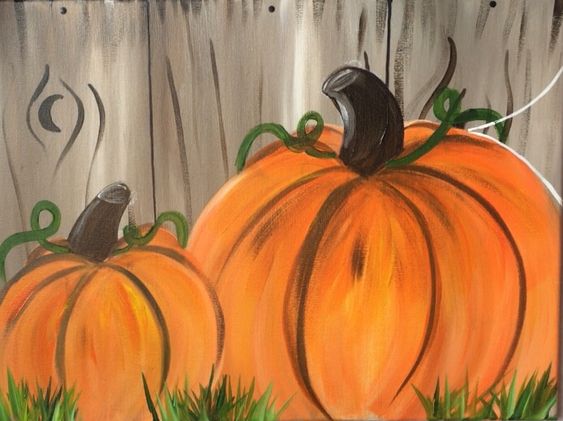
Source: Tracie Kiernan
Whether you're looking for a Halloween painting project or something to add to your home decor, you can try painting pumpkins on your canvas.
Learn how to paint the small details of a pumpkin, from the lines to the vines.
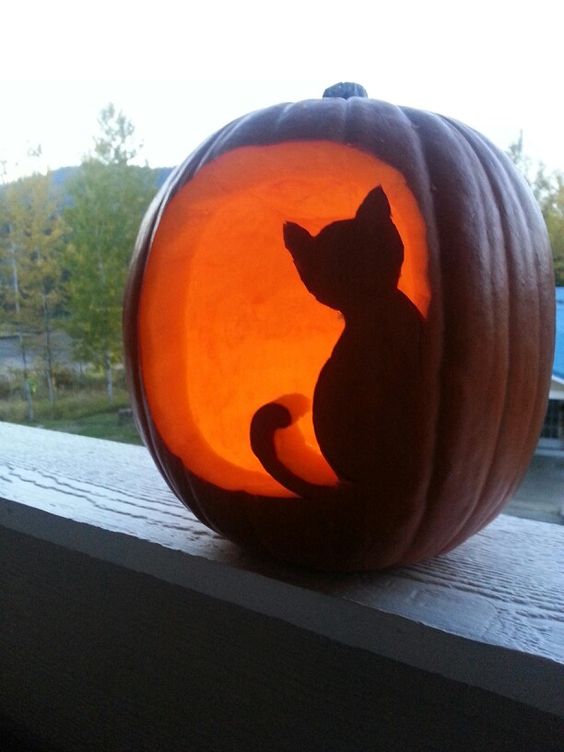
15. Dog
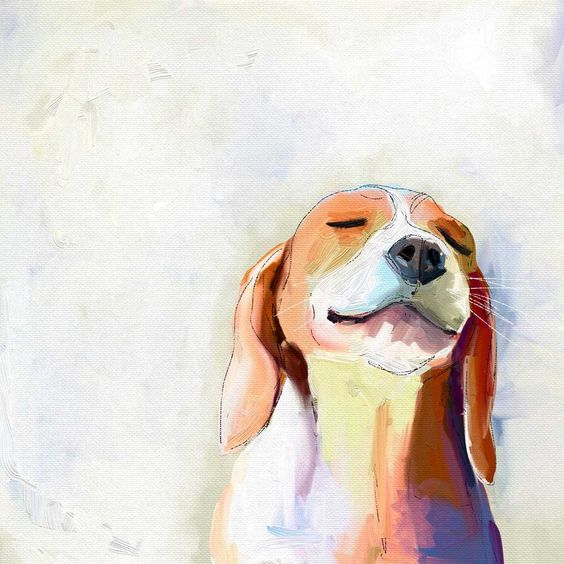
Source: Cathy Walters
Dedicating a painting to a man's best friend is a great project. It's one of the easy canvas painting ideas with sentimental value, especially for fur parents.
Whether you're capturing a puppy's serene face on a canvas or their funny antics, it's a great way to immortalize them.
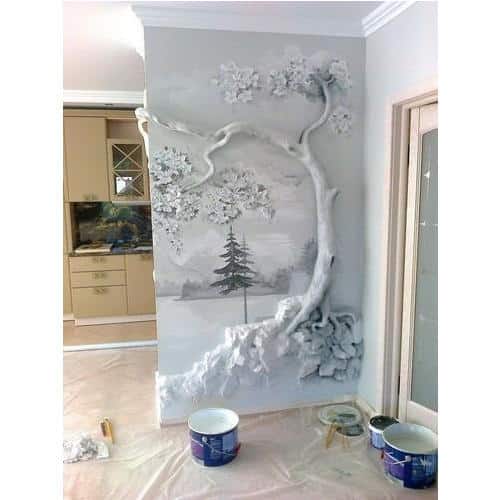
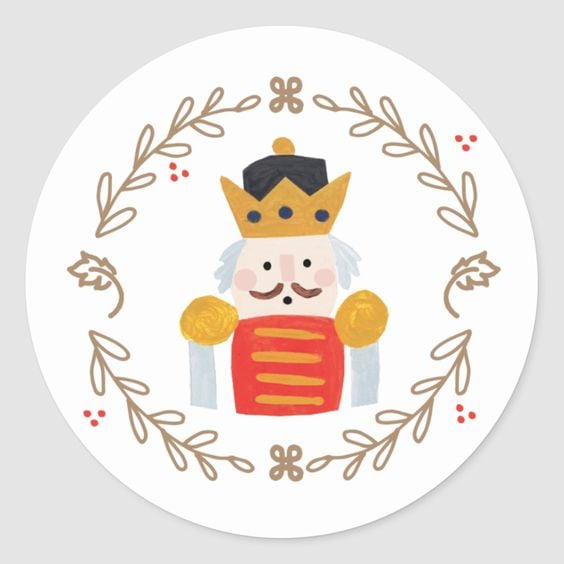
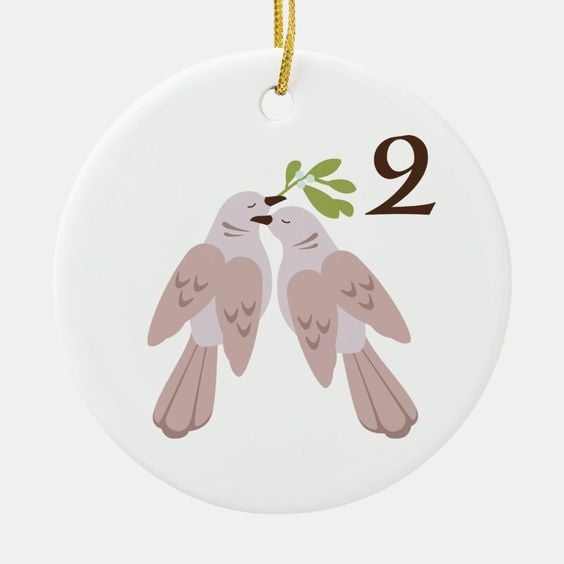
16. Christmas Tree
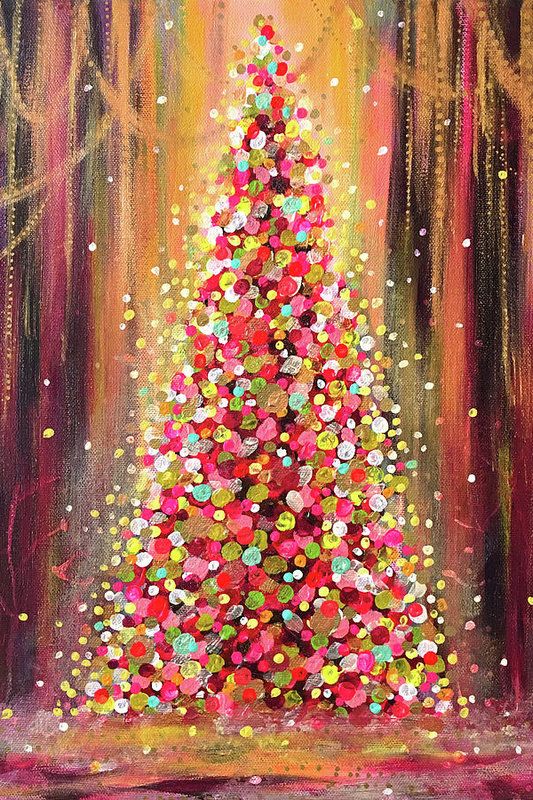
Source: Catherine Mizell
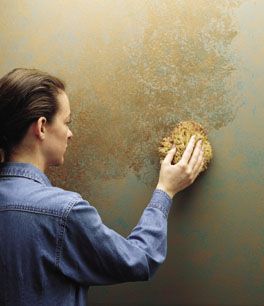
There are many ways to paint a Christmas tree. Like the ones in real life, they can come in various colors and styles when painting the leaves.
Feel free to paint your tree with any décor you like. Their vibrant colors are bound to spread Christmas cheer.
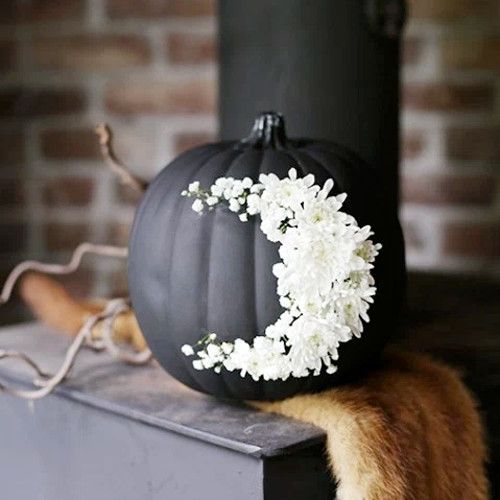
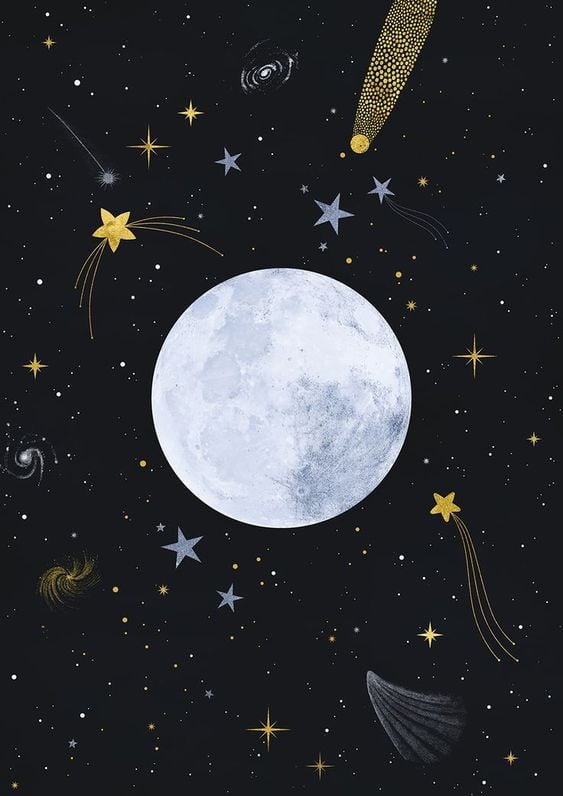
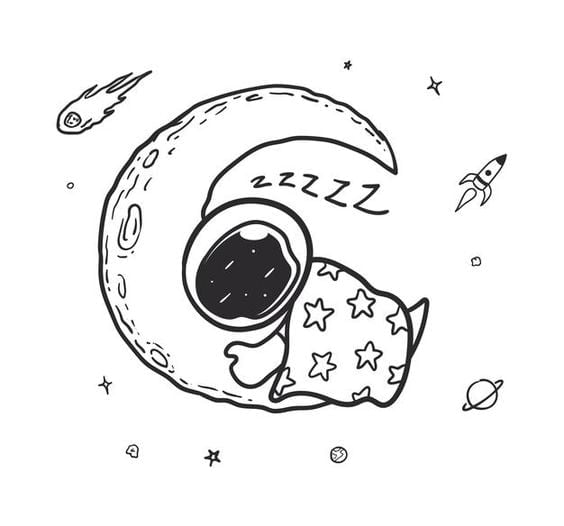
17. The Moon
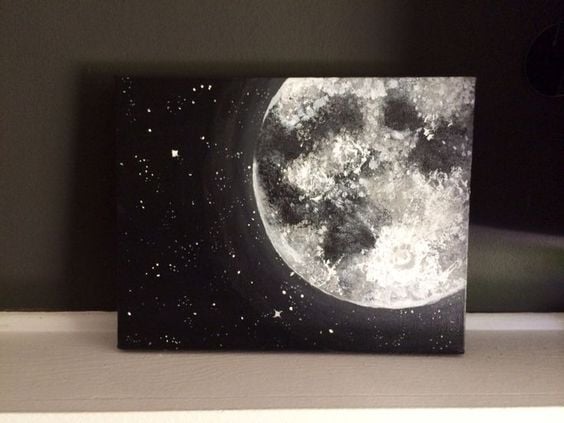
Source: Heather Palsgrove
Painting the moon onto a canvas is excellent practice for your painting technique. It focuses on playing with the blacks, whites, and grays that make up the painting.
It's another excellent way to capture something from the night sky onto a canvas.
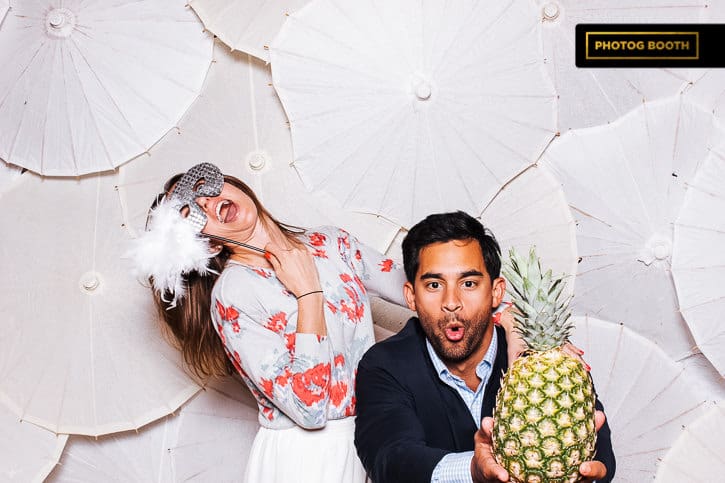
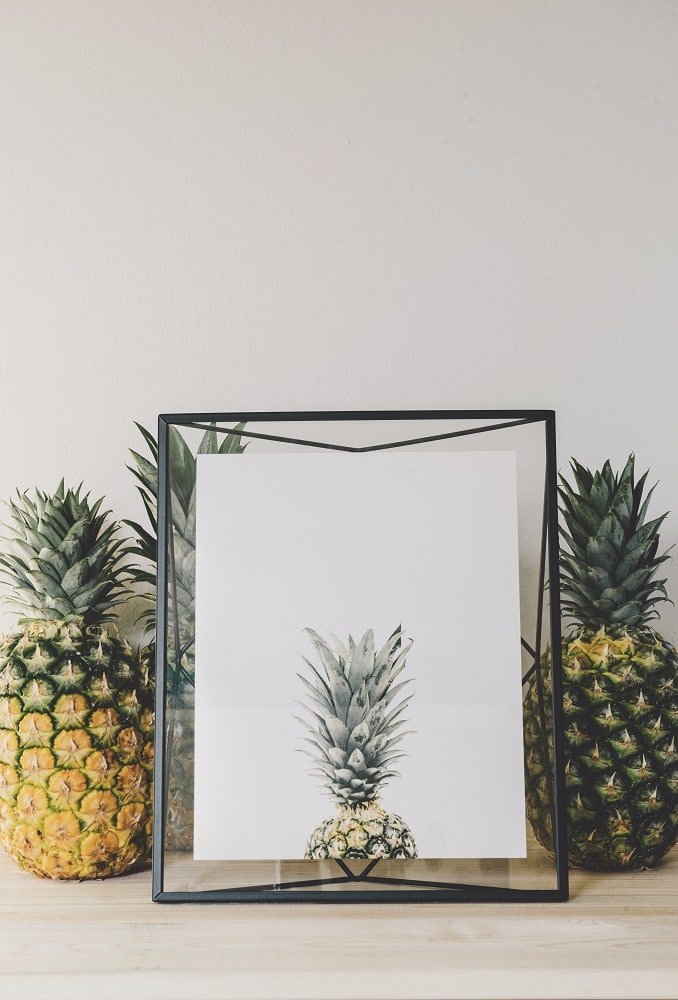
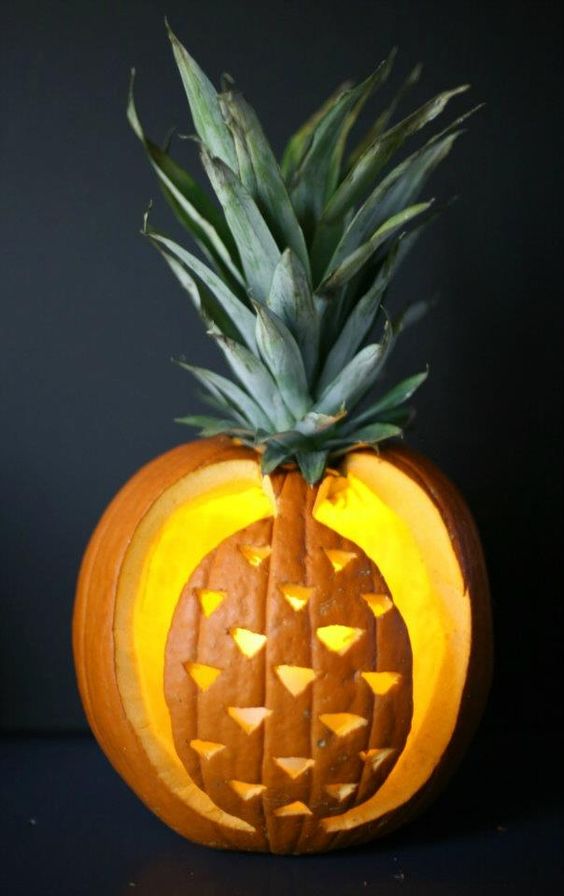
18. Pineapple
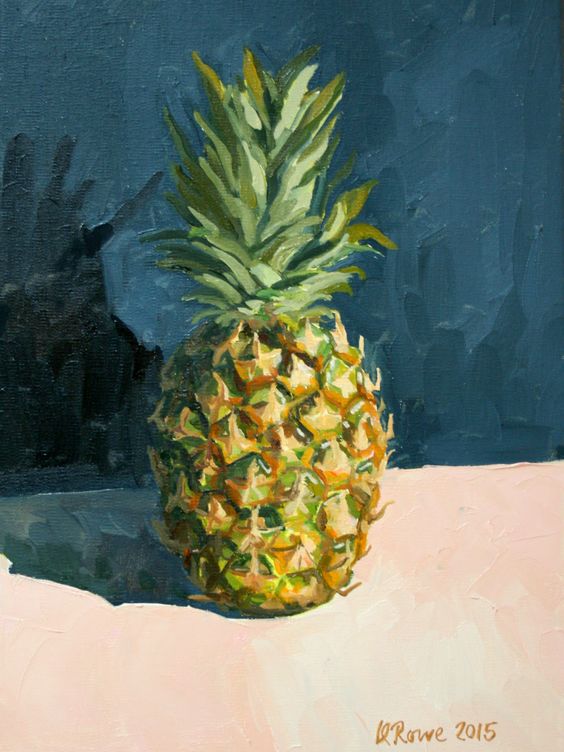
Source: Katharine Rowe
Fruits, like the pineapple, make an excellent subject for art. They're simple everyday items that we're all familiar with.
You can either have a live model for this or look for a step-by-step tutorial online to help you determine how its shadows and details work.
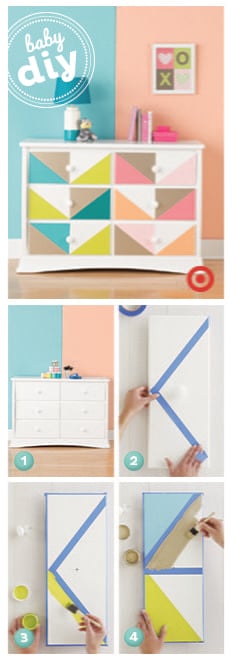
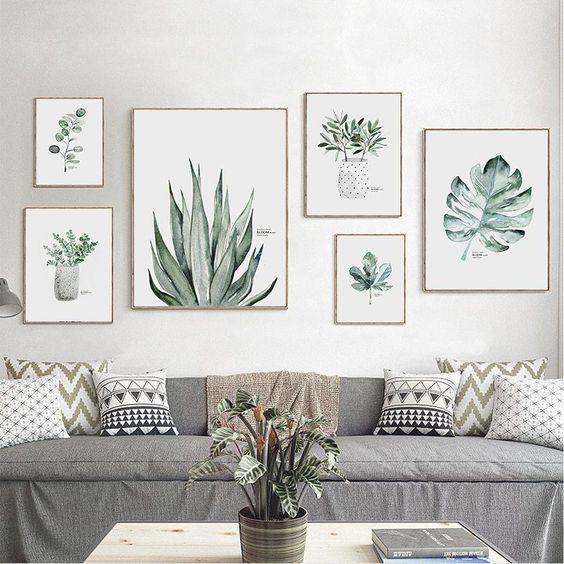
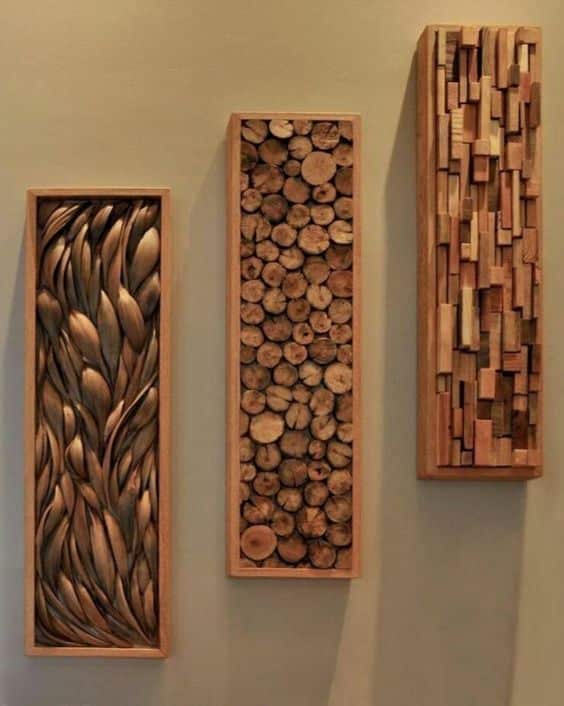
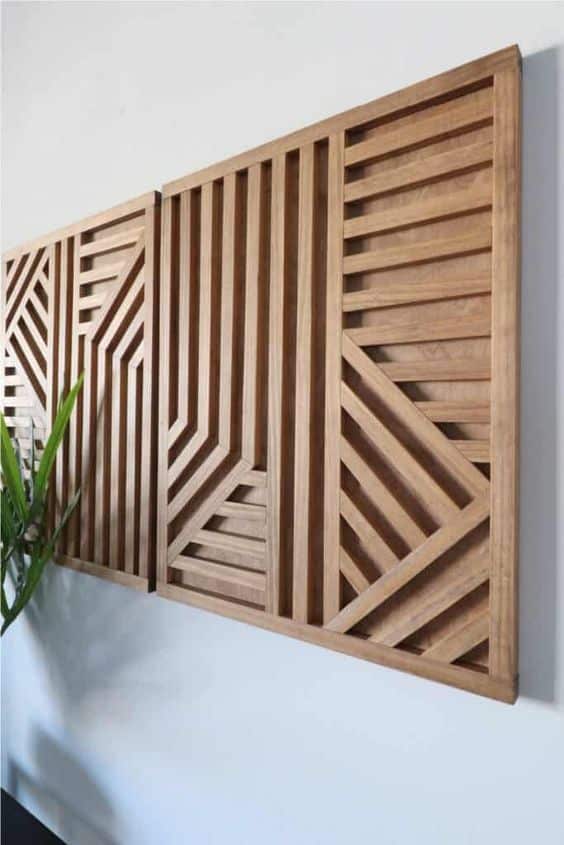
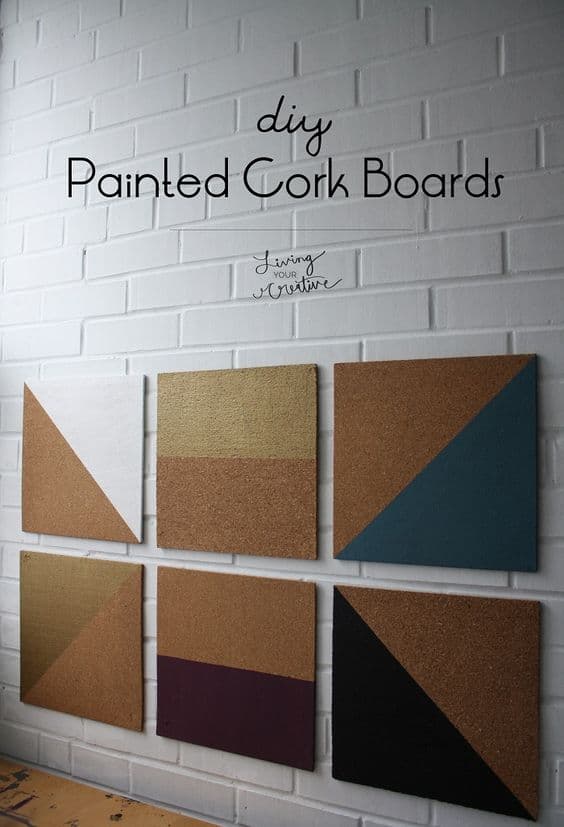
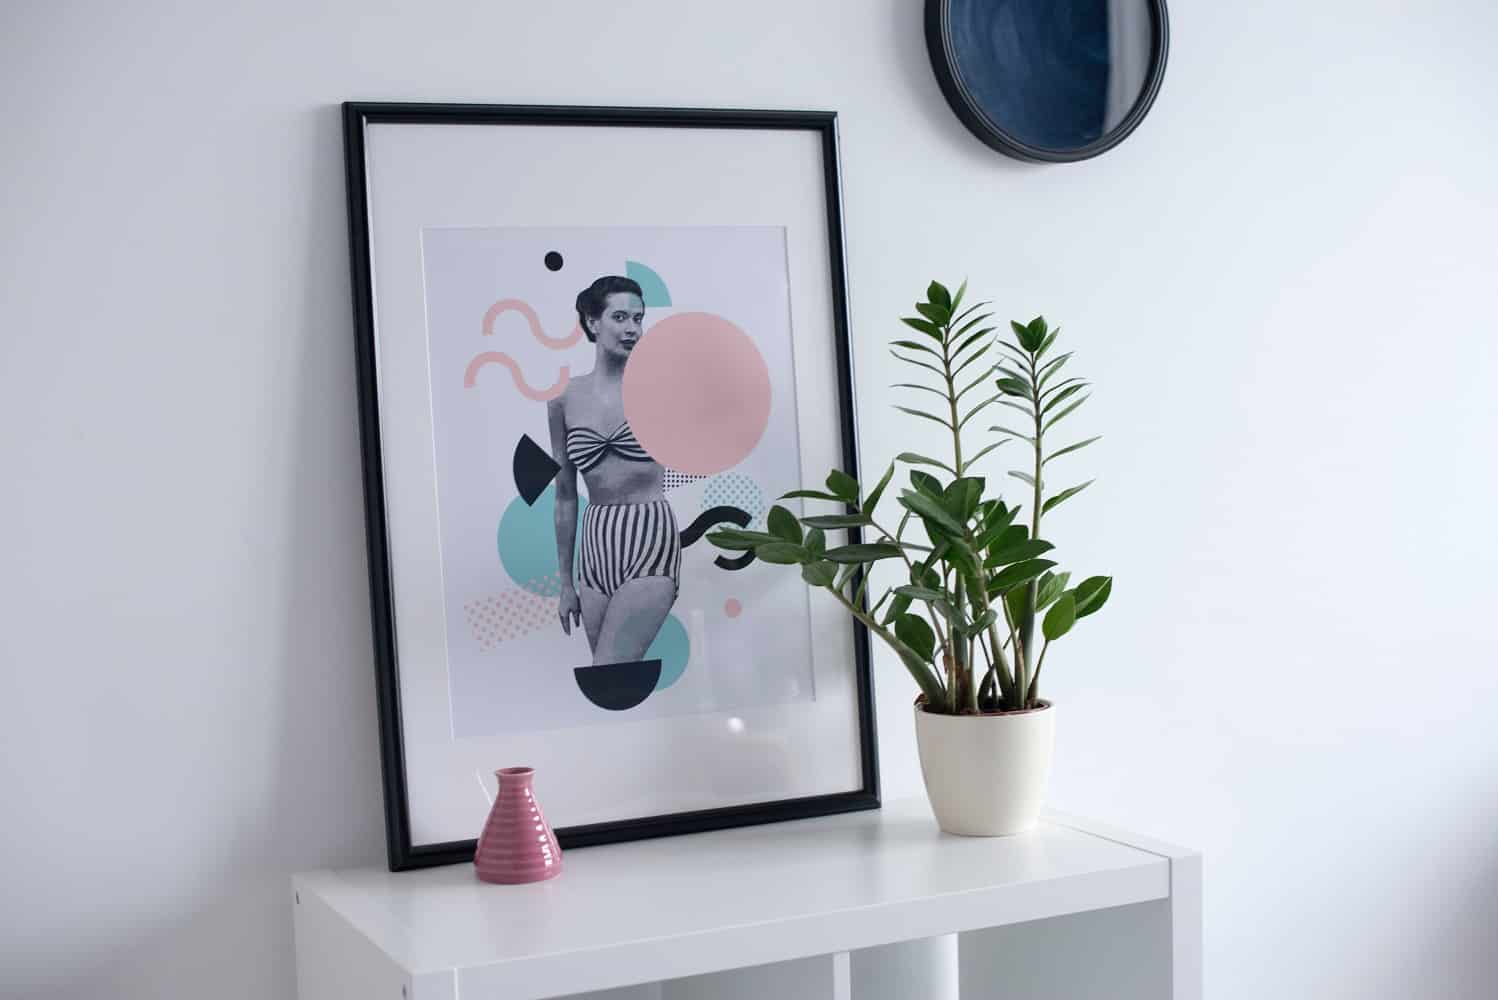
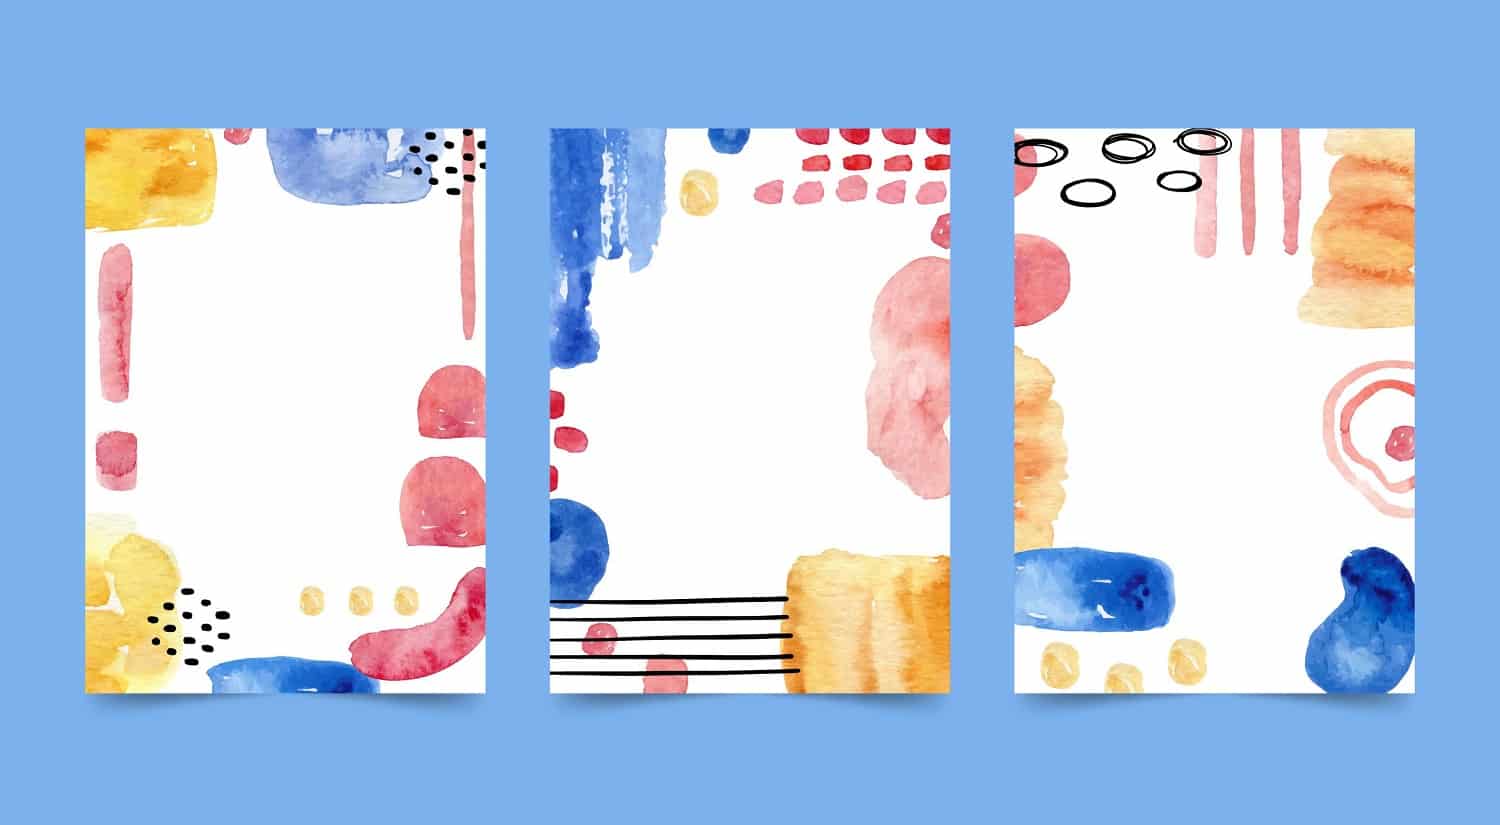
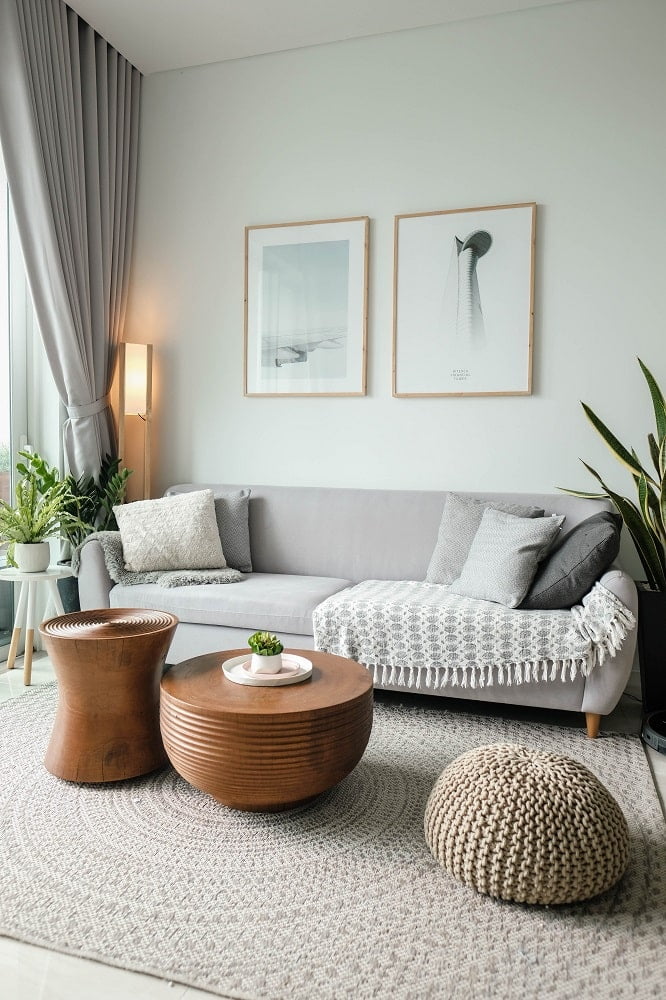
19. Geometric Wall Art
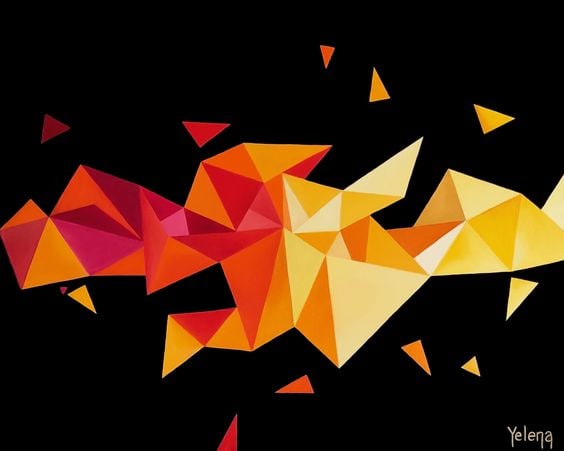
Source: Yelena Revis
Geometric wall art is another common abstract painting idea that works well with acrylic paint. It focuses on sharp angles, shapes, and shades of your colors.
You can add this to your living space to add a little color to your home decor.
20. Butterfly Sitting on a Flower Painting
Source: Suren Nersisyan
Step up from the butterfly idea and have the insect sit on a flower. It will help you learn how one element in a painting is connected to everything else.
It's one of the easy painting ideas that can help enhance your skills as an artist.
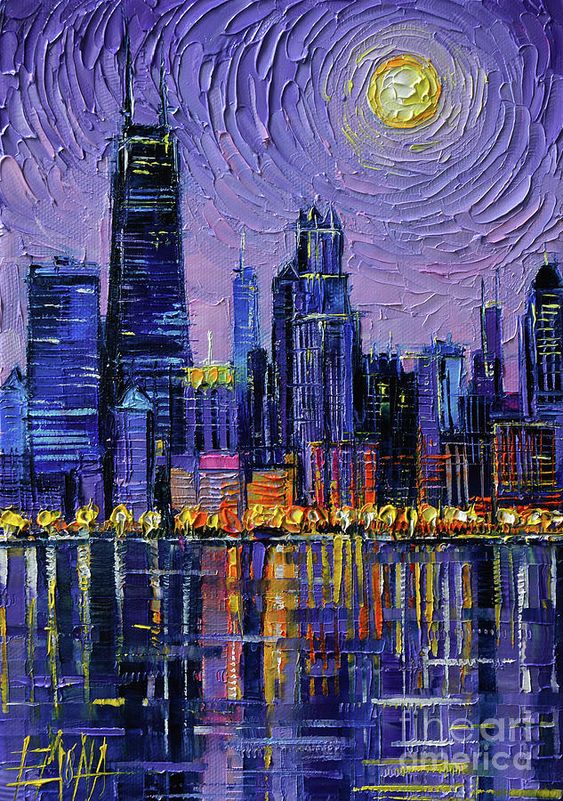
21. City Skyline
Source: Mona Edulesco
The city skyline can be a serene subject for any artist, no matter how chaotic the rest of the city may be. You can play with colors and brush strokes to get the details needed to depict your subject.
Learn to apply your paints in a deliberate way to get the intricate details of the city.
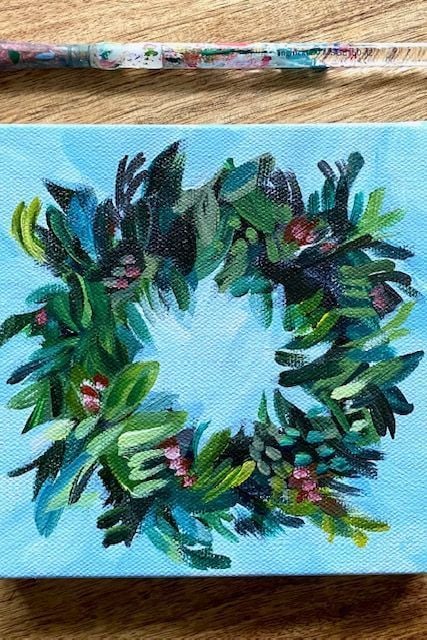
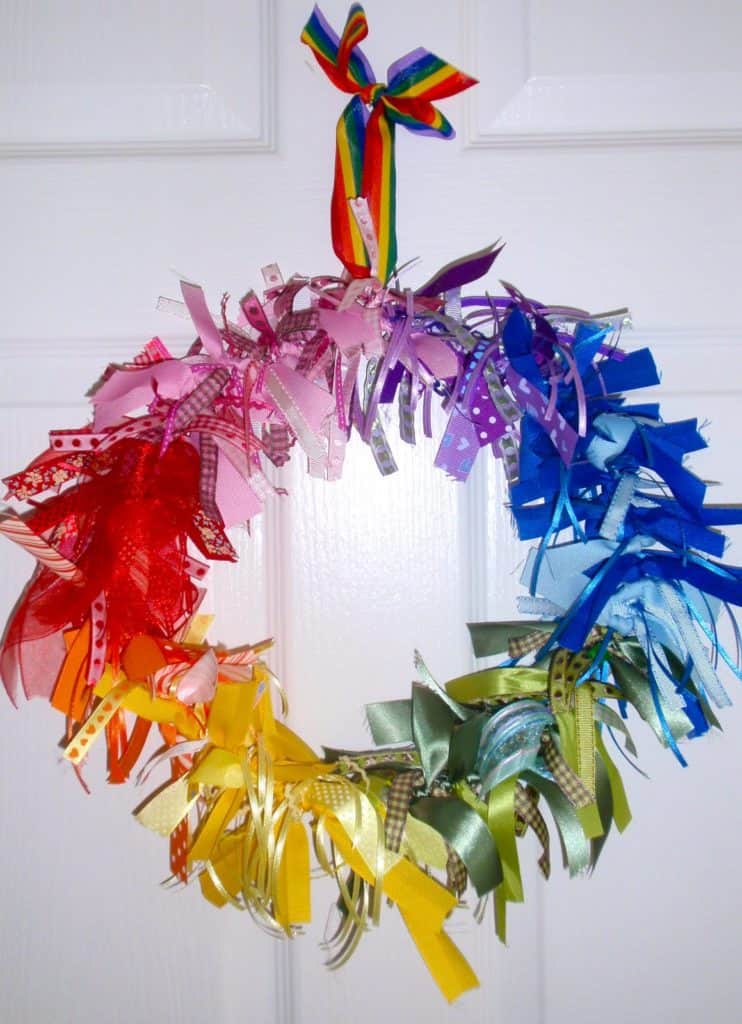
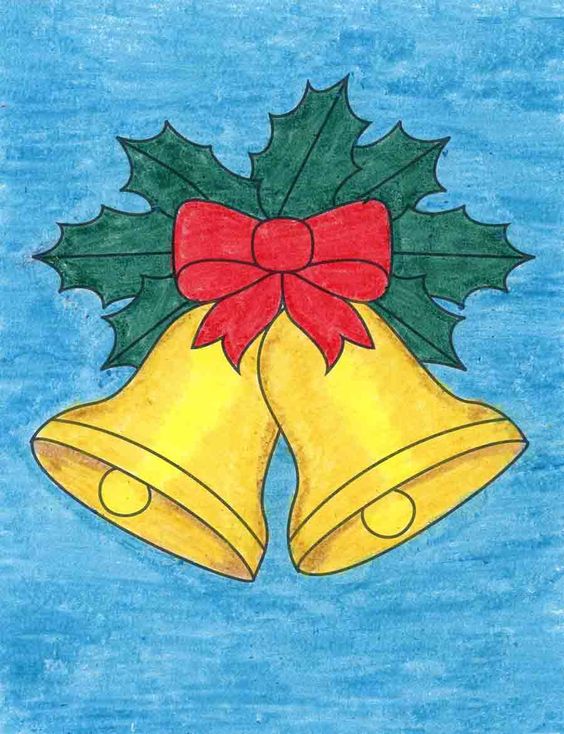
22. Wreath
Source: Elle Byers
If you're looking for more easy canvas painting ideas that fit the holidays, you can also try this Christmas wreath.
Its details are easy to work with and a great way to spread holiday cheer. Feel free to experiment with how you work on the leaves.
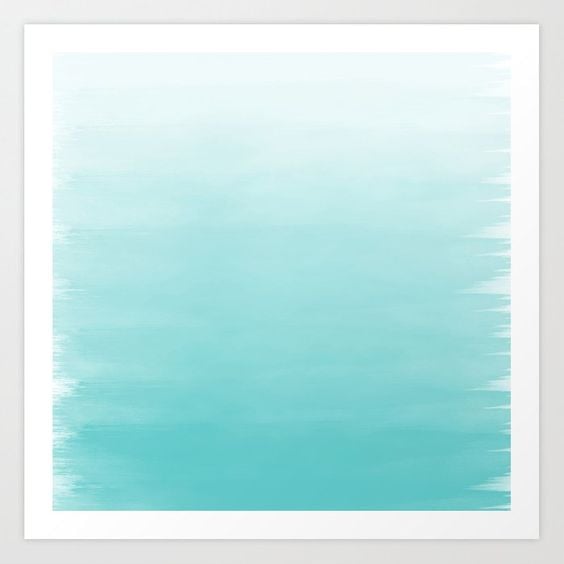
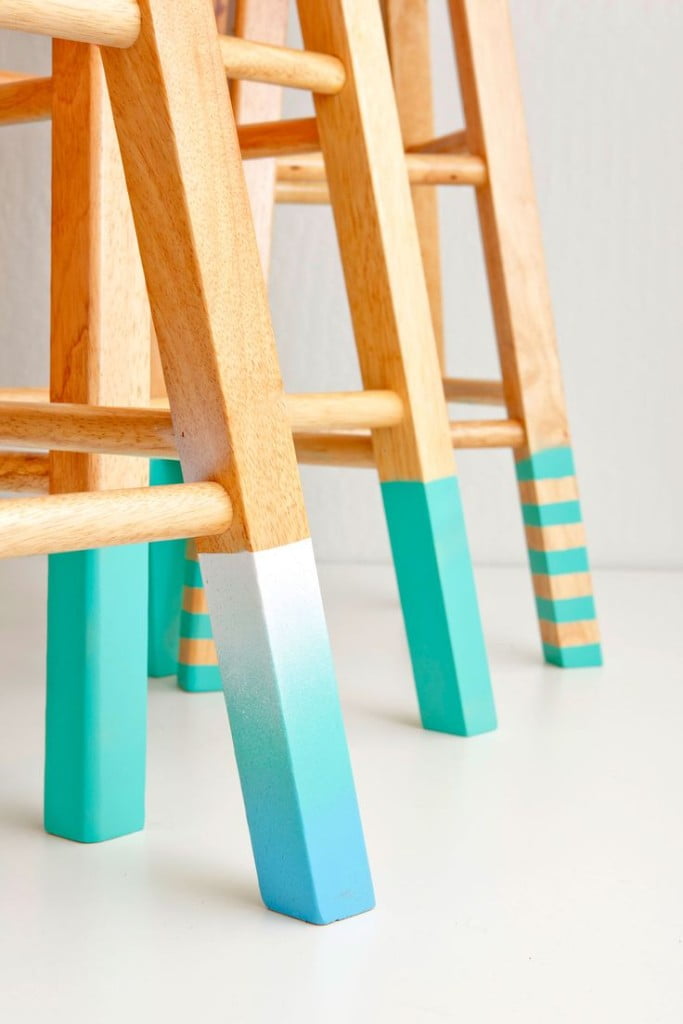
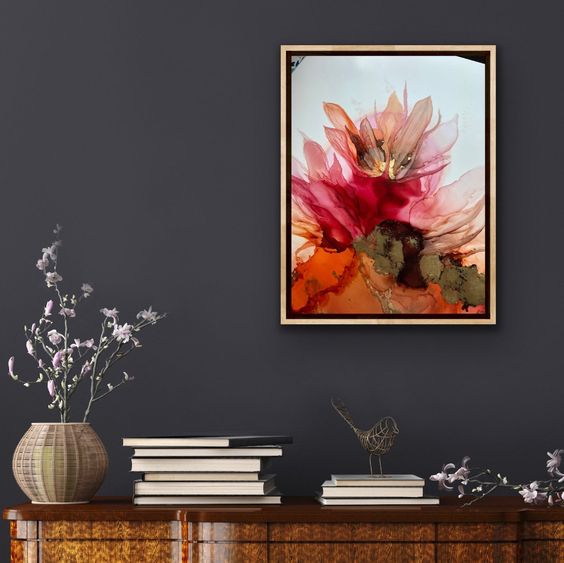
23. Ombre Brushstroke Art
Source: Pink Water
An ombre brushstroke art is a great way to learn about blending the different shades of a color to make it look seamless on a canvas.
There's always something satisfying about a successful ombre.
24. Bison in the Mist
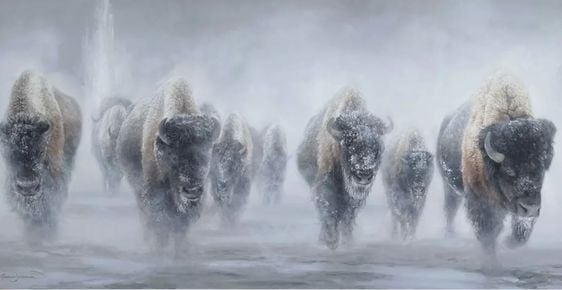
Source: James Corwin
Capturing bison in the mist on a canvas is another excellent way to have the wonders of nature close to you.
This painting idea may look a bit complicated. It's best to look for a step-by-step tutorial to guide you while working on this painting project to help break things down.
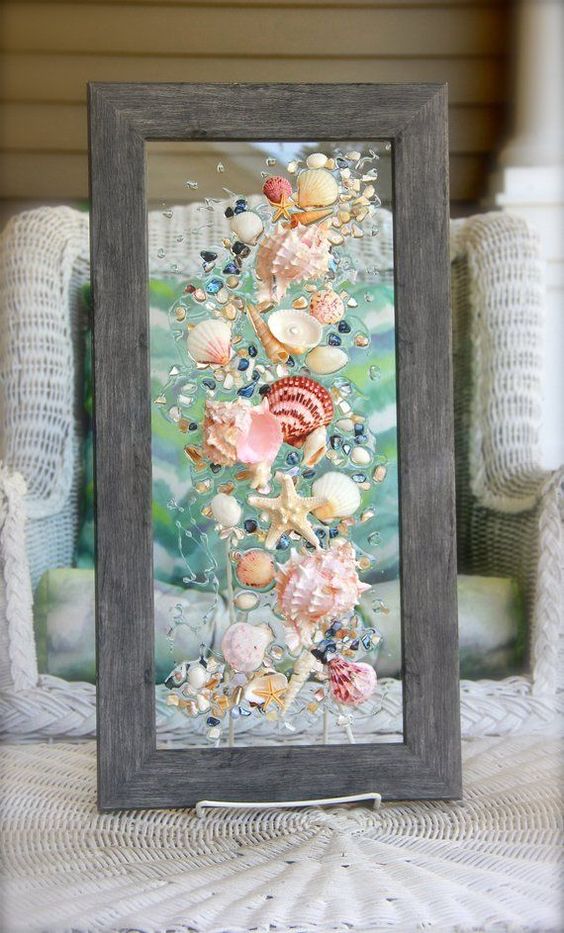
25. Easy Beach Painting
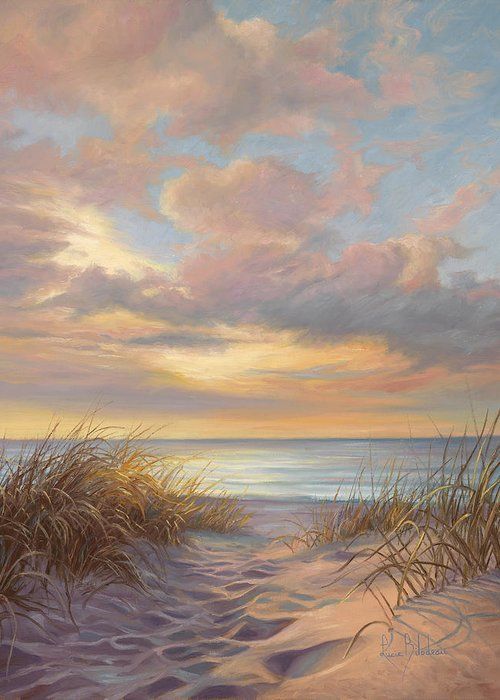
Source: Lucie Bilodeau
Many easy canvas painting ideas also capture the serenity of a beach.
It's a great painting to work on, especially if you're doing it on an actual beach. It's a way to unwind and practice your skills.
26. Watermelon
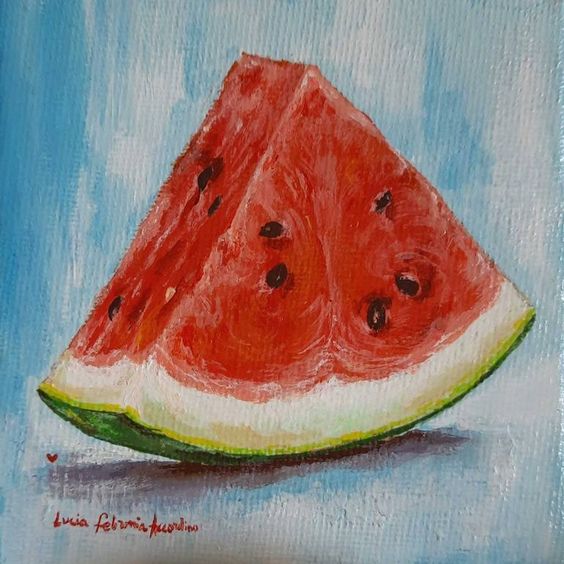
Source: Lucia Accordino
Returning to the fruits, you can try painting a watermelon on your canvas.
Its simple shapes can help you focus more on the small details that come with this fruit, helping you work on your technique.
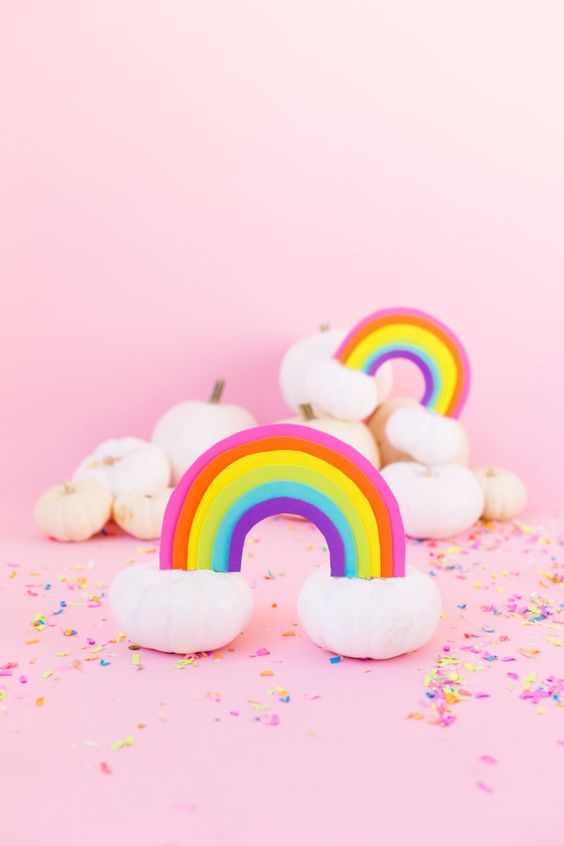
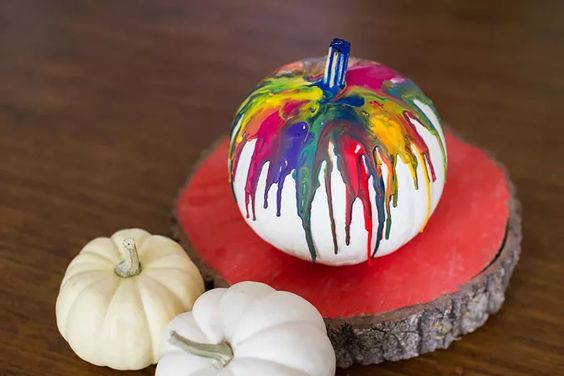
27. Fingerprint Rainbow
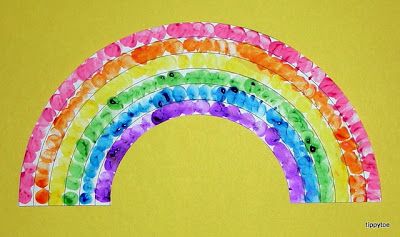
Source: Pinterest
Here are more ideas on how to leave the brush behind and get creative with painting. This idea is so much fun, especially for the kids.
This painting project is fun, making it easier to get younger people into art and painting. You can also put it up in the kids' room after as a decoration.
28. Lemons
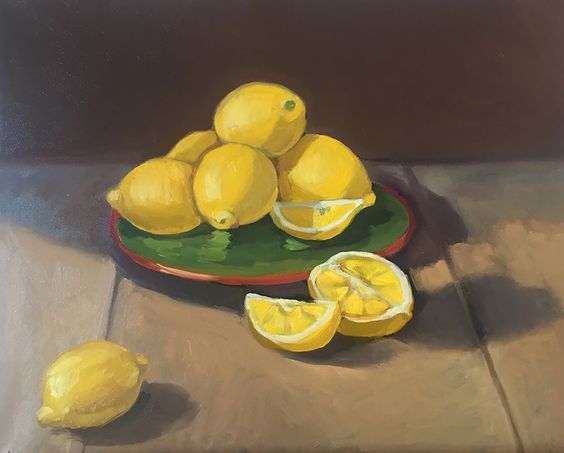
Source: Vicky Tesmer
When life gives you lemons, turn them into a work of art.
Lemons are one of the easy painting ideas that can help you work on light and shadows. Its quirky shape also enables you to work with different angles.
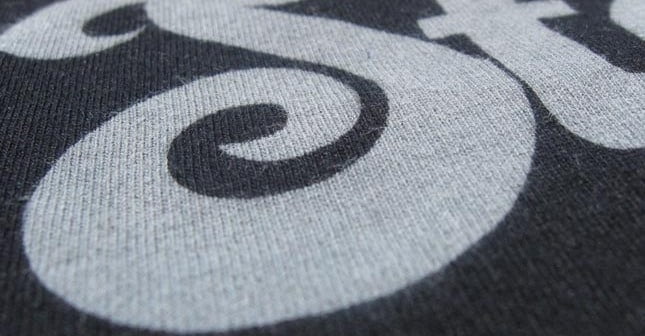
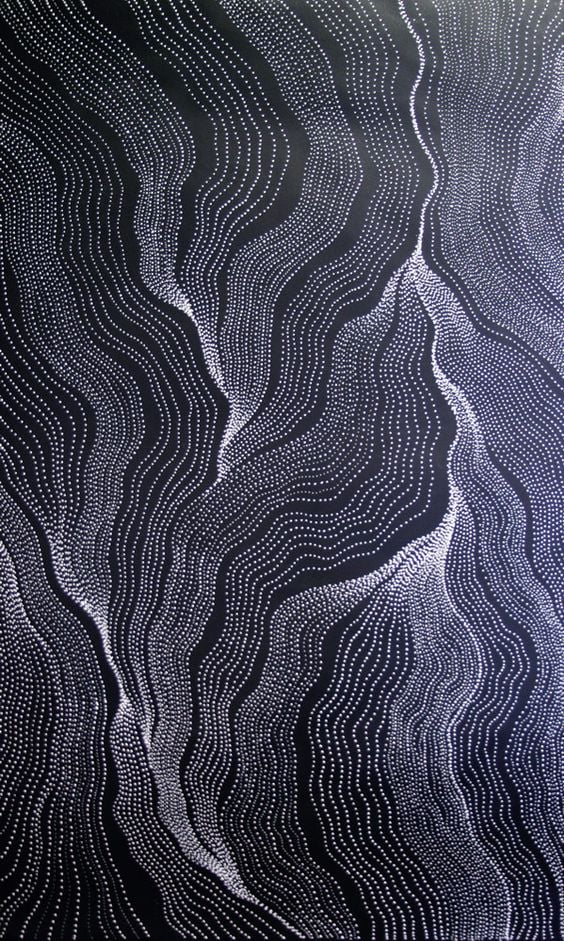
29. Simple Swirls
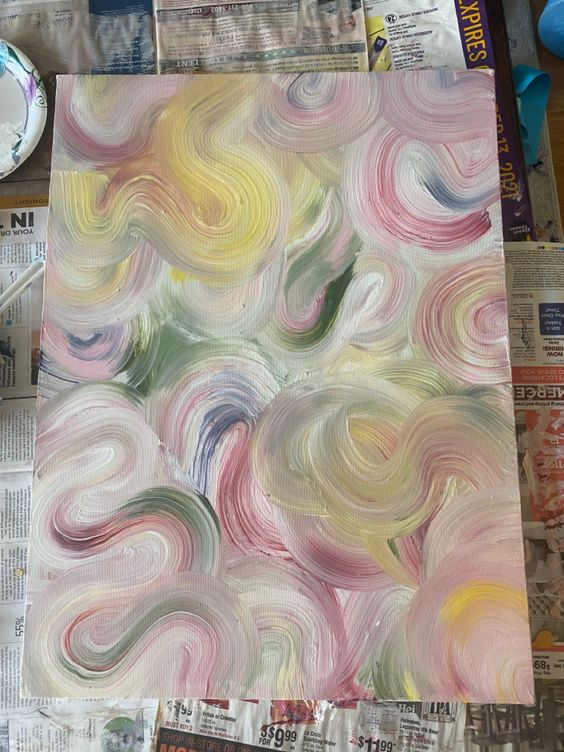
Source: michelle
Swirls and colors are a fun way to work with acrylic paint, especially if you love abstract painting. Each attempt will be different from the one before.
They're another one of the more simple canvas painting ideas for beginners that can help work on their technique.
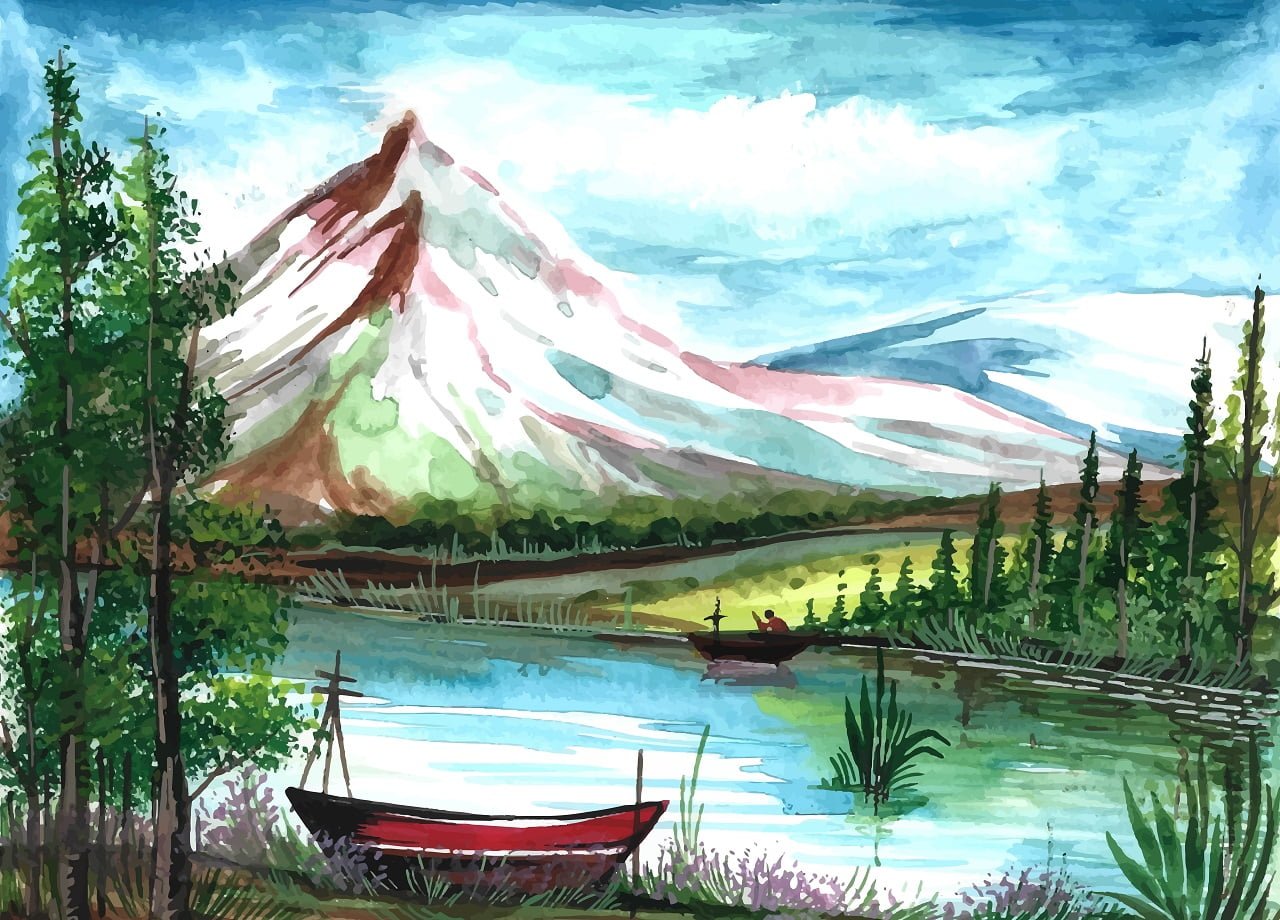
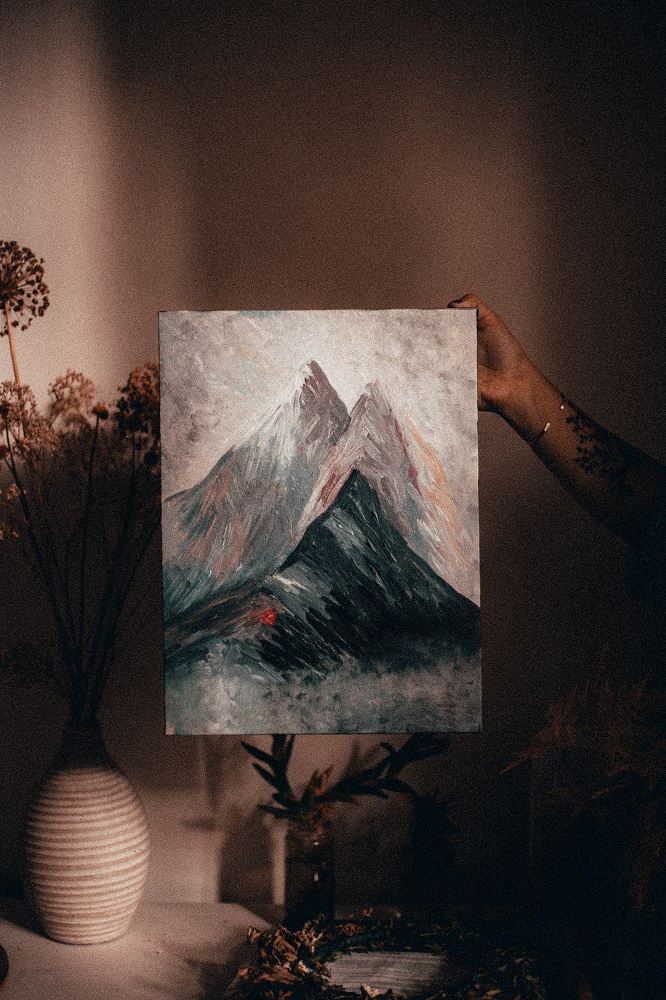
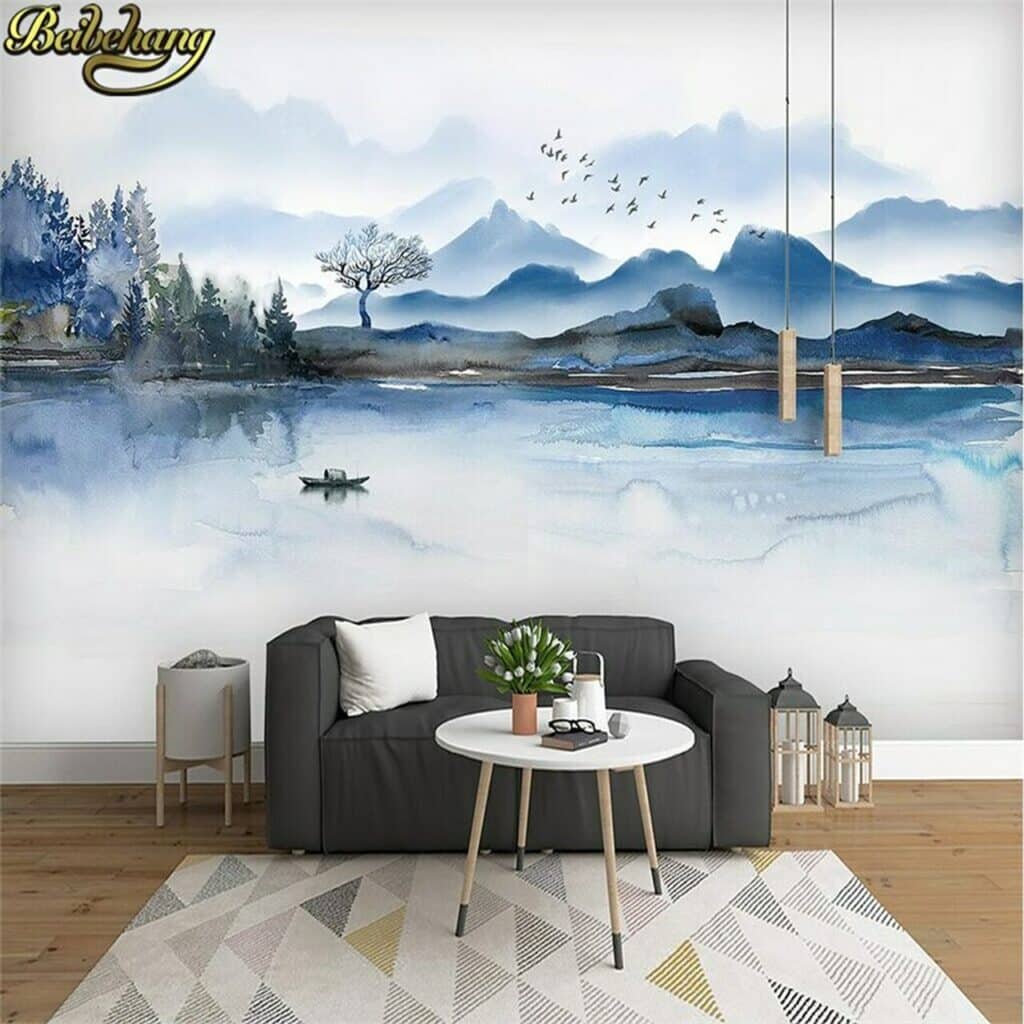
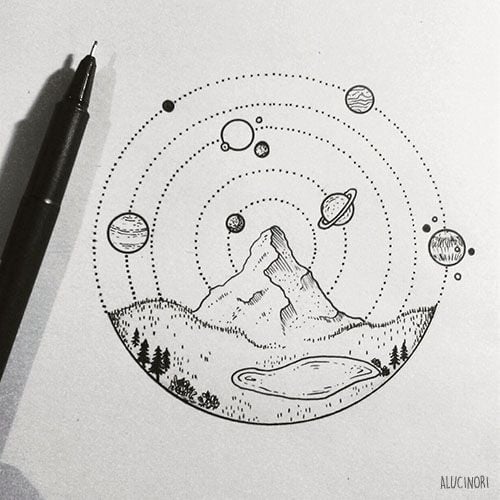
30. Mountain Landscape
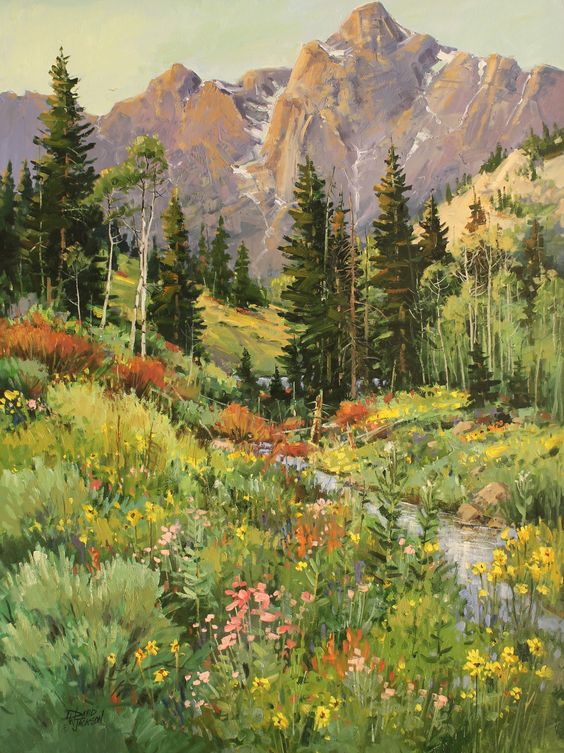
Source: David W. Jackson
A mountain landscape is another common subject for art. They're relatively easy to make and can help you improve your skills as an artist.
It's one of the acrylic painting ideas with many online tutorials.
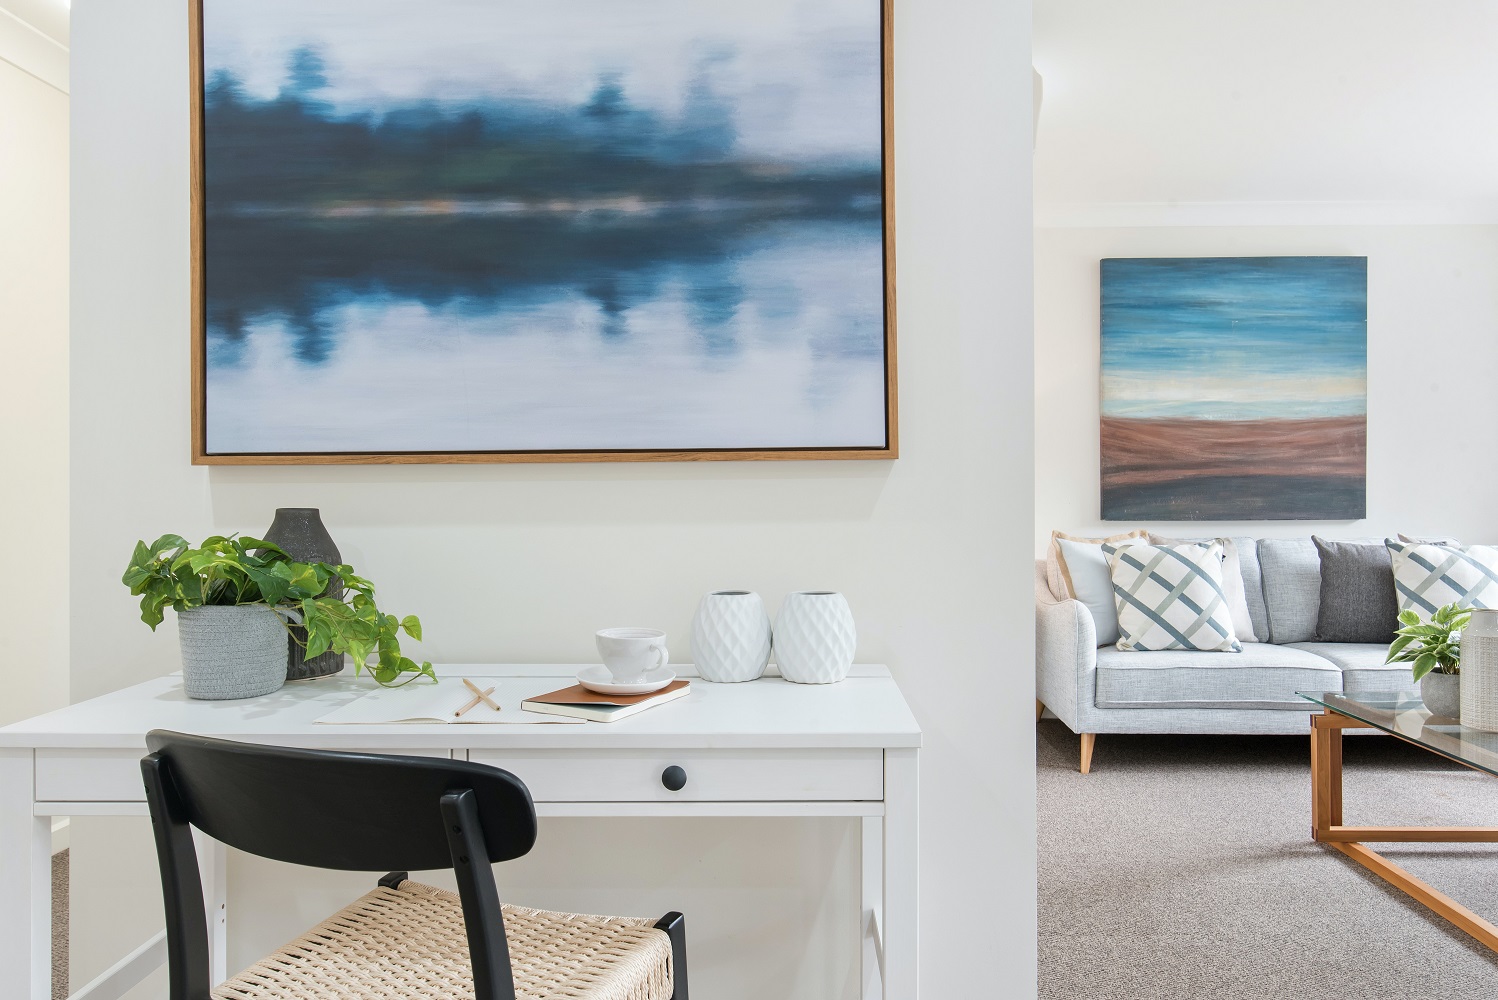
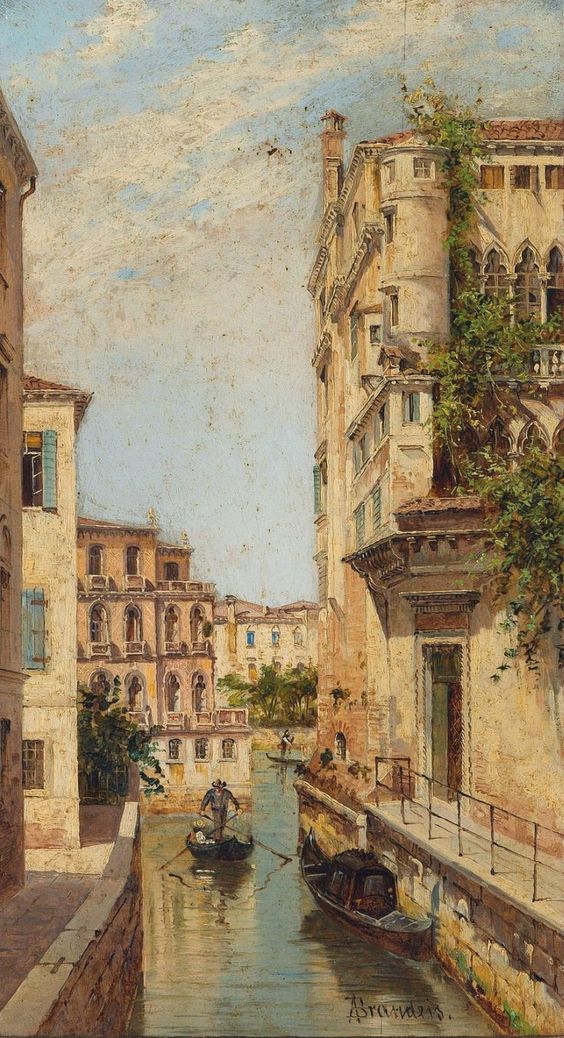
31. Salt Marsh Canal Landscape
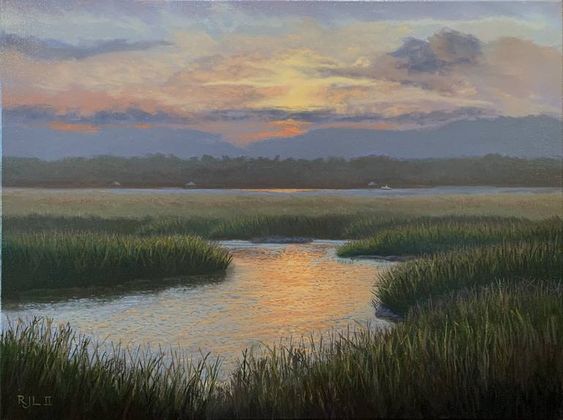
Source: Ron Louque
This landscape is a great subject for canvas painting, especially if you want to improve your technique.
It has an outstanding balance between greenery and bodies of water, making you work with different textures and strokes.
32. Birch Tree
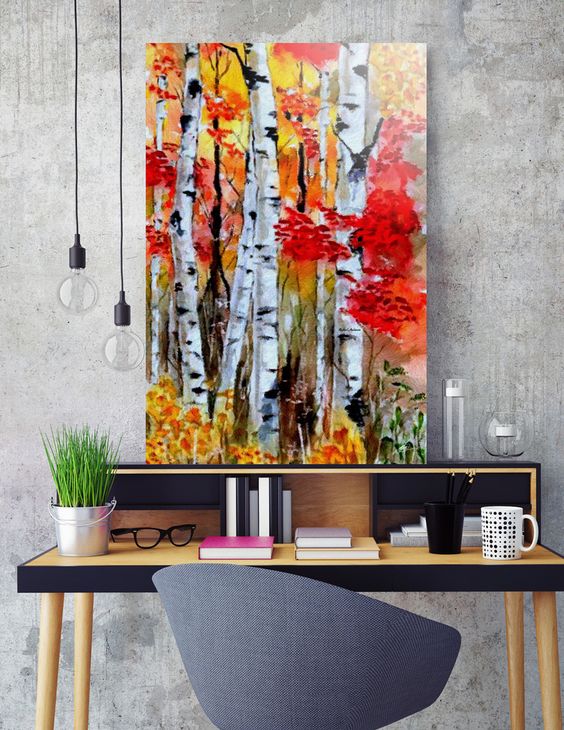
Source: Rafael Salazar
A birch tree painting on canvas can double as a great gift idea. Its aesthetics tend to fit many decors at home.
It also helps you work on playing with colors that can go well with this type of tree.
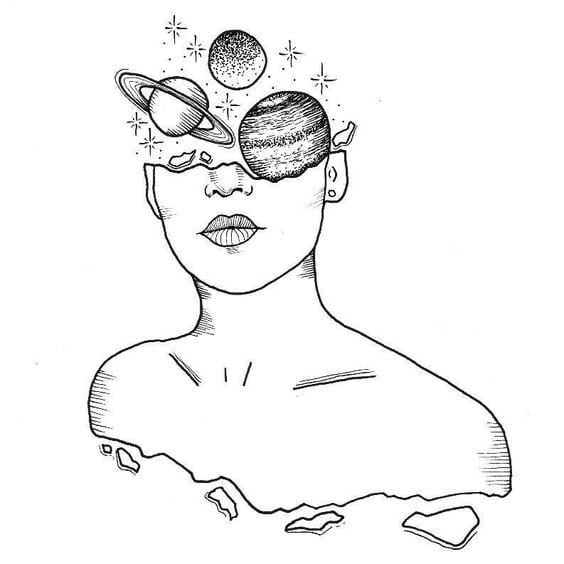
33. Mother and Child
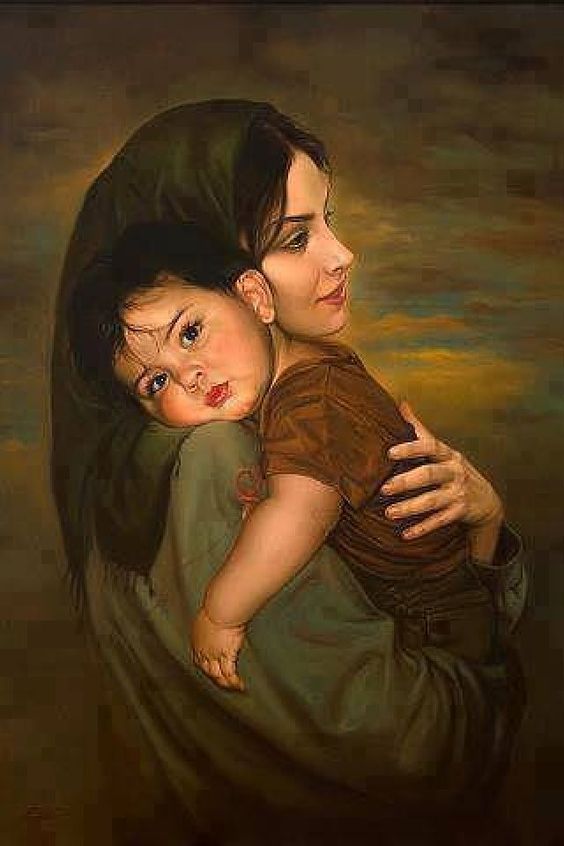
Source: Grace Fox
If you're looking for human subjects, you can try painting out a mother and child. You can make it as realistic or as abstract as you want.
This trope was often painted in the past, giving you a lot of inspiration to work with if you're unsure where to start.
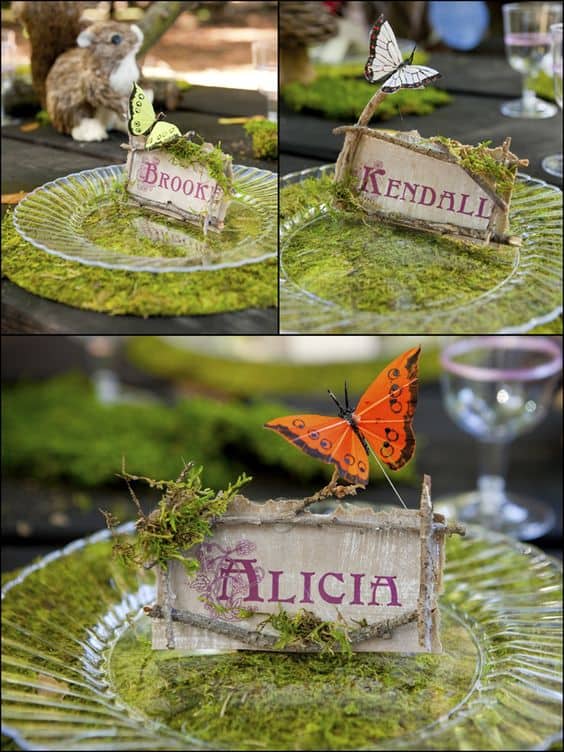
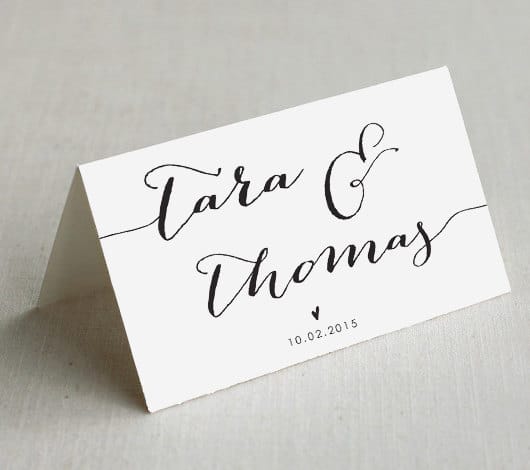
34. Welcome Home Sign
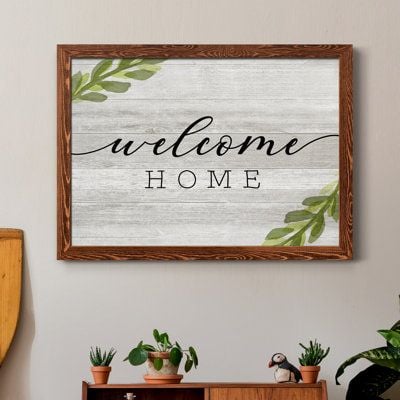
Source: Gracie Oaks
If you're looking for a painting that doubles as a greeting to your guests, try this welcome home sign. You can design it based on your aesthetic.
You can work on your calligraphy or font for the text of your sign. Stencils are also available online to help you paint this onto your canvas.
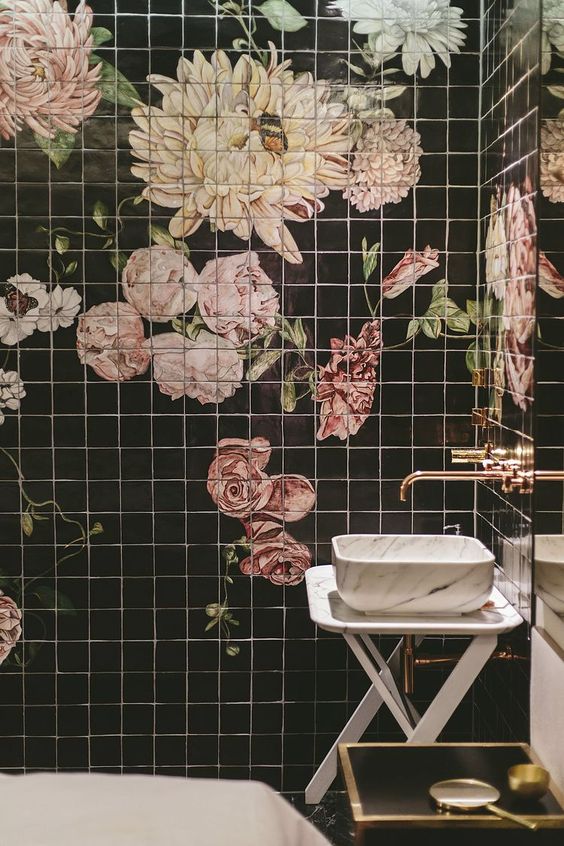
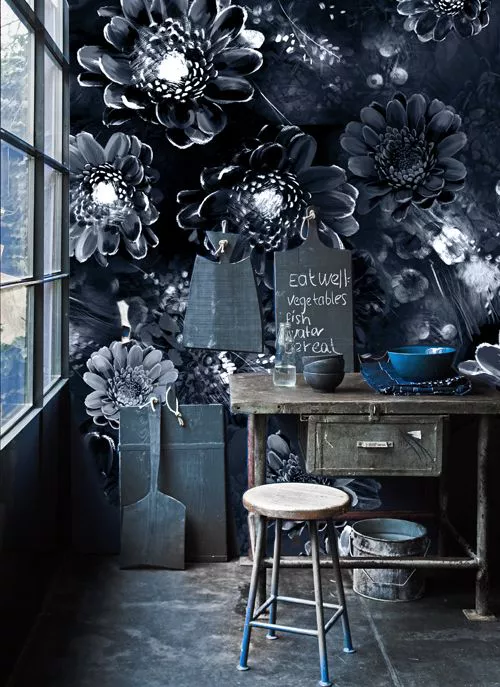
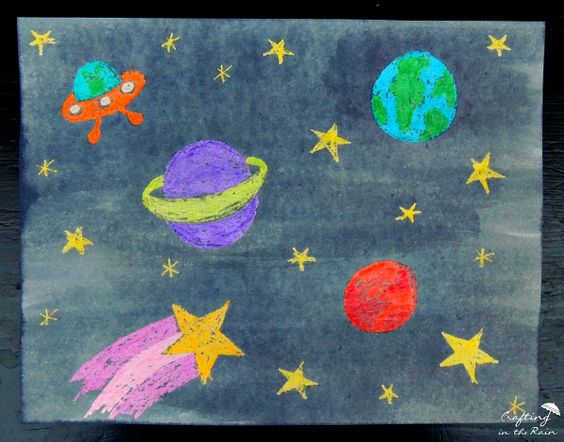
35. Painting on Black Canvas
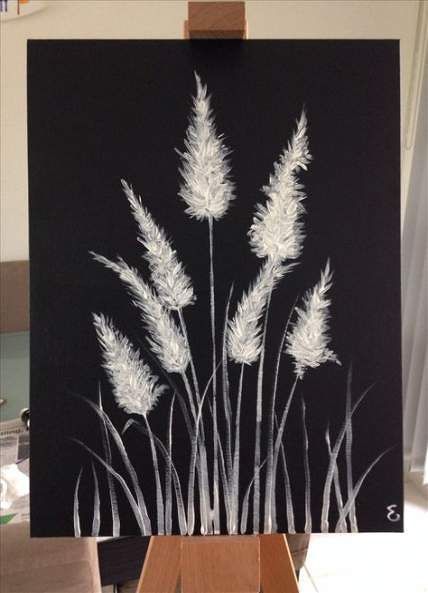
Source: Pinterest
A black canvas is interesting to work with, especially for beginners who want to experiment with colors. The brighter your colors, the more they stand out against the darkness.
You can either focus on your vibrant colors or a simple white. It helps highlight the details of your work.
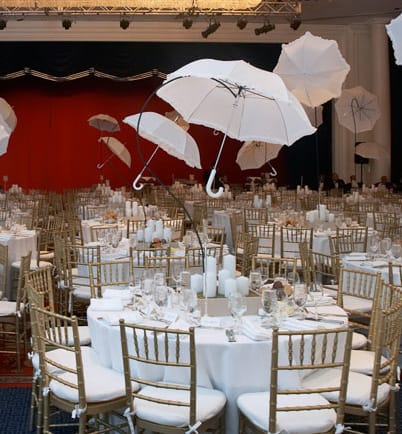
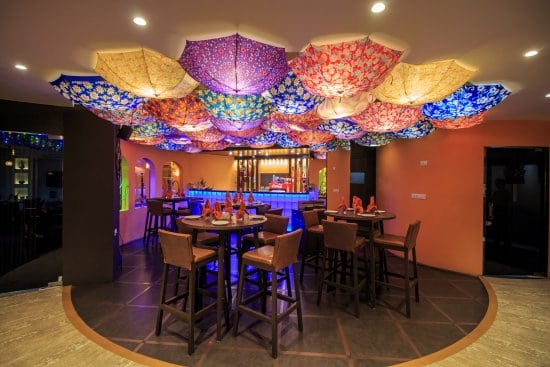
36. Umbrella

Source: Pinterest
An umbrella is another simple subject for your canvas since you see it daily. You can have it painted in different ways, whether closed or open.
Try to draw the umbrella in different weathers to help you understand the differences and colors involved.
37. Mermaid
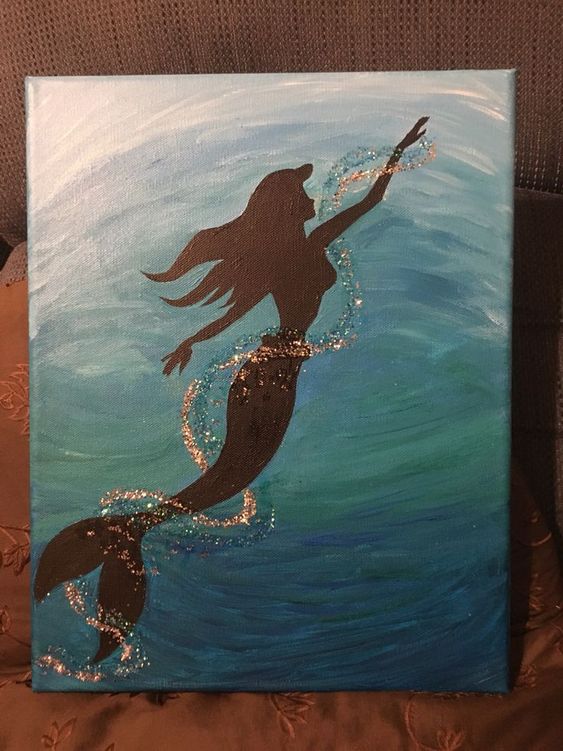
Source: Pinterest
Whether you're a Disney or a fantasy fan, a mermaid would be a great idea for a whimsical canvas painting.
Since it's a fictional creature, it's open to interpretation, making it more fun to create. Don't be afraid to experiment with features and backgrounds.
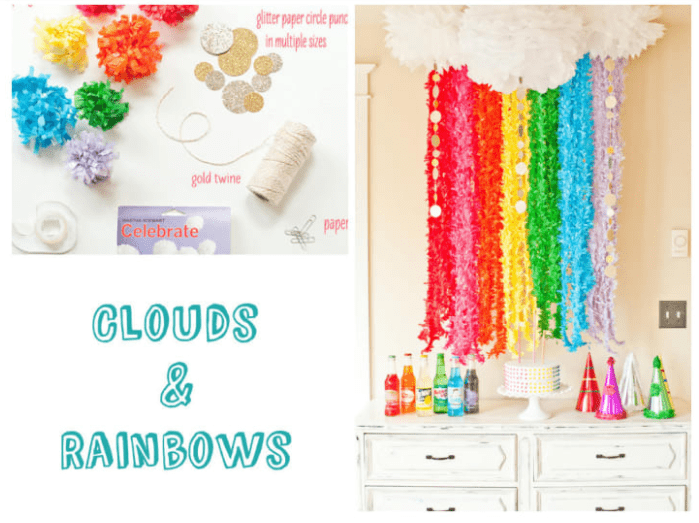
38. Painting Clouds
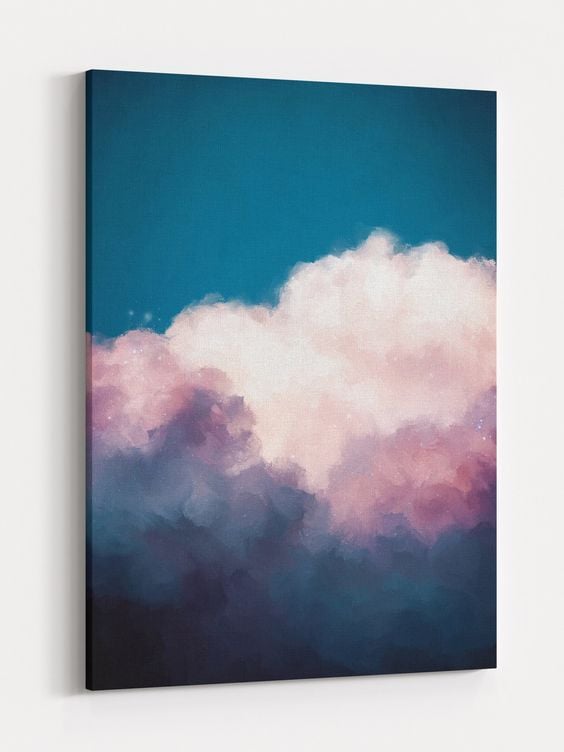
Source: Corinne Melanie
The texture of clouds is always a peculiar thing. Since there are different kinds, you can try each, studying different color combinations and strokes to create this masterpiece.
Learn to play with the colors and weather involved. A slight change from sunny to cloudy can mean a significant shift in the features of your cloud painting.
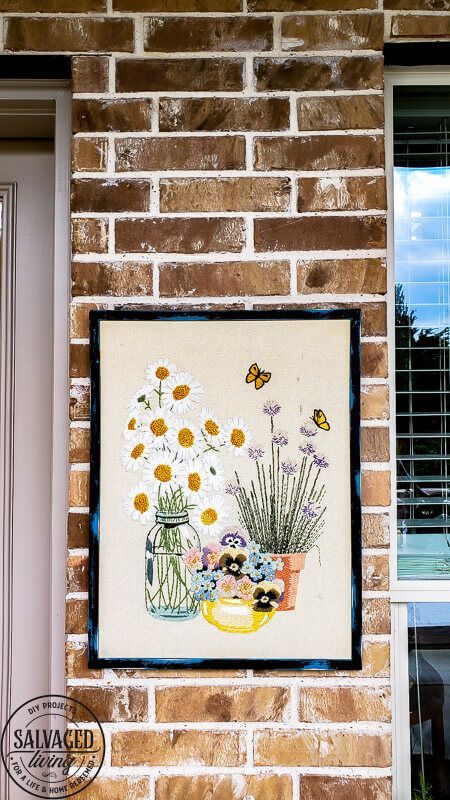
39. Daisies in a Jar
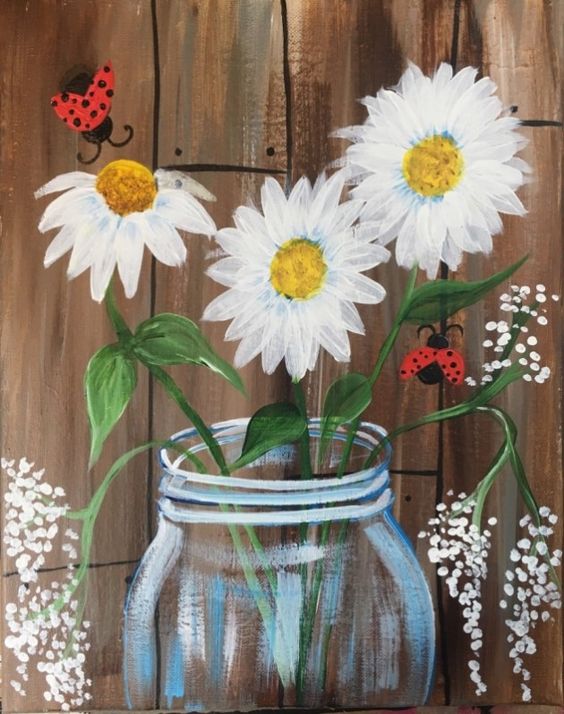
Source: Tracie Kiernan
Daisies are usually simple to create, whether with a pen or acrylic paint. It makes this canvas art easy to work with, especially if you're a beginner.
Try to add little insects and other features to make your art more unique. All of them will help you work on relationships between the different elements you create.
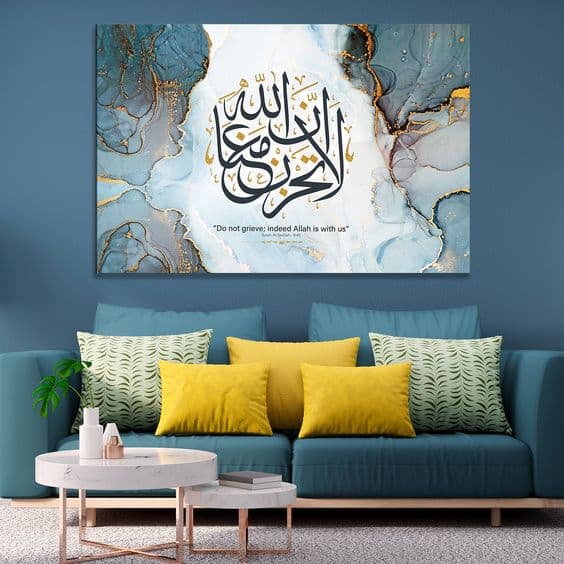
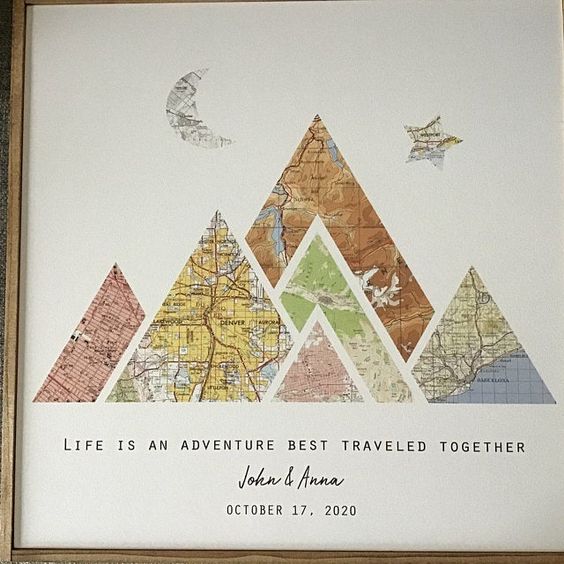
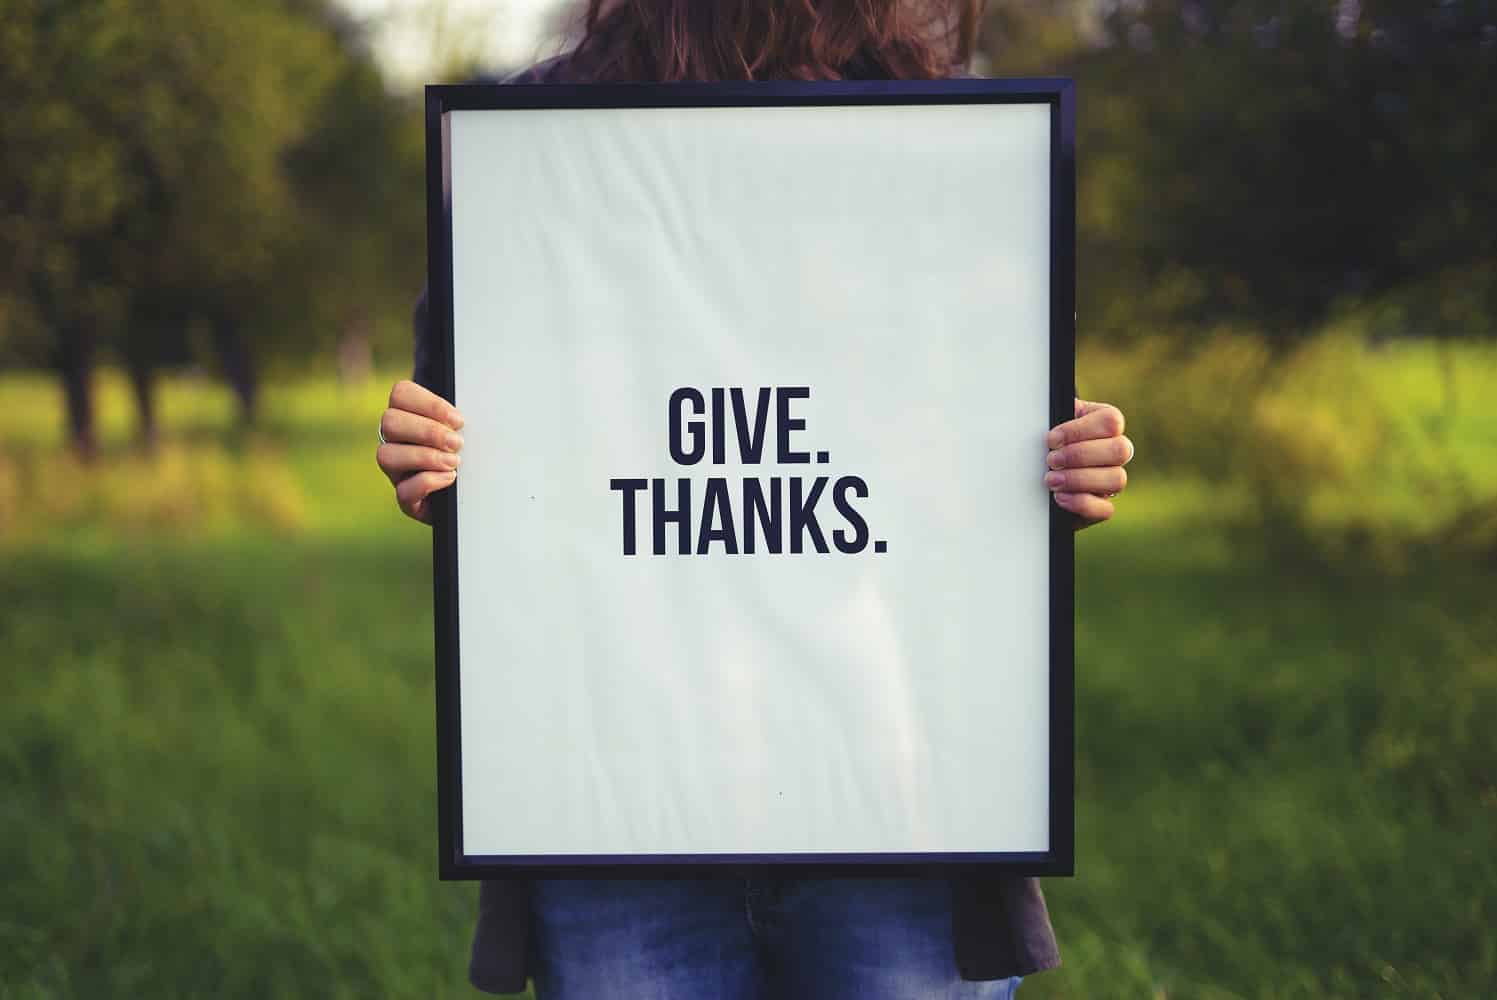
40. Motivational Quotes
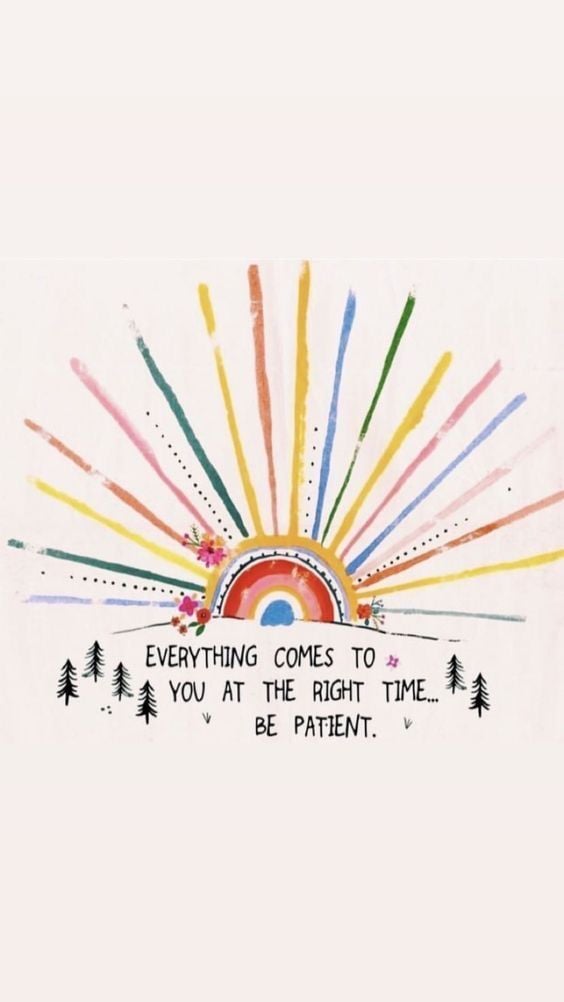
Source: Pinterest
Canvas is an ideal medium if you want a great way to share inspirational and motivational quotes. You can add elements related to the words you've painted on the canvas.
It can be a quote that an author posted or words that you live by. Make it colorful and fun to bring out the positivity in the room.
You can also place these quotes on mini canvases. Having a wall filled with this much positivity is always uplifting to people.
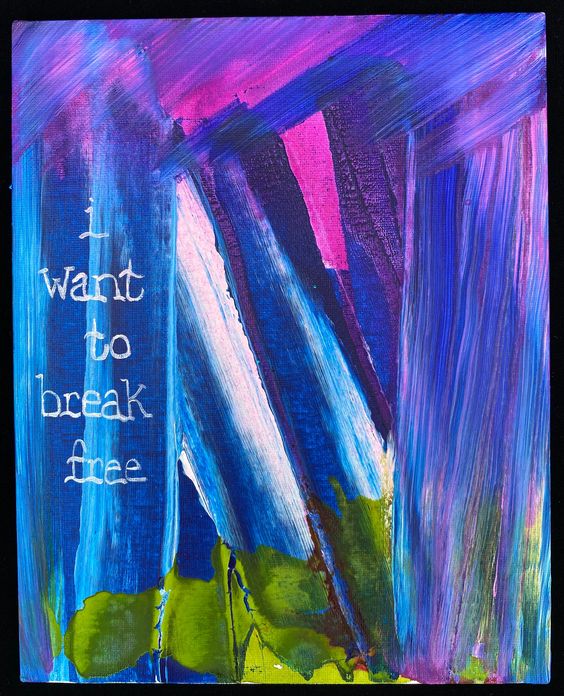
41. Song Lyrics
Source: Jennifer Gail
There are times when words to a song just hit differently. The more it inspires you, the more they become great canvas painting ideas since they keep you motivated.
Paint the words that speak to you the most. It's a great way to remember notable artists' words and have these lyrics in your style.
Like the quotes, you can also try having this on different canvases. They can be fun to create, especially since they keep the creative juices going.
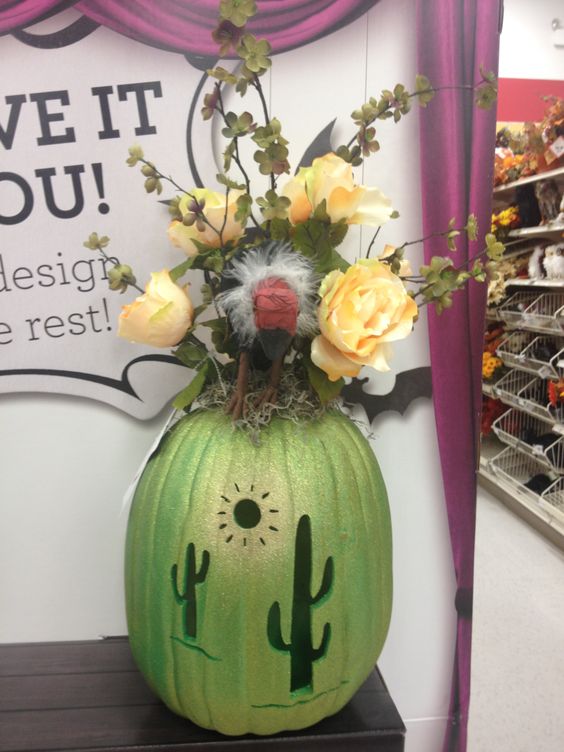
42. Desert Sunset Paintings with Cactus

Source: Zazzle Paper
Deserts are serene places that have been the subjects of paintings for many people. They're even more impressive on canvas since they capture this wonder of nature.
This canvas art is another way to work with sunsets. It's great for learning how to blend those bright colors to create the perfect sunset.
43. Paint Hydrangeas
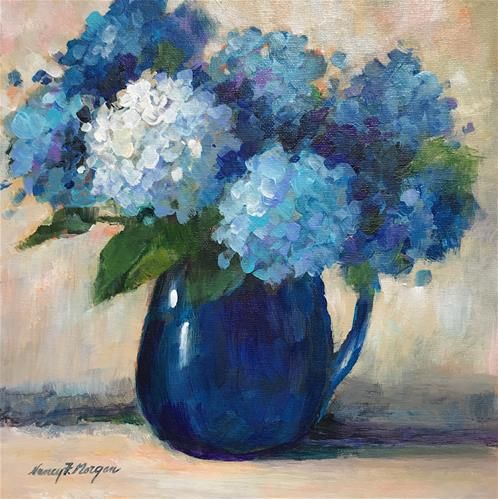
Source: Nancy F. Morgan
Painting hydrangeas mean you have to work with small details, especially for the petals of the flowers. It also works with various colors. You can stick to one color with different shades or different ones altogether.
You can be creative with painting the small details. Some work with smaller brushes, while others work with cotton swabs.
There are also different settings you can do for hydrangeas. They will surely be beautiful whether you have them on a vase or a field.
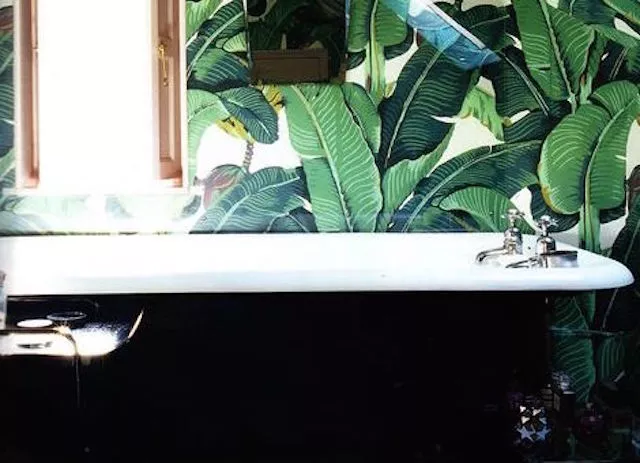
44. Palm Tree
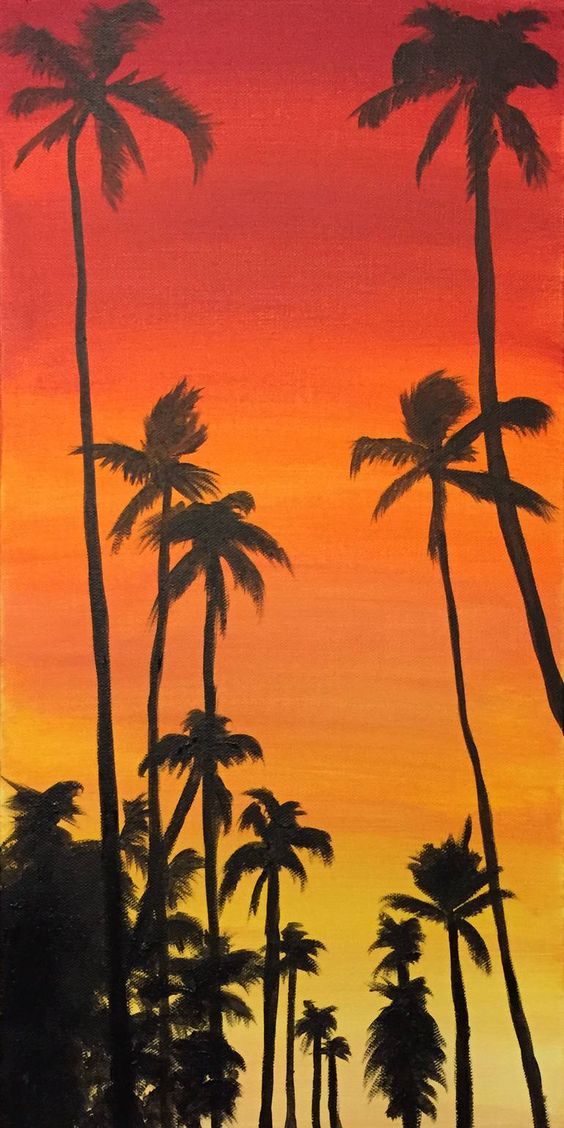
Source: Mark James
If you're into more tropical vibes, you can try to paint a palm tree on your canvas. They go well with various backgrounds, whether it's the urban scene of Los Angeles or the serene beaches.
You can either work with the silhouette of your palm trees or have your subject in broad daylight. The latter will help you work on the tree's intricate details.
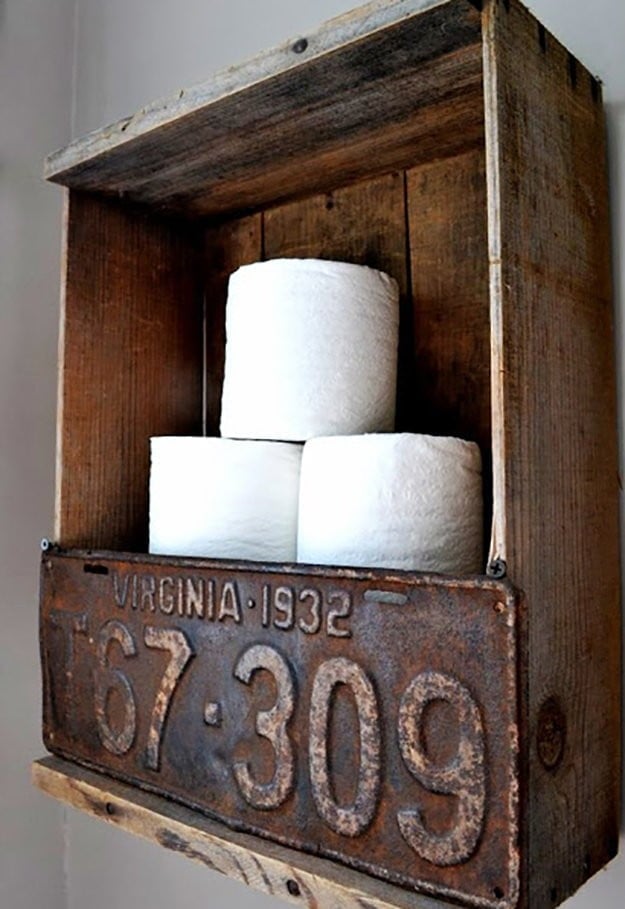
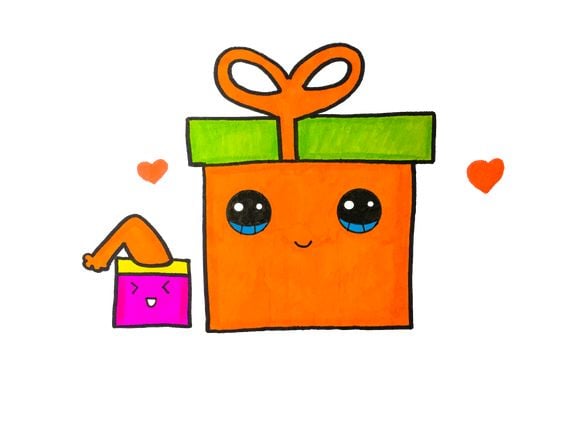
45. Vintage Christmas Truck Painting
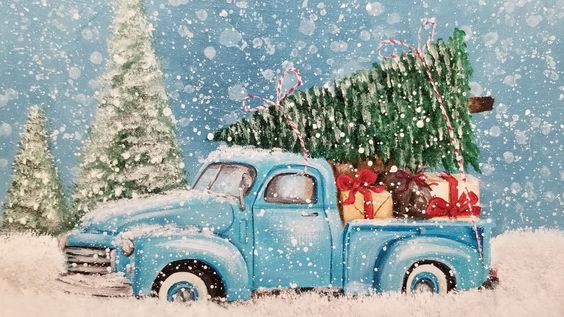
Source: Angela Anderson
Another Christmas canvas painting idea is a vintage Christmas truck. You can add elements, like Christmas trees and gifts, to give it a festive feel.
Learn to paint this vintage dream of a machine in this specific setting to get the elements down. Once you can get used to it, you can try other climates and vehicles.
46. String Art
Source: Fluid Artist Steph
String art is another fun canvas painting idea for beginners, especially since it also ditches the traditional painting technique and works with other materials.
You must dip your string into the paint before laying it on a blank canvas. You can set it in different angles and shapes. Then, pull and watch the magic happen.
The most common outcome for this kind of painting is an abstract floral pattern. However, you can also experiment to get different results.
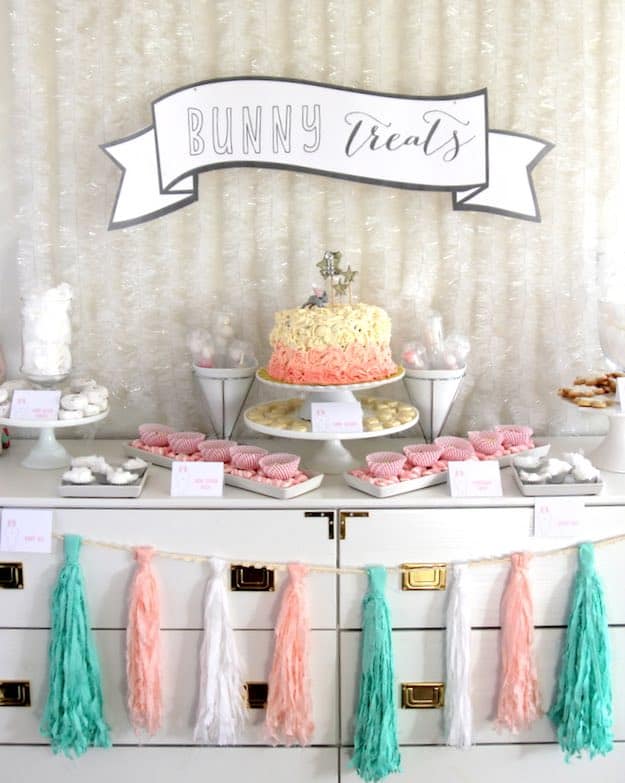
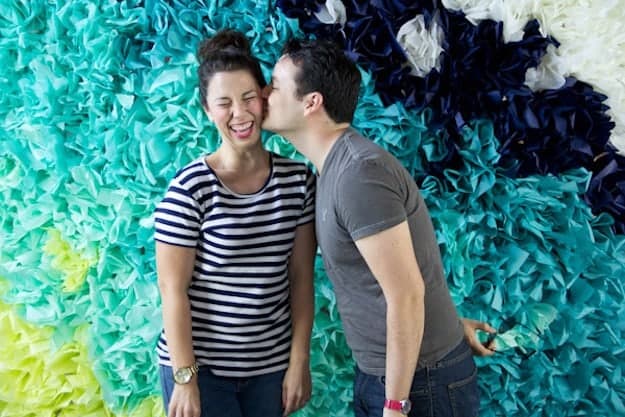
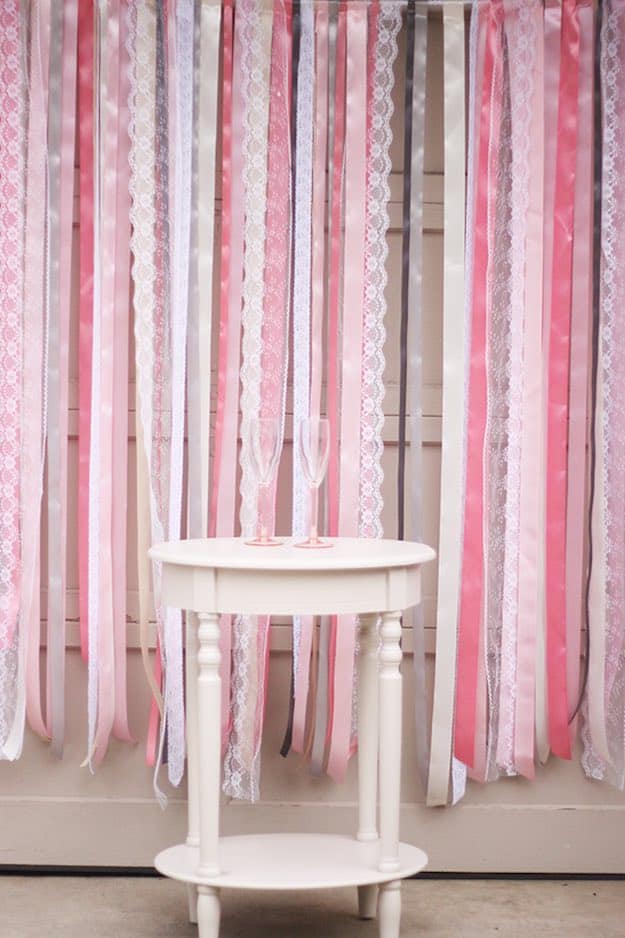
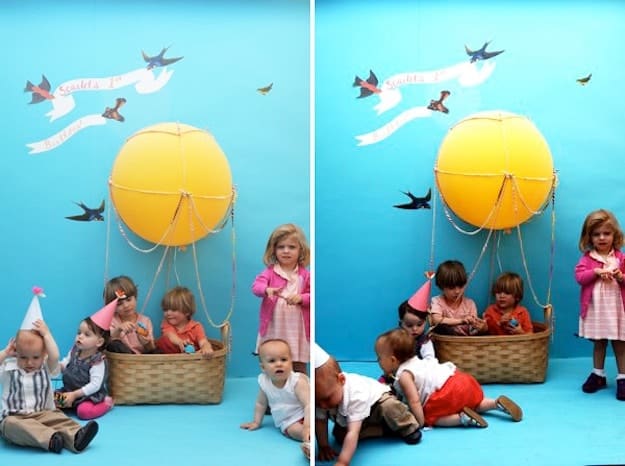
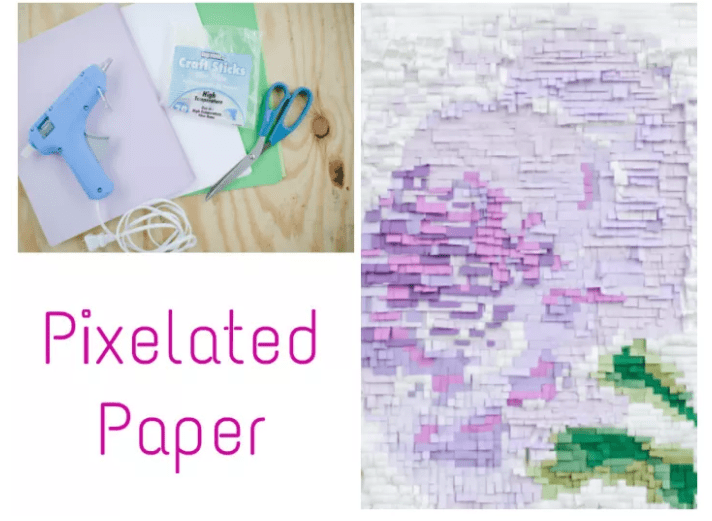
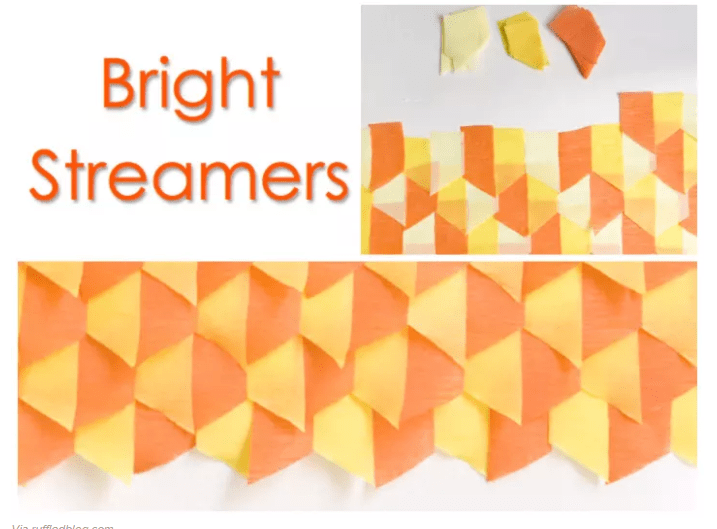
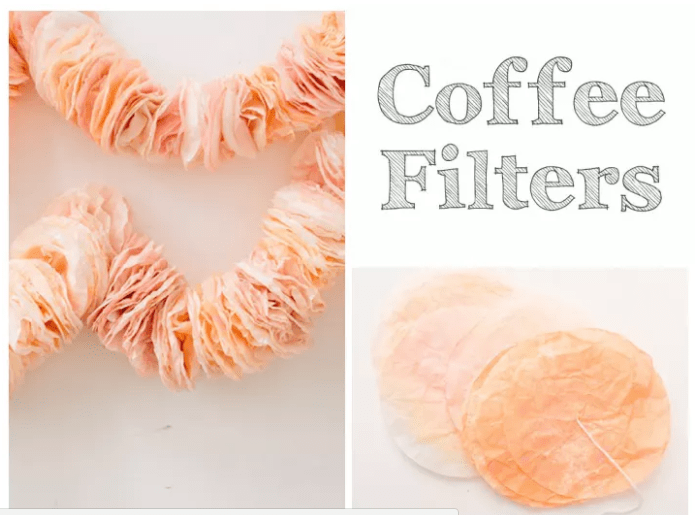
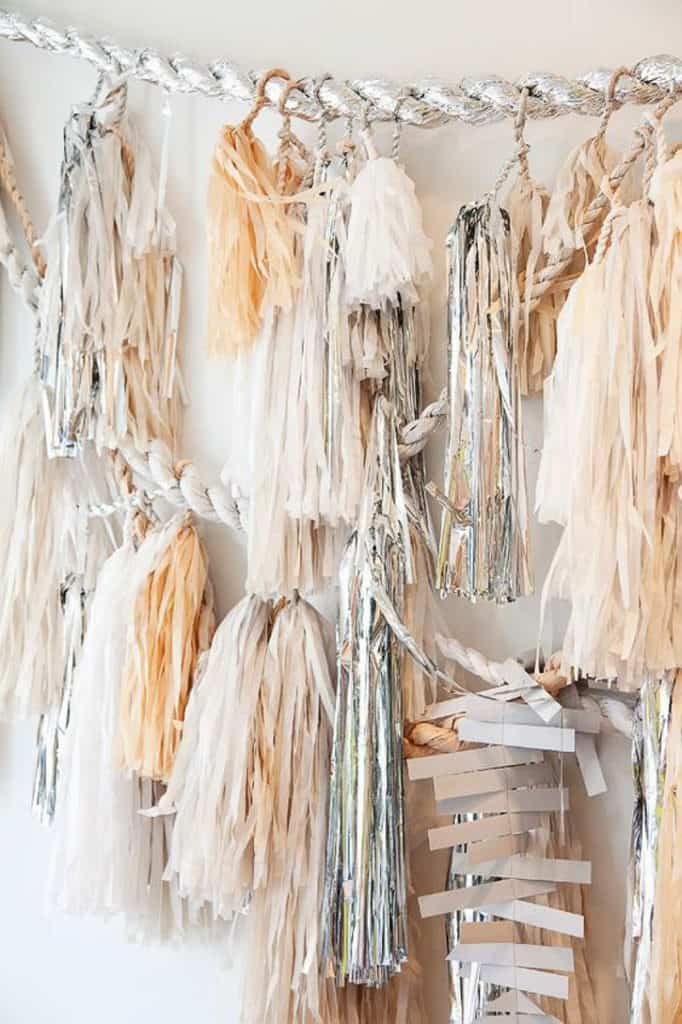
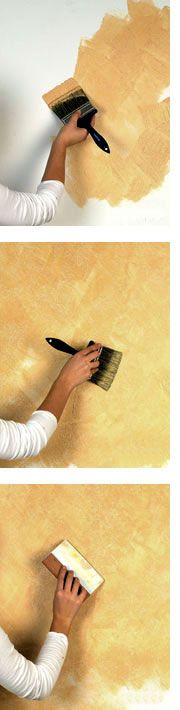
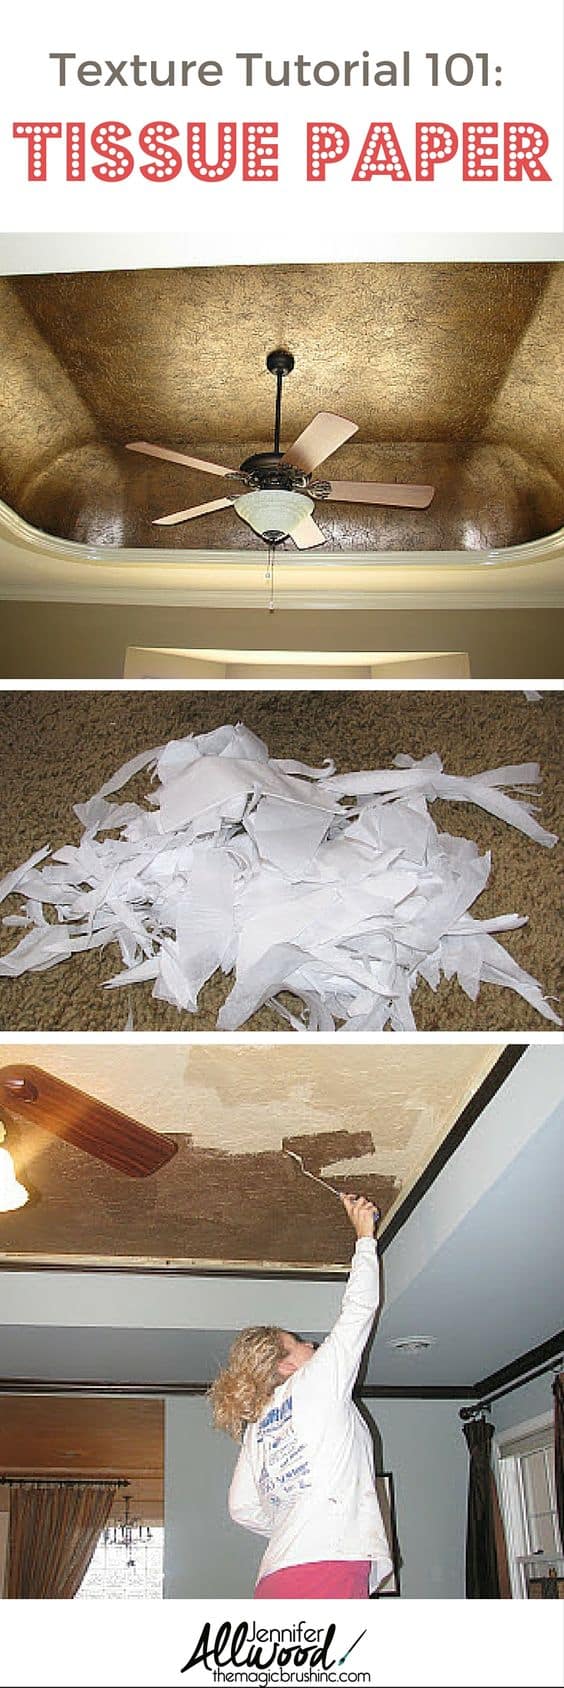
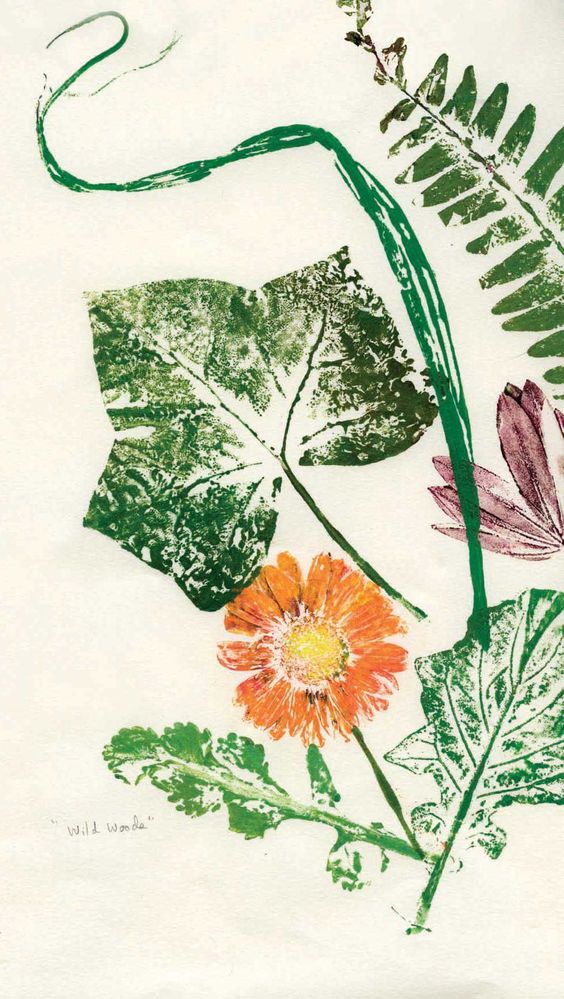
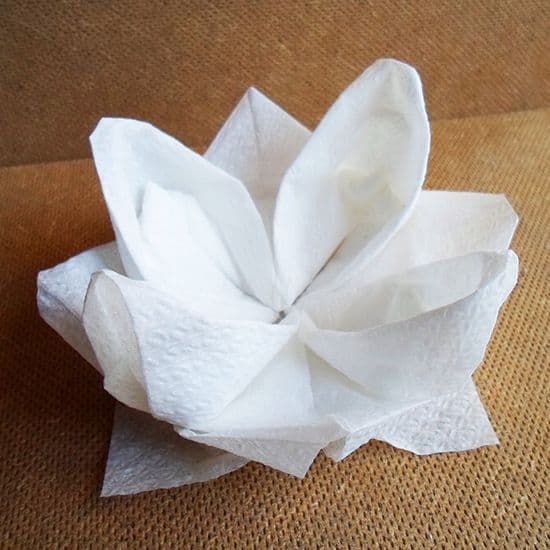
47. Tissue Paper Painting
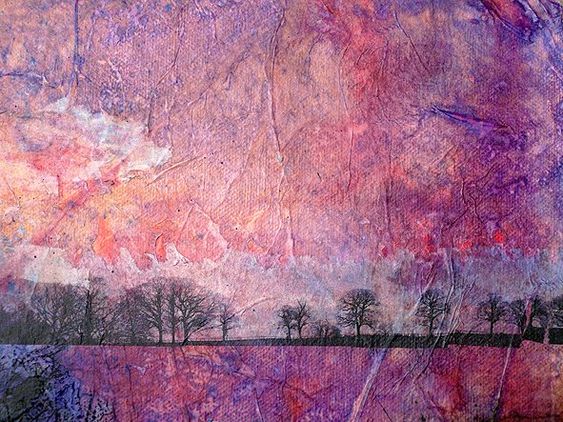
Source: Pinterest
Tissue paper painting is another fun way to create a masterpiece using the items in your home. Almost anyone, even children, can do it.
As the paper absorbs your different paints, it can take on interesting textures, which adds character to your canvas art.
You can also create different images with this idea, from landscapes to abstract art. Feel free to go wild with your colors.
48. Seascapes
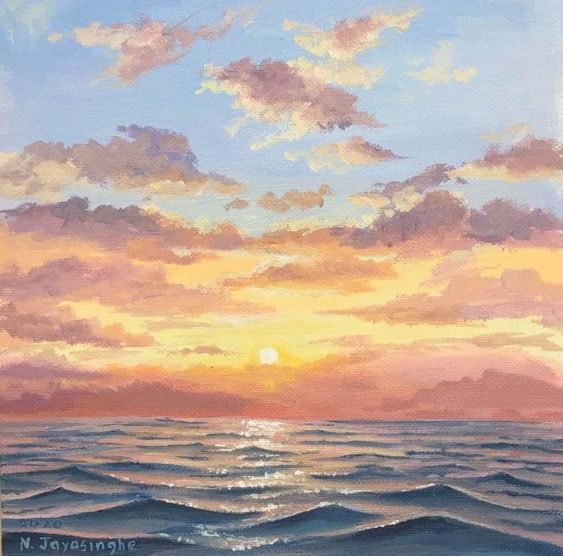
Source: Nina Jayasinghe
Seascapes are another common subject for acrylic painting. They're also serene, especially when painted onto a vast canvas. It makes them great for décor and gift ideas.
Learn to capture the texture of the waves and the sky with this acrylic painting.
49. Dandelions
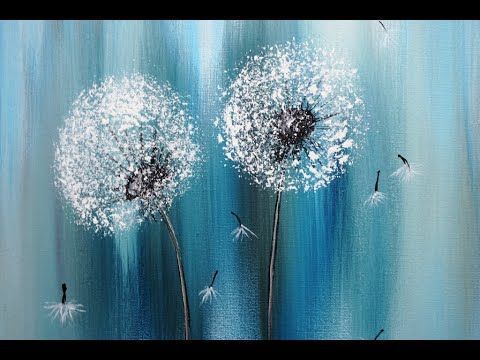
Source: Elsa Weiß
This painting on canvas will make you want to be in a field of dandelions, especially with how beautiful it can be.
It may seem tricky to get the small details of these flowers. However, they can also be satisfying to create. Each stroke needs to be deliberate to make them look great.
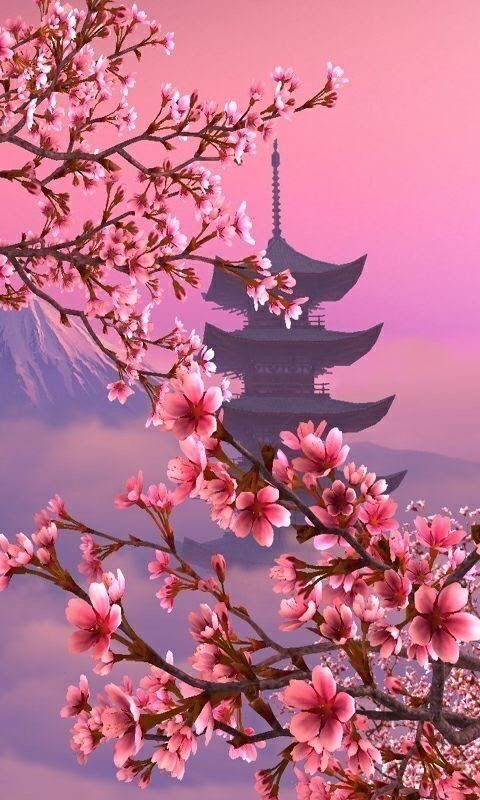
50. Cherry Blossom Tree
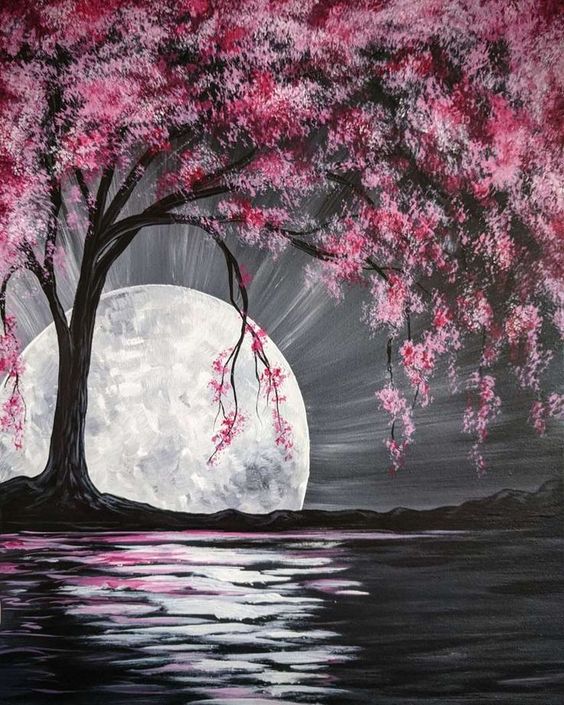
Source: Pinterest
Painting a cherry blossom tree is another idea that focuses on small details. You can work on how the colors change throughout the canvas despite just working with pink.
Try to experiment with what highlight colors would go best with the pinks of the cherry blossom tree.
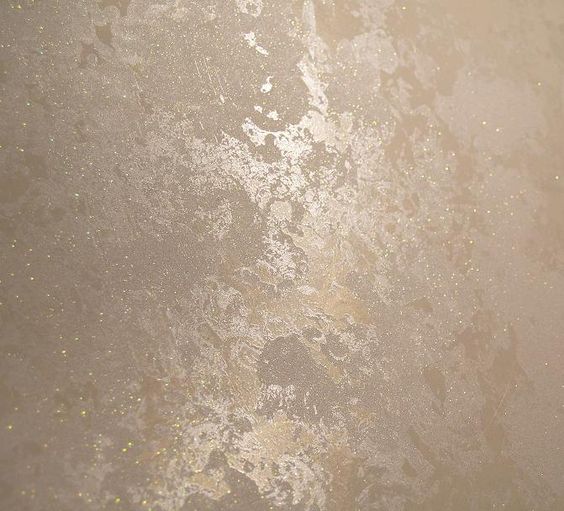
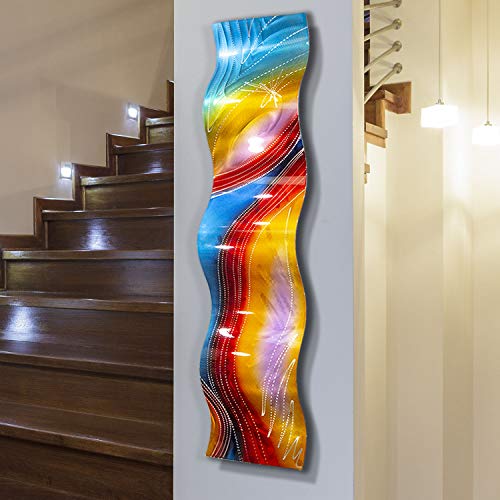
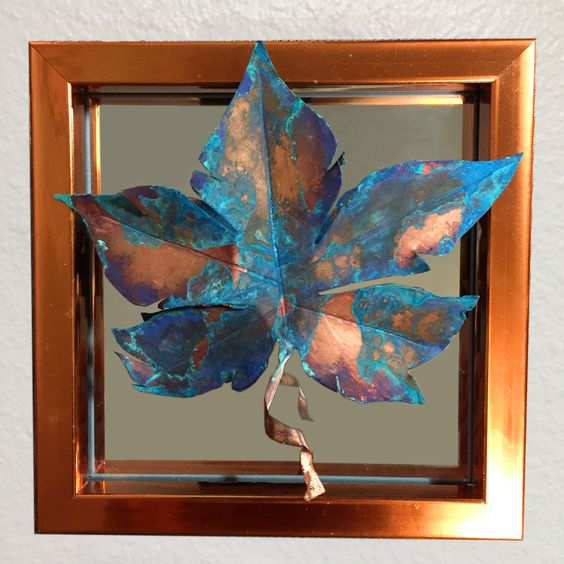
51. Metallic Abstract Art
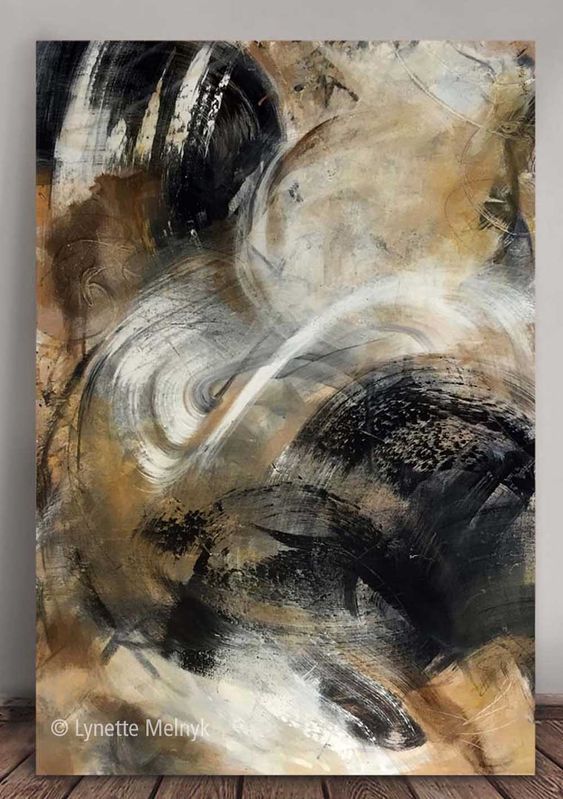
Source: Lynette Melnyk
Metallic colors are fun to work with, especially with abstract art. They can blend well with other colors, especially with neutrals. The striking colors in this style are gold and silver.
Learn how to balance out different each color to form a masterpiece to hang at home.
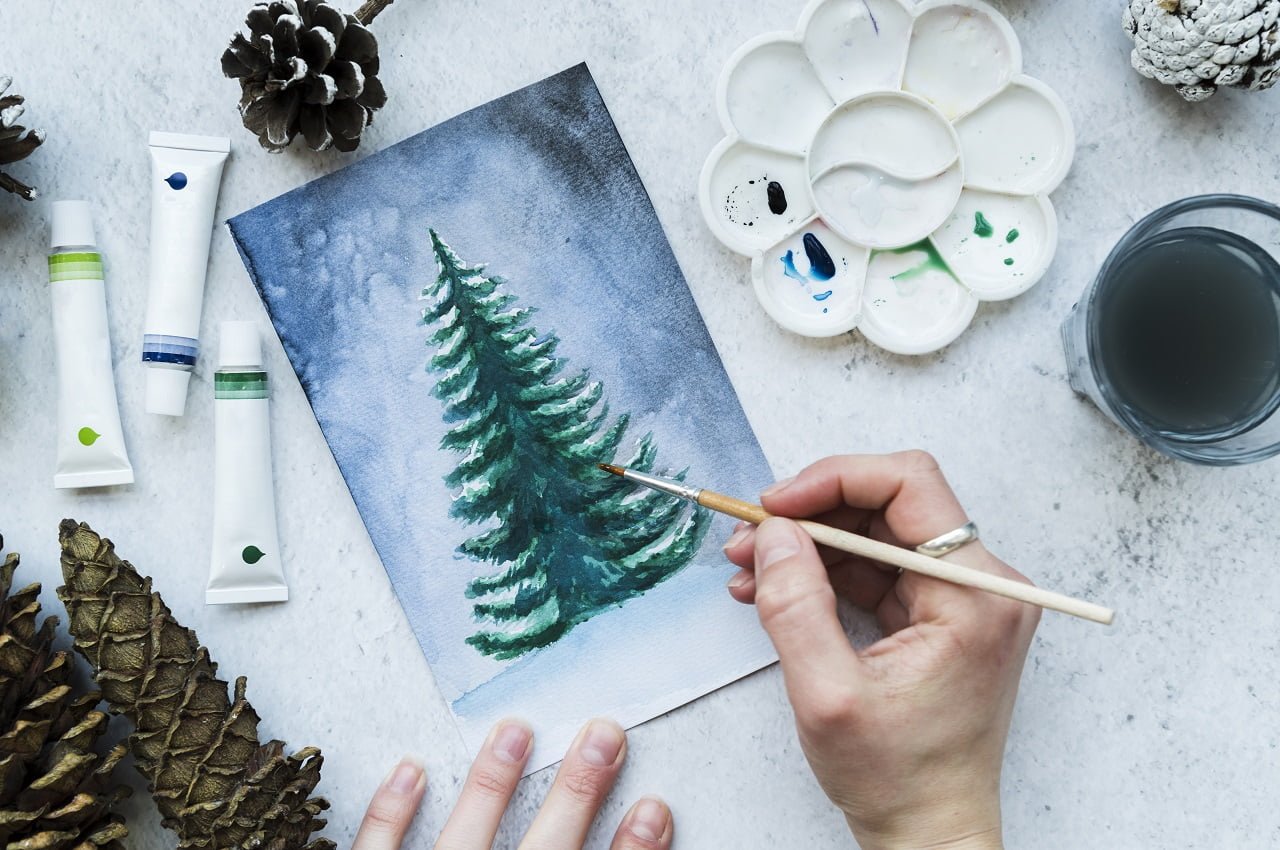
52. Watercolor Painting
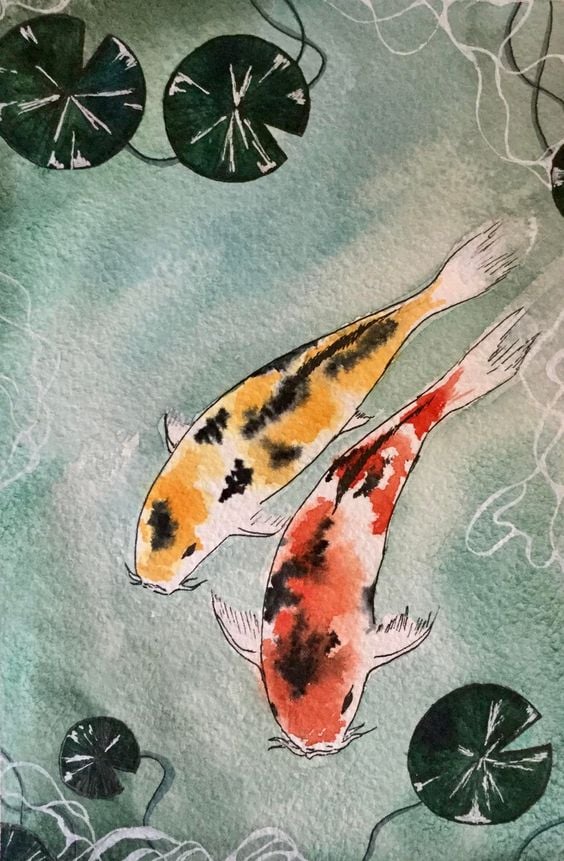
Source: littleflycatcher
Watercolor can be pretty tricky, especially for beginners. However, you may be familiar with it since they're common mediums for kids.
Working with watercolor can help you learn to control how you mix your colors.
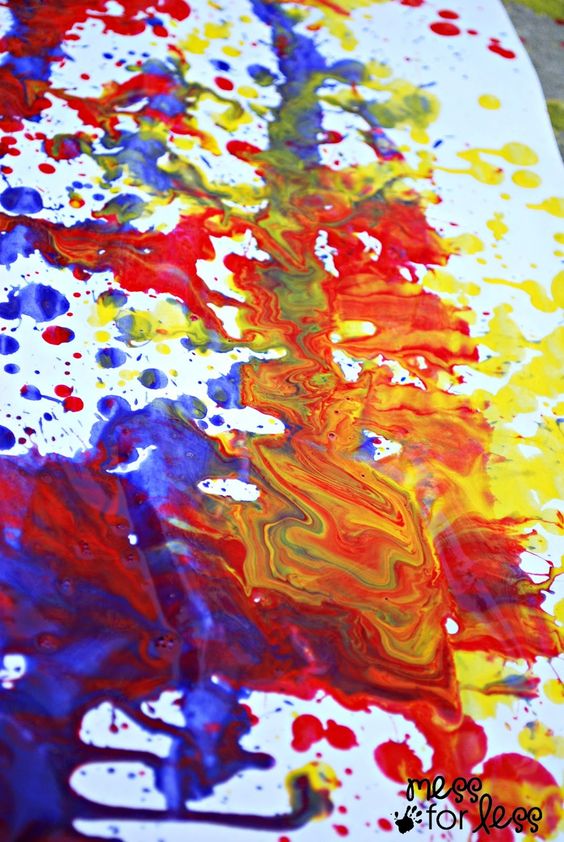
53. Splatter Painting
Source: Nadia Abdelal
Splatter painting is a great way to go wild with your paintings, especially with how the paint interacts with the canvas.
Simply splatter your colors onto the blank canvas. You can end up with an abstract painting or work out the shapes to outline the different features to create a specific picture.
54. Impressionist Art
Source: Laurel Buchanan
Learn to work with small and deliberate brushstrokes by doing some impressionist art. Start using the things around you as the subjects of your work.
This art style is best done with oil paints, especially if you're a beginner with this style.
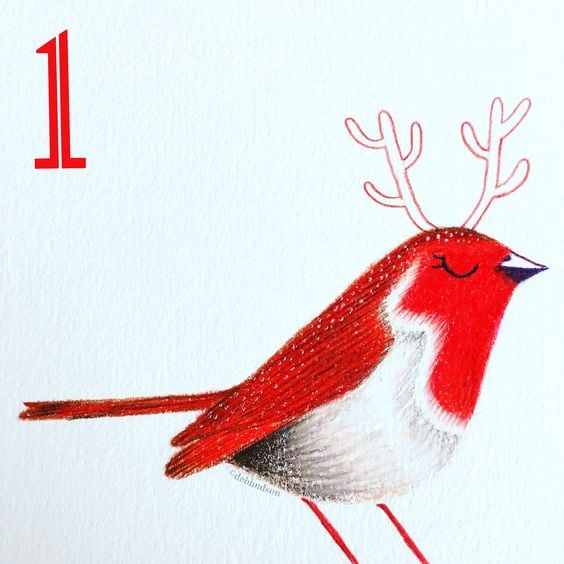
55. Birds on a Branch
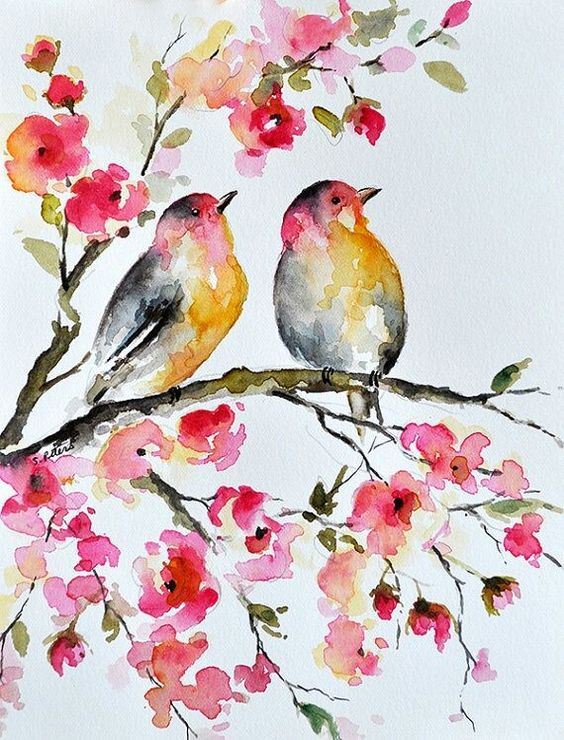
Source: Pinterest
Try painting adorable birds onto your canvas. You can play with your subjects' colors and features to make them more unique.
These usually work with watercolor. However, you can also try other mediums and paint types, depending on your preference.
56. Word Canvas Art
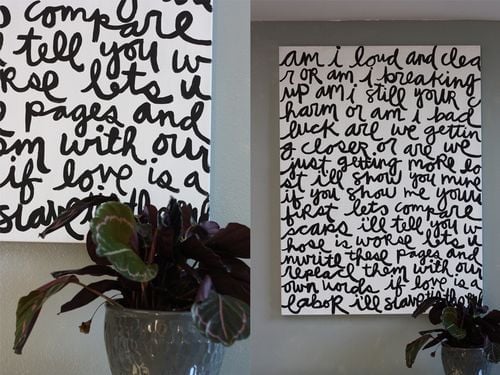
Source: Elise Blaha Cripe
You can work with words in general when it comes to art. Paint them onto your canvas and turn them into a work of art.
This style relies more on how you paint your letters. Try different fonts and techniques to make it unique.
57. Sunset With Hot Air Balloons
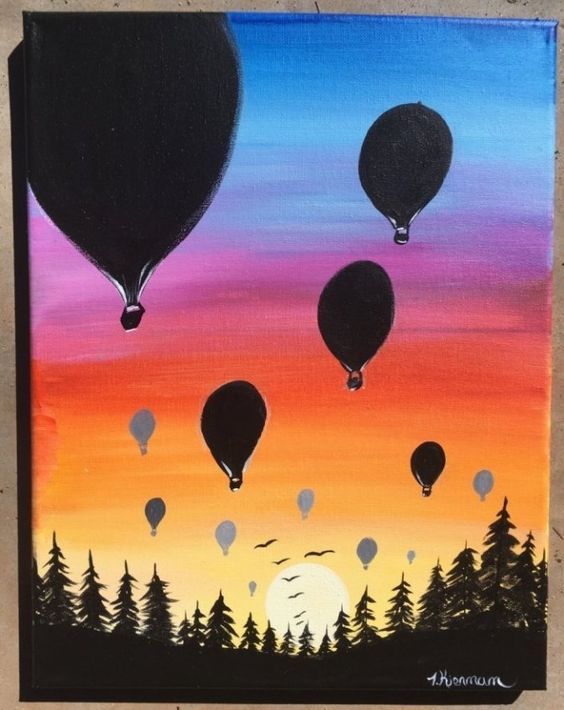
Source: Tracie Kiernan
Hot air balloons are easy to paint, especially with their simple structure.
You can add a sunset in the background to help you work with colors and contrast, especially with your subject front and center.
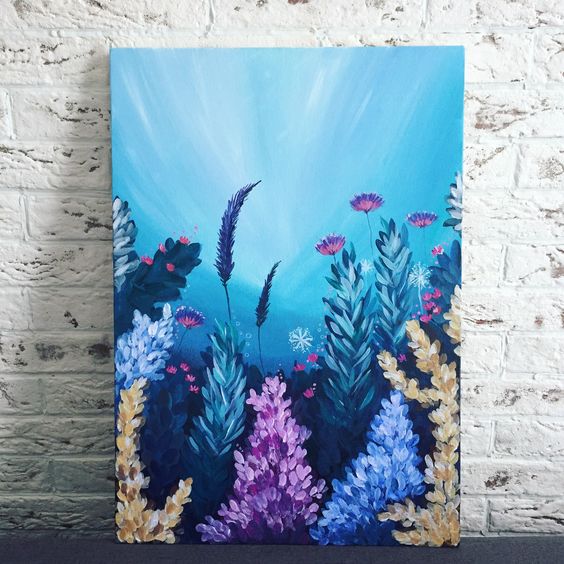
58. Abstract Coral
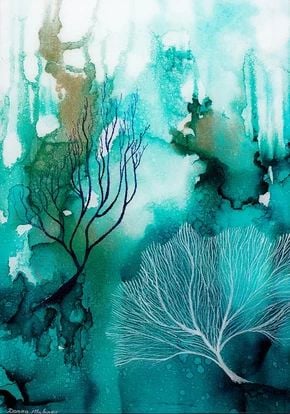
Source: Donna Maloney
Corals can come in all shapes and sizes, making them a great way to unleash your creativity onto a blank canvas.
Play with different lines and colors to capture this wonder of the sea onto your canvas.
59. Watercolor Botanical Plants
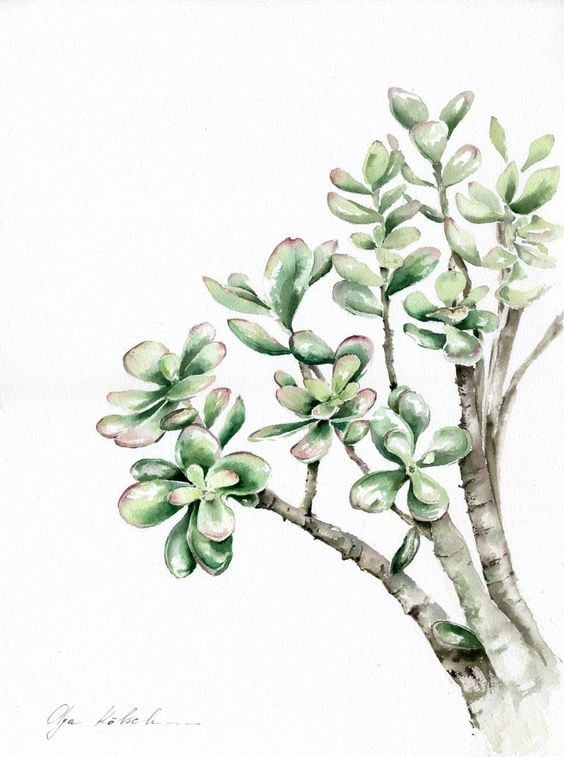
Source: Olga Koelsch
You can also try working with other botanical plants regarding watercolor.
Trying out different plants can help you work with further details, especially how peculiar some can be.
60. Roses

Source: Holly Van Hart
Roses are easy to work with, especially with their structure and colors. Learn where the center goes and begin painting your flower from there.
Try working on this romantic flower to practice your technique.
61. Northern Lights Forest
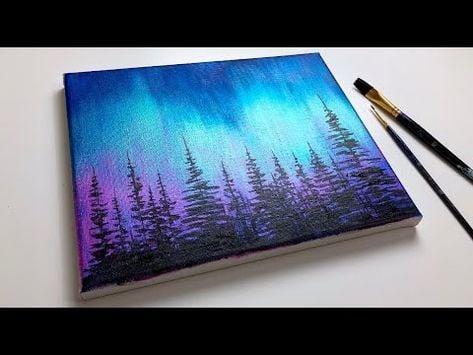
Source: AhmadArt
The northern lights are a mesmerizing phenomenon of nature. While not everyone can see it in real life, you can still capture its colors on a canvas.
Paint these lights in the forest to give a more authentic feel to your work.
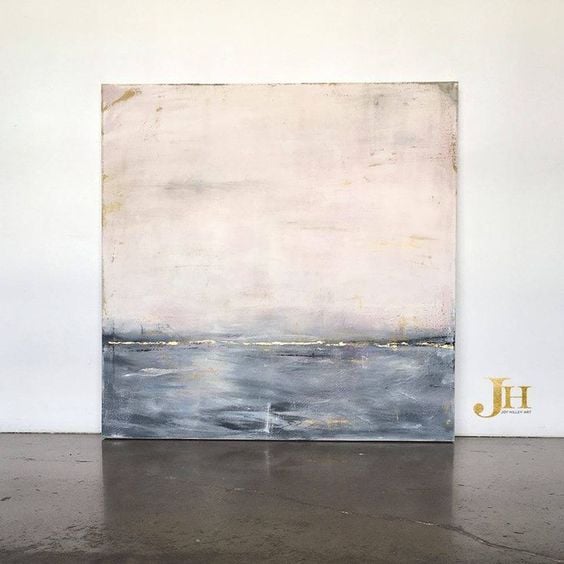
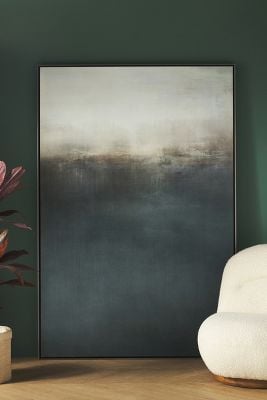
62. Minimalist Art
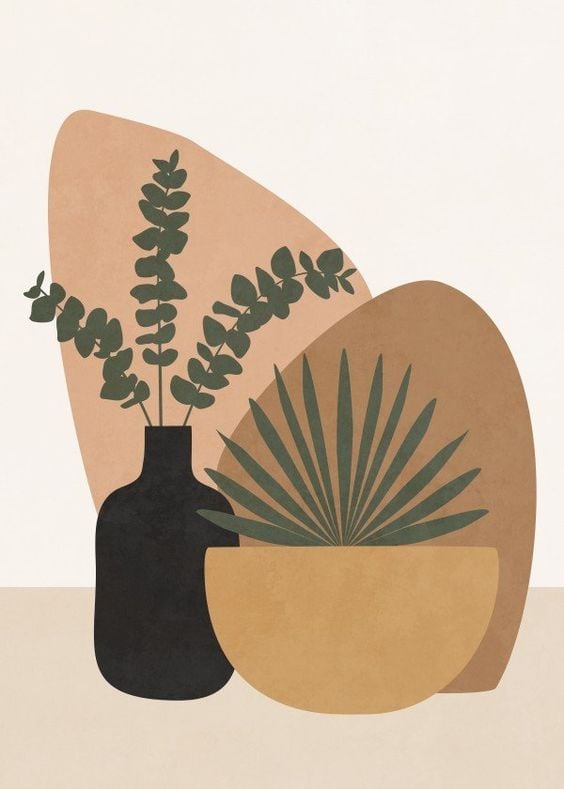
Source: Pinterest
Minimalism is one of the easiest ways to start learning how to paint. Their colors are more solid, focusing on simple neutrals rather than vibrant tones and highlights.
It'll help you learn to focus on how you can paint shapes. Keep things simple and minimal.
63. Unicorn Painting
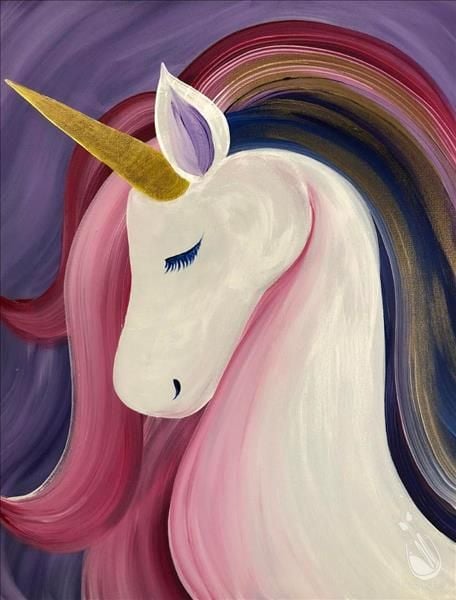
Source: Painting With A Twist
Everyone loves unicorns, especially with how many colors can go into their hair. It makes them great to practice your skills while creating something beautiful.
Try painting this with pastels to offer a more whimsical vibe.
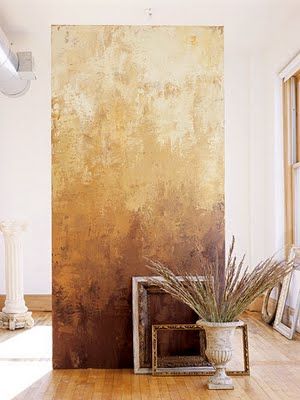
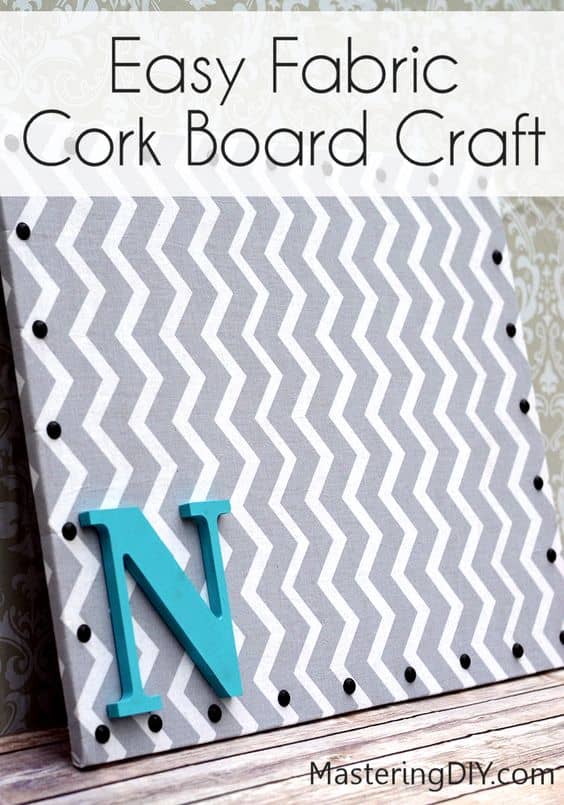
64. Trendy Gold Chevron Painting
![]()
Source: Talia Christine
This classy painting style is one way to get into the trend while practicing your painting skills.
It can give a retro or simple vibe, depending on how you work with the golds.
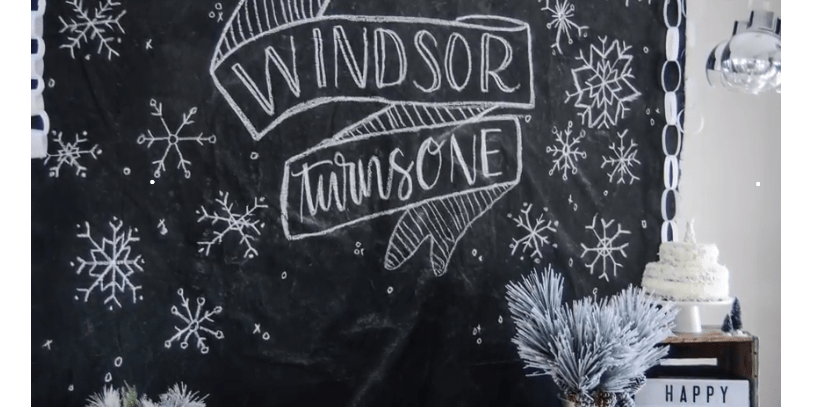
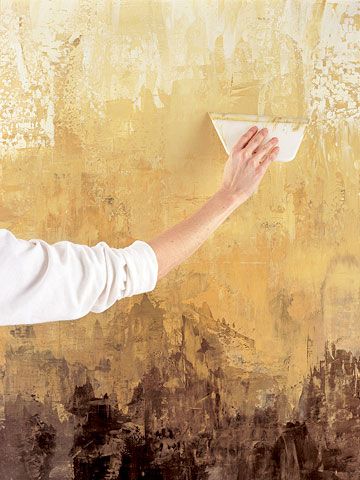
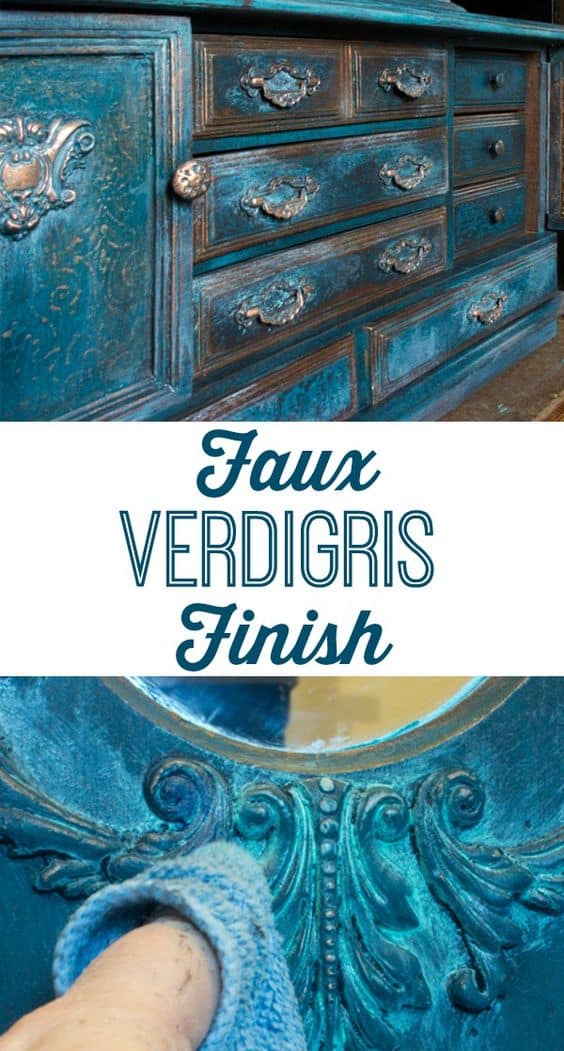
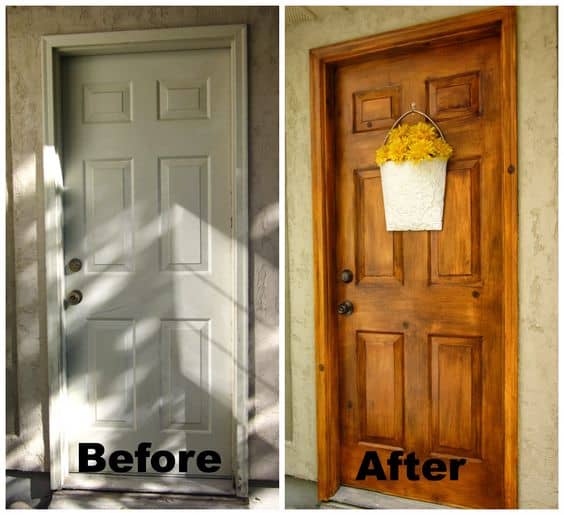
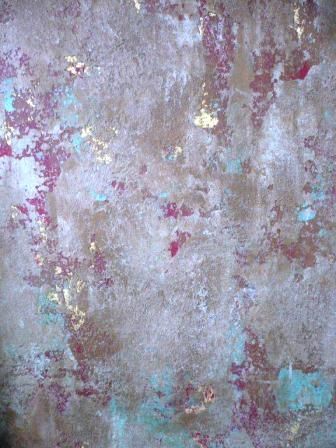
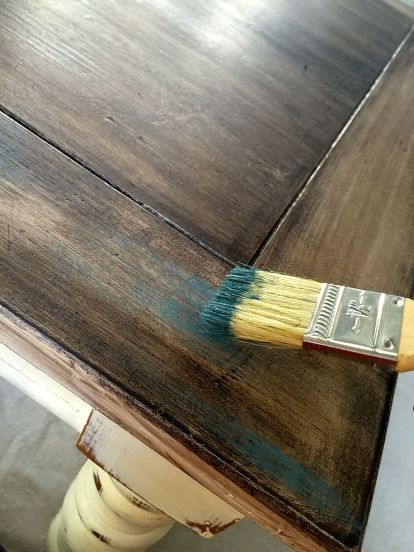
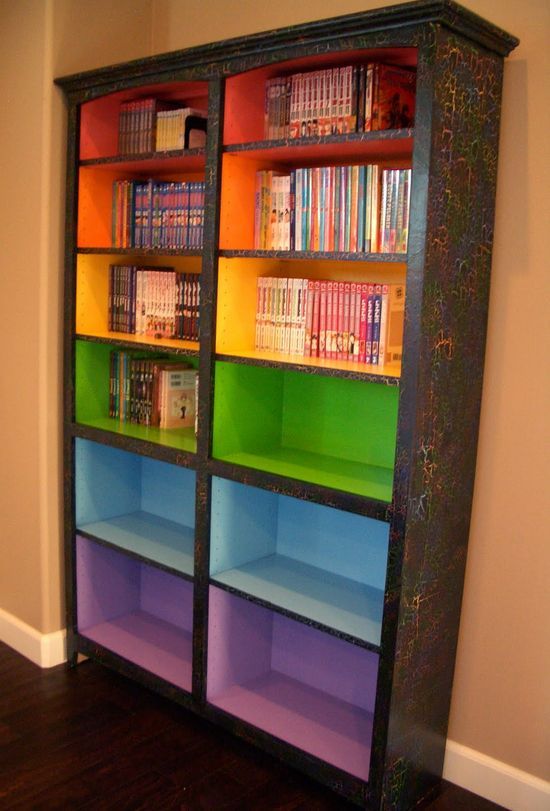
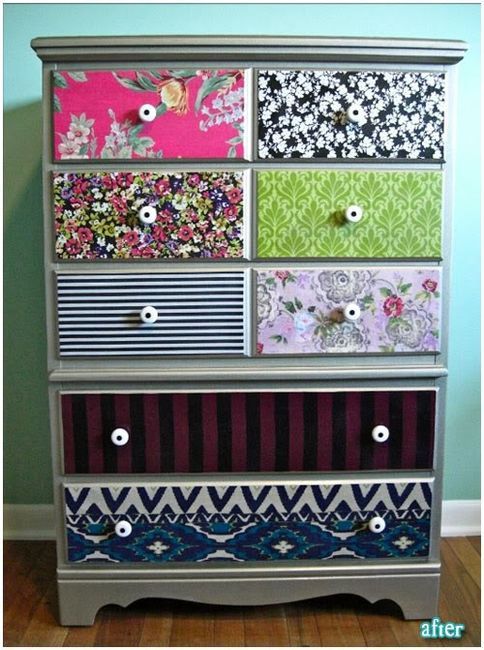
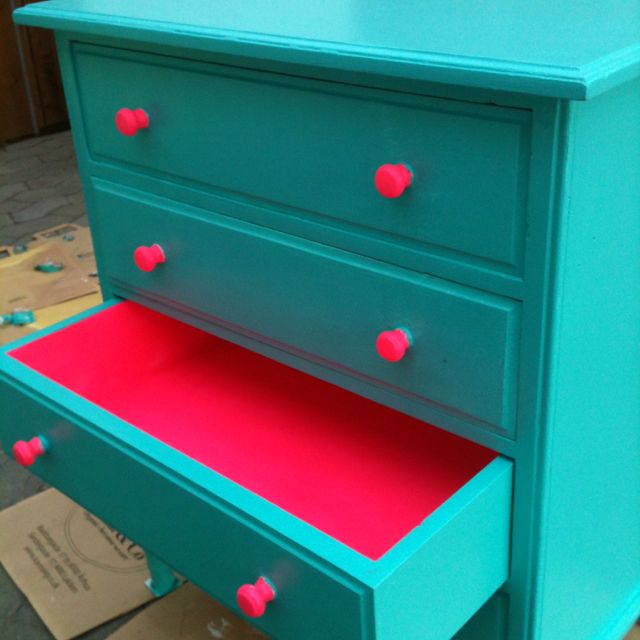
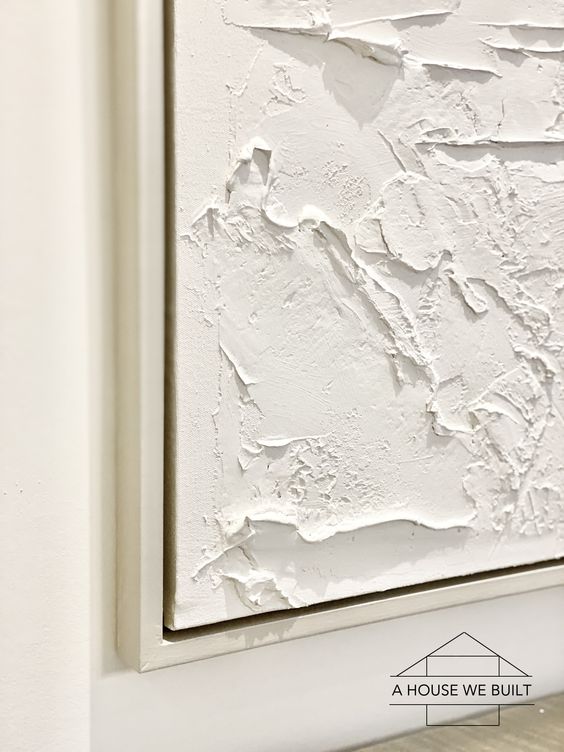
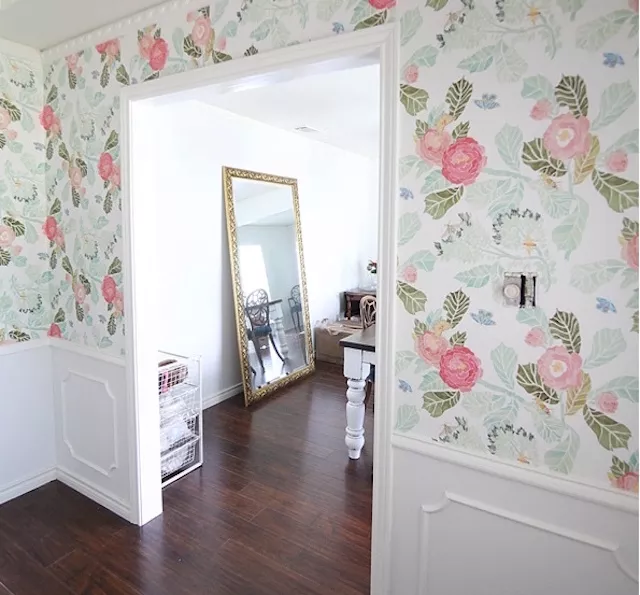
65. Work with Chalk Paint
Source: Pinterest
This type of paint is often used to give furniture or walls a matte finish.
However, it can work wonders for a canvas, giving an old-school charm to whatever you decide to paint.
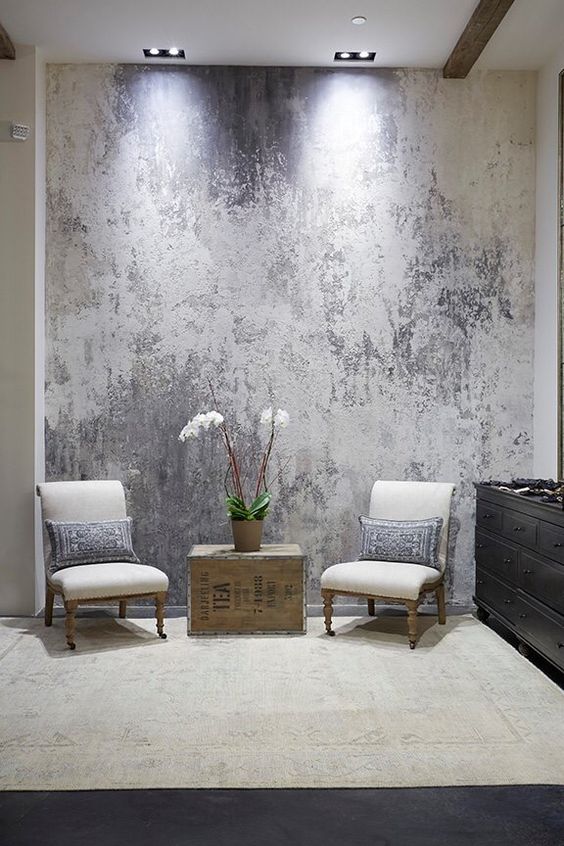
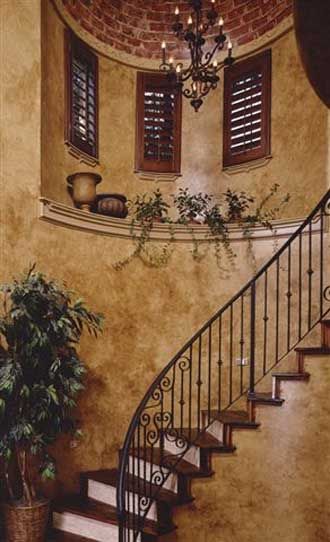
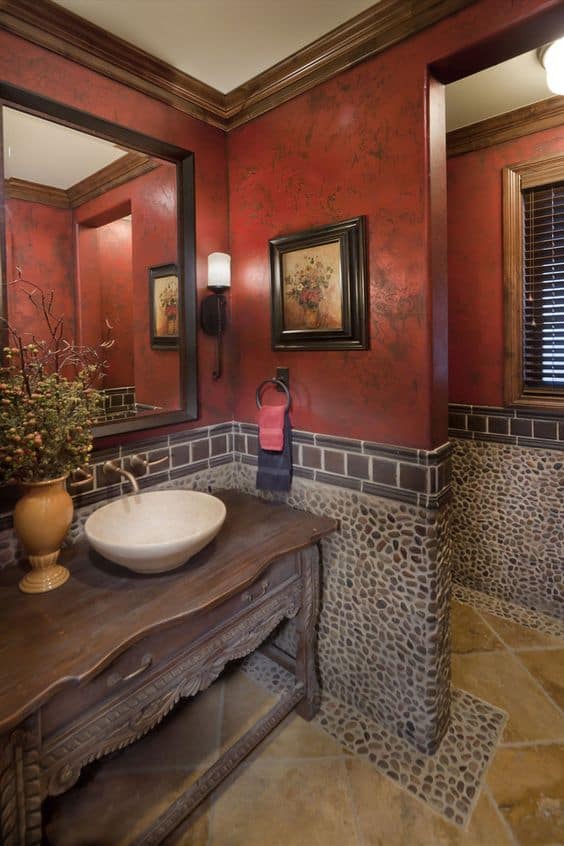
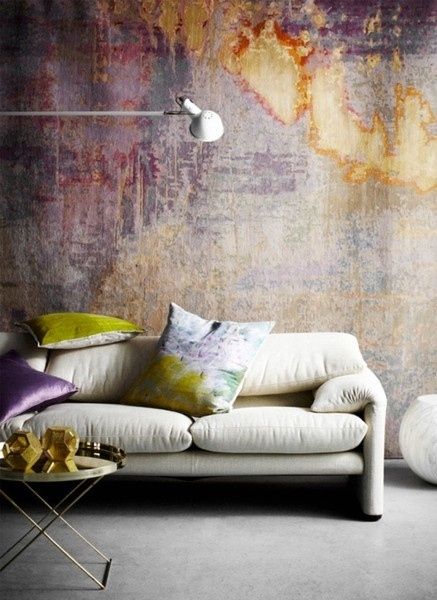
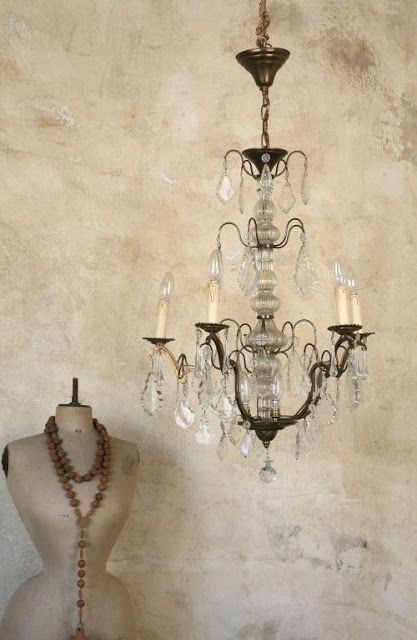
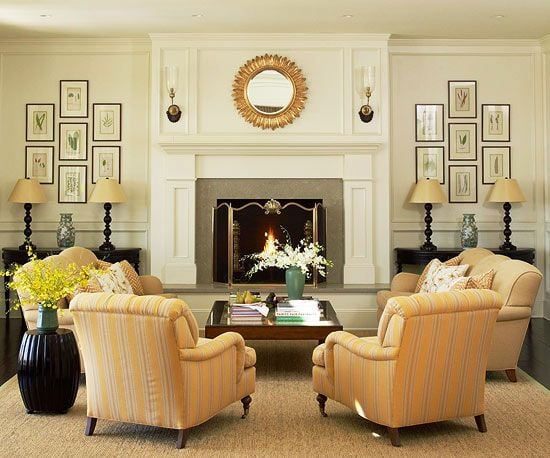
66. Giant Wall Art Piece
Source: Pinterest
Working on a large canvas may seem overwhelming, especially with the space provided. However, you can see it positively and make the most of it.
Whether abstract or realist, any giant wall art piece should be placed on its own wall in your home.
67. Sunflowers
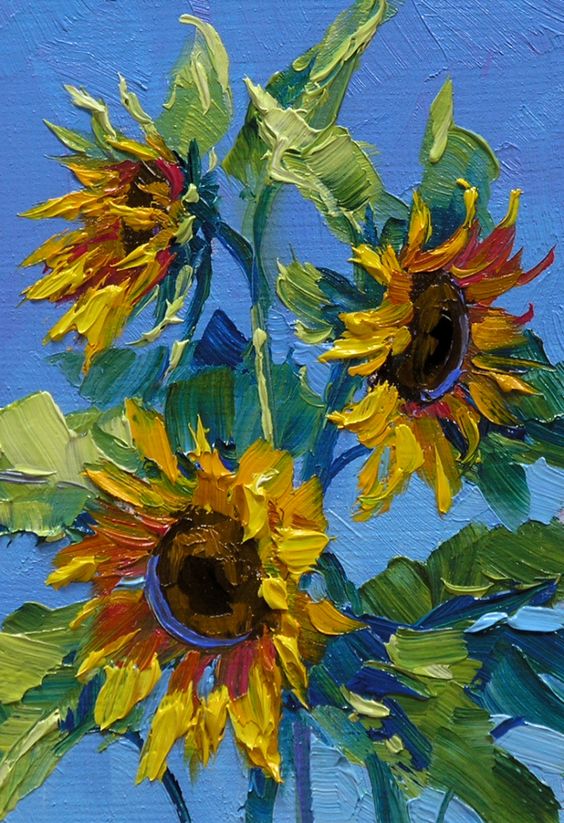
Source: Mikki Senkarik
Sunflowers are always a happy subject to work with when painting. They're simple and vibrant, lighting up any room they're in.
Bring a smile to anyone's face by showing them the sunflowers you've painted.
68. Succulent Painting

Source: Robin McCoy
Succulents are interesting and quirky subjects to work with. They come in all shapes and sizes, making your work different every time.
Experiment with how greens can complement other colors, depending on your succulent's light.
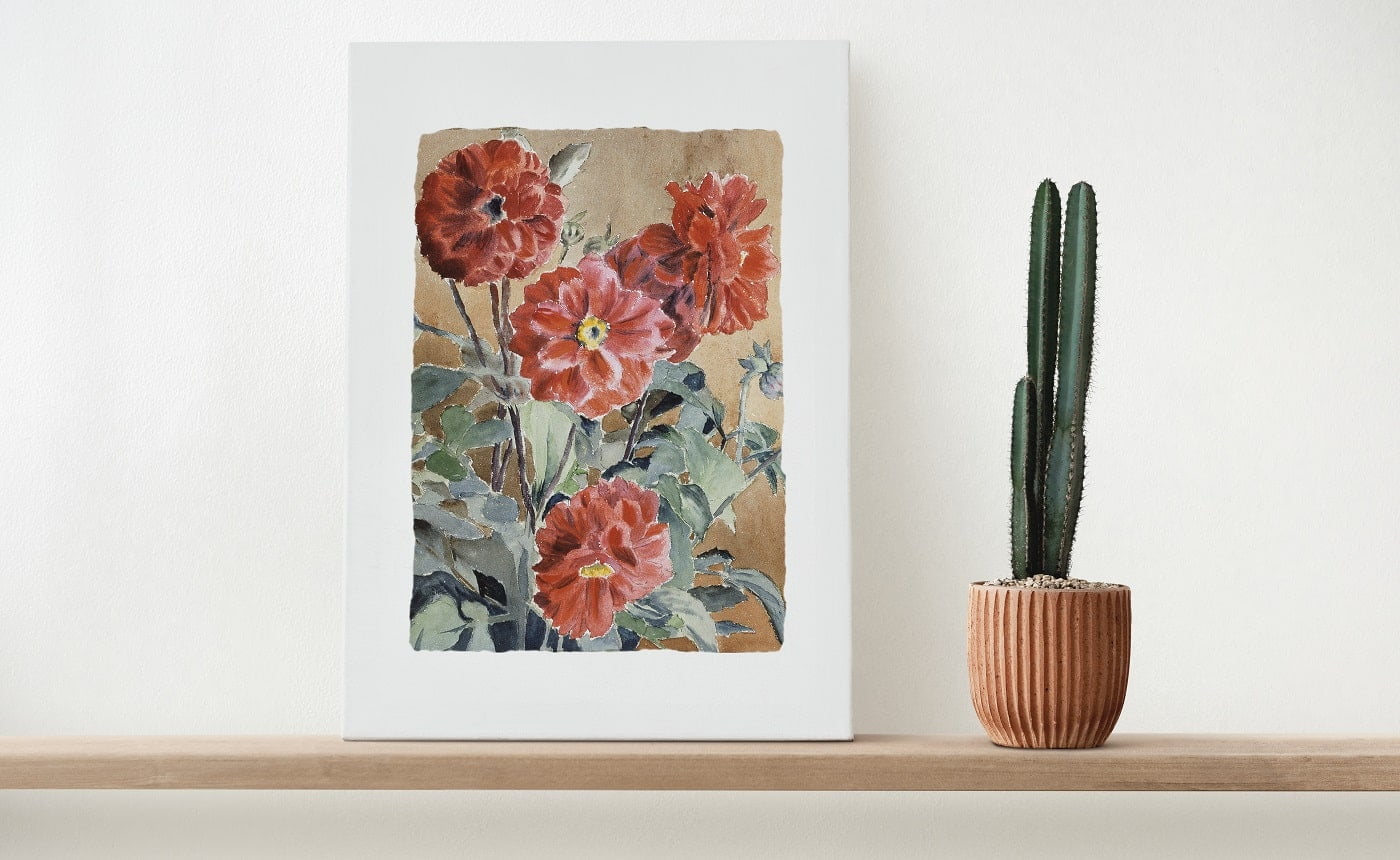
69. Large Red Poppy Flowers
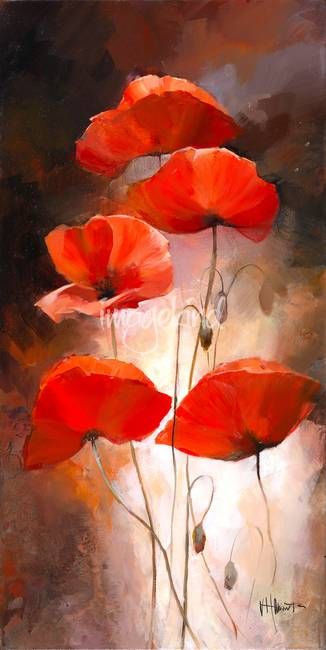
Source: Willem Haenraets
Poppies are a common symbol of remembrance and hope in a more peaceful future.
Its message and the simplicity of the flower make it an excellent subject for beginner artists who want to create something meaningful.
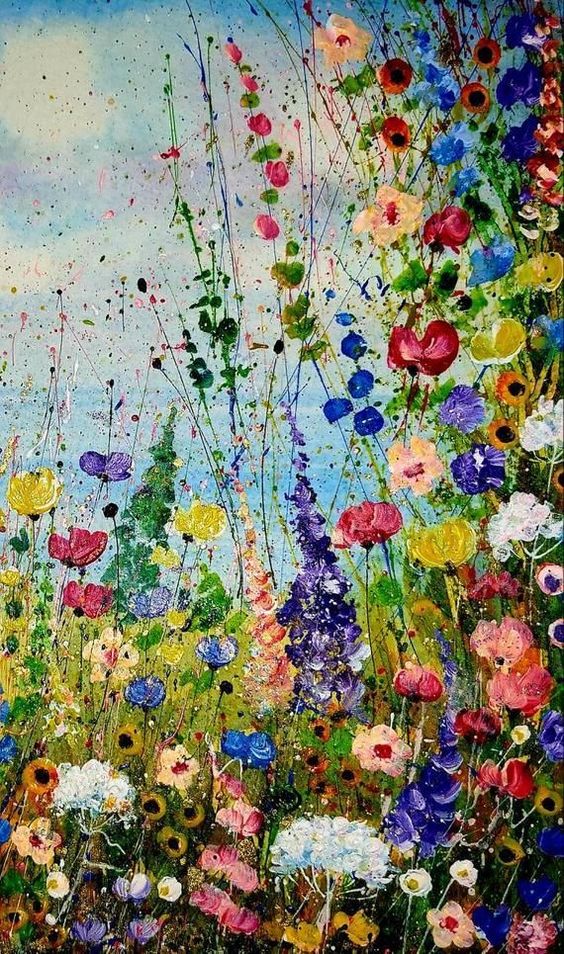
70. Flower Garden Path
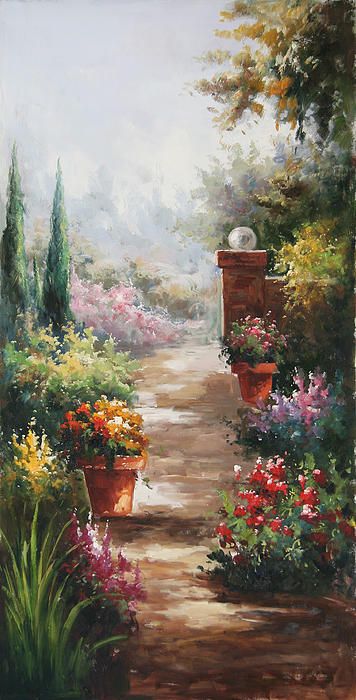
Source: Pinterest
A flower garden path is another serene painting idea you can work with, especially if you want to work with more than one flower.
Learn to match colors to know which flowers will look great together in your little garden.
What Do I need to Paint on Canvas?
Being prepared to do a painting project safely announces to everyone, "All my supplies are complete."
What do you need to start painting?
Here is a list of materials for you to prepare before any project.
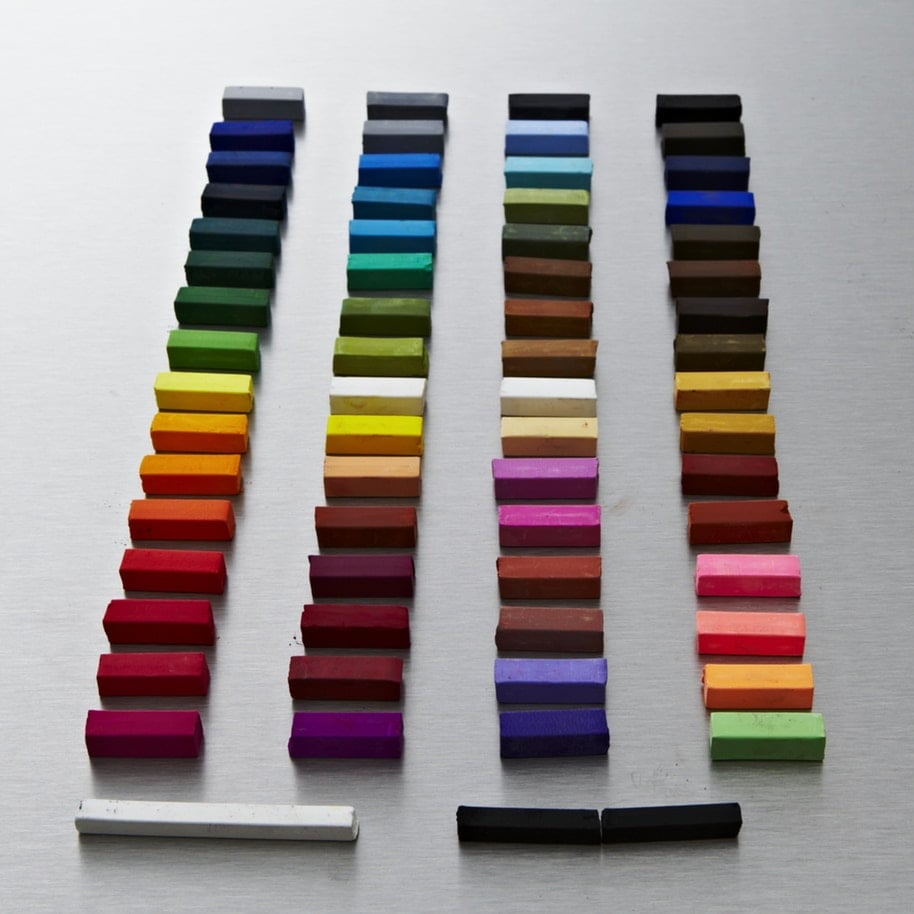
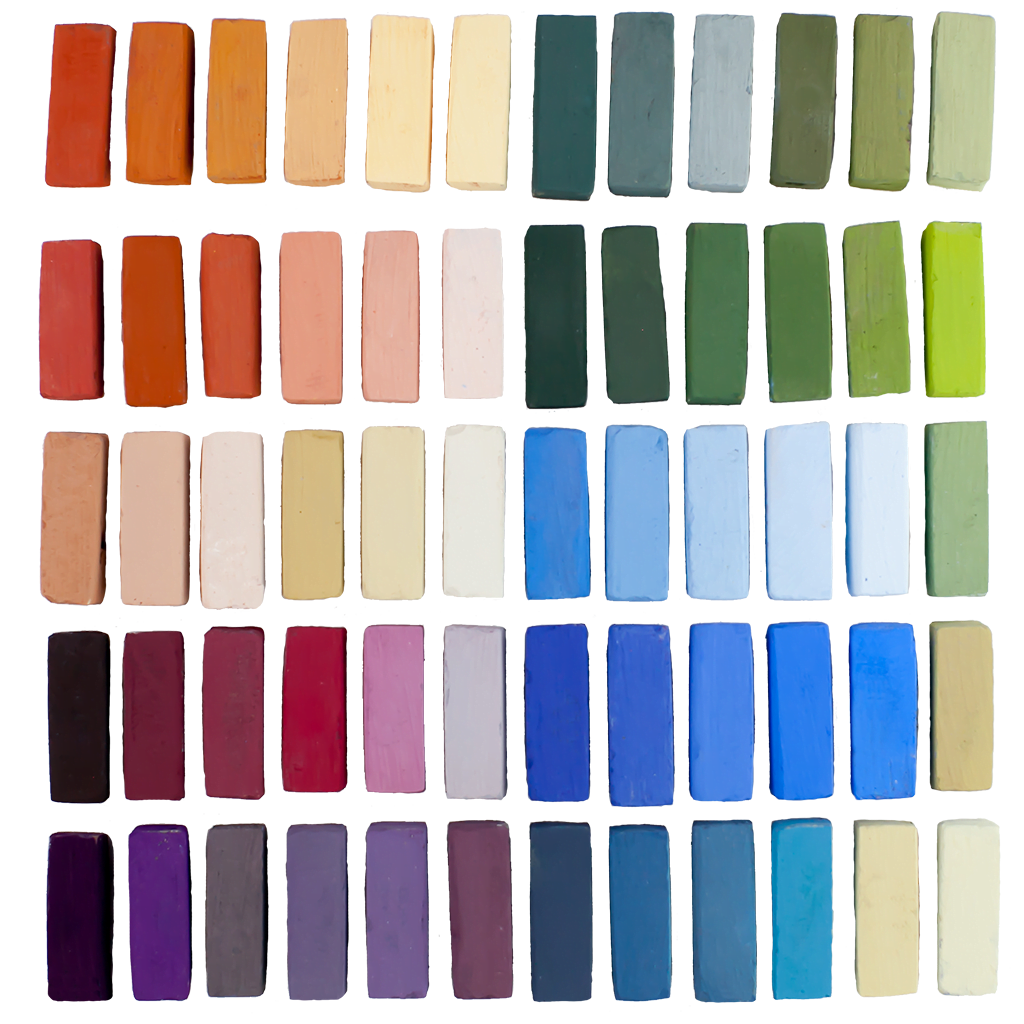
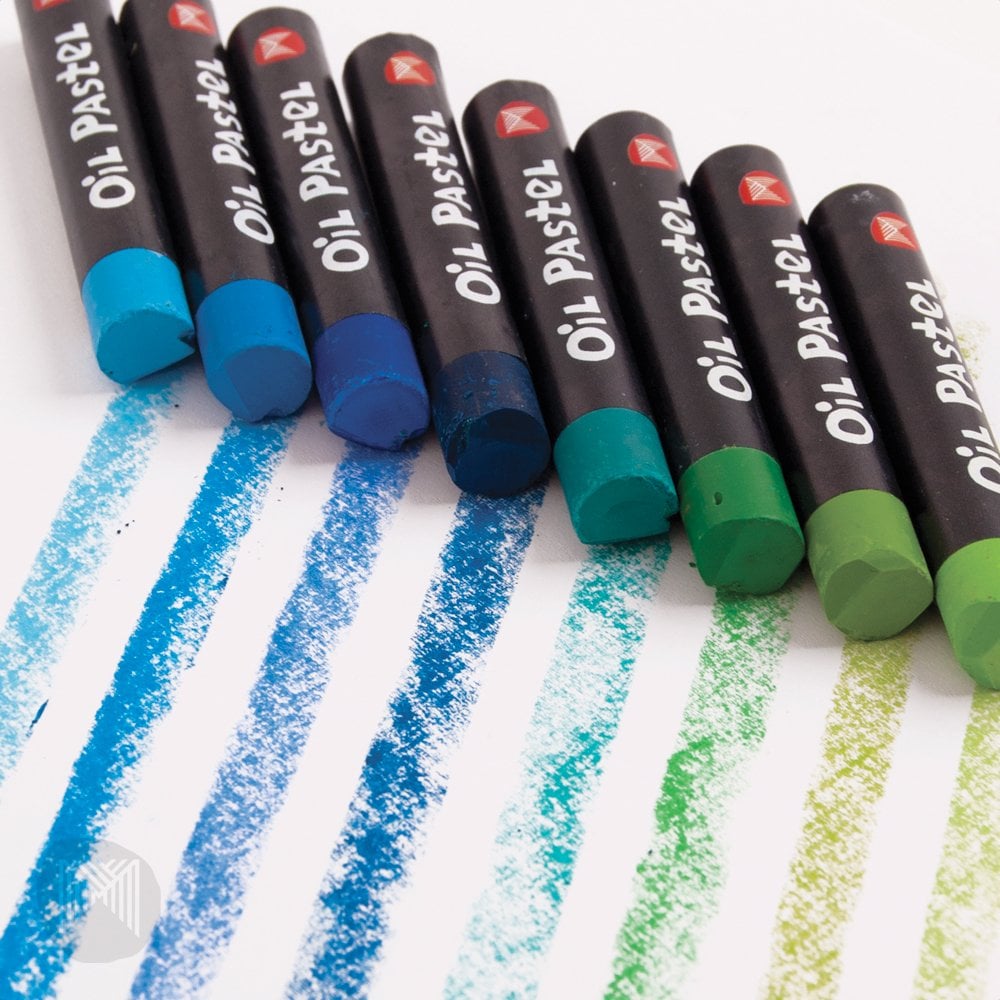
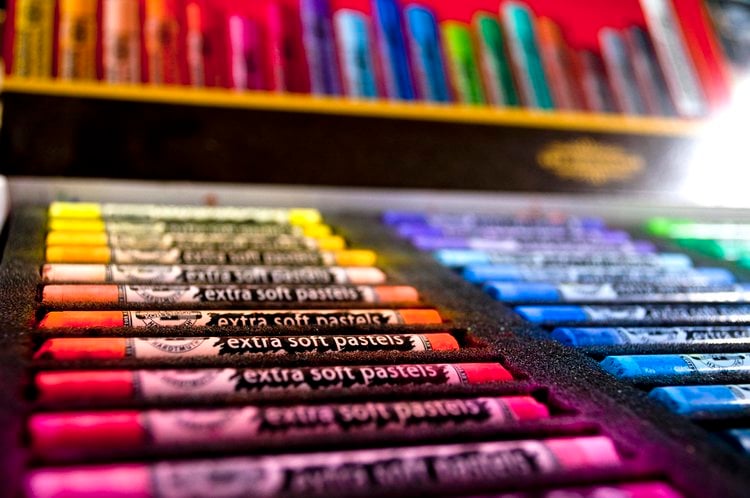
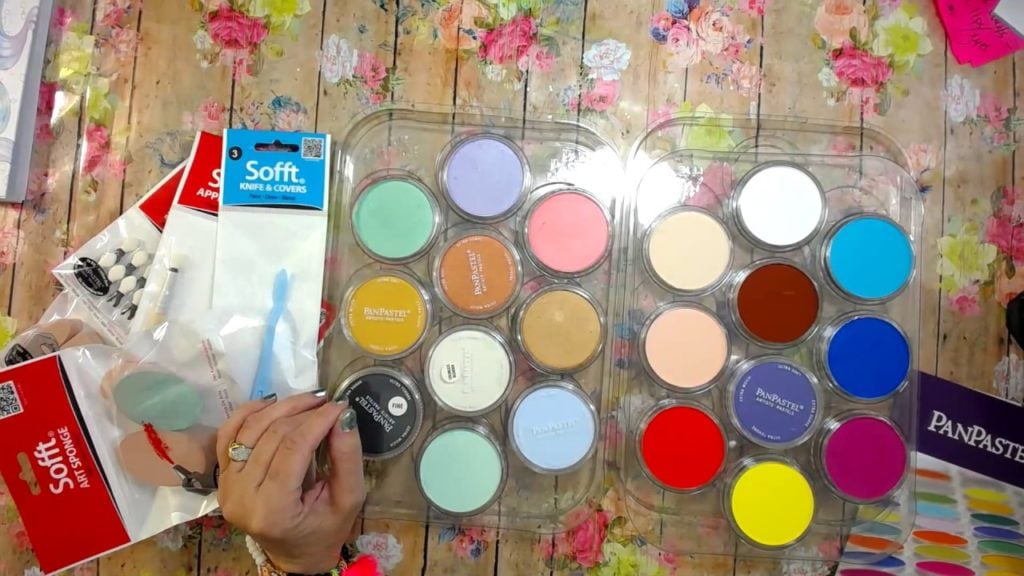
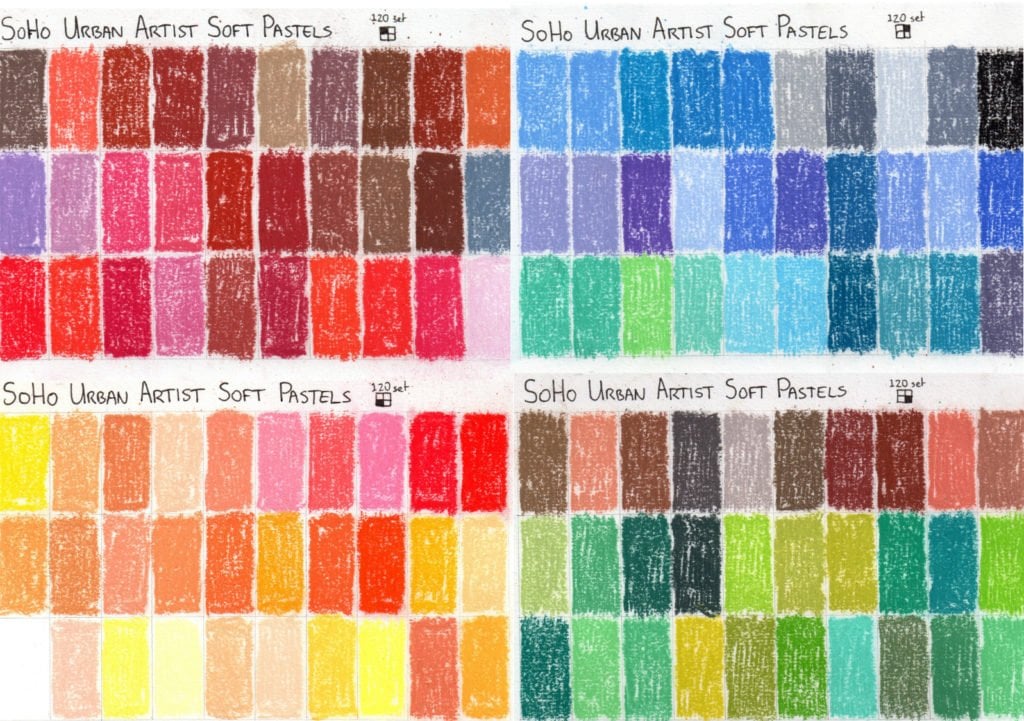
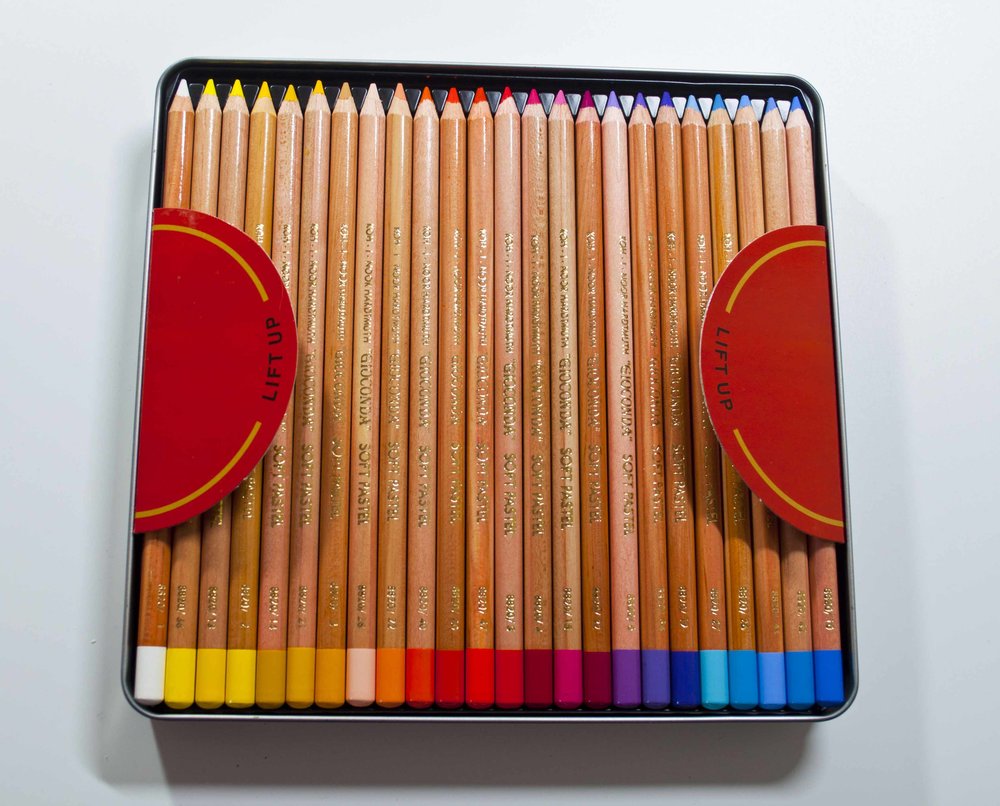
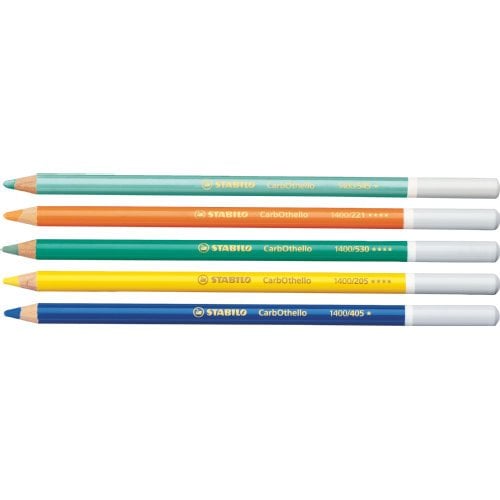
Paints
One of the main stars of painting is the paints needed to help bring your art to life.
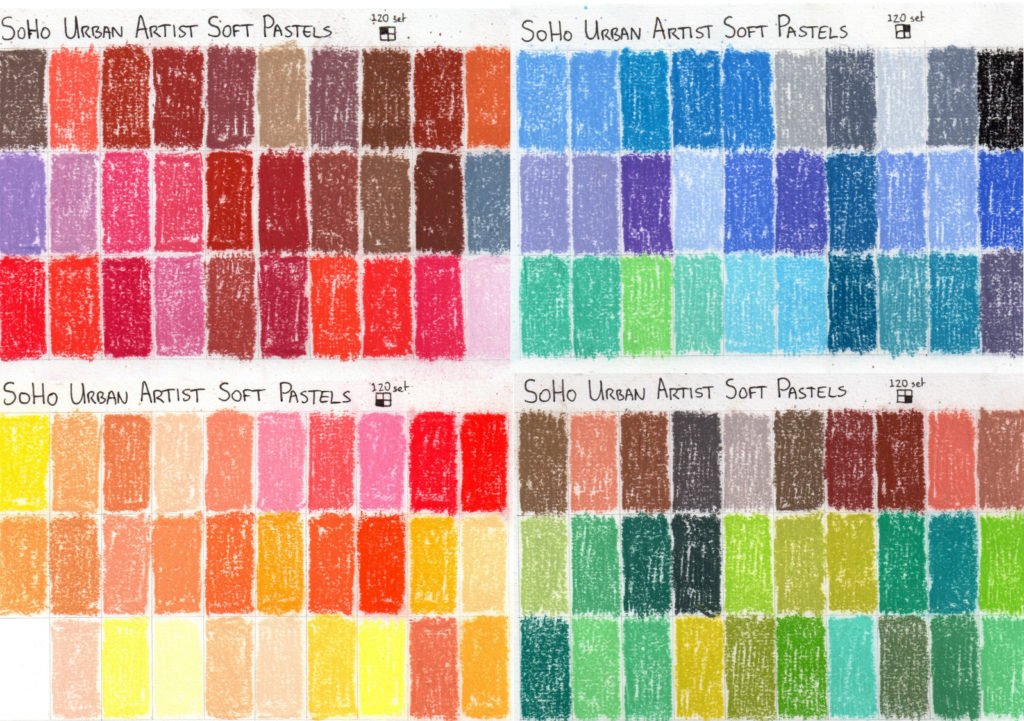
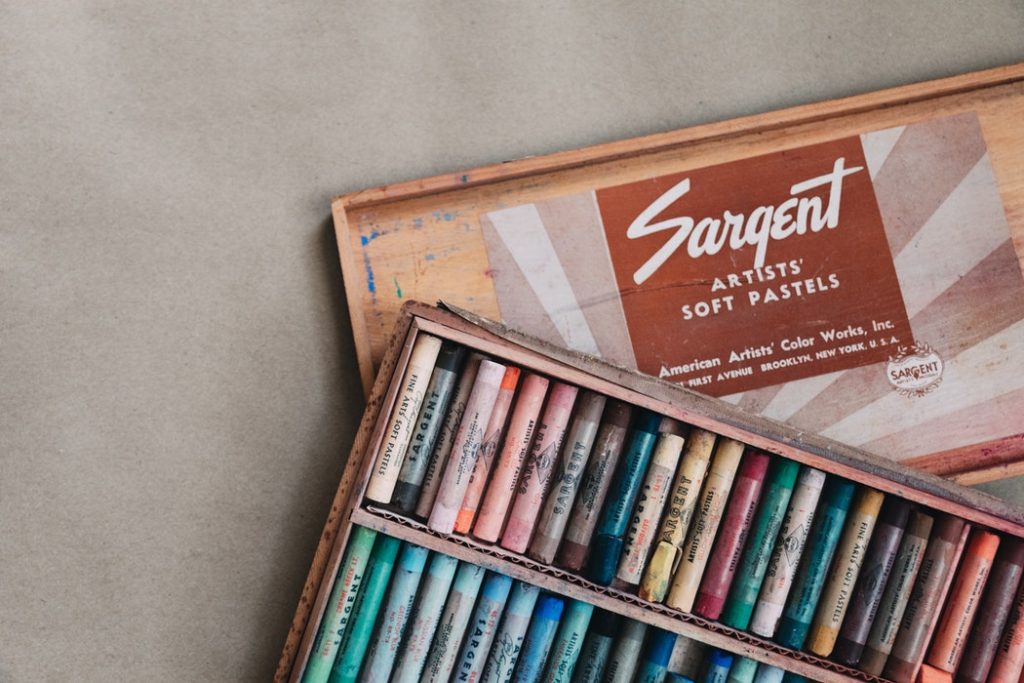
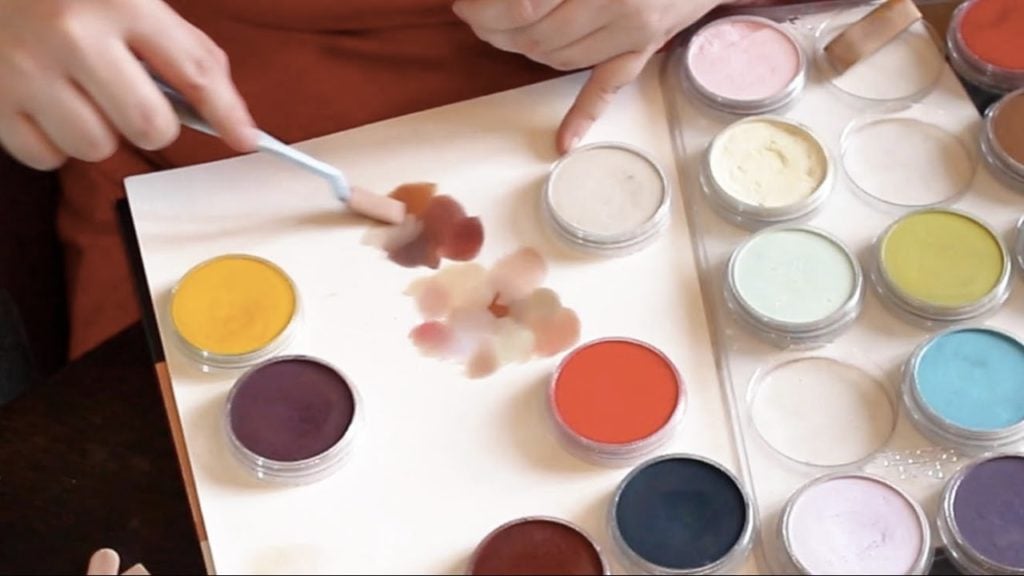
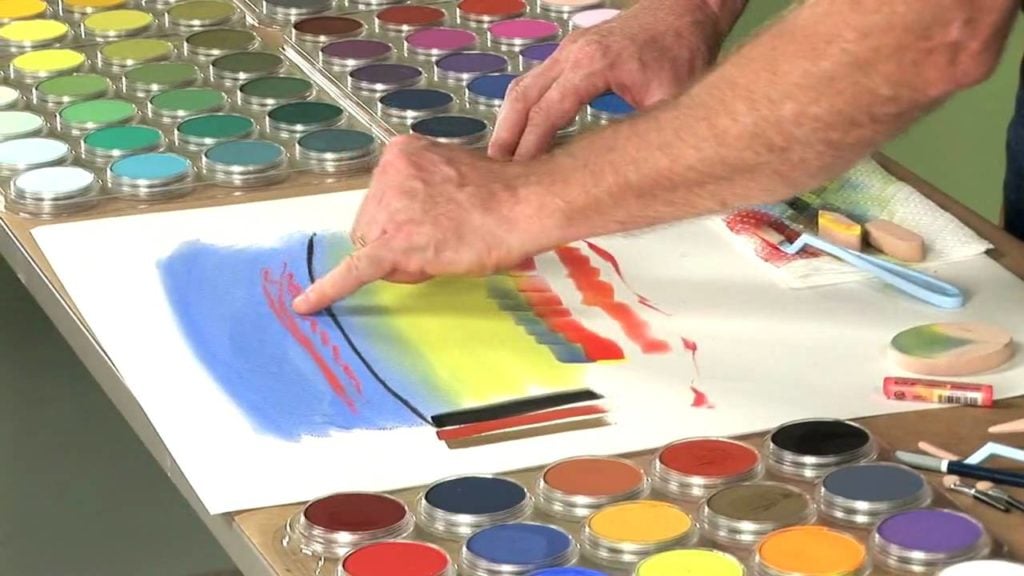
Oil paints and acrylic paints are the typical choices for the canvas, with the latter being preferred by beginners. You can also experiment with other types, like watercolor paints, pastels, and spray paint.
Paintbrushes
Paintbrushes are usually bought as a set, making it easier to pick up something with the essentials needed to paint.
You can easily try different kinds of brushes without significantly investing in them.
Canvases
Canvases can come in different sizes and various materials. You can choose what will best fit your work.
For beginners, it's best to go for the basic and traditional canvas. Look for a standard cotton-stretched canvas to get started.
Palette or Squeeze Surface
When painting, you need to mix and experiment with colors. It's best to have a palette or squeeze surface nearby.
You can also have a test material to see how the paint would look while mixing.
You can buy these materials at your local art supply or dollar store.
Painting Surface
Your canvas will need a place to sit while you work on it. You'll need to ensure it's at a proper elevation and angle to help you work comfortably.
You can usually get an easel in your local hardware store. If you work on a tabletop, ensure it's covered in newspaper or scrapbook paper to keep the table clean.
Tapes
It's great to have painters' tape, contact paper, or masking tape when painting.
It helps create borders on your canvas or around it, protecting your work or workspace from having unwanted splotches of paint.
Palette Knife
If you're starting to step up your painting game, having a palette knife can be another way to apply paint on your canvas.
This tool can help you work with new techniques and styles.
Cleaning Supplies
We all know how messy painting can get. It's best to have paper towels and a rag to wipe off any paint on your canvas or other surfaces.
It's also essential to have a container with water to clean out your brushes as needed.
Painters' Smock
Wearing something you don't mind getting dirty when working with paints is best.
We recommend having a smock on while you work to protect your clothes.
You may have more questions about canvas painting and how you can start bringing those canvas painting ideas to life. We’ve gathered the most common questions to give you more tips on painting. Usually, you would add varnish to protect the paints you used. We recommend using acrylic resin varnishes, especially on acrylic paints, since they have a glossier, cleaner, and more robust finish. You can also use a mod podge, which acts as a glue or seal for the paints. Yes, they’re the most recommended for beginners. They’re affordable and easy to work with, making it easier for beginners to focus on their techniques. Once you’re used to these kinds of paints, you can experiment with others, like oil paints and watercolors. Over time, you’ll be able to find the best medium for you.Canvas Painting FAQs
Conclusion
To learn how to paint, you have to keep practicing. These canvas painting ideas are only the first step to becoming the next Picasso.
Get your canvases ready and bring that artwork to life.


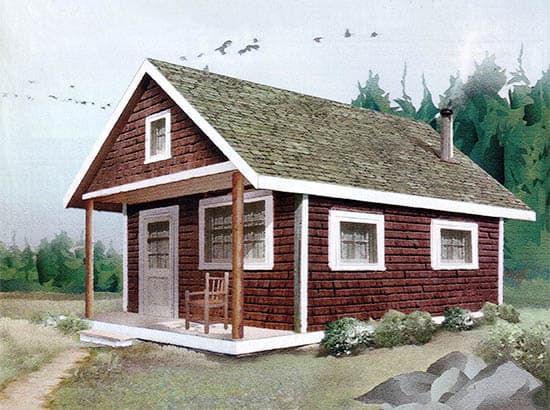
![What Is A Victorian House [Definition, Examples & Styles]](https://homesthetics.net/wp-content/uploads/2021/08/What-is-a-Victorian-House-01.jpg "What Is A Victorian House [Definition, Examples & Styles]")


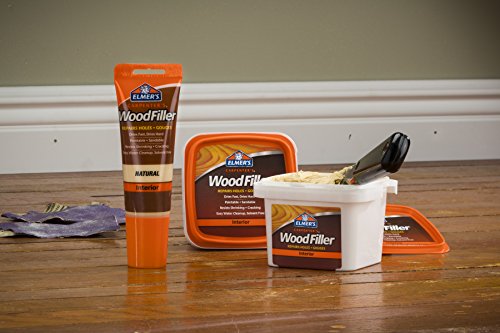
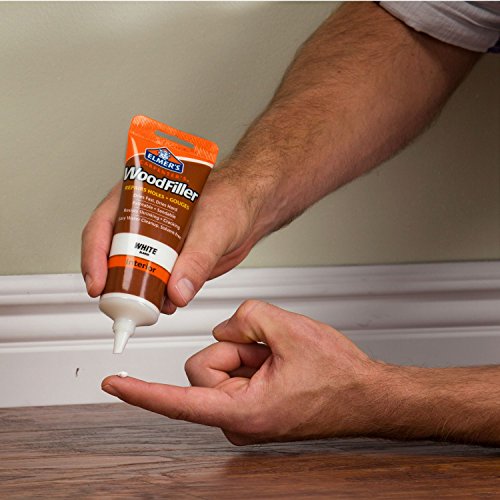
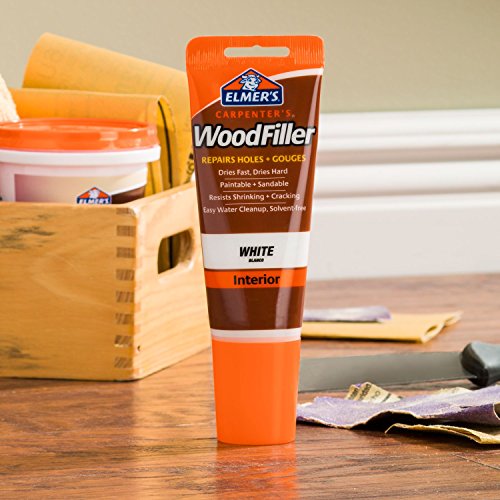
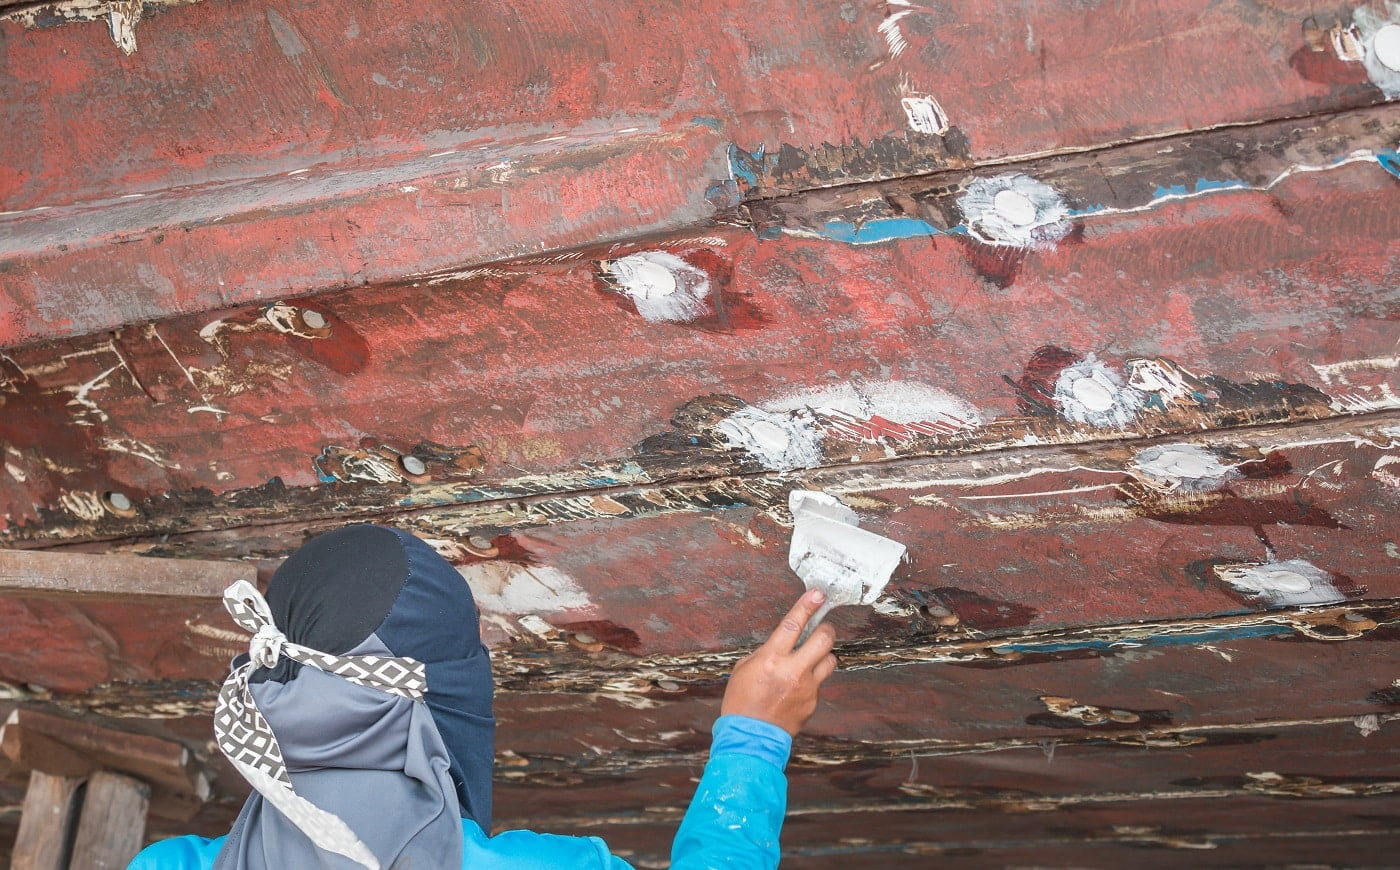
![Wood Filler vs. Wood Putty [A Clear Winner?]](https://homesthetics.net/wp-content/uploads/2021/08/Wood-Filler-vs-Wood-Putty-01.jpg "Wood Filler vs. Wood Putty [A Clear Winner?]")


