
It might be intimidating to prop up your expensive flat-screen televisions without a traditional stand, but going Do-It-Yourself or opting for other wall mounting options can save money in the long run. You can easily prop up your flat-panel display with a DIY stand base made from metal, wood, or polyvinyl chloride or simply use commercial wall mounts—the options are endless.
So, I have carefully curated a detailed guide on how to prop up a TV without a stand to assist you further.
What To Use If You Don’t Have A TV Stand

A TV stand is not always necessary to prop up an average flat-screen TV in your home. If your main goal is to save space, then there are various alternatives to TV stands, such as a TV tripod, TV mount, corner shelving, etc., that are just as effective. You can follow these alternative methods:
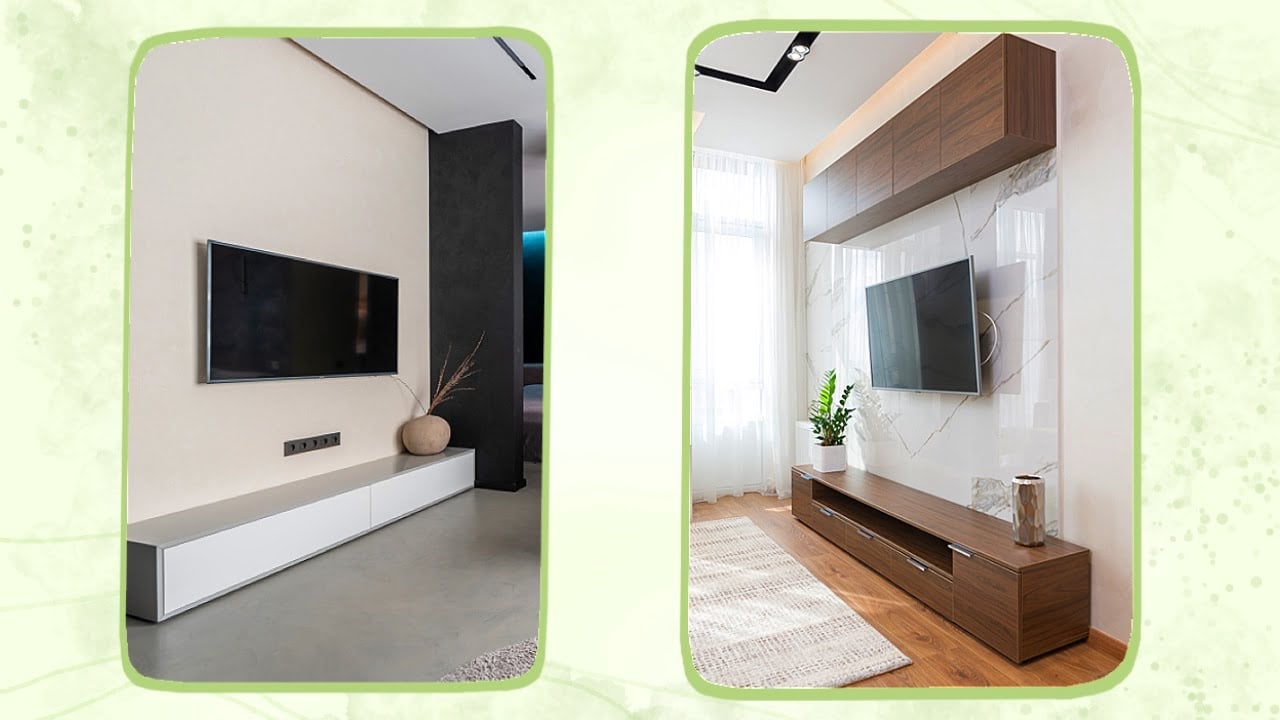
1. Simply Mount Your TV
Installing or mounting your TV is the most common way of maximizing space without having to purchase anything. Since the open concept trend is becoming very popular in interior design, many people prefer to mount their TV for a cleaner, tidier look.
There are three kinds of TV mounts to choose from: fixed mount, full-motion TV mount, and tilted mount. Even though the installation process is similar in all three types, the choice usually depends on personal preference.
a) Fixed TV Mount
As the name suggests, a fixed TV mount is set in a particular position; however, it can be viewed from multiple angles across the room. These are easy-to-install, clean, and affordable options if you have a centrally-positioned wall with multiple seating arrangements. But you might want to go for other mounting types for a better viewing angle if you have an unconventionally shaped or large-sized living room.
b) Full-Motion Mount
Every TV mount that is not fixed is a kind of pull-down mounting system that allows improved mobility and multiple viewing angles. If you find yourself unable to view the TV screen from every seat in the room, you can consider a full-motion mount. Full-motion mounts can help you adjust the position of the TV screen freely due to its smooth hinges that swivel and rotate. Since it offers a wide range of motion, its price range is usually higher than the fixed ones. So, to get the best out of your investment, check if the full-motion mount is compatible with your TV size.
c) Tilted Mount
If you’re on a budget but want more mobility than fixed TV mounts, consider tilted mounts that are made from high-quality steel or alloy. Unlike the standard swivel and rotate movements, a tilting mount has limited mobility and can tilt 15 degrees upward or downward. Cheaper than TV mounts with a full range of motion, these television mounts are ideal for reducing glare in the living or family room.
2. TV Tripod
A TV tripod works best if you want to add a bit of style while saving space in your living room or bedroom. Besides securely holding your TV screen, it gives the floating illusion to your home theater.
Even though TV tripods are the cheaper and more stylish alternative, they do not have a cable management system, so you’ll have to deal with messy, tangled wires.
If you have a TV connected to a video game console, I recommend going for mounting types that conceal wires.
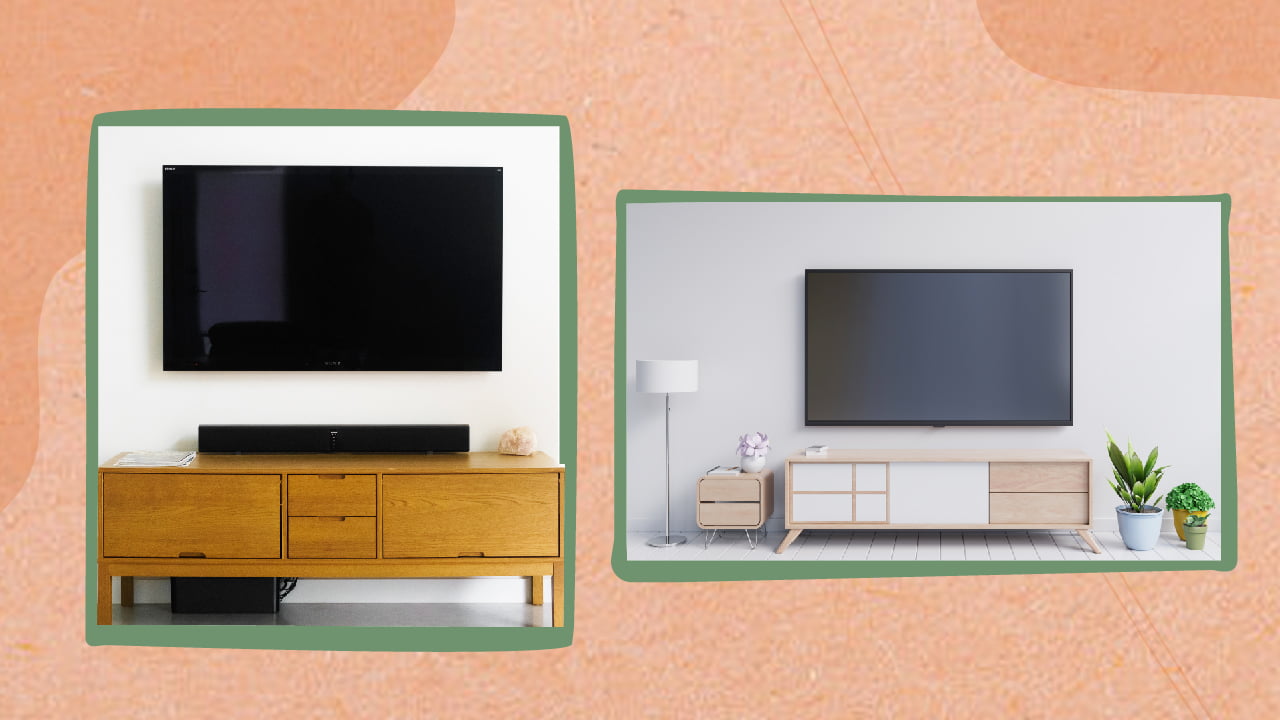
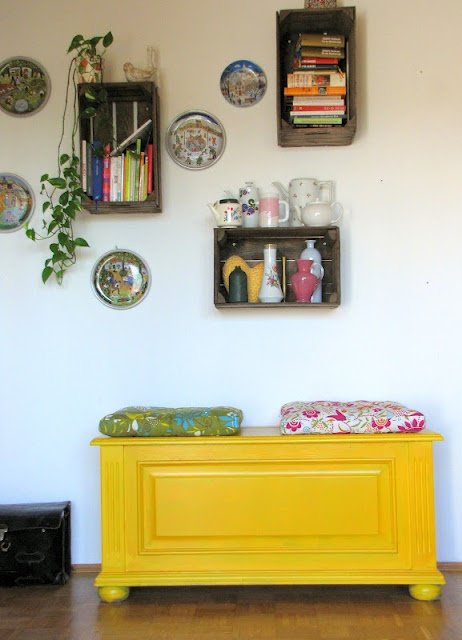
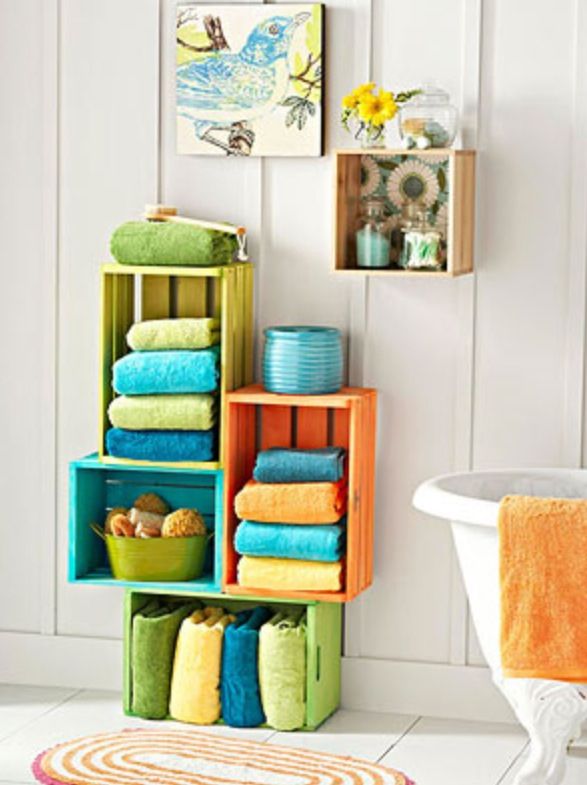
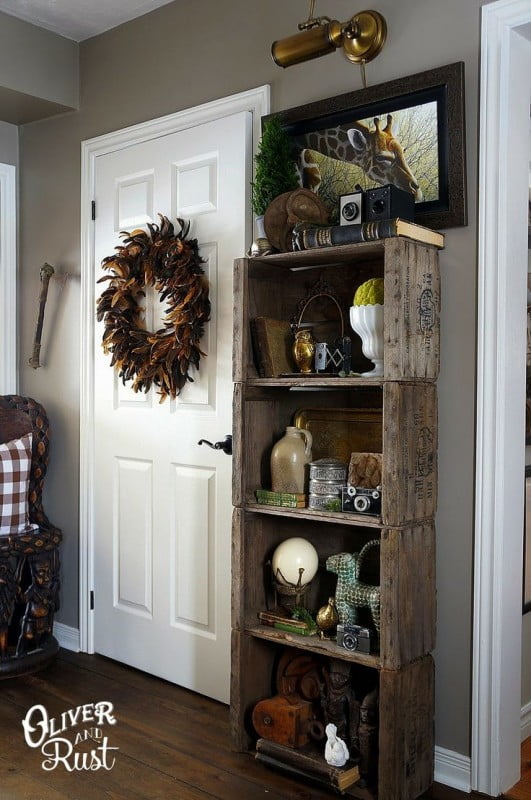
3. Corner Shelving
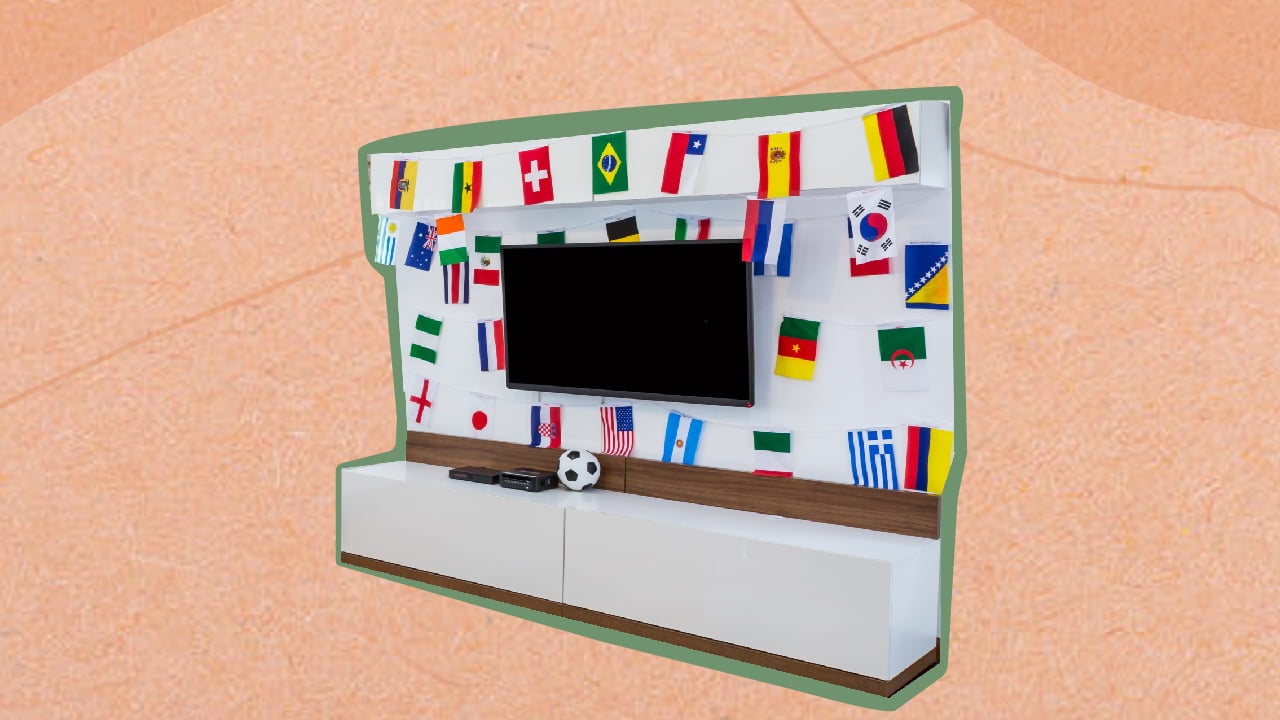
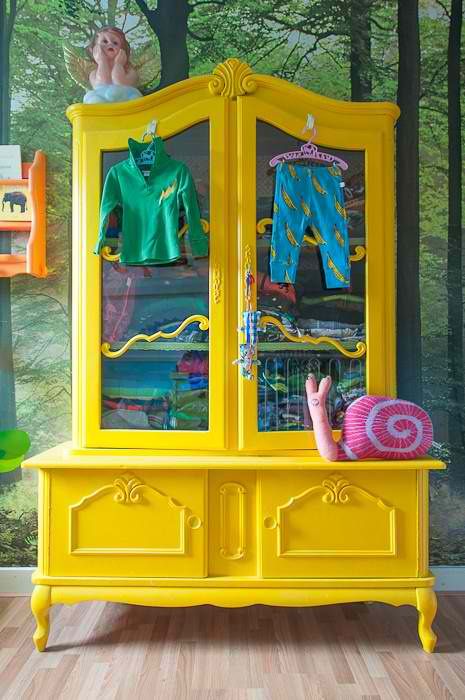
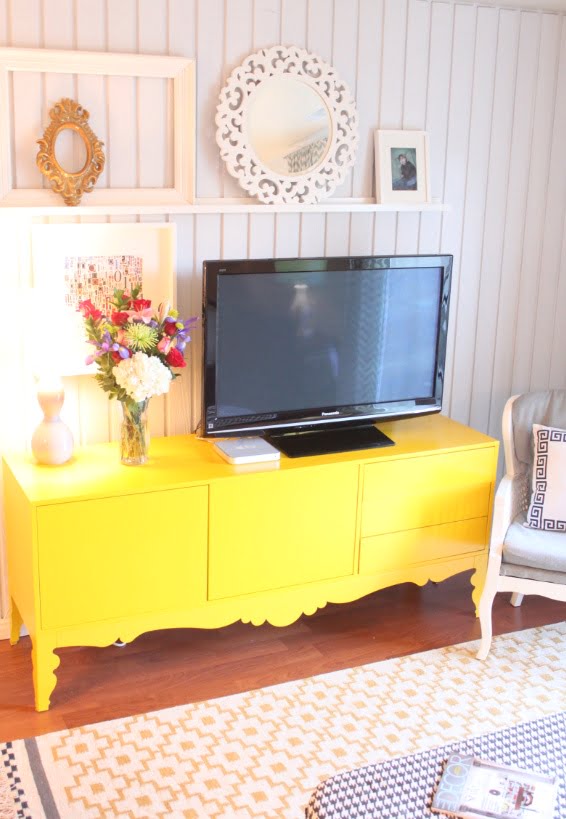
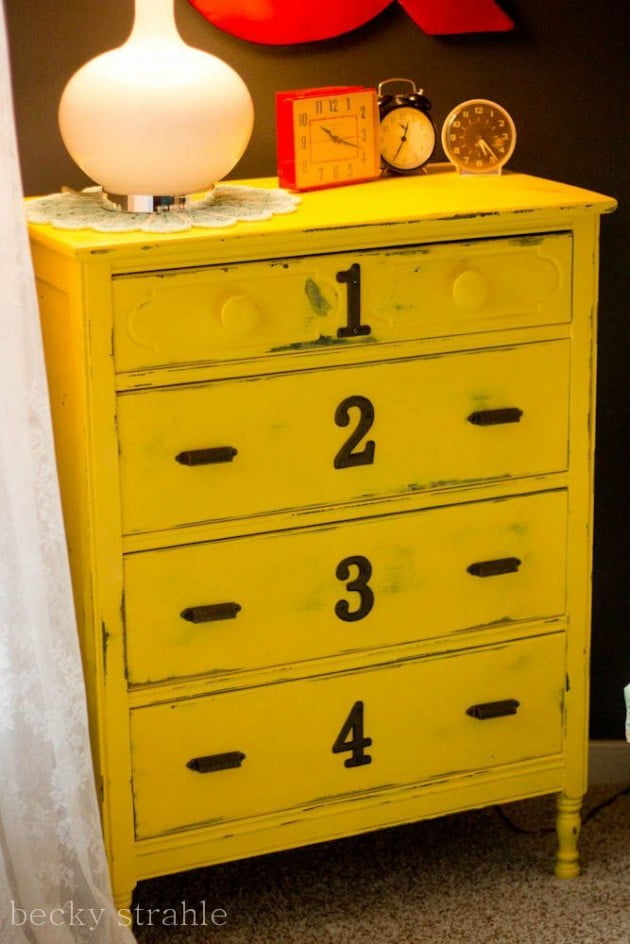
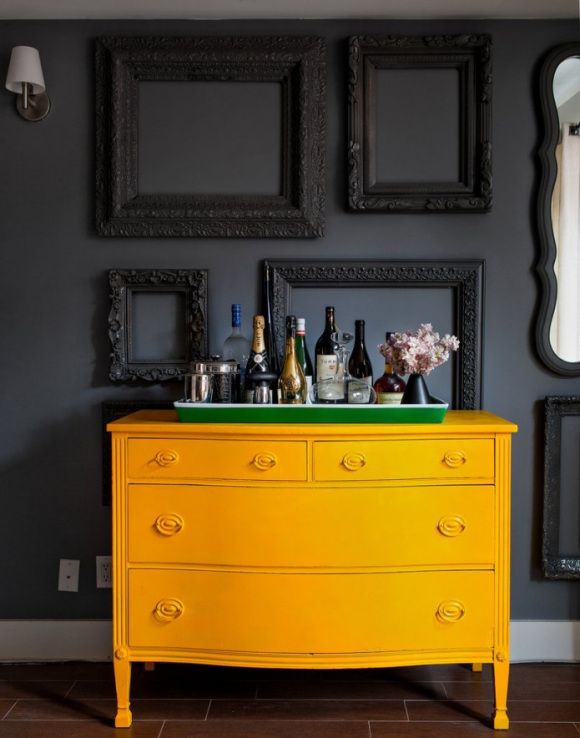
Corner Shelving is most common for medium and small flat-screen TVs since the corner can only have so much space. A great way to utilize the storage space even further is to use a chest of drawers or a bookcase as the TV stand. You can use this for storing books, media accessories, cable boxes, computer hardware, or entertainment and gaming consoles.
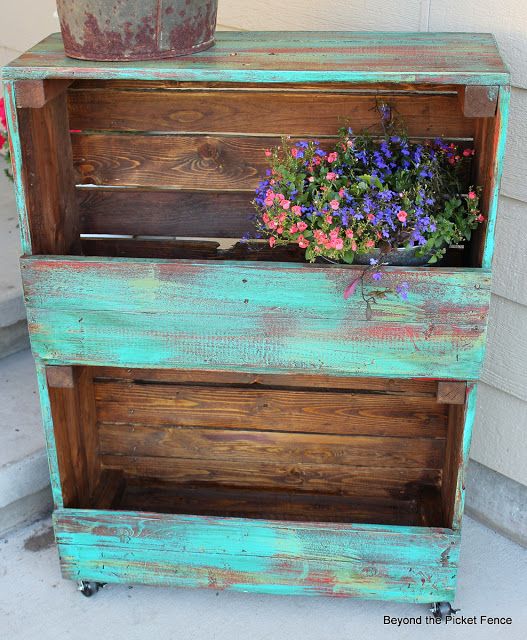
Traditional or rustic dressers have been used as television stands for a long time since they have a higher weight capacity, making them ideal for bulky televisions. Moreover, if you want a regular TV stand that is very cheap as well as aesthetic, consider recycling decorative storage boxes and cheap coffee tables.
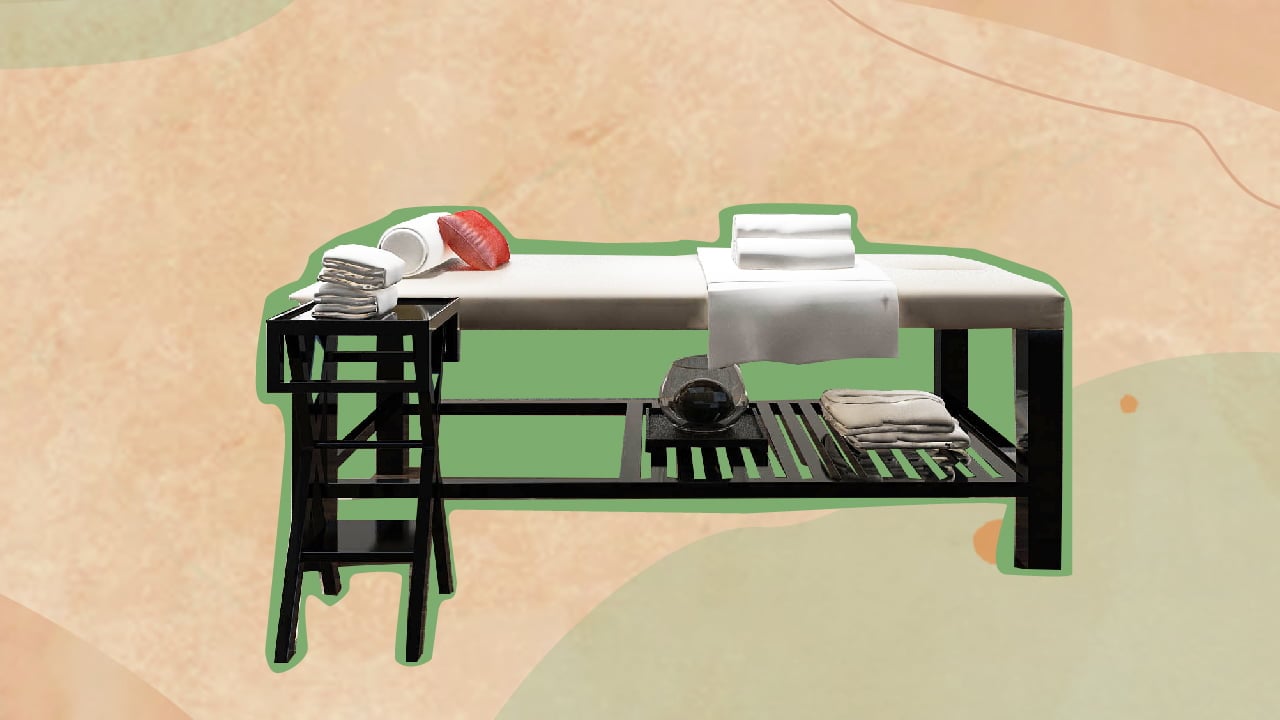
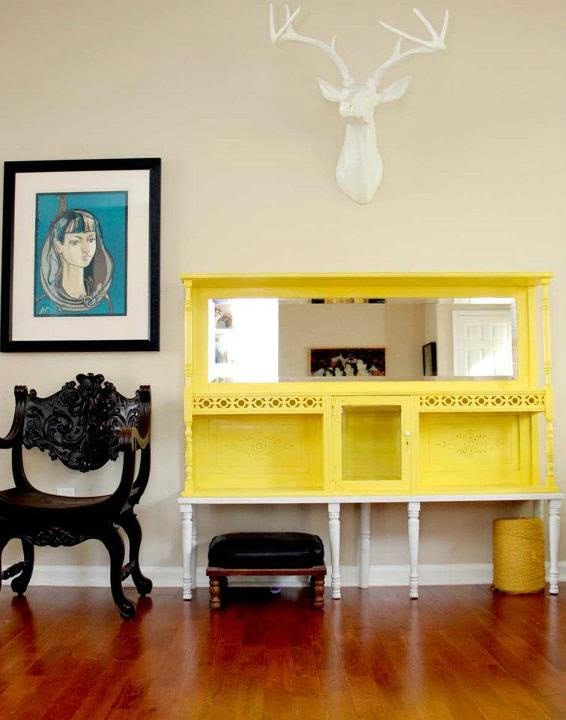
4. Bench
Using a bench or similar flat furniture surfaces you already have at home is a simple way of propping up a TV at no extra cost. These television stands are ideal for small-sized screens; however, if you have larger screens, you must secure them with hidden furniture straps.
Make sure your bench has a flat surface for even weight distribution; otherwise, it might topple over if you bump into it. I always try using a bench with a longer height to prevent neck strain while watching television.
How To Prop Up A TV With No Base
If your modern television doesn’t have a significant base or legs, then propping it up with standard TV stands might not be easy. This is because the TV height may be too low for your viewing comfort and can be a potential hazard for young children and pets. So, to compensate for its lack of height and sturdy base, here are some innovative ways you can prop up a TV without a stand:
1. Fixed Floor Mount
Like a ceiling pole mount, this TV mount is fixed on the floor and thus can provide adequate support and hold enough weight. So, now you need not worry about the TV falling! What makes a fixed floor mount so ergonomic is its sturdy storage space that will hold the cable box, some media consoles, video game consoles, and other television accessories. You can also get the ideal height and viewing angle from a fixed floor mount.
2. Rolling TV Stand
This television stand is popularly used in a game room or entertainment center since they are affordable and easily portable. With rolling wheels under the TV-mounted base, it offers high-level flexibility for those who need to move their TVs from room to room or different corners of the room.
A rolling TV stand can securely hold an average TV size and makes watching TV a comfortable yet portable experience. However, this modern room TV stand takes up more floor space and doesn’t help if you’re looking for mounting solutions compatible with a limited space range.
3. Extending TV Wall Mount
If you prefer a wall-mount TV stand with extendable features, this might be the one you’re looking for. Once attached to a long or short wall or corner, the television flat screen can be extended from its base to adjust the wall mount height and viewing angle.
These wall-mount TV stands are as easy to install as the fixed wall-mount ones, but they provide better features and support. Its versatile and ergonomic design can save ample space and prevent eye strain, making you forget television stands even exist.
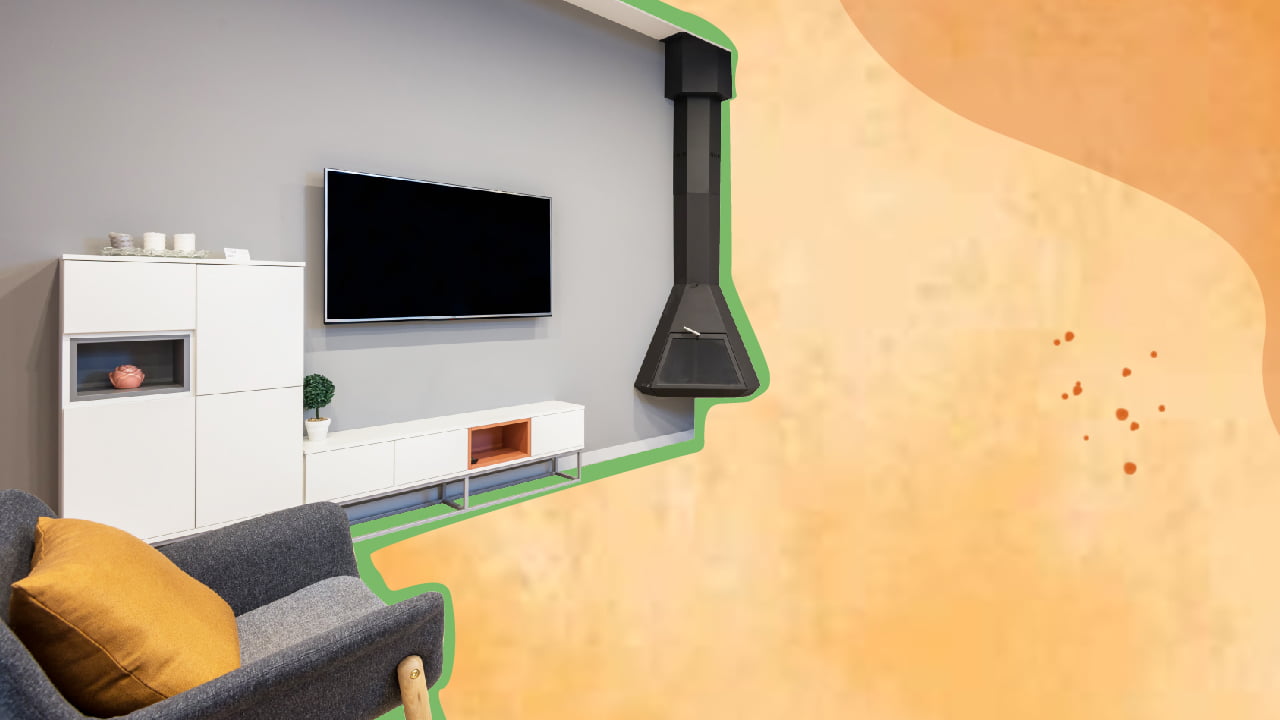
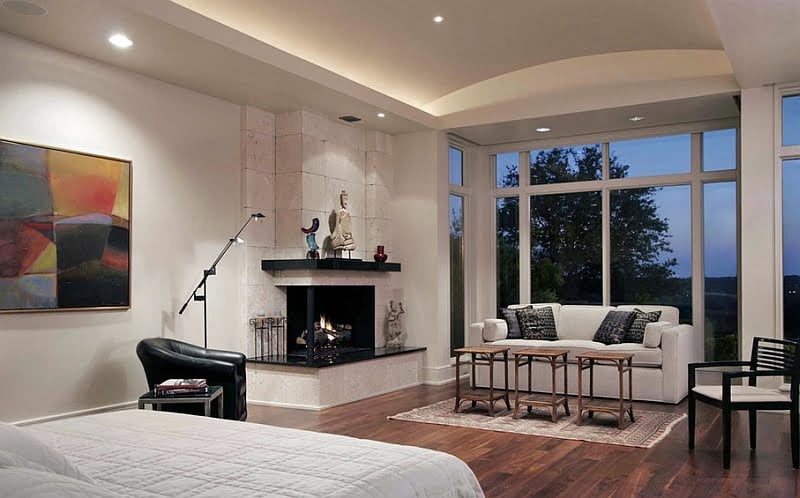
4. Fireplace TV Mount
This is also a pull-down wall mount variety, but it is specially designed for mounting TVs on fireplace mantles. With unique features such as heat sensors, heat-resistant metal build, cable clips, and a full range of motion, these help you combine minimalism with efficiency. Moreover, a fireplace TV wall mount can have many movement types, including swivel, tilt, rotating, and articulating.
Mounting Solutions For Ceiling
Often lack of space can be so severe that you might not have any free wall to mount the TV altogether. In this case, a ceiling TV mount or pole is your best bet for a comfortable viewing experience. Further, it is considered to be a space-saving, affordable alternative to an expensive entertainment stand, popular in home theaters and entertainment centers.
Here are some types of ceiling TV mounts:
1. Drop-Down TV Mount
If you want a functional television stand that can hide your screen in the ceiling or cabinet drawer when not in use, go for a drop-down TV mount. They are not only easy to pull down or pop up, but they offer various viewing angles that help television viewing from any part of the room. It has a simple one-button mechanism that swiftly retracts the mounted TVs and entertainment consoles out of the way.
This TV mount can be mounted on both ceiling and floor; however, they are fixed to the surface, unlike TV stands which you can move around.
2. Motorized Folding Ceiling Mount
This unique ceiling mount lets you flip up the TV when not in use and, likewise, fold it down when you want to watch. A motorized folding mount can support quite a large weight, so purchasing this might benefit you if you have a large flat-screen TV. Great for everyday use in the bedroom or entertainment room, they provide multiple viewing angles and prevent screen glare. However, installing these can be a little difficult compared to traditional TV mounts.
3. Fixed Ceiling Pole
It is a cost-effective television stand alternative that is easy to install and durable. Usually, the most affordable version of a ceiling pole is the fixed one, but you can invest a bit more to get a full range of motion.
Should You Make DIY TV Stands?
DIY TV stands have more to them than just cost-saving–you can create any aesthetic and use any material or design to customize it according to your preference. You can use a wide array of materials, including wood scraps, metal, and maybe some PVC plastic varieties.
Before making your own television mount or stand, thoroughly measure your TV and choose materials strong enough to sustain the weight. Since the average TV weighs around 32 pounds, it is recommended to use a solid and durable material like metal or wood.
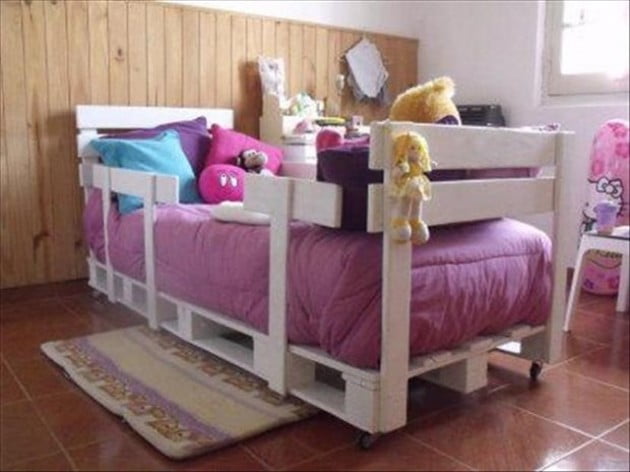
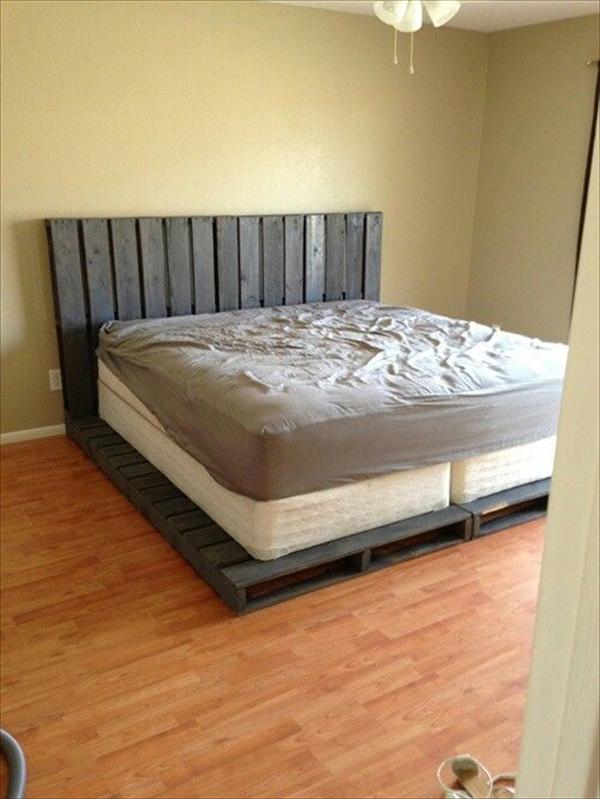
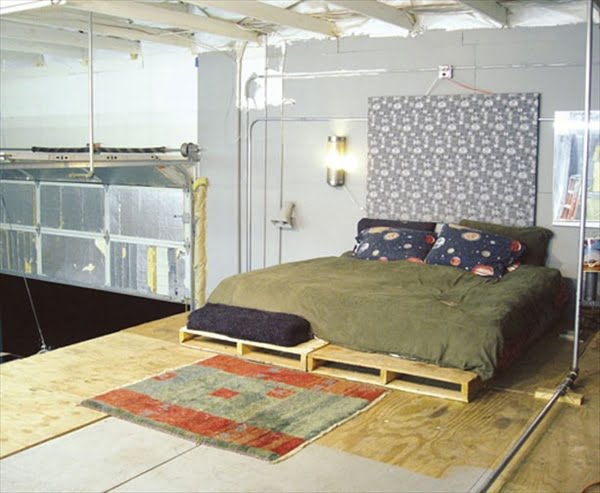
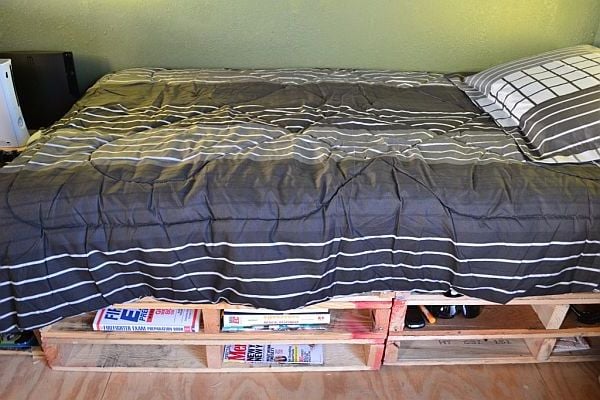
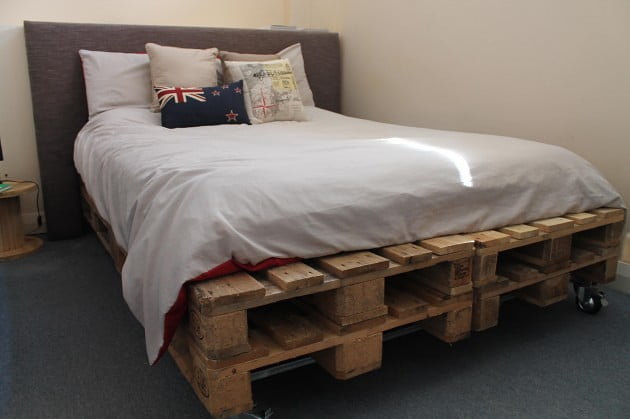
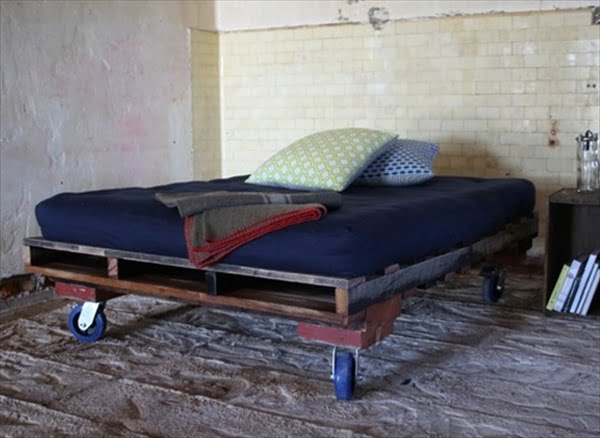
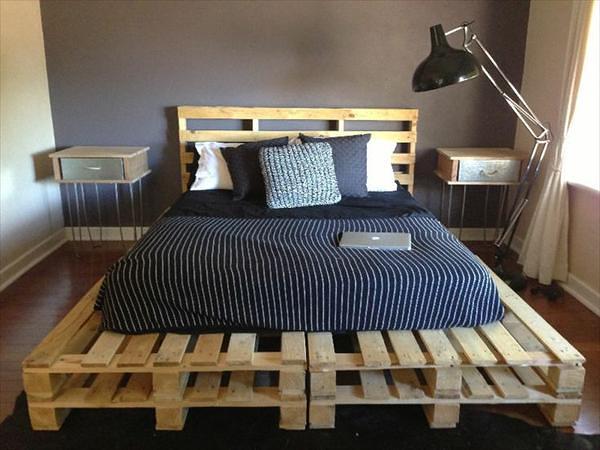
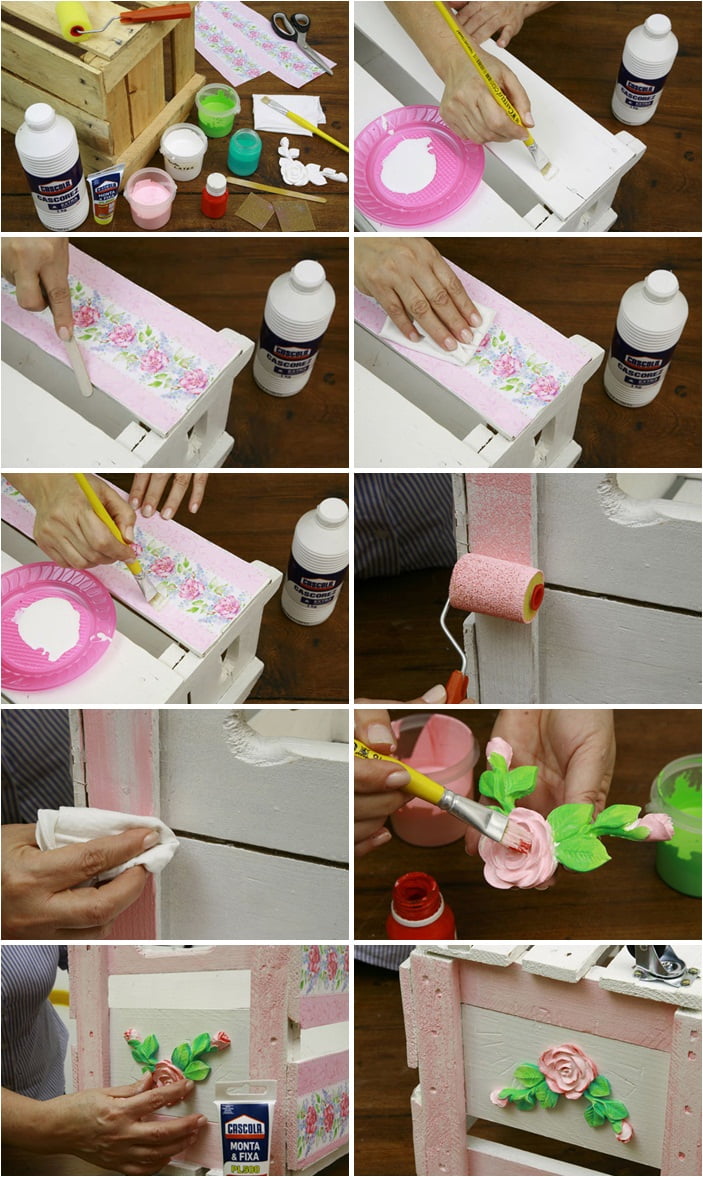
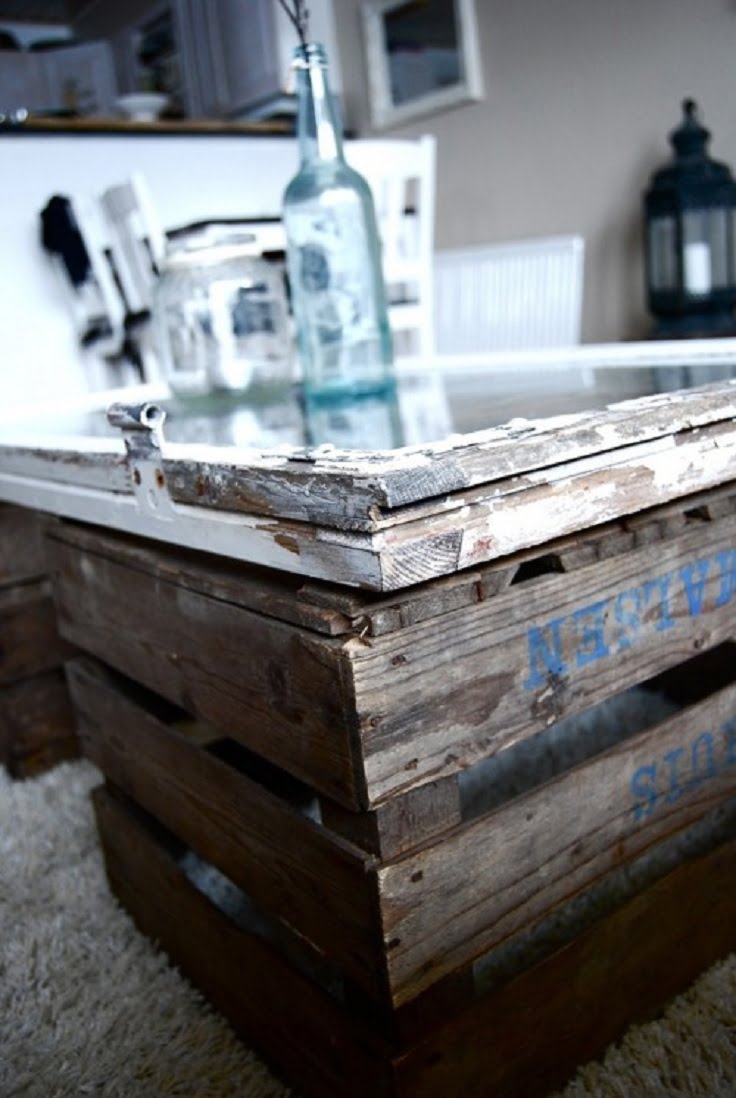
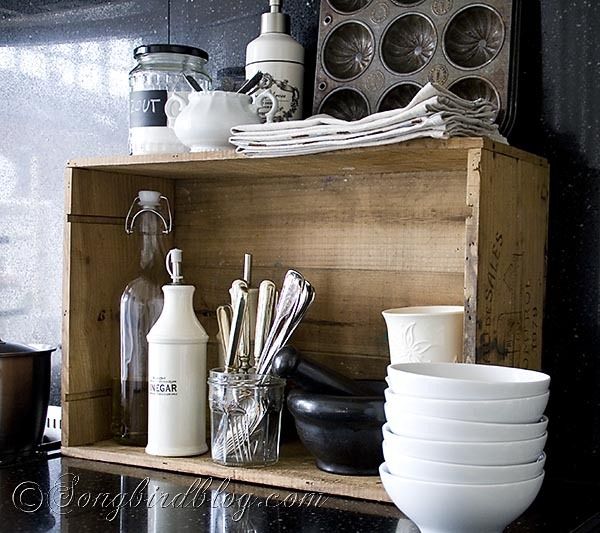
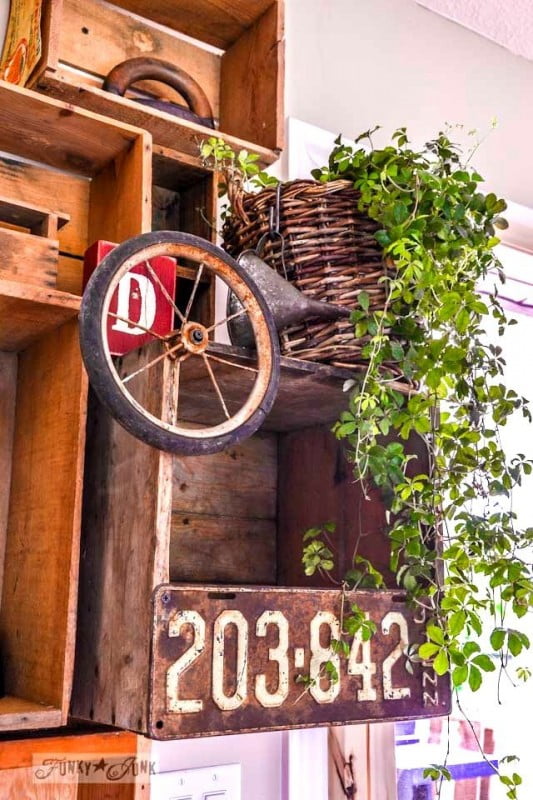
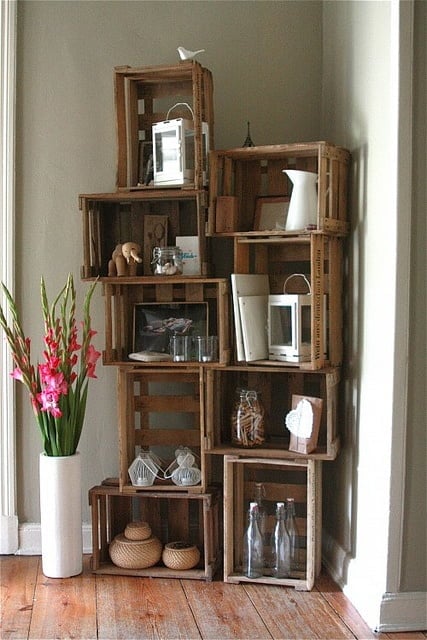
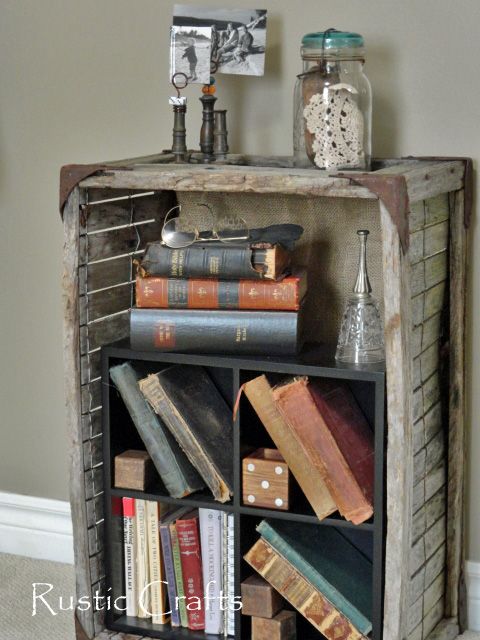
If you want a more rustic and vintage look, you can use old wooden pallets or simply use a wooden dresser to prop up a TV. However, dressers can only work with small or medium-sized TVs with legs for support; a large screen with no legs can easily topple over. But you can prop up a TV on a dresser by using books, gaming consoles, and cable boxes as support.
Regardless of your DIY method, your handmade TV stand will not have enough flexibility, so try using high-quality materials and finishes to increase the aesthetic value of your next television stand.
Innovative Ways To Prop Up A TV
There are other DIY options if you don’t want to make a TV base from scratch and go through all that fuss trying to find the right material. You can simply turn a wall mount into a standard TV base and use it to prop up a TV without a stand.
A coach screw hook can be drilled into the wooden wall studs – you can use this ensemble to hang your TV like a frame with a wire. However, a flat-screen display with sharp edges can scrap your wall finish or paint over time. To avoid such damage to the wall, screw a soft block of foam at the back of your TV.
If you find that the base of the television is creating problems with proper mounting, use a screw to lift off the base from the body easily. Moreover, you should utilize the designated mounting holes at the back to mount it on the wall or ceiling since they guarantee better support and even weight distribution.
Tips To Prop Up A TV Without A Stand
It is tricky to prop up a TV or mount it properly so that it doesn’t fall off or tip over and get enough support. Here are some things you can follow to improve your mounting ideas:
1. Don’t Seek Out Cheap Mounts
You might think purchasing the cheapest TV mount is the best way to maintain your budget, but that’s not true. Cheap mounts usually are not of high quality and can cost you more money in the long run. So, it’s better to invest in sturdy mounting hardware with accessible features and warranty periods.
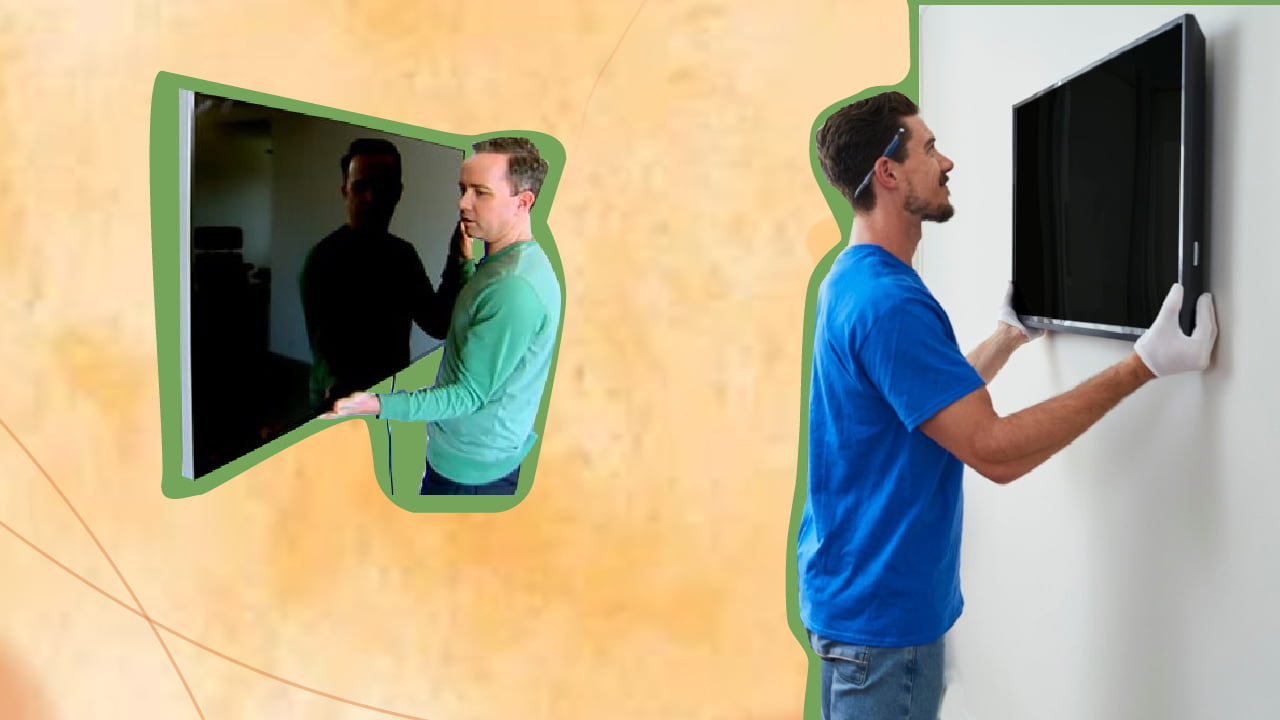
2. Choose The Right Location
Finding the right location for your TV ensures better viewing angles and exposure from most parts of the room. The best way to decide on a location is to use a cardboard cutout the same size as your TV without a stand. Hold it up or tape it to different angles on the wall or ceiling, and observe whether you can see the screen from different sitting arrangements.
When you find the optimal location, mark the outline with a pencil for future reference. For easier installation, I like to mark the exact position of each mounting hole so it doesn't end up looking lopsided.
3. Pay Attention To The Materials
If you’re going to DIY a TV stand or base, choosing high-quality wood or metal like steel or oak is recommended. Besides that, make sure you have the correct tools for mounting the finished product. These usually include a drill, laser level, screwdriver, socket wrench, tape measure, stud finder, pencil, and so on. Moreover, it is best to do your research on these tools if you’re not sure how to use them.
How To Prop Up A TV Without A Stand Final Thoughts
Propping up a TV without a stand can save money and time, but they are not always the most efficient. However, we have found that full-motion mounts are the best mounting solution when it comes to weight capacity, longevity, and multiple viewing angles.
You can also use an eco-friendly solution by recycling old wood, pallets, or PVC plastic to make your own television stand. Using a traditional dresser as a TV stand can also be a budget-friendly and space-maximizing way of propping up a TV. But if you would rather enhance the visual appeal of your living or family room by adding a bit of eccentricity, I recommend going for tripods and corner shelving.
With that, I will conclude my guide on how to prop up a TV without a stand. To ensure you don’t miss out on similar informational articles in the future, be on the lookout for my blog.
Until next time, goodbye!


![61 Best Pastel Drawing Ideas [Reviewed]](https://homesthetics.net/wp-content/uploads/2022/01/Best-Pastel-Drawing-Ideas-2.jpg "61 Best Pastel Drawing Ideas [Reviewed]")


![WEN 6552 Planer Review [A Clear Winner?]](https://homesthetics.net/wp-content/uploads/2022/01/planer-1.jpg "WEN 6552 Planer Review [A Clear Winner?]")


