You can opt for Tekton Tools to solve your woes in the workshed. It's one of the best brands in the market, thanks to its range of top-notch products, delivering unmatched performance and thereby reducing your stress.
It's very reliable due to the sturdy construction while the unit and components have enough strength to withstand the daily demands of work. Likewise, it doesn't compromise with the output and offers a great deal of versatility. But the question is, how do you choose from the numerous products that are lining the market?
In fact, how will you distinguish between two or more different brands? To help you, we have narrowed down the eight best tools available from Tekton Tools while looking at the various aspects in which the brand does better than its rivals.
So, let’s get started, shall we?
1. 6-point Socket and Ratchet Set
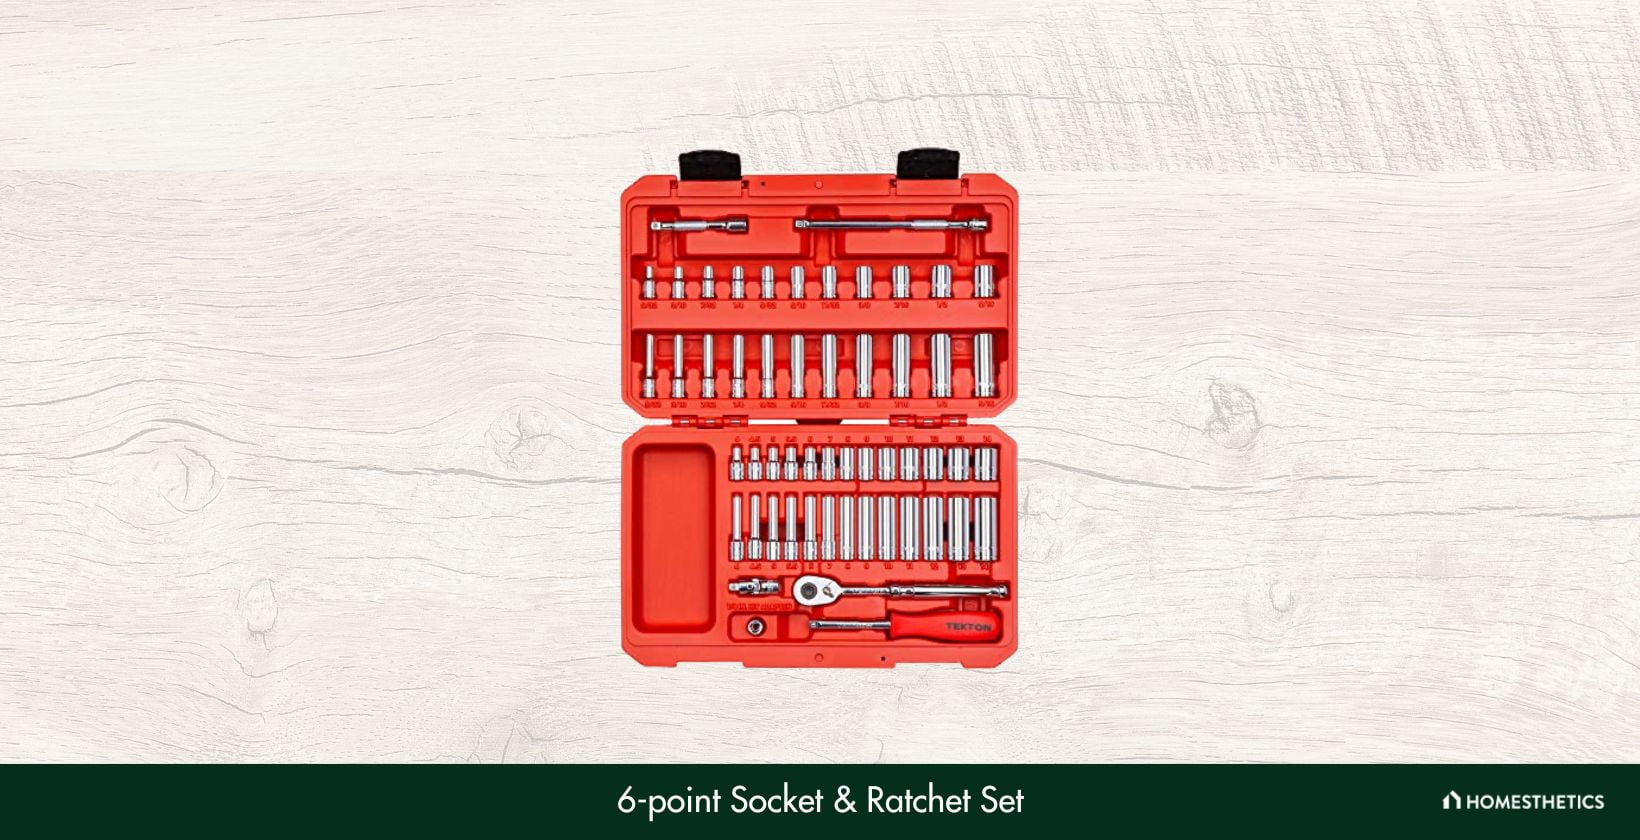
The 6-point Socket and Ratchet Set is one of the top products in the market and with valid reason. It comes with quality components capable of solving most of your problems in the workshed. And it has generated mostly positive reviews, making it quite popular.
First and foremost, it comes with roll-stamped markings etched onto the surface to make for excellent viewing even in low-light conditions. You can organize them neatly and choose the correct tool depending on the type of work. Moreover, thanks to the radiused corners, the force is applied on the flat side.
It provides smooth operation while helping to prevent round-off. Plus, due to the narrowed diameter, you get much better coverage allowing you to reach even tight spots with ease. In that regard, the 90-tooth ratchet comes in handy, with further support provided by the ¼" drive.
Apart from these, the noticeable upgrade comes in terms of its durability. It flaunts a chrome-plated finish, ensuring it can handle the toughest of tasks every day. Besides, it has a storage case for all the components, preventing accidental damage, and enhancing longevity. So, you have no reason to worry and can work uninterrupted.
For all that's good about it, there are a couple of issues with the unit. The sockets may not work well on occasions, which may hamper your work, and you'll have difficulty in tightening or loosening the bolts. Plus, the case needs to be more compact because the extra space goes to waste.
What We Like
- 90-tooth ratchet
- Chrome-plated finish
- Prevents round-off
- 6-point sockets
- Storage case
What We Don’t Like
- Sockets may not fit well
- The case could be compact
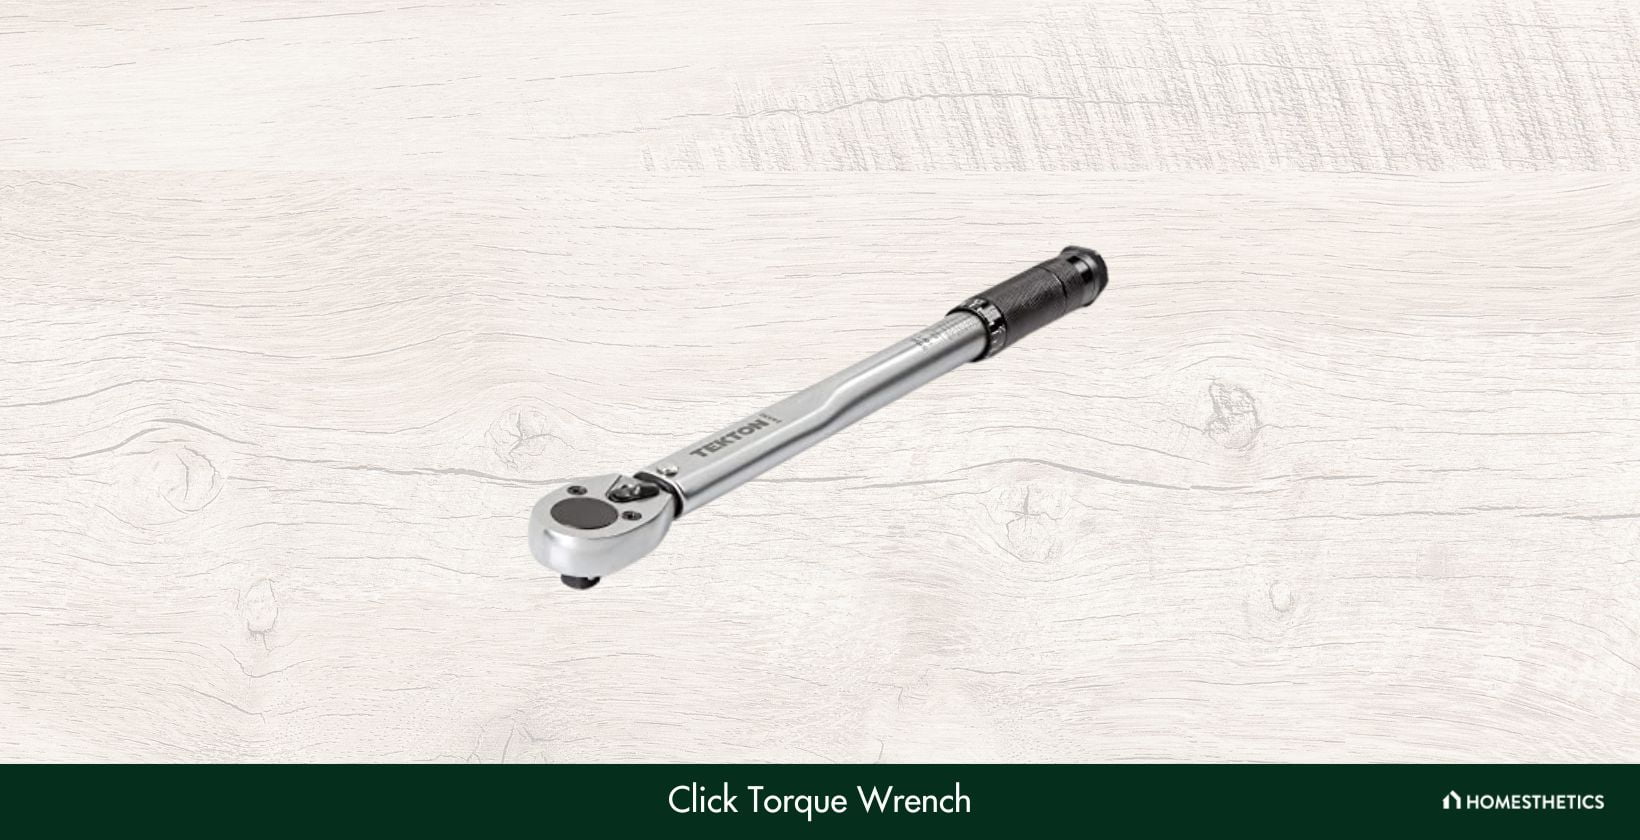
2. Click Torque Wrench 24335
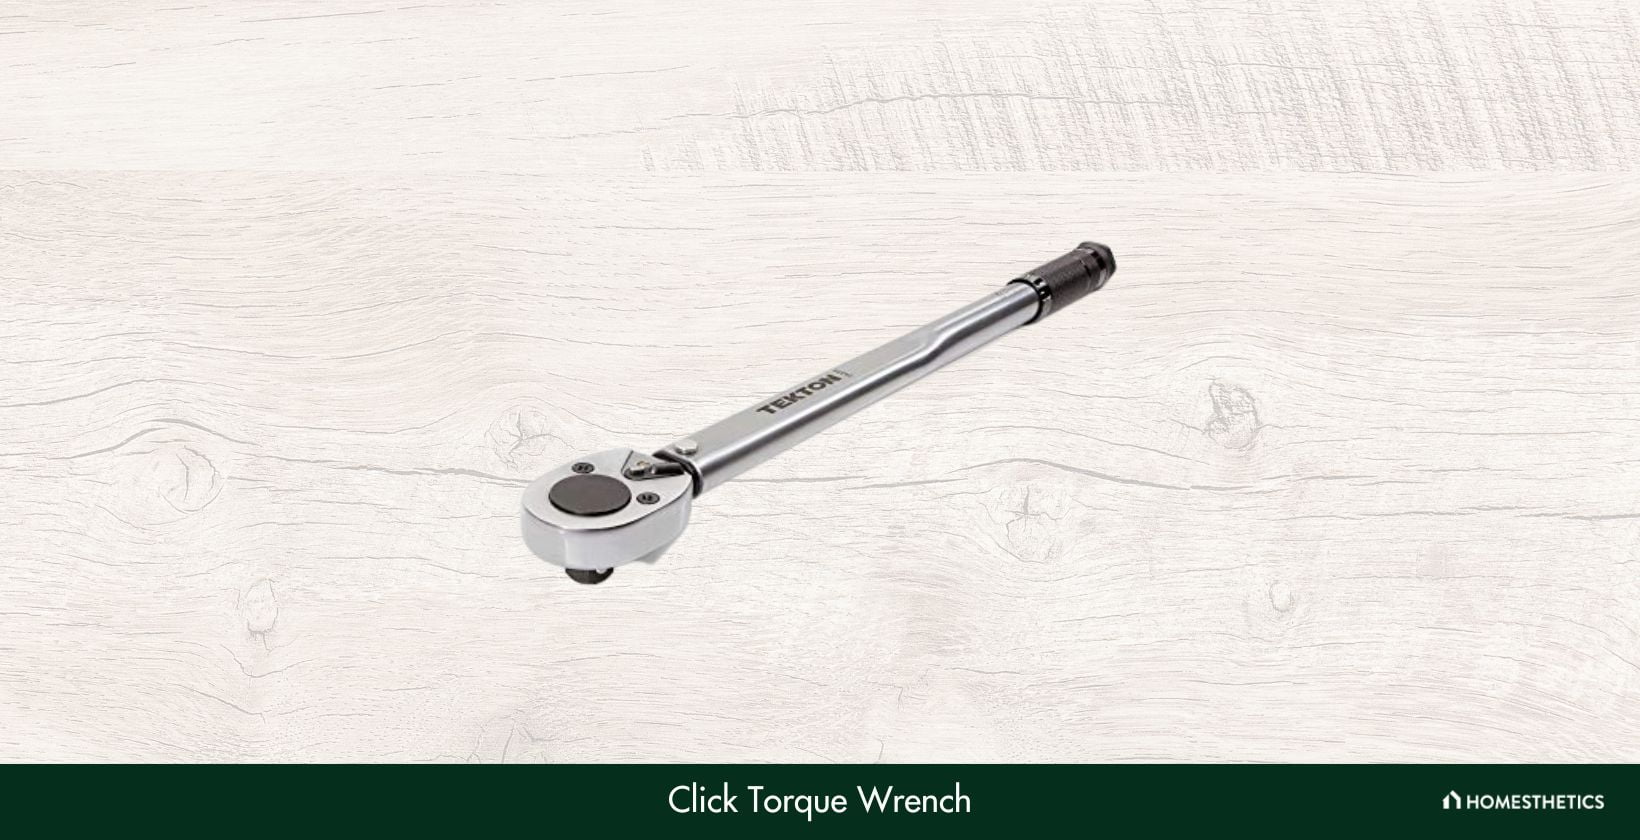
The Click Torque Wrench 24335 has several similarities with some of the other products in the market, but it has made some exciting upgrades. These inclusions have helped it quickly climb the charts, with users showing a lot of interest in purchasing it. No surprises then, that it's receiving positive reviews.
Straight off the bat, the dual-range scale has sufficient contrast, allowing easy visibility even in low-light conditions. You can clearly distinguish between the different components, thereby increasing productivity and saving time in the work shed. The significant addition is the reversible ratchet, capable of driving in both directions.
Also, you can use it to measure the torque by turning it clockwise. Likewise, it's pre-calibrated, thereby saving you the trouble and increasing accuracy to within 4%, making it possible to get the desired outcome on your tasks. Another crucial upgrade is the torque conversion chart, which amps up user-friendliness.
You get the desired efficiency, providing for simple operation. Moreover, it's incredibly durable, thanks to the all-steel construction, ensuring you can use it for a long time. There's also a sturdy storage case for keeping your components organized and protecting them from minor bumps and falls.
We have seen that the bolt may break, which doesn't bode well for the machine you're fixing. We received reports stating that users failed to understand when the bolt adequately tightened, causing it to break off. As a result, you may think twice before purchasing it.
What We Like
- All-steel construction
- Pre-calibrated
- Accurate
- Storage case
- Torque conversion chart
What We Don’t Like
- Bolt may break
3. Combination Wrench Set
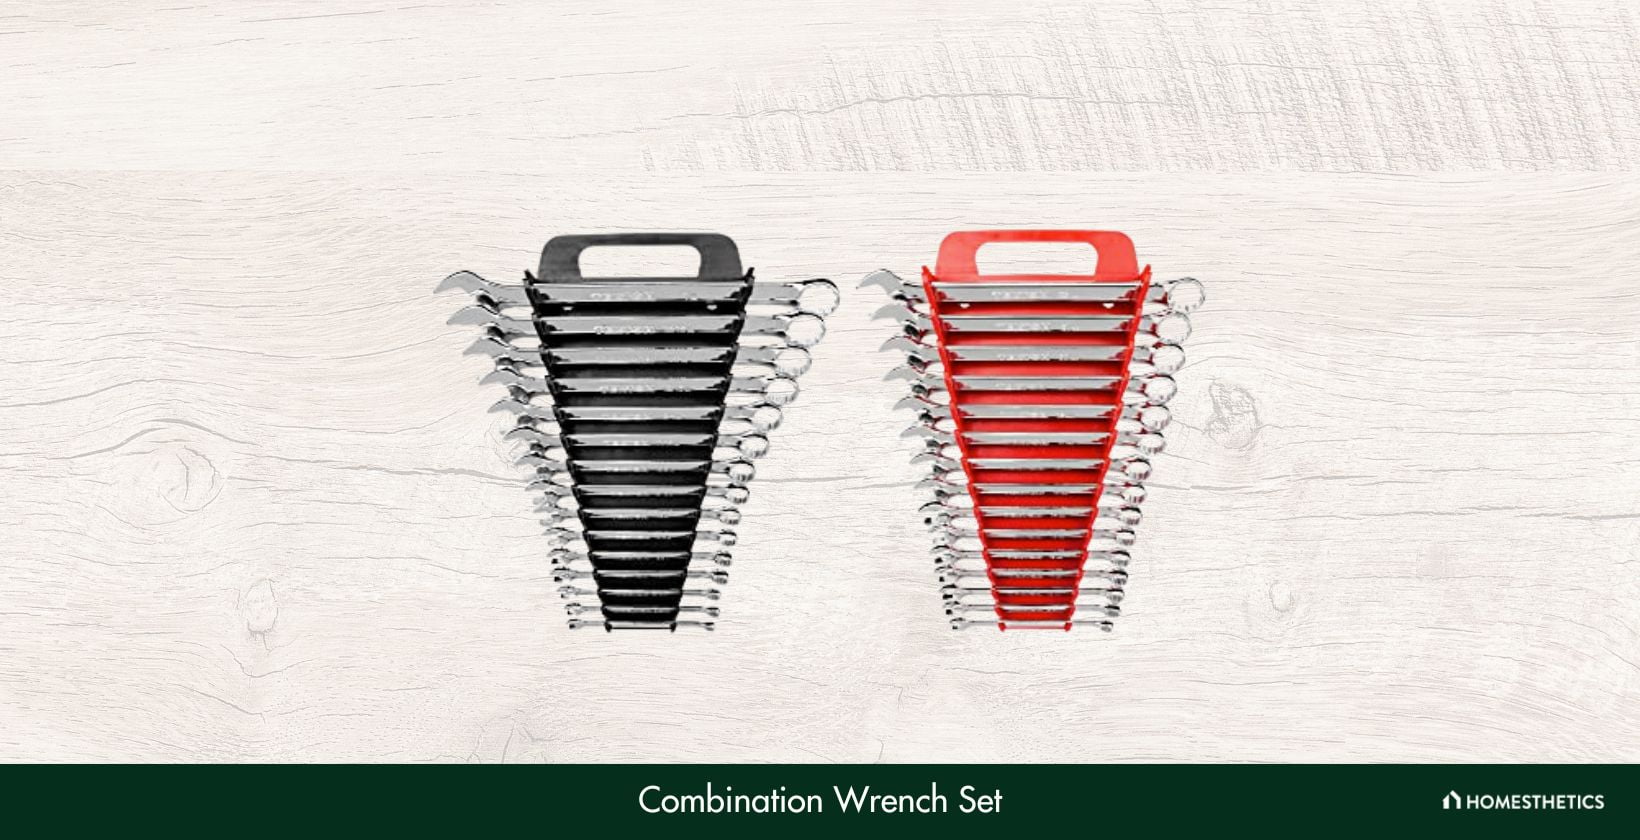
The Combination Wrench Set is right up there with the top products in the market, making for a highly desirable unit. Tekton has given attention to detail, providing a comfortable operation even for long hours. It has made quite a name for itself, and most buyers have it on their wish list.
Firstly, you'll find that the open end has an angle of 15 degrees, which serves a couple of purposes. You can flip the wrench to fit the fasteners tightly, providing a secure attachment, and reducing the time you need to spend on the task. It ensures you get double the speed even in the tightest of spaces.
Additionally, the 12-point box end makes it easier to use by providing more angles to work with. Plus, it leaves enough room for your fingers, enabling you to use it for a hassle-free experience. So, it scores high on user-friendliness and combined with the ingenious design; you get excellent performance.
Besides, it grips the flat sides rather than the corners to prevent round-off, ensuring you get a seamless experience. Apart from that, the chrome vanadium steel construction makes it extremely sturdy to withstand the daily demands of work and complements the mirror chrome finish.
It's slightly costlier than the other units in the market, which may deter potential buyers. The price is one of the first things people see, and if it exceeds your budget, you are better off opting for some other model. However, you won't be disappointed if you decide to be flexible with the price.
What We Like
- Clearance for fingers
- 12-point box end
- Prevents round-off
- Folding handles
- Store-and-go keepers
What We Don’t Like
- Slightly costly
4. Manual Hand Impact Driver Set
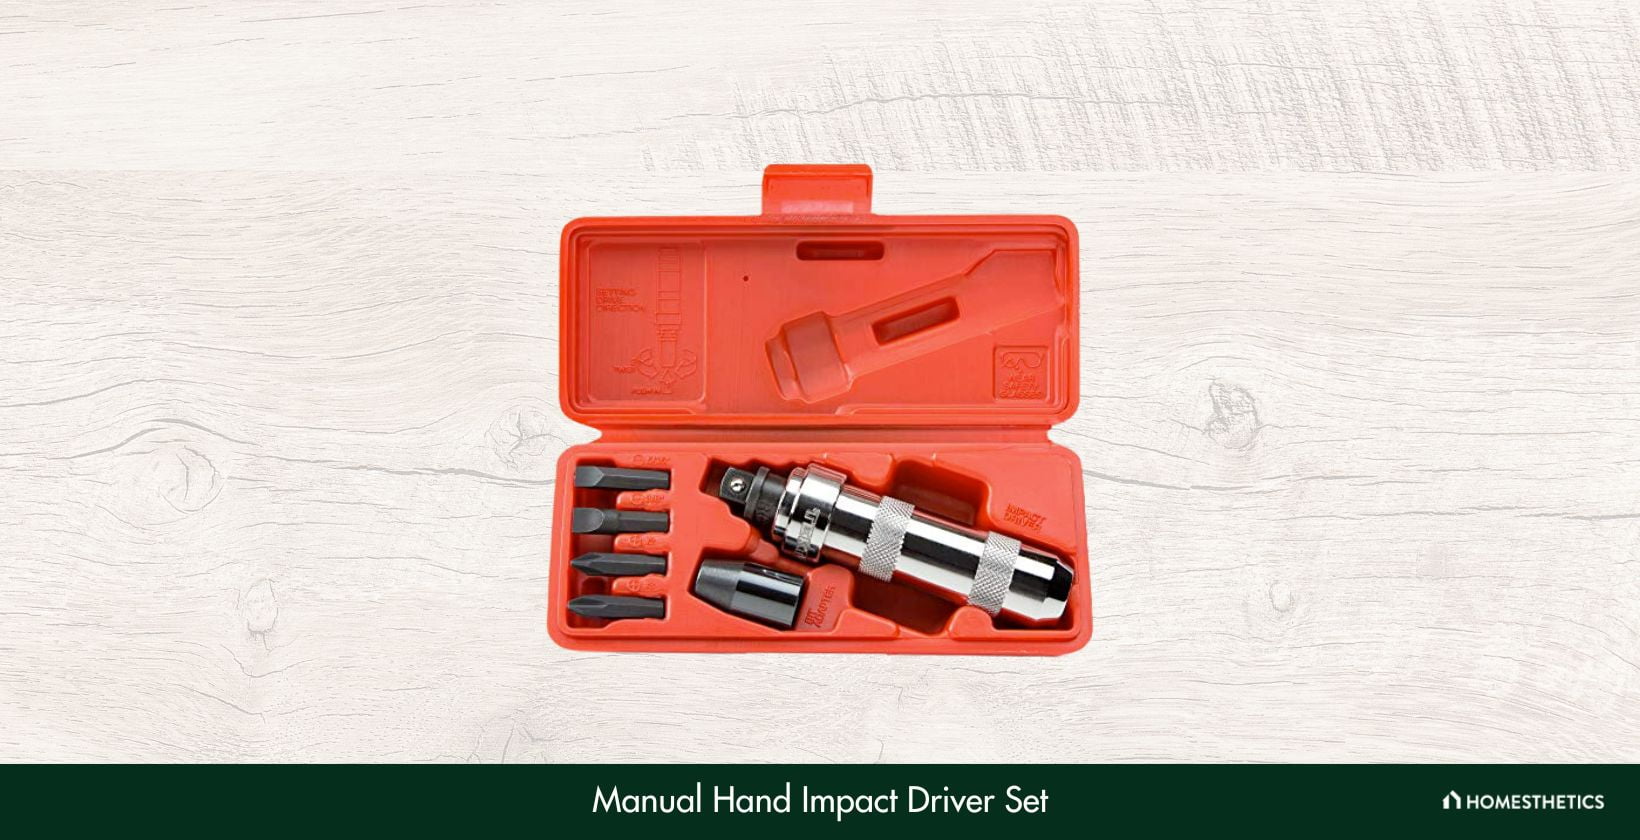
The Manual Hand Impact Driver Set may look like an innocuous unit, but there's no cause for concern. It has all the essential aspects to stand out from the crowd, and you're guaranteed to get highly reliable output to handle various situations with ease.
Right away, it generates a high-torque instant impact force meaning you can work on rusted or frozen bolts without damaging them in any way. Moreover, it works both in the forward and backward direction proving highly effective in handling various tasks.
Besides, Tekton has focused on user-friendliness, seen with the non-slip grip making long working possible. You can use it in the tightest of spaces without worrying about losing your control, and you get a comfortable performance under different conditions. Also, the entire unit, along with the components, is very portable.
And apart from portability, the storage case offers protection helping to keep your tool in prime condition for a long time. Likewise, you get the option of organizing different elements for smooth operation with its corrosion resistance, further enhancing robustness.
We have seen soft metal bits used for construction. It's not a significant worry, and it doesn't compromise durability, but it's also true that it may disintegrate earlier than some of the other products. Yet, it's not a significant variation, and you won't be disappointed with the performance.
What We Like
- High-torque impact force
- Reversible drive
- Frees corroded screws
- Portable
- Corrosion resistant
What We Don’t Like
- Soft metal bits
5. Hex Key Wrench Set 25232
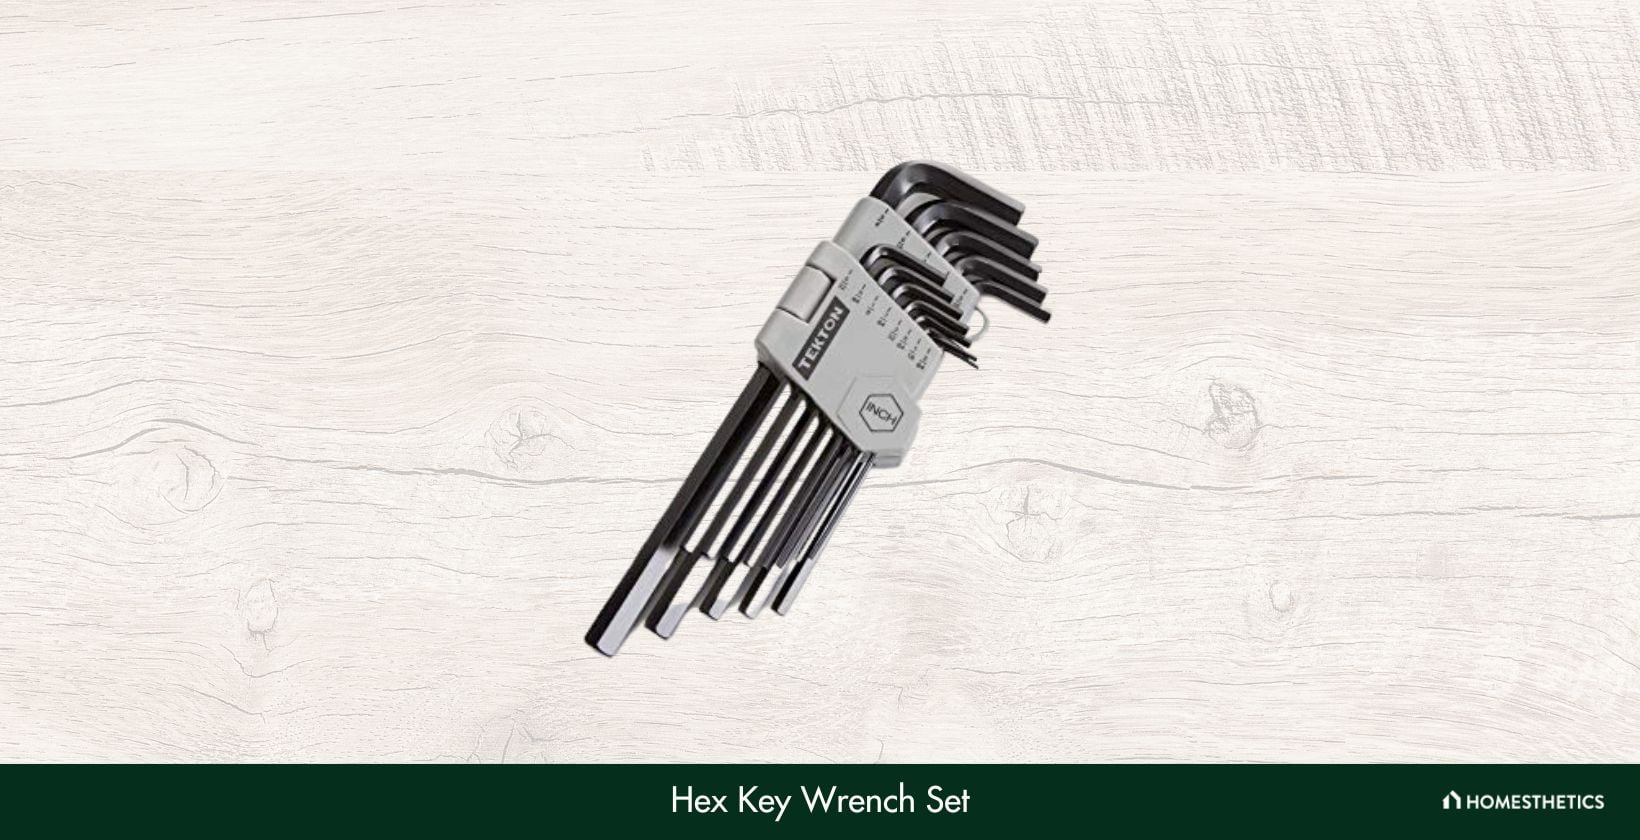
We are at the halfway point of our guide, but there are many products we are yet to cover. Our next recommendation is the Hex Key Wrench Set 25232, which flaunts an exceptional design for unmatched output at work. The high versatility has endeared it to people leading to a great response.
To start, the ball end design ensures you get a wide angle of entry at 25 degrees, helping you to work your way around obstructions. It comes with both chamfered and straight ends, forming a tight fit with the fastener head. As a result, it reduces wear and tear and allows you to get the work done quickly.
Furthermore, it sports a black oxide finish, along with chrome vanadium steel construction, providing excellent durability. Likewise, it doesn't require any added plating, thereby reducing the risk of chipping off when working on tough projects. Similarly, with both the long and short arm, you get a high degree of versatility.
While the long arm increases the reach, the short arm generates extra leverage. The significant addition, however, is the color-coded housing to distinguish between the different sizes. You can organize them effectively and instantly identify the various accessories for an uninterrupted experience.
Users have reported issues with engagement, thereby making it difficult to tighten or loosen the bolts adequately. You may find it slipping off, which also brings us to the problem of weak grip strength. Consequently, many people may have a frustrating time working with it.
What We Like
- 25-degree entry angle
- Snug fit
- Reduces damage
- Extra leverage
- Chrome vanadium steel
What We Don’t Like
- Issues with engagement
- Poor grip strength
6. Click Torque Wrench 24330
The Click Torque Wrench 24330 offers the perfect blend of power and durability to ensure you can use it for a long time while getting consistent results. The inclusion of quality components makes it a valuable acquisition, with most people having mostly positive things to say about it.
First and foremost, the 3/8" drive comes in handy to provide smooth operation, and the torque conversion chart will also help you get better results. So, it scores high on user-friendliness, meaning you won't have difficulty producing the desired output. Similarly, while using the wrench, you'll hear a click, letting you know when you reach the preset value.
Moreover, the dual-range scale makes it easy to read even in low-light situations allowing you to work uninterrupted in various conditions. Further adding to the effectiveness is the reversible ratchet head, which works in both directions. Plus, you can use it to measure the torque by rotating it clockwise.
Additionally, it's highly durable, thanks to the all-steel construction. Tekton hasn't used plastic parts, which could break off, while the sturdy design ensures you can use it for a long time. Likewise, it's highly precise and comes pre-calibrated, making it accurate to within 4%.
It's not aligned correctly, which has several implications. It may not show the correct value, and you'll find it challenging to get optimum performance. Plus, the alignment may also have a bearing on the bolts, and you need to be careful lest you tighten it too much, causing it to break.
What We Like
- Torque conversion chart
- Dual range scale
- Reversible ratchet head
- Pre-calibrated
- Accurate
What We Don’t Like
- Alignment is a worry
- Bolt may break
7. 6-point Impact Socket Set
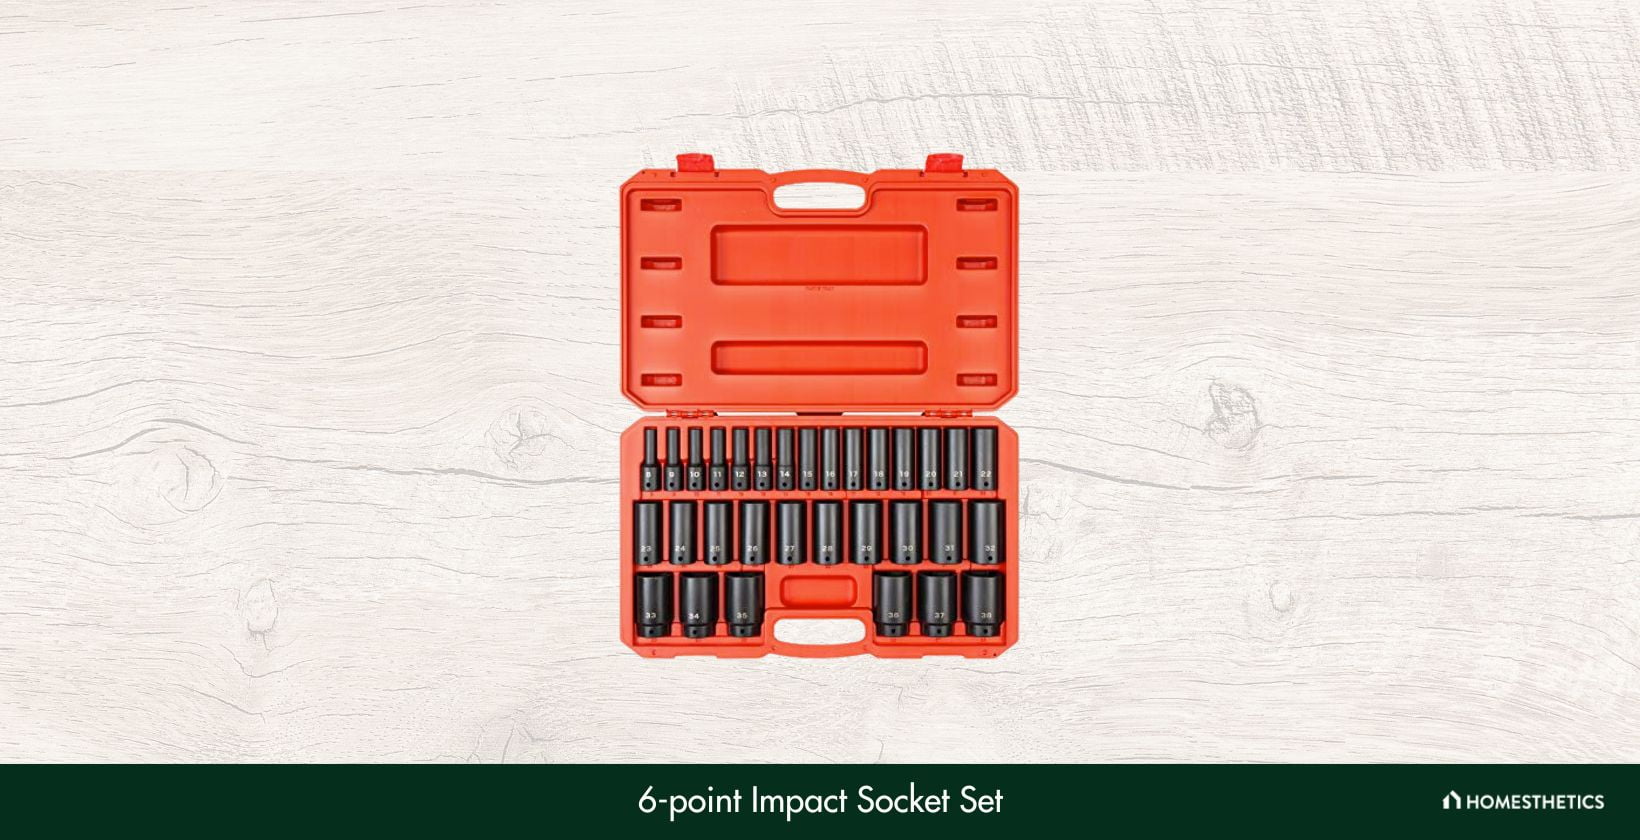
We are nearing the end of our list, but there are a few more products we are yet to go through. Next up is the 6-point Impact Socket Set, scoring high on user-friendliness, thereby enabling you to tackle an array of tasks making it extremely popular in the market.
Straight off the bat, ½” drive along with the 6-point socket design is essential for gripping the flat sides of fasteners. As a result, you get a tight fit, which helps prevent run-off and provides a seamless experience. Another fascinating inclusion is the extra-deep broach allowing you to use longer fasteners.
Meanwhile, you'll find laser-etched markings embedded on the side to help distinguish between the different components. You can easily read the engravings even in low-light conditions, so your work never stops. However, the crucial upgrade comes in terms of durability.
It has a chrome vanadium steel construction that has been heat-treated to ensure your tool has an excellent lifespan. Moreover, it has a black-oxide finish to prevent corrosion, and coupled with the storage case; you can keep your components organized and free from damage. Finally, the 15 sockets provide a vast range from 10 to 24mm.
It comes with the size etched along the side, and over time, the markings tend to fade. Now, it's something familiar to all units, but you'll have a tough time identifying the right tool when the writing diminishes. It may prove to be an inconvenience that most people would want to avoid.
What We Like
- Size markings
- Easy to read
- Chrome vanadium steel
- Black phosphate finish
- Corrosion-resistant
What We Don’t Like
- Laser etching may fade
8. Hex Key Wrench Set 25253
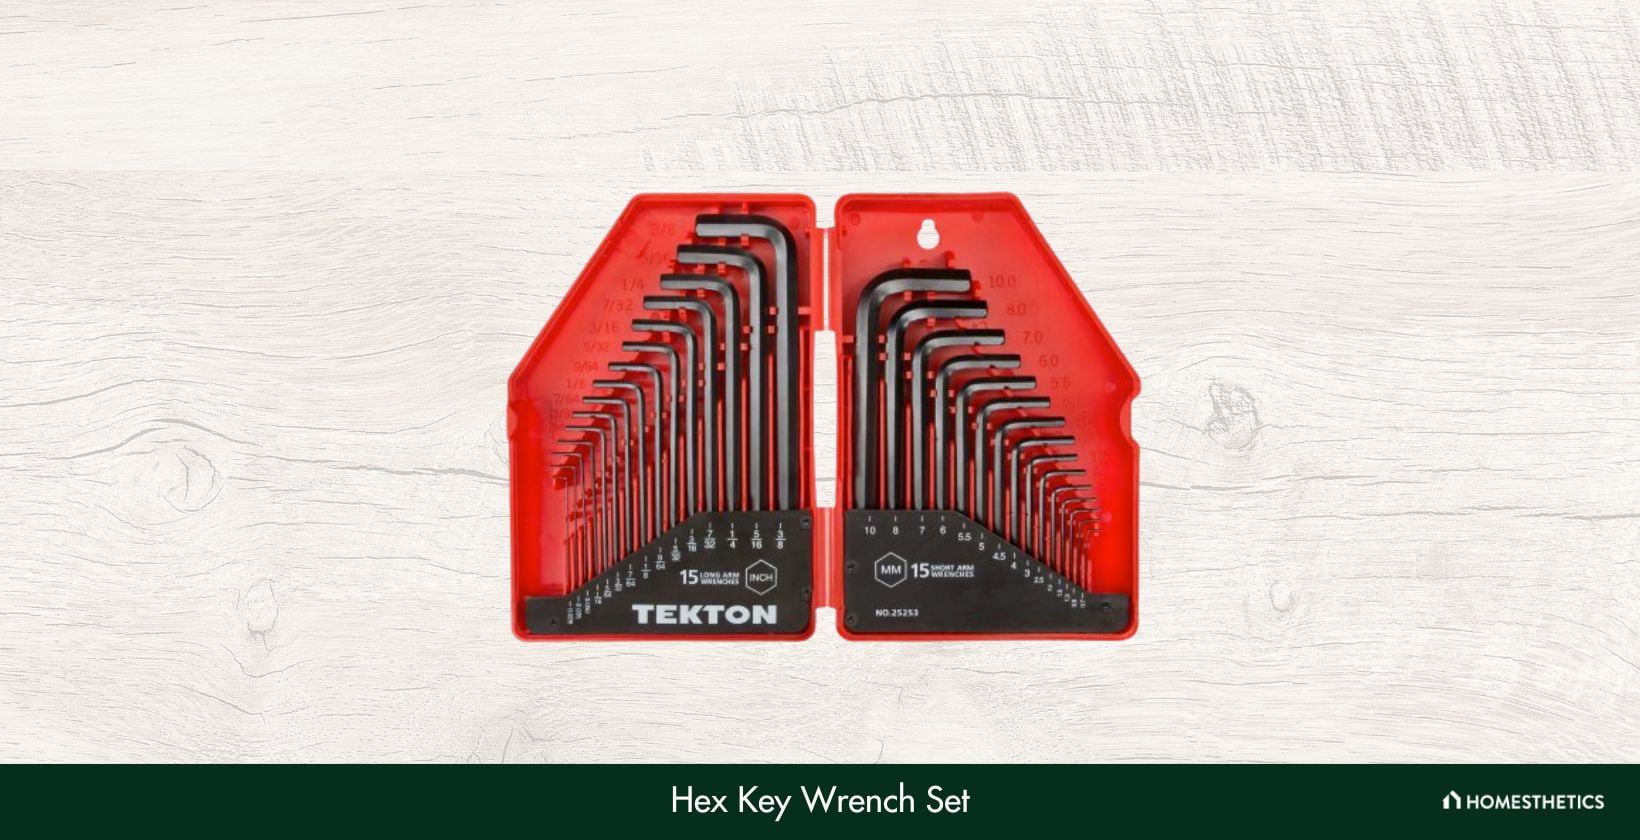
The Hex Key Wrench Set 25253 features an ingenious design, thereby offering great flexibility in the work shed. It's a simple tool but packs a punch making it a favorite among most people. You'll love all that it offers, providing exceptional efficiency, and reducing the time it takes to complete any task.
Firstly, it has both chamfered and straight ends, forming a tight fit with a fastener head. Now, you can turn it in one quick motion, thereby preventing run-off and also reducing wear and tear. So, your tool as well as the machine you're working on remains unharmed. Plus, it features a long arm and short arm design.
While the long arm provides better reach, the short arm offers more leverage for a complete performance. On top of that, there are markings along the side of the components to distinguish between various parts. It's also easily readable even in low-light situations allowing you to work without any difficulty.
Besides, it's exceptionally robust due to the black-oxide finish, which prevents corrosion and reduces the need to have additional plating, which could break off during tough jobs. Moreover, because of the hinged storage case, you can organize various components.
The storage case isn't the best, and you need to be careful lest you drop it to the floor, thereby damaging your equipment. Furthermore, it's pricey, which could keep away potential shoppers leading to a reduction in the buyer base. You may not want to spend too much when there are enough products to choose from.
What We Like
- Snug fit
- Corrosion-resistant
- Hinged storage case
- Easy to read
- Extra leverage
What We Don’t Like
- Poor storage case
- Slightly costly
Everything You Need to Know About Tekton Tools
If you're looking for the best hand tool manufacturers, then there's very little chance you'll come across one better than Tekton Tools. It's a USA-based company that has expanded its reach to several other countries.
Most importantly, the organization takes feedback from customers to create better and more innovative products. The essential production centers apart from Michigan, and the USA, are in China and Taiwan. Here, it's worth mentioning that regardless of the origin, you're guaranteed to get quality products.
If you live in the USA, the brand is much more accessible to you. However, the centers in China and Taiwan are equally efficient, producing excellent units, saving valuable time in the workplace. So, you can opt for Tekton without any worries.
Tekton Vs Husky
Husky came into the market long before Tekton, but the younger competitor is making all the right noise. Husky produces quality hand and pneumatic tools, which rate high in versatility and storage. It offers a lifetime warranty to customers, something rarely seen in other brands.
However, in everything else, Tekton has the upper hand. It offers a lot of flexibility and ease of use, far superior to its older rival. Since Husky has been around longer, some products are more suited to your needs, but Tekton has more to offer in terms of performance.
Besides, most models from Tekton are available at a reasonable price, thereby generating a lot of attention. People are more interested in getting a better output rather than a lifetime warranty.
Tekton Vs Gearwrench
There are several similarities between the two brands, and DIY workers highly prefer both for quality and output. You're sure to get your money's worth; however, Tekton offers a much better warranty against the market price as compared to Gearwrench.
Again, you can perform heavy-duty applications with tools from both brands, thanks to the necessary components to handle various situations. But Tekton outscores Gearwrench when it comes to socket and ratchet sets, while the latter expertises in wrenches. With Tekton, you can get a 6-point socket while Gearwrench focuses on 12-point sockets.
Moreover, Gearwrench produces models in lesser numbers than Tekton, but it has the edge over its counterpart when it comes to reversible sets. Overall, it's a close call between the two brands, but it's a pleasant headache to have.
Tekton Vs Craftsman
If you're looking for mechanical tools, then it's hard to find two better brands. While Craftsman may be the favorite for a lot of people, Tekton isn't far behind either. Both of them present the perfect blend of versatility and innovation, thereby producing classy equipment.
You'll have a tough time choosing between the two because of the sturdy construction and the ability to generate consistent performance. With Tekton, you get excellent variety in various models and sets, while Craftsman has mainly focused on delivering units for wrenching jobs.
However, the crucial aspect lies in the exterior portion in which Tekton ensures you get a glowing polished finish providing resistance against corrosion. But when it comes to Craftsman, you won't get a quality finish. Again, products from both brands last a long time, thanks to the high-quality metal parts used in construction.
Apart from that, models are available at an affordable price, allowing you to carry out easy tightening or loosening operations. It may be challenging to split the two, so; you won't have to face any problems regardless of which brand you choose due to the supreme performance.
How good is Tekton as a brand?
While there are several top brands available, Tekton has got a firm footing in the market. And given that its units deliver a cracking performance, along with sturdy construction and enhanced versatility, it’s one of the fastest-growing brands.
Are Tekton tools useful?
You can use Tekton tools to pull out corroded nuts and bolts. You can also tighten them in the fastener in a more comfortable and more precise manner. Sporting state-of-the-art designs, you’re likely to get consistent results in all your applications.
Can the sockets pull out wheel nuts?
You can use the sockets to pull out wheel nuts, but it’s best to avoid doing so. The standard sockets are capable of handling the typical nut comprising light machinery, households, or other similar applications.
Are etched markings better than the stamped version?
The etched markings are preferred because they last longer than the stamped ones. Whatever the type of markings, however, it must make for easy reading while being visible in low-light situations.
Can it be used on a tight nut?
Yes, because the gripping is one of the best things about Tekton tools. It forms a tight-fitting, which is excellent for undoing even the tightest of nuts.
Where to find Tekton tools?
As they are hand-held tools, you can visit the nearest automotive or electric shop. You can also order your set of tools online on Amazon, Walmart, or Kmart, but be careful about the shipping.
Craftsman Vs Husky Vs Tekton vs Gearwrench Verdict
We have reached the end of our guide and hope you have a better idea regarding Tekton Tools.
While there are many top brands, overall, Tekton has an edge over its rivals. No surprise then that it's expanding at a rapid pace, and while there may be areas where other products may match up, the performance from Tekton remains superior.
You get a lot of options to choose from in terms of versatility, durability, and user-friendliness to handle an array of tasks. And before signing off, we have decided to assist you further by narrowing down the top products in various categories.
The 6-point Socket and Ratchet Set delivers the best overall output while the Click Torque Wrench 24335 offers excellent durability. Besides, the Combination Wrench Set is suitable as a high-end product.
That's all the time we have, and we believe you'll bring home the ideal tool. Ciao!


![4 Copper Chef vs. Red Copper of 2024 [Reviewed & Buyer’s Guide]](https://homesthetics.net/wp-content/uploads/2021/03/Copper-Chef-vs.-Red-Copper-of-2021-01.jpg "4 Copper Chef vs. Red Copper of 2024 [Reviewed & Buyer's Guide]")


")


![Bissell 3624 Vs 2694 [SpotClean Portable Cleaners Compared]](https://homesthetics.net/wp-content/uploads/2021/12/Bissell-3624-Vs.-2694-SpotClean-Portable-Cleaners-Compared.jpg "Bissell 3624 Vs 2694 [SpotClean Portable Cleaners Compared]")


![12 Best Weed Eater Strings [Reviewed & Buyer’s Guide]](https://homesthetics.net/wp-content/uploads/2023/09/Best-Weed-Eater-Strings.jpg "12 Best Weed Eater Strings [Reviewed & Buyer's Guide]")


![6 Best Two-Burner Gas Cooktop Of 2024 [Reviewed & Buyer’s Guide]](https://homesthetics.net/wp-content/uploads/2021/02/Best-Two-Burner-Gas-Cooktop-of-2021-Reviewed-01.jpg "6 Best Two-Burner Gas Cooktop Of 2024 [Reviewed & Buyer's Guide]")


![10 Drawing Tablets That Don’t Need A Computer [Buyer’s Guide]](https://homesthetics.net/wp-content/uploads/2022/01/Drawing-Tablets-That-Dont-Need-A-Computer-01.jpg "10 Drawing Tablets That Don't Need A Computer [Buyer's Guide]")


![6 Best Sprayers For Plasti Dip Of 2024 [Reviewed & Buyer’s Guide]](https://homesthetics.net/wp-content/uploads/2023/07/Best-Sprayers-For-Plasti-Dip.jpg "6 Best Sprayers For Plasti Dip Of 2024 [Reviewed & Buyer's Guide]")

![9 Best Solar Gutter Lights of 2024 [Buyer’s Guide]](https://homesthetics.net/wp-content/uploads/2023/06/Best-Solar-Gutter-Lights.jpg "9 Best Solar Gutter Lights of 2024 [Buyer's Guide]")
![9 Best Solar Electric Fence Chargers of 2024 [Buyer’s Guide]](https://homesthetics.net/wp-content/uploads/2021/02/Best-Solar-Electric-Fence-Chargers-01.jpg "9 Best Solar Electric Fence Chargers of 2024 [Buyer's Guide]")


![7 Best Shed Locks Right Now [Reviewed]](https://homesthetics.net/wp-content/uploads/2023/09/Best-Shed-Locks.jpeg "7 Best Shed Locks Right Now [Reviewed]")