

Listed below are the 5 best hose clamps from our list:
- LOKMAN Hose Clamp. The LOKMAN Hose Clamp, made from rust-resistant stainless steel, delivers durable performance for various applications including automotive, industrial, home water systems, and more; with adjustable tension, and a size range from 6-38mm, these clamps are reusable, making them eco-friendly.
- EesTeck Hose Clamp. EesTeck Hose Clamps offer a two-layered structure providing a perfect seal with different hose materials; they are fastened using bolts for secure connection and the stainless steel build renders durability, corrosion, and rust resistance.
- TICONN Hose Clamp. TICONN Hose Clamps provide toughness, longevity, rust, and corrosion resistance; available in five different adjustable sizes ranging from 1/4 to 1 1/8 inch, they are versatile and come organized in a sturdy storage box.
- Glarks Hose Clamp. Glarks Hose Clamps, with an adjustability range from 14mm to 27mm and a wider 12mm build, are stronger than typical hose clamps; all parts are made from corrosion-resistant, sturdy 304 stainless steel and are particularly effective in preventing leakages.
- Selizo Hose Clamp. Selizo Hose Clamps offer seven different adaptable sizes for various hose connections; the clamps are highly ductile, easy to use, and built with corrosion-resistant 304 stainless steel, making them a budget-friendly choice for various household applications.
Here is the list of the 10 best hose clamps that you can use to secure hoses in a variety of industrial, automotive, and home applications.
1. LOKMAN Hose Clamp - Best for Versatility & Reusability
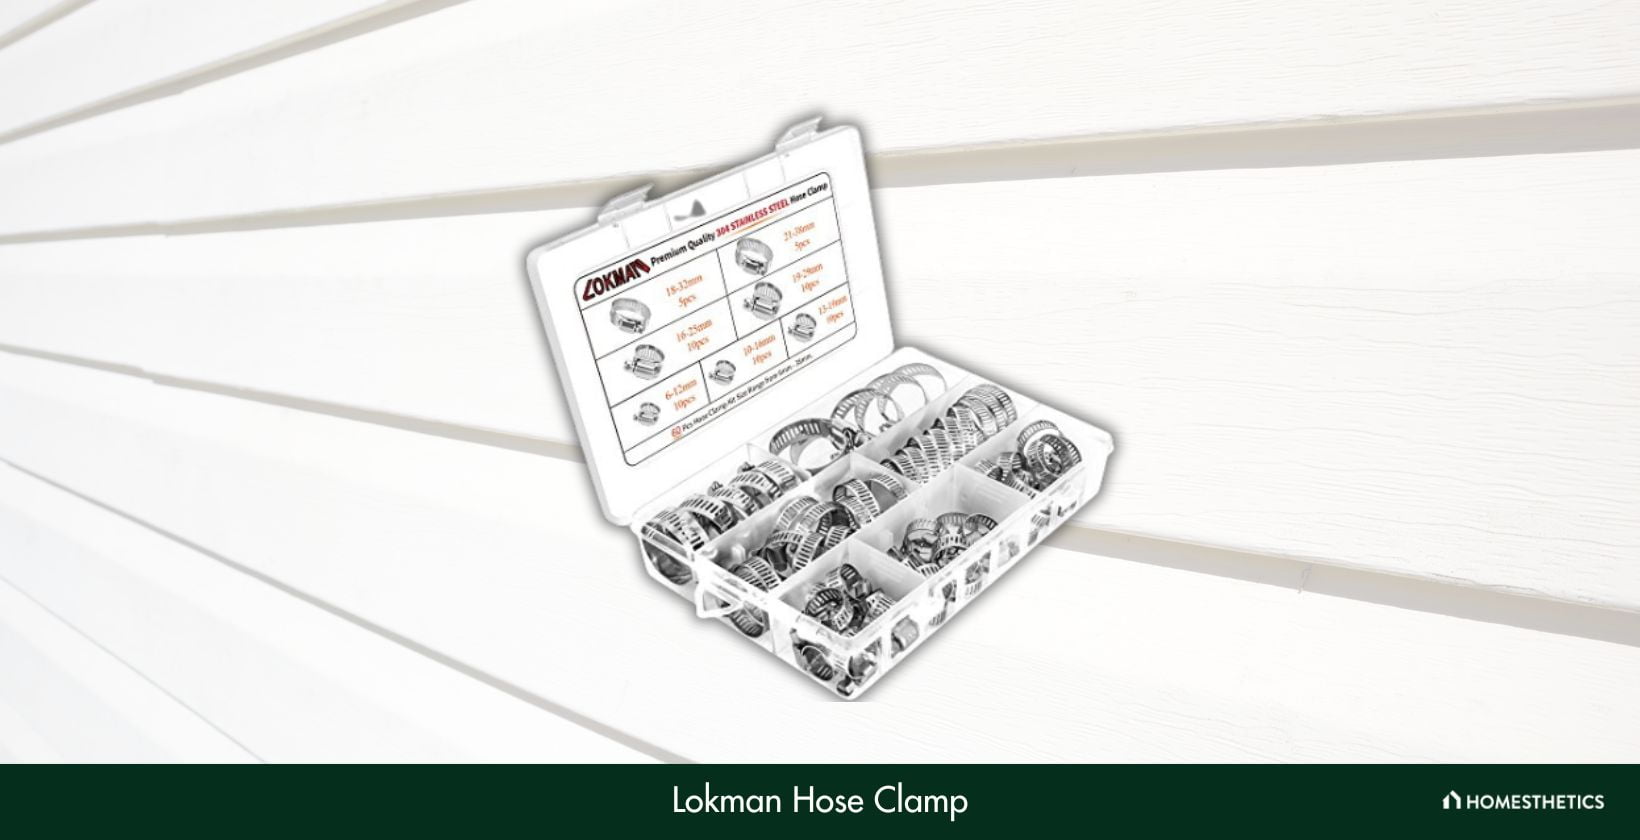
Provide ultimate strength to all hose joints with these heavy-duty hose clamps from LOKMAN that come in packs of 60 pieces. These clamps are suitable for application in automotive, industrial, electronic, and many other fields. So, be it the water system at your home, or the fuel line of your car, they will keep it secured once and for all.
First things first, it’s made from high-quality stainless steel that’s resistant to corrosion and rust, thereby ensuring a more durable performance in the long run. The stainless steel build also provides excellent resistance to oil and water, which enhances its durability further.
It even facilitates greater ease of use since you just need to turn the screw to unlock the band or to adjust the tension. Another great advantage is that you get clamps of different sizes for use with hoses of different diameters, with their size ranging from 6 to 38 mm.
What’s more, these clamps are fit for recycling and reuse, which implies they don't pose any risks to the environment. Overall, it fits the bill for being one of our top recommendations.
Although most customers were delighted with its performance, they pointed out that the packaging wasn’t proper since the material used was weak. As such, the package might arrive torn in several places, which makes it prone to damage during delivery.
What We Like
- Comes in sizes suitable for hoses of different diameters
- Resistant to corrosion and rust
- Water and oil-resistant
- Facilitates greater ease of use
What We Don't Like
- Weak packaging material
2. EesTeck Hose Clamp - Best for Leak Prevention
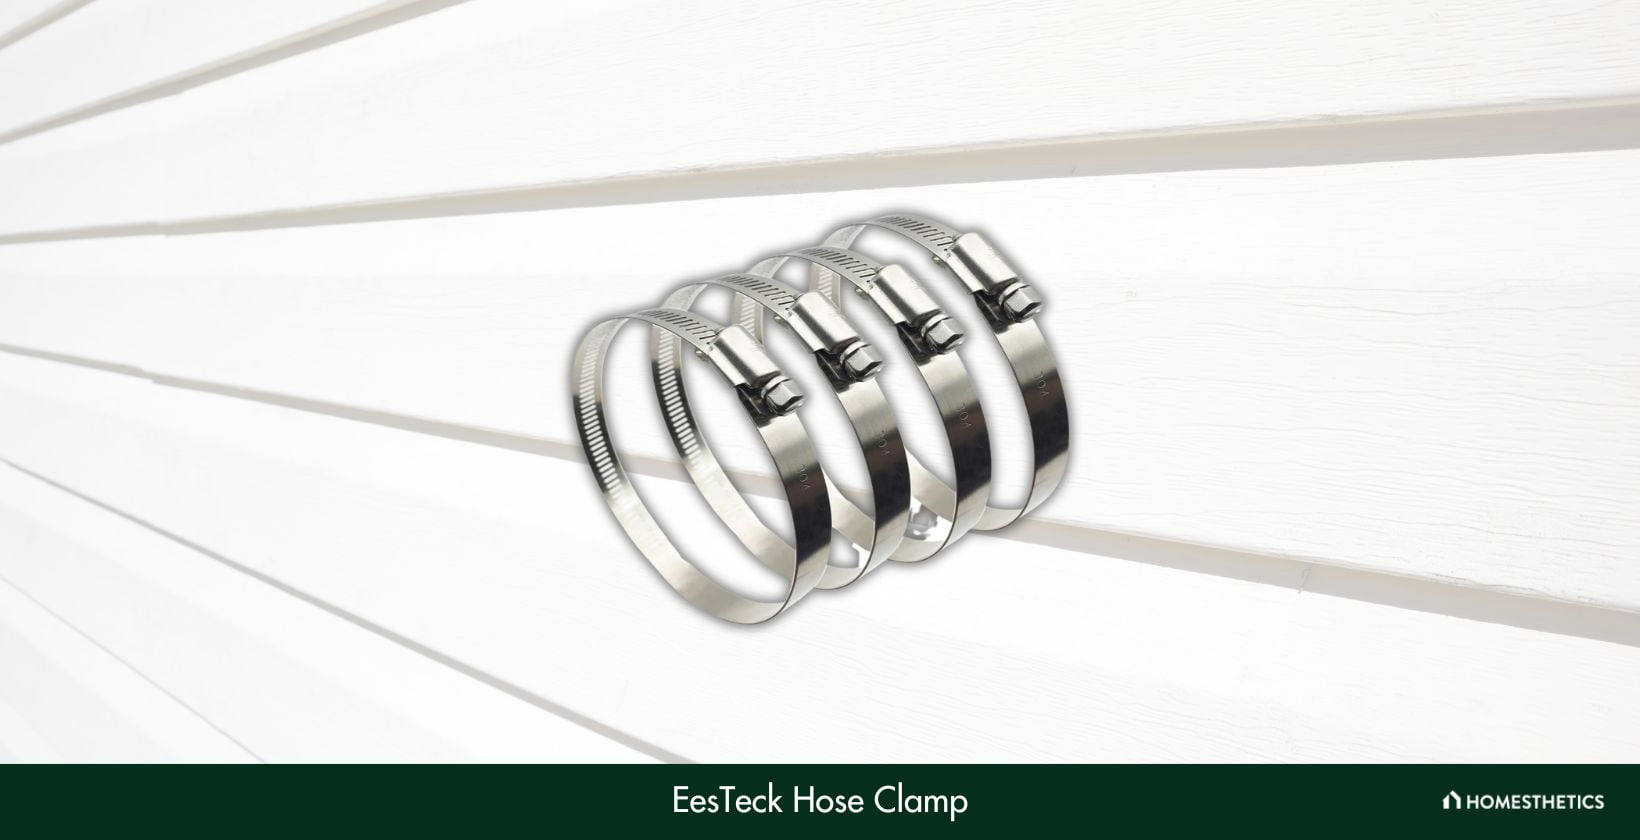
Another top-notch product you can opt for is this Ees Tech hose clamp, which is designed with solid fixtures to enable truly effective performance. It secures all hose connections in the long term through its efficient working mechanism and is available in a pack of 4 pieces.
What we liked the most about these hose clamps is their two-layered structure, which provides the perfect seal with different hose materials. In addition, these are fastened using bolts, which further ensures a firm connection, and prevents any gas or liquid leakage from the hose.
The structure is torsion and pressure-resistant, which enhances its durability to a great extent. We were also glad to find that it comes in different diameters ranging from 2.5 to 12 inches.
Another advantage is the professional-grade stainless steel material that prevents rust and corrosion and also makes them water-proof. You can even apply these clamps for a range of applications, including industrial purposes.
And that’s not all; the brand offers a full satisfaction guarantee for this product, plus the customer service is also quite prompt and helpful.
Although this product does its job quite well, the clamps of the wrong size may be delivered sometimes. So, make sure you check whether the diameter of the hose clamps delivered is exactly what you ordered.
What We Like
- Provides perfect seal with different hose materials
- Prevents rust and corrosion
- Applicable for a wide range of purposes
- Brand offers a full satisfaction guarantee
What We Don't Like
- Clamps of the wrong size may be delivered sometimes
3. TICONN Hose Clamp - Best for Durability & Longevity
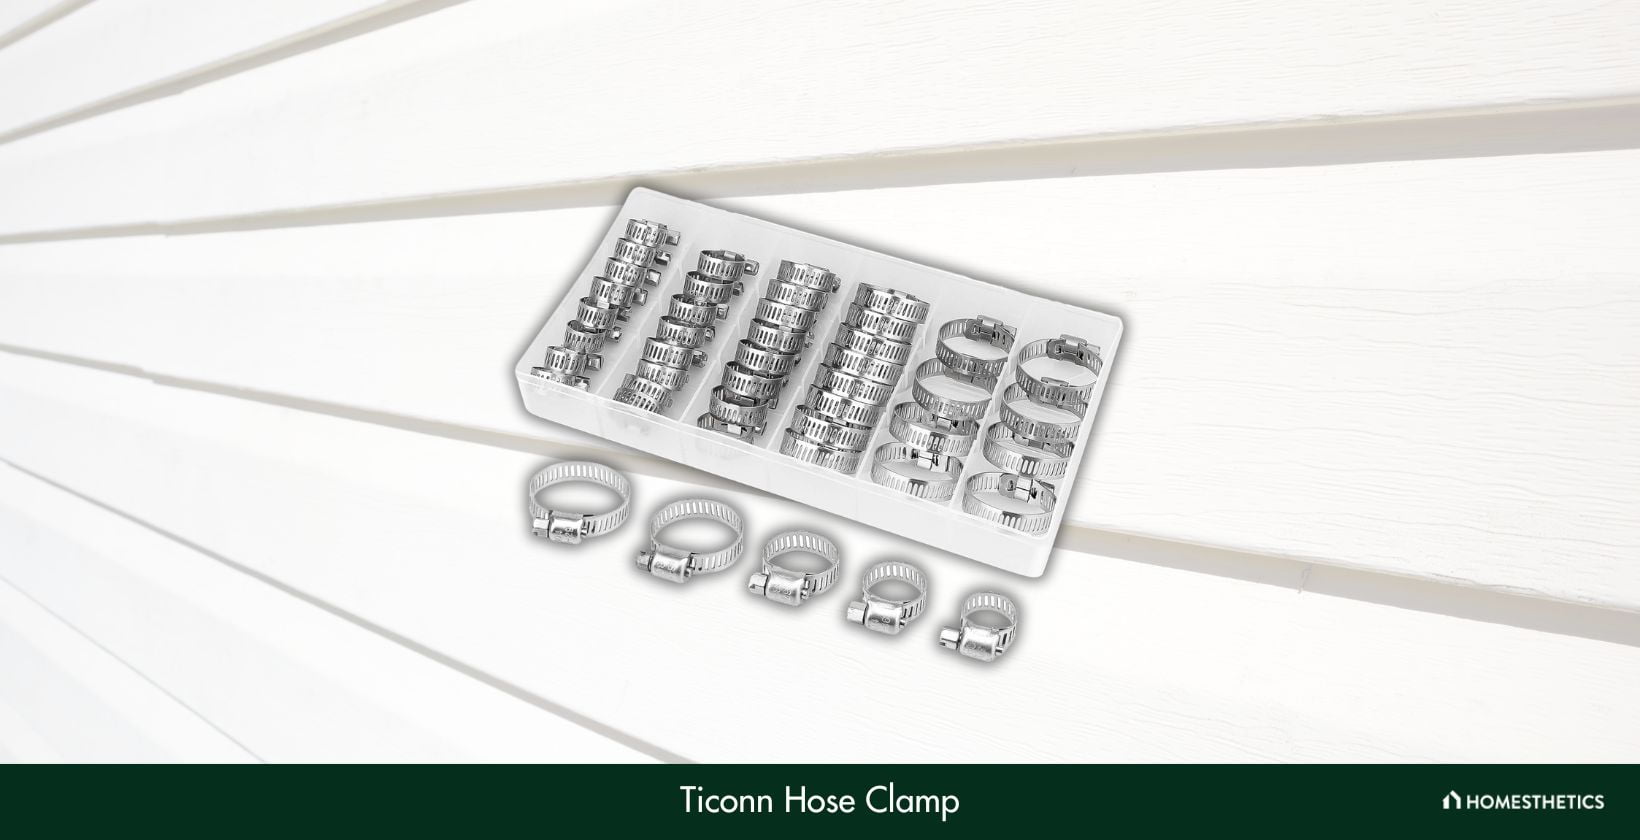
Next up is this product from TICONN, which is a highly reliable option when it comes to protecting hose connections from damage due to moisture. These hose clamps possess great versatility as they find use in garden water lines, air conditioners, fuel lines in cars, home plumbing systems, and others.
The 0.023-inch thick premium-quality stainless steel material of these clamps sets them apart from most other products on the market. This material provides great toughness to it and ensures better longevity. Plus, the resistance offered by rust and corrosion is also praiseworthy.
Another significant benefit is that these adjustable clamps come in 5 different sizes, viz. ¼ to 7/16 inch, ⅜ to ⅝ inch, ½ to ¾ inch, ⅝ to 1 inch, and ¾ to 1⅛ inch. This makes them capable of being used with hoses of different diameters, thereby facilitating greater versatility.
Furthermore, the assortment of clamps comes organized within a sturdy storage box, with the working range engraved clearly on each clamp. This lets you identify the right size of the clamp easily for any application.
The only thing we found disappointing about this product was that the warranty offered by the brand doesn’t cover all the issues that users might face with it. Hence, this won’t be an ideal choice if an effective warranty is your primary lookout.
What We Like
- Premium-quality steel provides toughness
- Offers better longevity than other products
- Can be used with hoses of different diameters
- Clear engravings on the clamps enable easy identification
What We Don't Like
- Warranty not effective enough
4. Glarks Hose Clamp - Best Adjustable Size Range
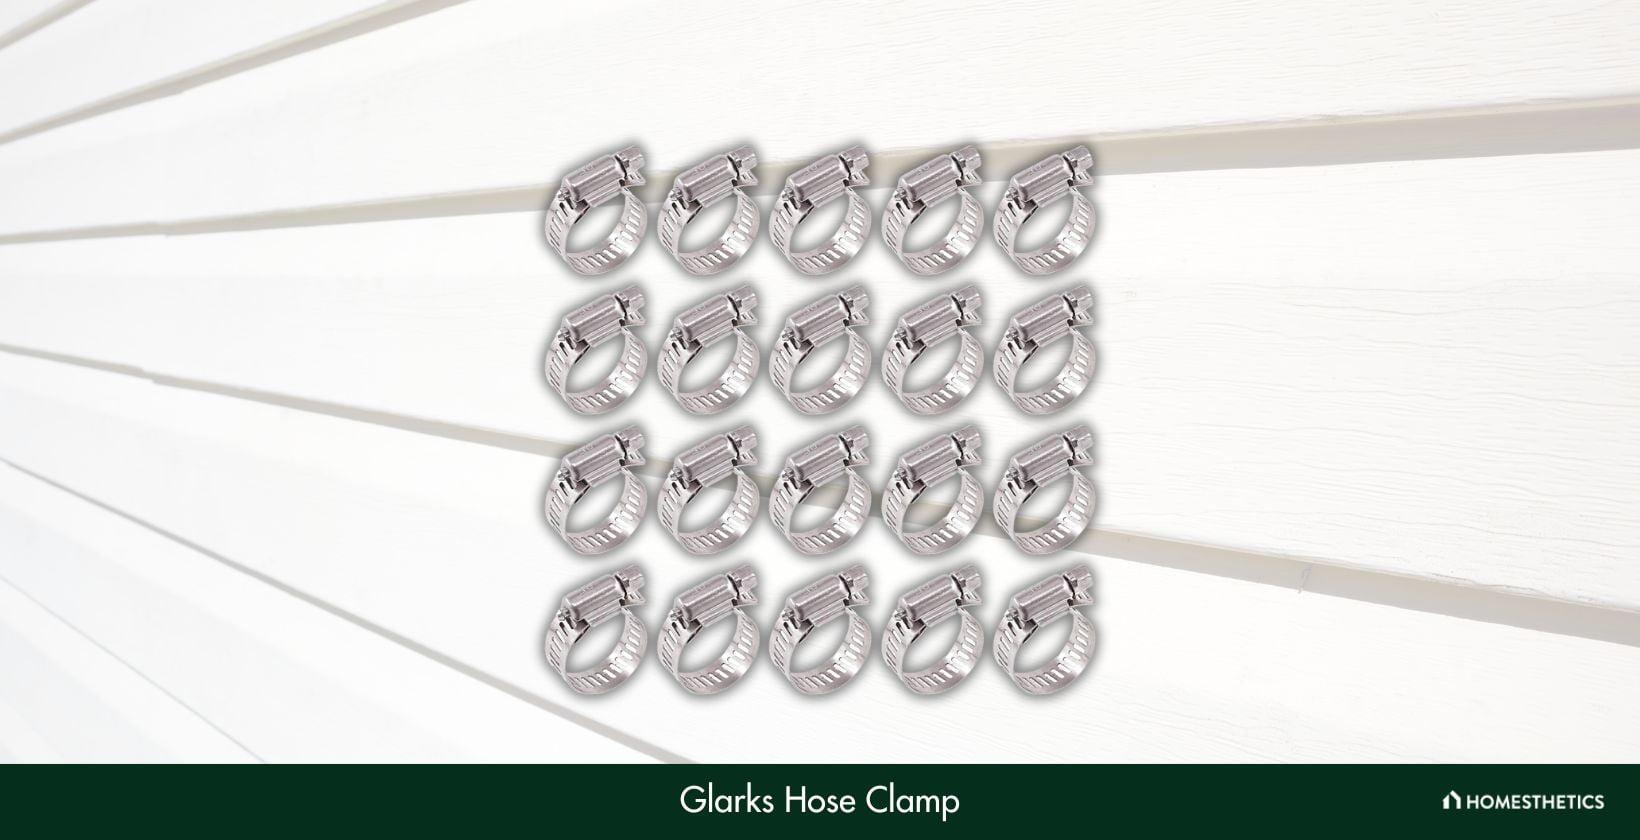
This set of 20 hose clamps from Glarks is ideal for use in finer jobs as it incorporates advanced features that help provide flawless performance. Along with that, it offers great user convenience and has garnered considerable appreciation from homeowners and professionals alike.
First and foremost, each of these hose clamps has screws that let you adjust the size effectively as per the diameter of the hose. Speaking of the band adjustment range, it’s 14 mm to 27 mm, implying that you get considerable versatility. Plus, the larger width of 12 mm makes these clamps stronger than the average products on the market.
Moving on to the material used, each clamp has all the parts made from 304 stainless steel, which enhances its corrosion and acid resistance considerably. This also rules out chances of rusting and breakage.
Beyond that, its capacity to prevent leakages is praiseworthy so that the hoses always remain safeguarded and your valuable time and money are saved.
The box containing these clamps might arrive with the hinges broken, so make sure you check the box carefully after delivery. Also, if this happens, you must report the issue to the manufacturer as soon as possible. But other than that, we didn’t face any issues with this product.
What We Like
- Can be adjusted as per the hose diameter
- Larger width makes them stronger
- Enhanced corrosion and acid resistance
- Prevents leakages
What We Don't Like
- The box might arrive with broken hinges
5. Selizo Hose Clamp - Best Budget Option with Variety
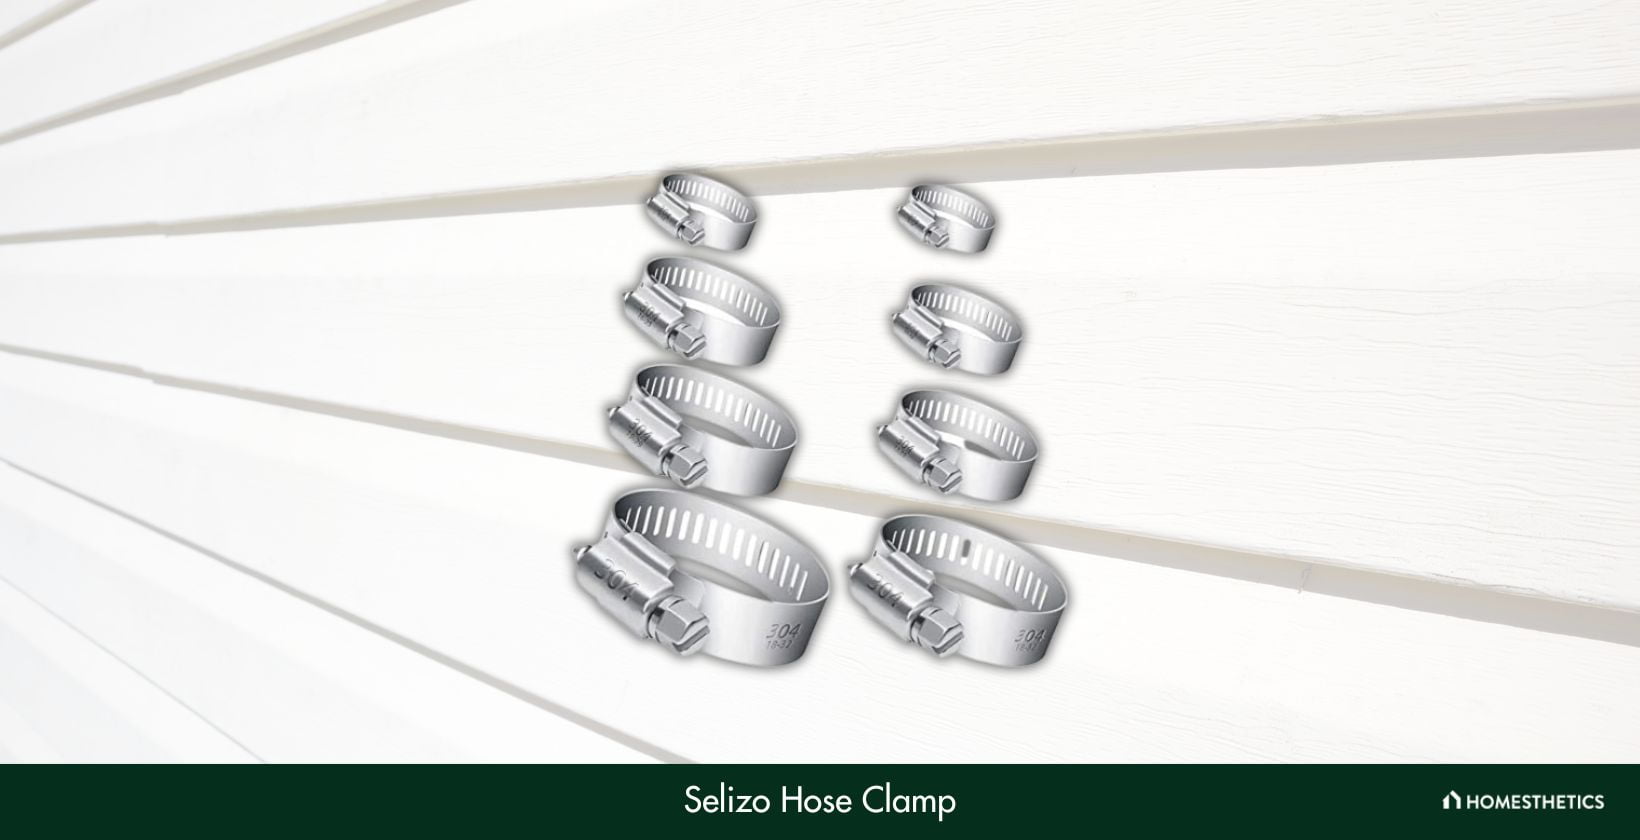
Halfway through the list, we have chosen this hose clamp from Selizo that’s perfect for use in household connections like those for the lawn, garage, or water pipelines. This product comes with the ideal strength required to keep the connection stable and prevent all sorts of damage. Notably, it is available in a pack of 40 pieces and comes at a cheaper rate than many other hose clamps.
The most significant of its features is, of course, the availability of 7 different sizes of clamps, which lets them adapt to many different hose sizes easily. Here you should note that the sizes included in the package are 6-12mm, 10-16mm, 13-19mm, 16-25mm, 19-29mm, 18-32mm, and 21-38mm.
In addition, each of the clamps is quite ductile and flexible, so adjusting them to fit a hose accurately would never be a problem. This also enhances the ease of use, so much so that you can attach them quickly to fit hoses properly in compact spaces.
Not to forget the 304 stainless steel build of this hose clamp, which helps resist most of the damaging elements such as rust, corrosion, salt, and water.
Although these hose clamps work perfectly in most cases and don’t come with any major issues, they won’t be suitable for industrial or other heavy-duty purposes. Hence, it’s better to choose any other product in case you need a heavy-duty hose clamp.
What We Like
- Strong material resists most damaging elements
- Can adapt to many different hose sizes
- High ductility and flexibility
- Easy to use
What We Don't Like
- Not suitable for heavy-duty purposes
6. Winlong Hose Clamps

These Winlong hose clamps come equipped with premium-quality features to provide the performance that users desire. So, with this product at your disposal, you can very well forget about problems such as disrupted water flow in plumbing systems or gas leakages in garages or industrial workspaces.
Coming in a more flexible design, this clamp possesses greater adjustability to ensure that the sealing pressure is accurate. It also provides considerably good resistance against oil, water, and salts. Plus, the wide clamping range of 20mm to 44mm makes them beneficial for industrial purposes.
Another big advantage is the much higher torque of 10.5N, which makes sure that it attaches firmly to the tougher and even the wire-reinforced hoses. In comparison, the ordinary clamps on the market come with a torque of about 6.78N and hence may attach weakly to the hoses.
We also liked how easy it was to install this clamp, which is made possible by its extensively tested design. All you need to do is loosen the screw, thread the pipe through the clamp, adjust it so that it fits tightly therein, and tighten the screw back to complete the process.
The quality of stainless steel used in this clamp is slightly inferior compared to other high-performing products. As such, it might not be very durable in the long run. Buying more of these clamps is a possible way to deal with this issue.
What We Like
- Ensure that the sealing pressure is accurate
- Wide clamping range
- Greater torque tightens the connection
- Easy to install
What We Don't Like
- Slightly inferior stainless steel material
7. ISPINNER Hose Clamp
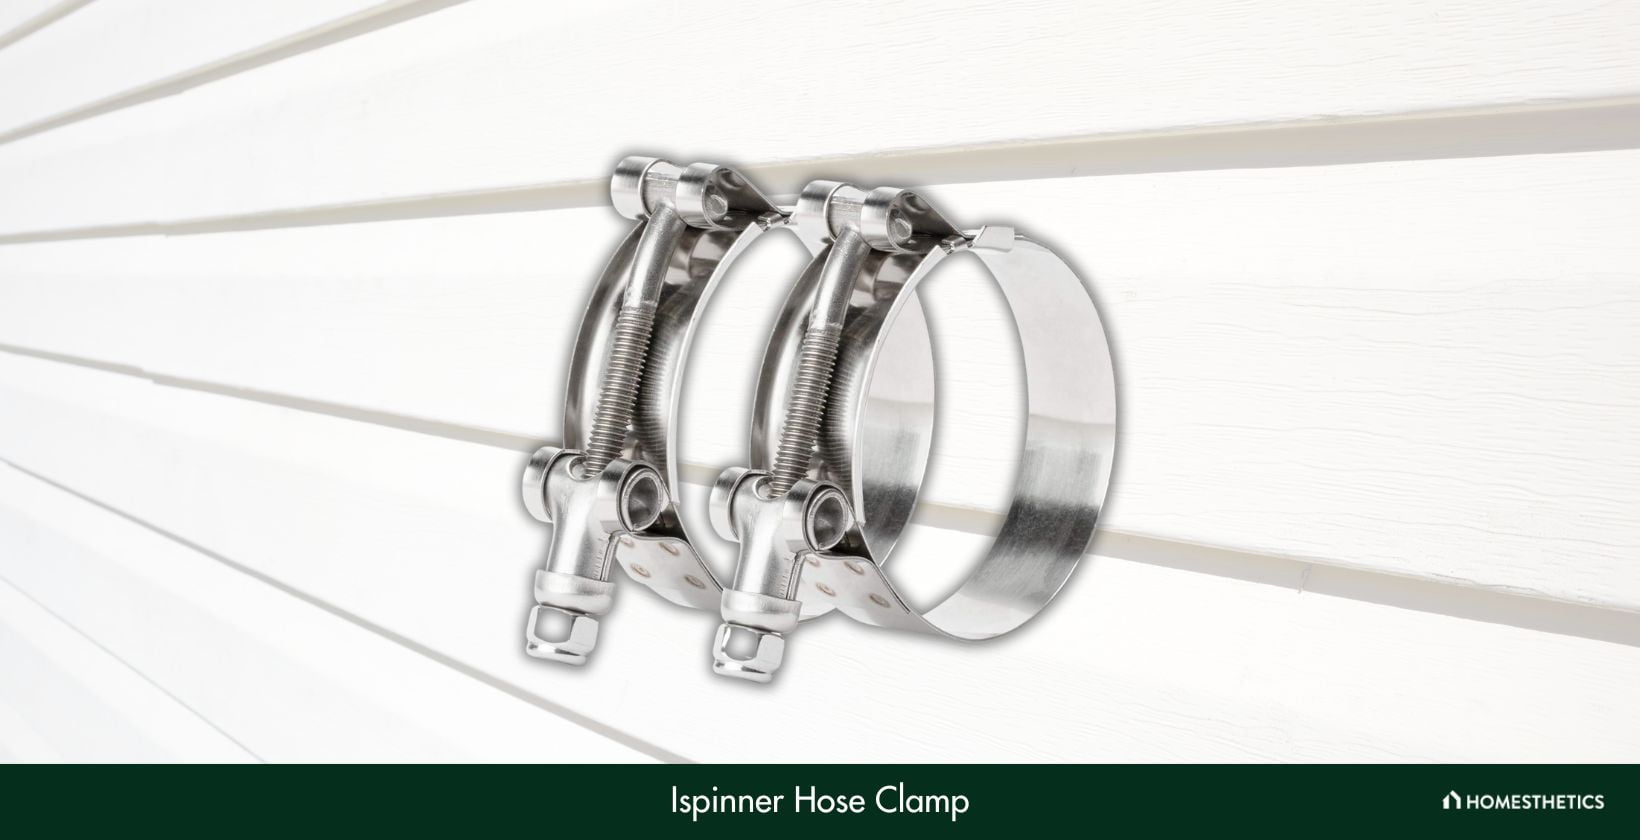
This set of hose clamps from ISPINNER is another effective option to go for as it provides leak-proof connections for a range of purposes. It is a popular choice among professionals across the country, thanks to the slew of utility-based features on offer. Each set comes with two hose clamps and is priced quite affordably like our previous pick.
To begin with, this clamp is suitable for slightly larger hoses since it has a greater usable diameter of 38 to 43mm. This makes it an ideal fit for industrial-grade and automotive hose joints. Additionally, it comes with a 19mm band that imparts greater strength than average hose clamps.
Their 300-series stainless steel material adds to the strength and durability, thereby ensuring that the hose connections are more long-lasting and sturdy.
Notably, this clamp comes with a T-bolt fastening system that makes the hose connections tighter, thereby enhancing the overall performance. What makes up this efficient system is the combination of a durable nylon lock nut and a M6 stainless steel bolt.
The only downside of this hose clamp is that it’s suitable only for some particular hose materials. So, in case the hose is made from a material other than silicon or rubber, make sure you contact the customer support of the brand to be sure about compatibility.
What We Like
- Greater usable diameter
- Fit for industrial-grade hose joints
- Strong and durable material
- T-bolt system makes the connections tighter
What We Don't Like
- Only a number of compatible hose materials
8. Koehler Enterprises KE4BX
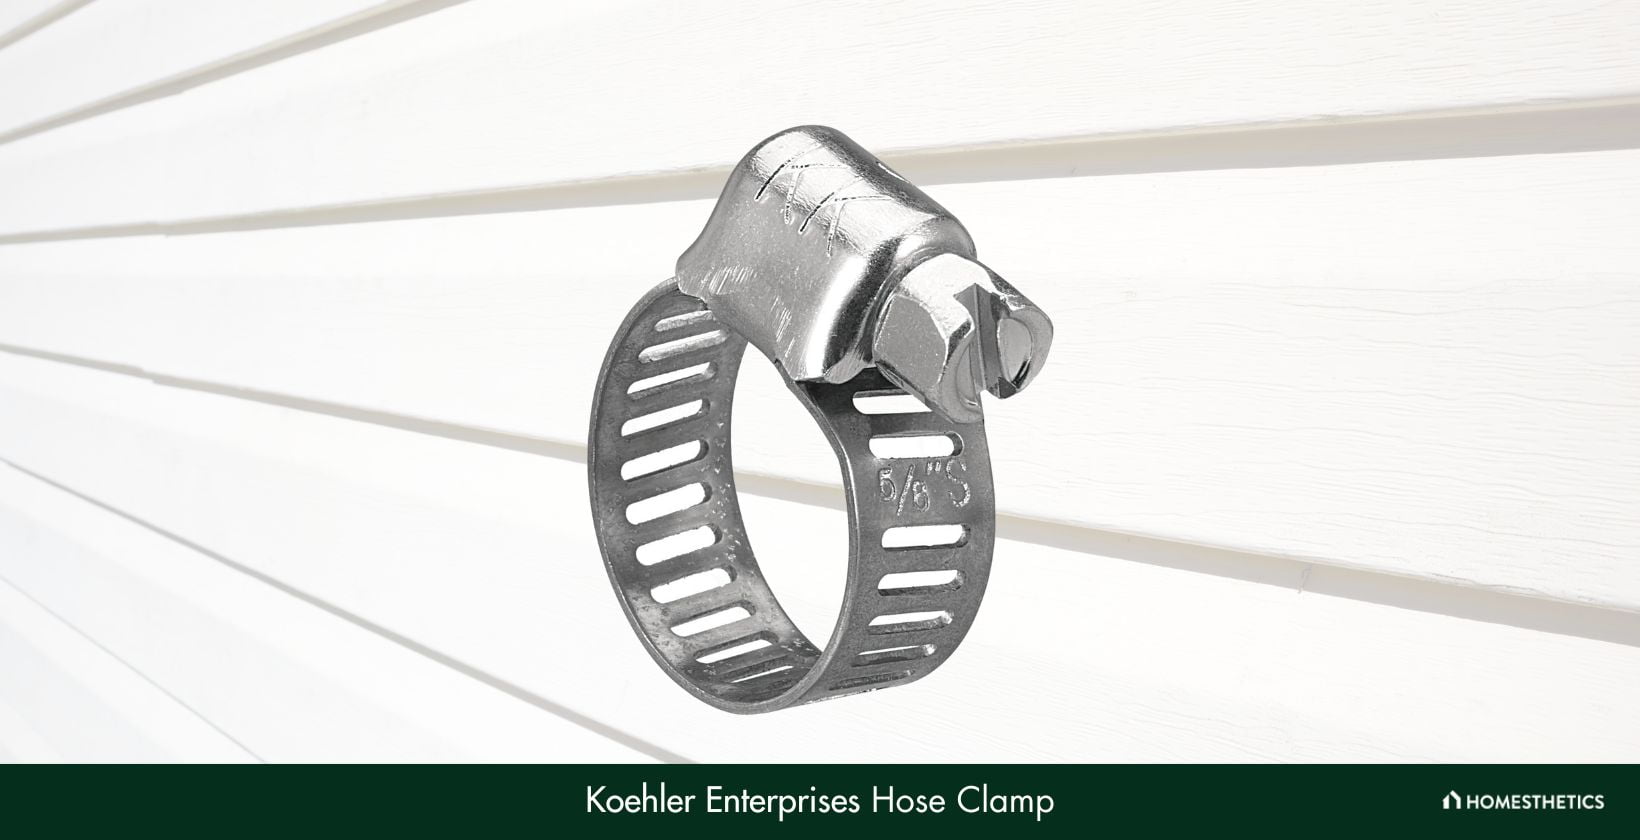
This screw-type clamp from Koehler is designed to offer reliable performance and an extended service life. You can use it for a variety of purposes including emission control, strengthening fuel lines, and in vacuum & air hoses. Notably, this clamp is available in a box of 10 pieces.
Firstly, we loved its high-quality stainless steel band that’s perfectly resistant to corrosion caused by chemicals and salts. This enhances the toughness and longevity of the structure considerably.
What’s more, this clamp features a low-profile yet strong housing and a ¼-inch screw with a hex head made from carbon-plated steel. Together, these components ensure that it tightens firmly around the hose, and also make it very easy to use.
An added advantage is their small size, which allows for proper installation within spaces that are hard to reach. Lastly, we liked the box containing the clamps as it was quite sturdy and big enough to ensure that the clamps weren’t cluttered within.
Although this clamp delivers a commendable performance, the warranty offered by the brand may not be effective in addressing all issues. Also, you might not get a prompt response from customer service in case you have a query or report an issue.
What We Like
- Features a corrosion-resistant band
- Tightens firmly around the hose
- Can be installed in hard-to-reach spaces
- Comes in a sturdy box
What We Don't Like
- Warranty not effective enough
9. WINL Stainless Steel Hose Clamps
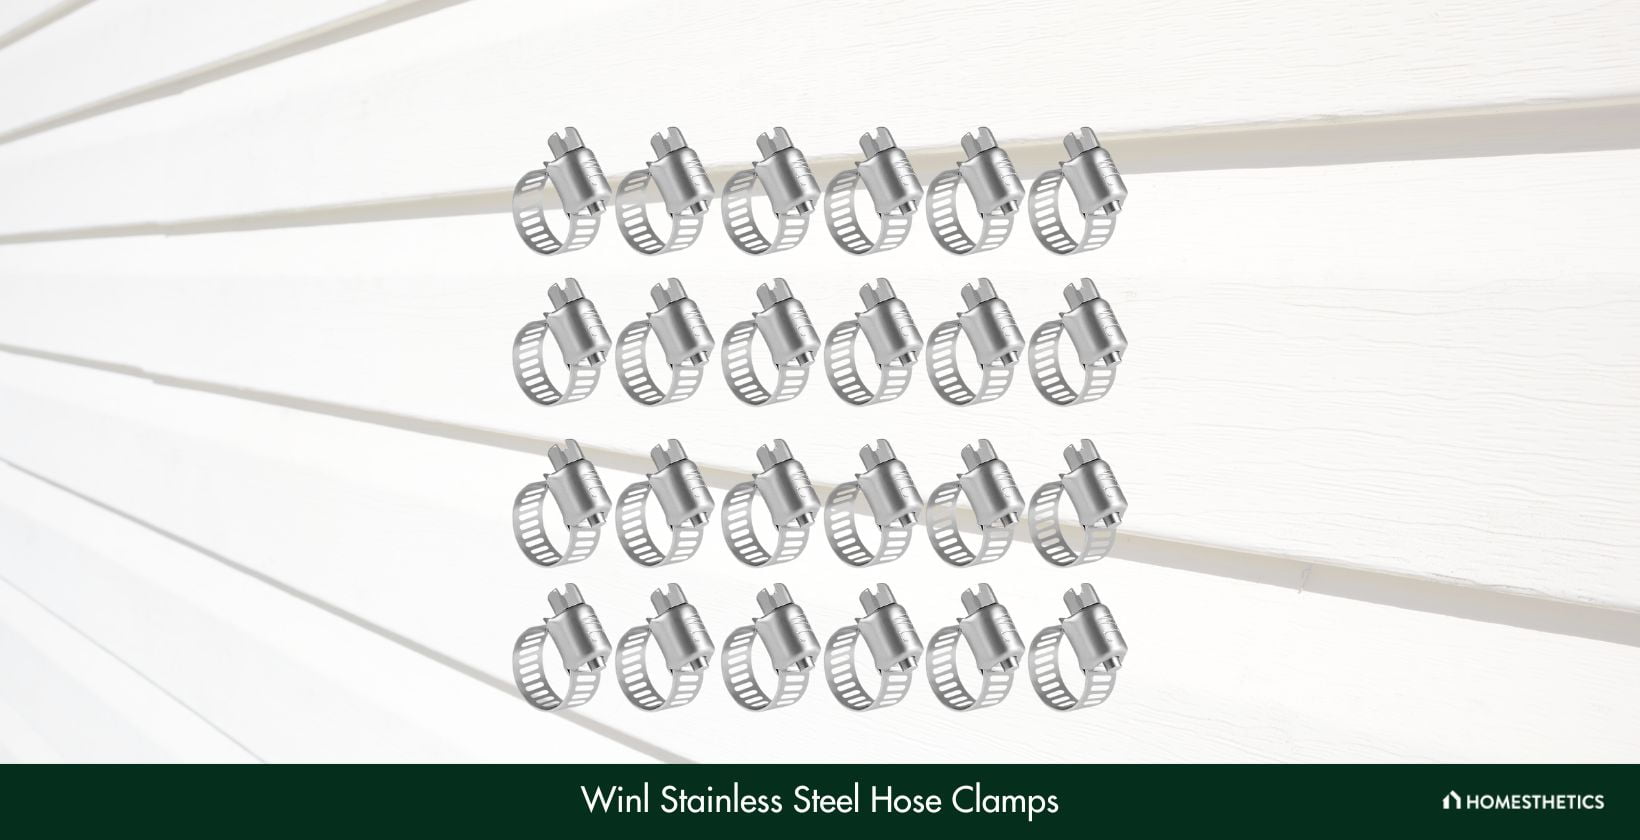
Our next pick for you is this hose clamp from WINL that delivers a pretty decent performance in keeping hose connections strong and secure. It offers considerable flexibility and also ranks high in terms of user convenience. Each pack includes as many as 24 clamps, so it’s enough for use on quite a few hose joints.
Straight off the bat, this clamp provides better corrosion resistance than most ordinary products you’ll find out there, thanks to its 304 stainless steel build. It also offers adequate protection against water leakage, so rest assured that the hose will remain secure for years to come.
Beyond that, the clamping range of 6 to 16mm facilitates precise adjustment for applying adequate sealing pressure. This ultimately ensures that the pipes are held tightly and also makes for greater flexibility. You will also appreciate the torque of 3.9N, as it extends the applicability to tougher hoses.
Last but not least, installing the clamps is an easy process since they are designed using specialized procedures to enable greater convenience.
In some cases, the pack may arrive with fewer clamps, so remember to check it thoroughly upon delivery. Also, don’t delay informing the manufacturer if you face such an issue. But apart from that, we have no other complaints regarding their utility.
What We Like
- Provides better corrosion resistance
- Offers adequate protection from water leakage
- Facilitates greater flexibility
- Easy installation
What We Don't Like
- Pack may sometimes arrive with fewer clamps
10. ZIPCCI Hose Clamp
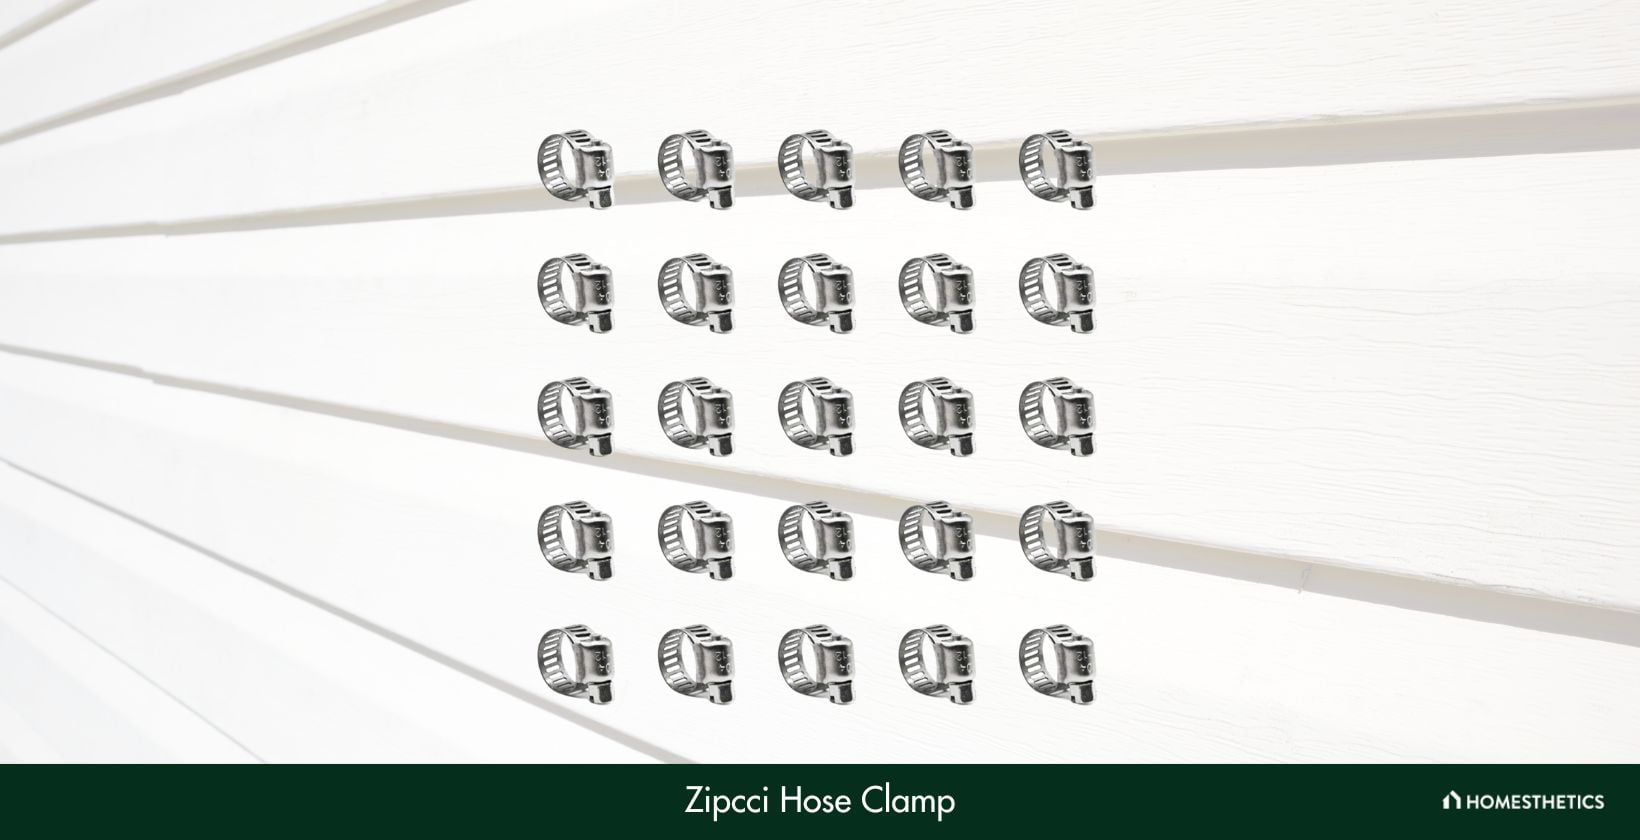
At the end of our list, we bring you this hose clamp from ZIPCCI that’s most suitable for domestic and automotive purposes. Available in a pack of 25 pieces, it comes in the more popular worm gear style and is also priced reasonably. So, let’s have a closer look at the various features on offer.
First and foremost, its 304 stainless steel material is strong and durable enough to prevent any breakage or rusting. This ensures consistent performance in the long run, with all the hose connections functioning in the desired manner.
Like our previous recommendation, this hose clamp also comes with a clamping range of 6 to 12mm that offers sufficient adjustability. As such, it is suitable for several applications including fuel lines, marine structures, and water pipes.
Even fixing the clamp onto a hose is quite easy, as you just need to loosen or tighten its screw using a screwdriver and then alter the size as per the need. Last but not least, it provides adequate protection against water leakage.
A drawback of this clamp is its much lower torque, which makes it comparatively less suitable for use on tougher hoses. Also, there’s no information provided regarding the warranty that it offers, so you’ll have to contact customer support to know about it.
What We Like
- Prevents any breakage or rusting
- Offers sufficient adjustability
- Easy installation
- Provides adequate protection from water leakage
What We Don't Like
- Lower torque
What is the Best Hose Clamp?
The table below provides a concise comparison of key specifications for evaluating the best hose clamp. These specifications encompass the number of pieces in each set, material, and range.
| Product | Number of Pieces | Material | Range |
|---|---|---|---|
| LOKMAN Hose Clamp | 60 | 304 Stainless Steel | 6mm to 12mm, 10mm to 16mm, 13mm to 19mm, 16mm to 25mm, 19mm to 29mm, 18mm to 32mm, 21mm to 38mm |
| EesTeck Hose Clamp | 4 | 304 Stainless Steel | N/A |
| TICONN Hose Clamp | 40 | 304 Stainless Steel | 6mm to 12mm, 10mm to 16mm, 13mm to 19mm, 16mm to 25mm, 19mm to 29mm |
| Glarks Hose Clamp | 20 | 304 Stainless Steel | 14mm to 27mm |
| Selizo Hose Clamp | 40 | 304 Stainless Steel | 6mm to 12mm, 10mm to 16mm, 13mm to 19mm, 16mm to 25mm, 19mm to 29mm, 18mm to 32mm, 21mm to 38mm |
| Winlong Hose Clamps | 15 | 304 Stainless Steel | 20mm to 44mm |
| ISPINNER Hose Clamp | 2 | 300 Series Stainless Steel | 38mm to 43mm |
| Koehler Enterprises KE4BX | 10 | 300 Series Stainless Steel | 6mm to 16mm |
| WINL Stainless Steel Hose Clamps | 24 | 304 Stainless Steel | 6mm to 16mm |
| ZIPCCI Hose Clamp | 25 | 304 Stainless Steel | 6mm to 12mm |
Buying Guide For The Best Hose Clamp
For choosing the right hose clamp, you would also need to consider some important factors. Otherwise, you may end up making an improper choice. On that note, here are three essential points that you need to keep in mind.
-
Hose Clamp Material
Purchasing a study clamp is important to ensure that it lasts for years to come and provides consistent performance.
Stainless steel is undoubtedly the most suitable material for these clamps as it offers the required protection against water, chemicals, and other natural elements that may cause corrosion. Plus, it provides rigidity to the structure that shields it from any breakage.
Some products also come with additional layers or coats made from metals or other materials. Needless to say, this is an added advantage as the clamps become stronger and more damage-resistant.
-
Hose Diameter
While purchasing a suitable hose clamp, the hose diameter is a crucial consideration to make, as it ultimately determines how well it fits into a hose or pipe. So, make sure you measure the diameter of the hose(s) for which you will need the clamps and then choose a suitable clamp.
Another point to keep in mind is that many clamps come in packs of differently-sized pieces. As such, the clamps in the pack that you choose must be of the size suitable for the hoses you would work on.
-
Type of Hose Clamps
Clamps come in various types, among which the worm-drive ones with incisions on the metal band are the most popular; hence all the products we’ve included belong to this type. The primary reason for their popularity is their wide applicability.
Note that these clamps come with either a screw lock mechanism or a T-bolt one, both of which are equally capable of protecting hose connections.
Apart from that, you can go for screw-type clamps, which come with a band having screw threads and a screw fixed on one side. Turning the screw would help you tighten or loosen the clamp as per the direction in which it’s being rotated. Other types include spring clamps, ear clamps, and single and double-wire clamps, but all these are suitable for very small hoses.
Are there any safety concerns when using hose clamps?
Yes. If the hose clamp is not properly secured, it can cause the hose to leak. Additionally, over-tightening a clamp can damage the hose.
Can the same hose clamp be used for different types of hoses?
Although some hose clamps offer versatility, it is best to use a hose clamp designed for a specific type of hose to ensure a secure and safe fit.
Are hose clamps resistant to heat?
Metallic clamps, such as those made from stainless steel, generally resist heat very well. However, plastic clamps may not be as heat-resistant.
Can hose clamps be used for high-pressure applications?
Some hose clamps, such as those made from heavy-duty stainless steel, are suitable for high-pressure applications. However, it is important to confirm a clamp’s suitability from the manufacturer’s specifications.
How do I tighten a hose clamp?
Screw clamps can be tightened using a screwdriver or a nut-driver. Ear clamps can be tightened with a special pincer tool, while other types might require specific tools.
What's the lifespan of a hose clamp?
The lifetime of a hose clamp depends on its usage, the material it’s made from, and environmental factors. Stainless steel clamps can last many years if they’re not exposed to excessive rusting conditions.
How do I know if a hose clamp is failing?
Common signs of a failing clamp include leaking fluid at the connection point or visible rust. Undue tension or slippage could also indicate a problem.
So, which hose clamp did you find most suitable? If you haven’t been able to zero in on the right one yet, we’d suggest going through the buyer’s guide once more, as that would help clear your doubts.
With that, we’ve almost reached the end of this guide. But before we bring down the curtains, here’s a quick recap of our favorites from the list. If you need to secure a few relatively smaller hoses and are searching for a cost-effective option for the purpose, the EesTeck Hose Clamp will be the perfect choice to go for.
On the other hand, the LOKMAN Hose Clamp will be ideal if you often need to work on many hoses of different diameters.
Agree with our verdict? Let us know in the comments section below. Till next time, take care!


![3 Acrylic Halloween Paintings [Ideas For Beginners]](https://homesthetics.net/wp-content/uploads/2022/07/Acrylic-Halloween-Paintings-Ideas-For-Beginners-1.jpg "3 Acrylic Halloween Paintings [Ideas For Beginners]")


 via statesmanjournal.com


![11 Best Upholstery Steam Cleaners [Reviews & Buyer’s Guide]](https://homesthetics.net/wp-content/uploads/2022/02/Best-Upholstery-Steam-Cleaners-1.jpg "11 Best Upholstery Steam Cleaners [Reviews & Buyer's Guide]")


